dessert

Simmered Strawberry Fool

IMG_3770.jpeg

This dessert may look very fancy and I placed it on a very fancy plate. 

BUT: other than serving fresh fruit as is, this is among the simplest, easiest desserts ever. And you can also serve it in a plain old dish, custard cup, individual ramekin. However you wish.

The point is, you can transform this into a festive Shavuot holiday dessert just by using a lovely serving piece. The prep is a cinch.

Most of the time a fruit fool is a simple blend of crushed fruit and whipped cream (sometimes with vanilla or another extract added). The extra step of cooking the fruit and adding Balsamic vinegar gives the dish a richer, deeper flavor. Well worth the few (less than 10) minutes of time it takes.

Strawberry Fool 

  • one pint strawberries

  • 1/2 cup sugar

  • 2 tablespoons Balsamic vinegar

  • 1/2 teaspoon cinnamon

  • 1/2 teaspoon finely grated fresh orange peel

  • 1 cup heavy cream

  • 1/2 teaspoon vanilla extract

  • Extra berries, cookie, chocolate shavings, mint leaves, etc. for garnish


Clean the strawberries, remove the stems and chop the berries into small pieces. Place the berries and sugar in a saucepan and cook over medium-high heat for 5-6 minutes, stirring frequently. Stir in the Balsamic vinegar, cinnamon and orange peel and cook for another 2-3 minutes or until the liquid is dark and syrupy. Remove from the heat and let cool. Whip the cream with the vanilla extract until thick. Fold the strawberry mixture into the whipped cream until well blended. Spoon the mixture onto dessert dishes (over berries or cookies, if desired). Garnish with berries, chocolate shavings, etc. 

Makes 6 servings
 

Fresh Ginger Cake

IMG_4405.jpeg

When life gives you lemons, you make lemonade.

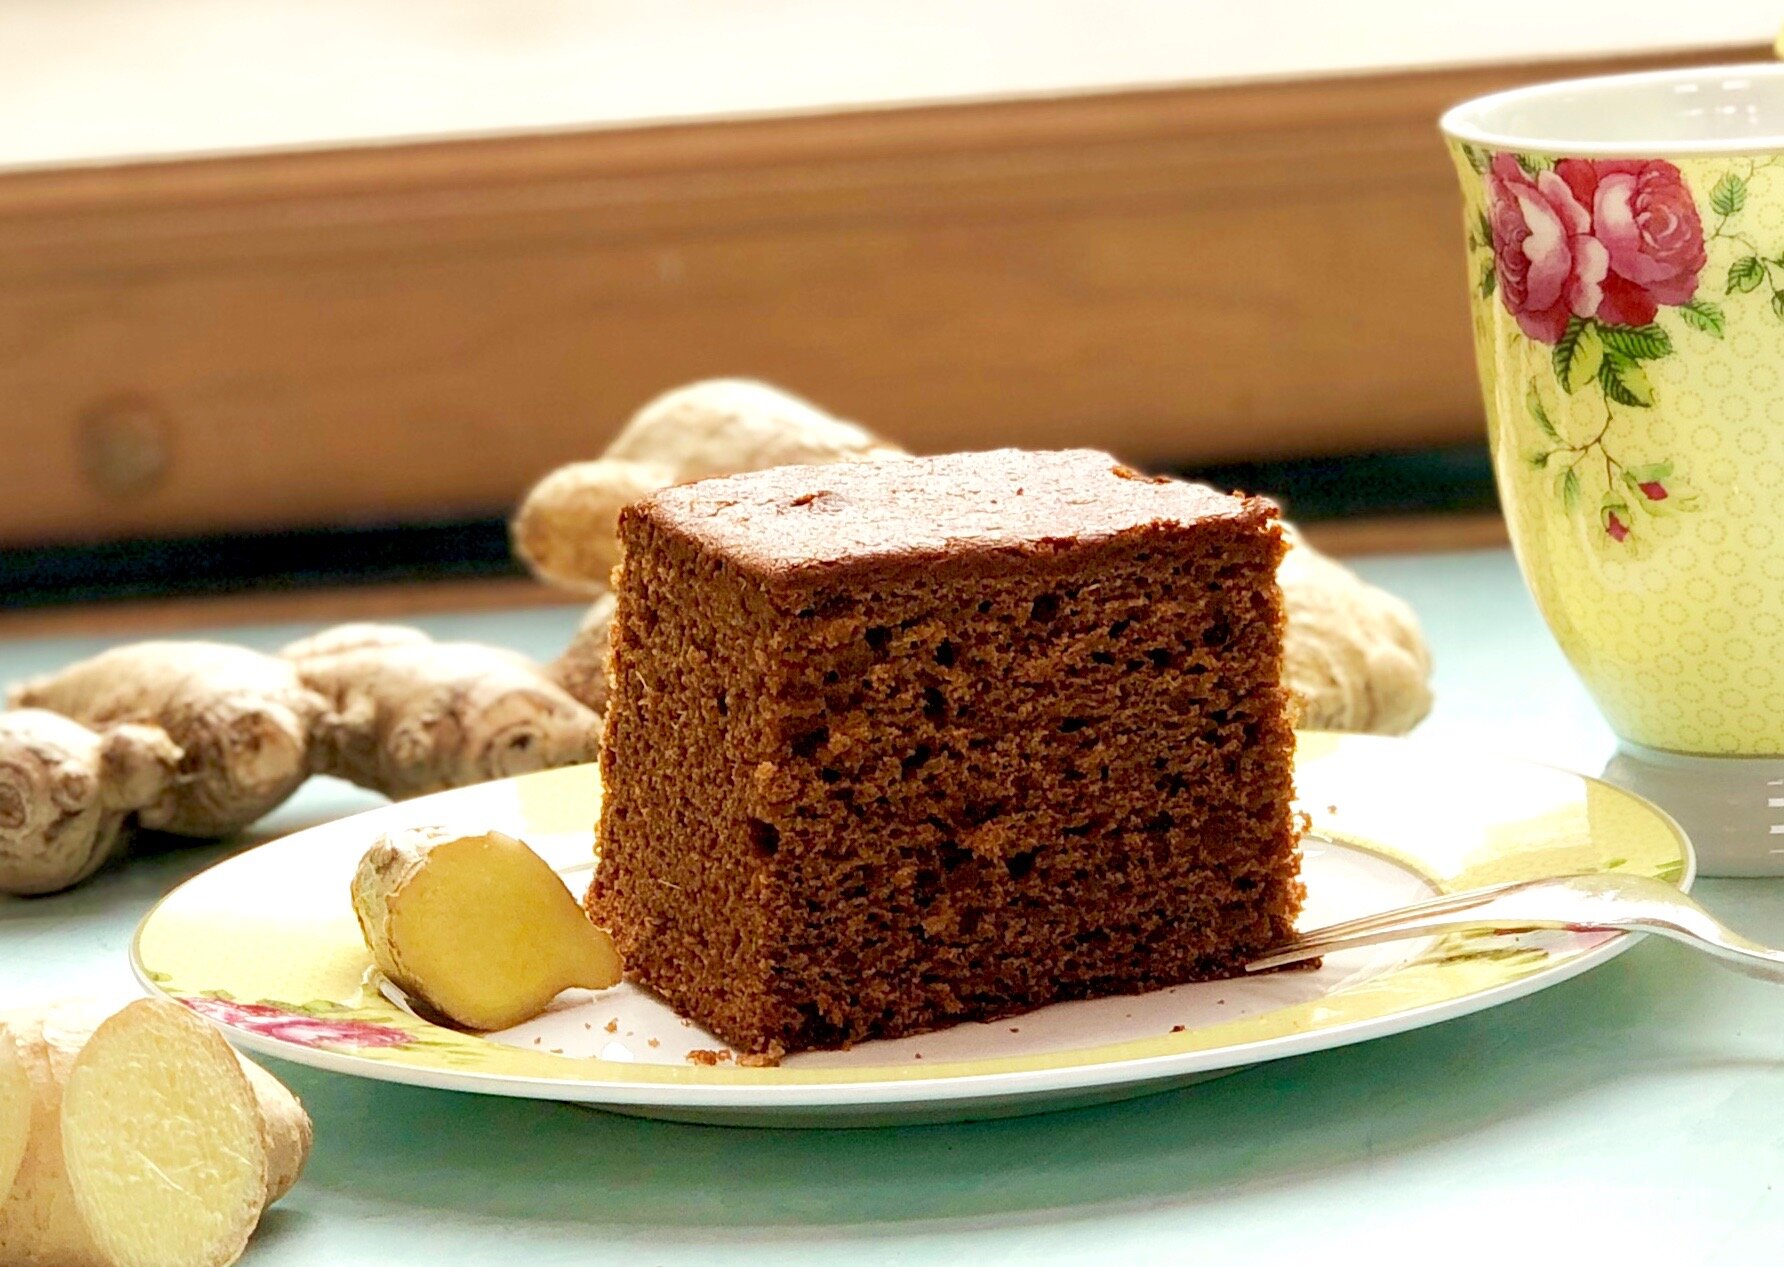
And, when life gives you fresh ginger, you make ginger cake (to go with ginger tea of course).

I’ve been using Instacart to get groceries recently because of the stay-at-home and social distancing Ed and I are following strictly. This delivery service has been excellent and I am incredibly grateful to the men and women who have shopped for us and delivered everything to our front door.

So first, bravo and thank you to them.

There have been some mistakes, none really worth talking about, but one that I found amusing.

I ordered a piece of fresh ginger and my shopper bought a pound!

That’s a lot of ginger.

But okay. I’ll use it.

First of all, I love ginger steeped in near-boiling water for tea. I’ve been drinking a lot of that recently. It’s healthy and a perfect way to stay hydrated too.

And of course, to go with the tea: cake. Like gingerbread. Except I didn’t have enough molasses so I used a mixture of date honey and regular honey. And I used fresh ginger instead of dried.

Perfect. This cake is milder than traditional gingerbread (because of the missing molasses), yet with the familiar heat because fresh ginger has a bit of a bite.

Would have loved some whipped cream, but alas, no cream in the house.

Fresh Ginger Cake

  • 3/4 cup butter

  • 3/4 cup date syrup (silan) (or use molasses)

  • 1/4 cup honey (or use molasses)

  • 1/2 cup brown sugar

  • 3 cups all-purpose flour·      

  • 2-1/2 teaspoons baking soda

  • 1/2 tsp. salt

  • 1 teaspoon ground cinnamon

  • 1/2 teaspoon grated fresh nutmeg

  • 1/4 cup grated fresh ginger

  • 2 large eggs

  • 1/3 cup milk

Preheat the oven to 350 degrees. Lightly grease a 9”x9” cake pan. Place the butter, date syrup, honey and brown sugar in a saucepan and cook, stirring occasionally, over medium heat until the butter has melted. Stir to blend ingredients thoroughly. Set aside to cool. Mix the flour, baking soda, salt, cinnamon and nutmeg together. Pour the date liquid mixture over the flour mixture and beat the ingredients to blend them thoroughly. Add the ginger and eggs and beat them in. Pour in the milk and mix until the batter is smooth. Pour the batter into the pan. Bake for about 40 minutes or until a cake tester inserted into the center comes out clean.

Makes 8-10 servings

Lemon Aquafaba Bread

fullsizeoutput_9516.jpeg

At this particular time, when we are going through a world-wide crisis, a terrifying pandemic, it can be therapeutic for many of us to cook and bake.

I am one of those people.

I have plenty of ingredients to cook with because over the years I’ve learned to keep shelf-stable foods on hand in case I can’t shop: ingredients such as canned beans, rice, frozen veggies, dried fruit, canned or packaged milk, and so on.

Equally important for me is — don’t waste food (I’ve talked about that often). I believe that it is important to use all resources — “food forage” as my colleague Susan Barocas calls it. Don’t throw out any ingredient that’s useable, including leftovers.

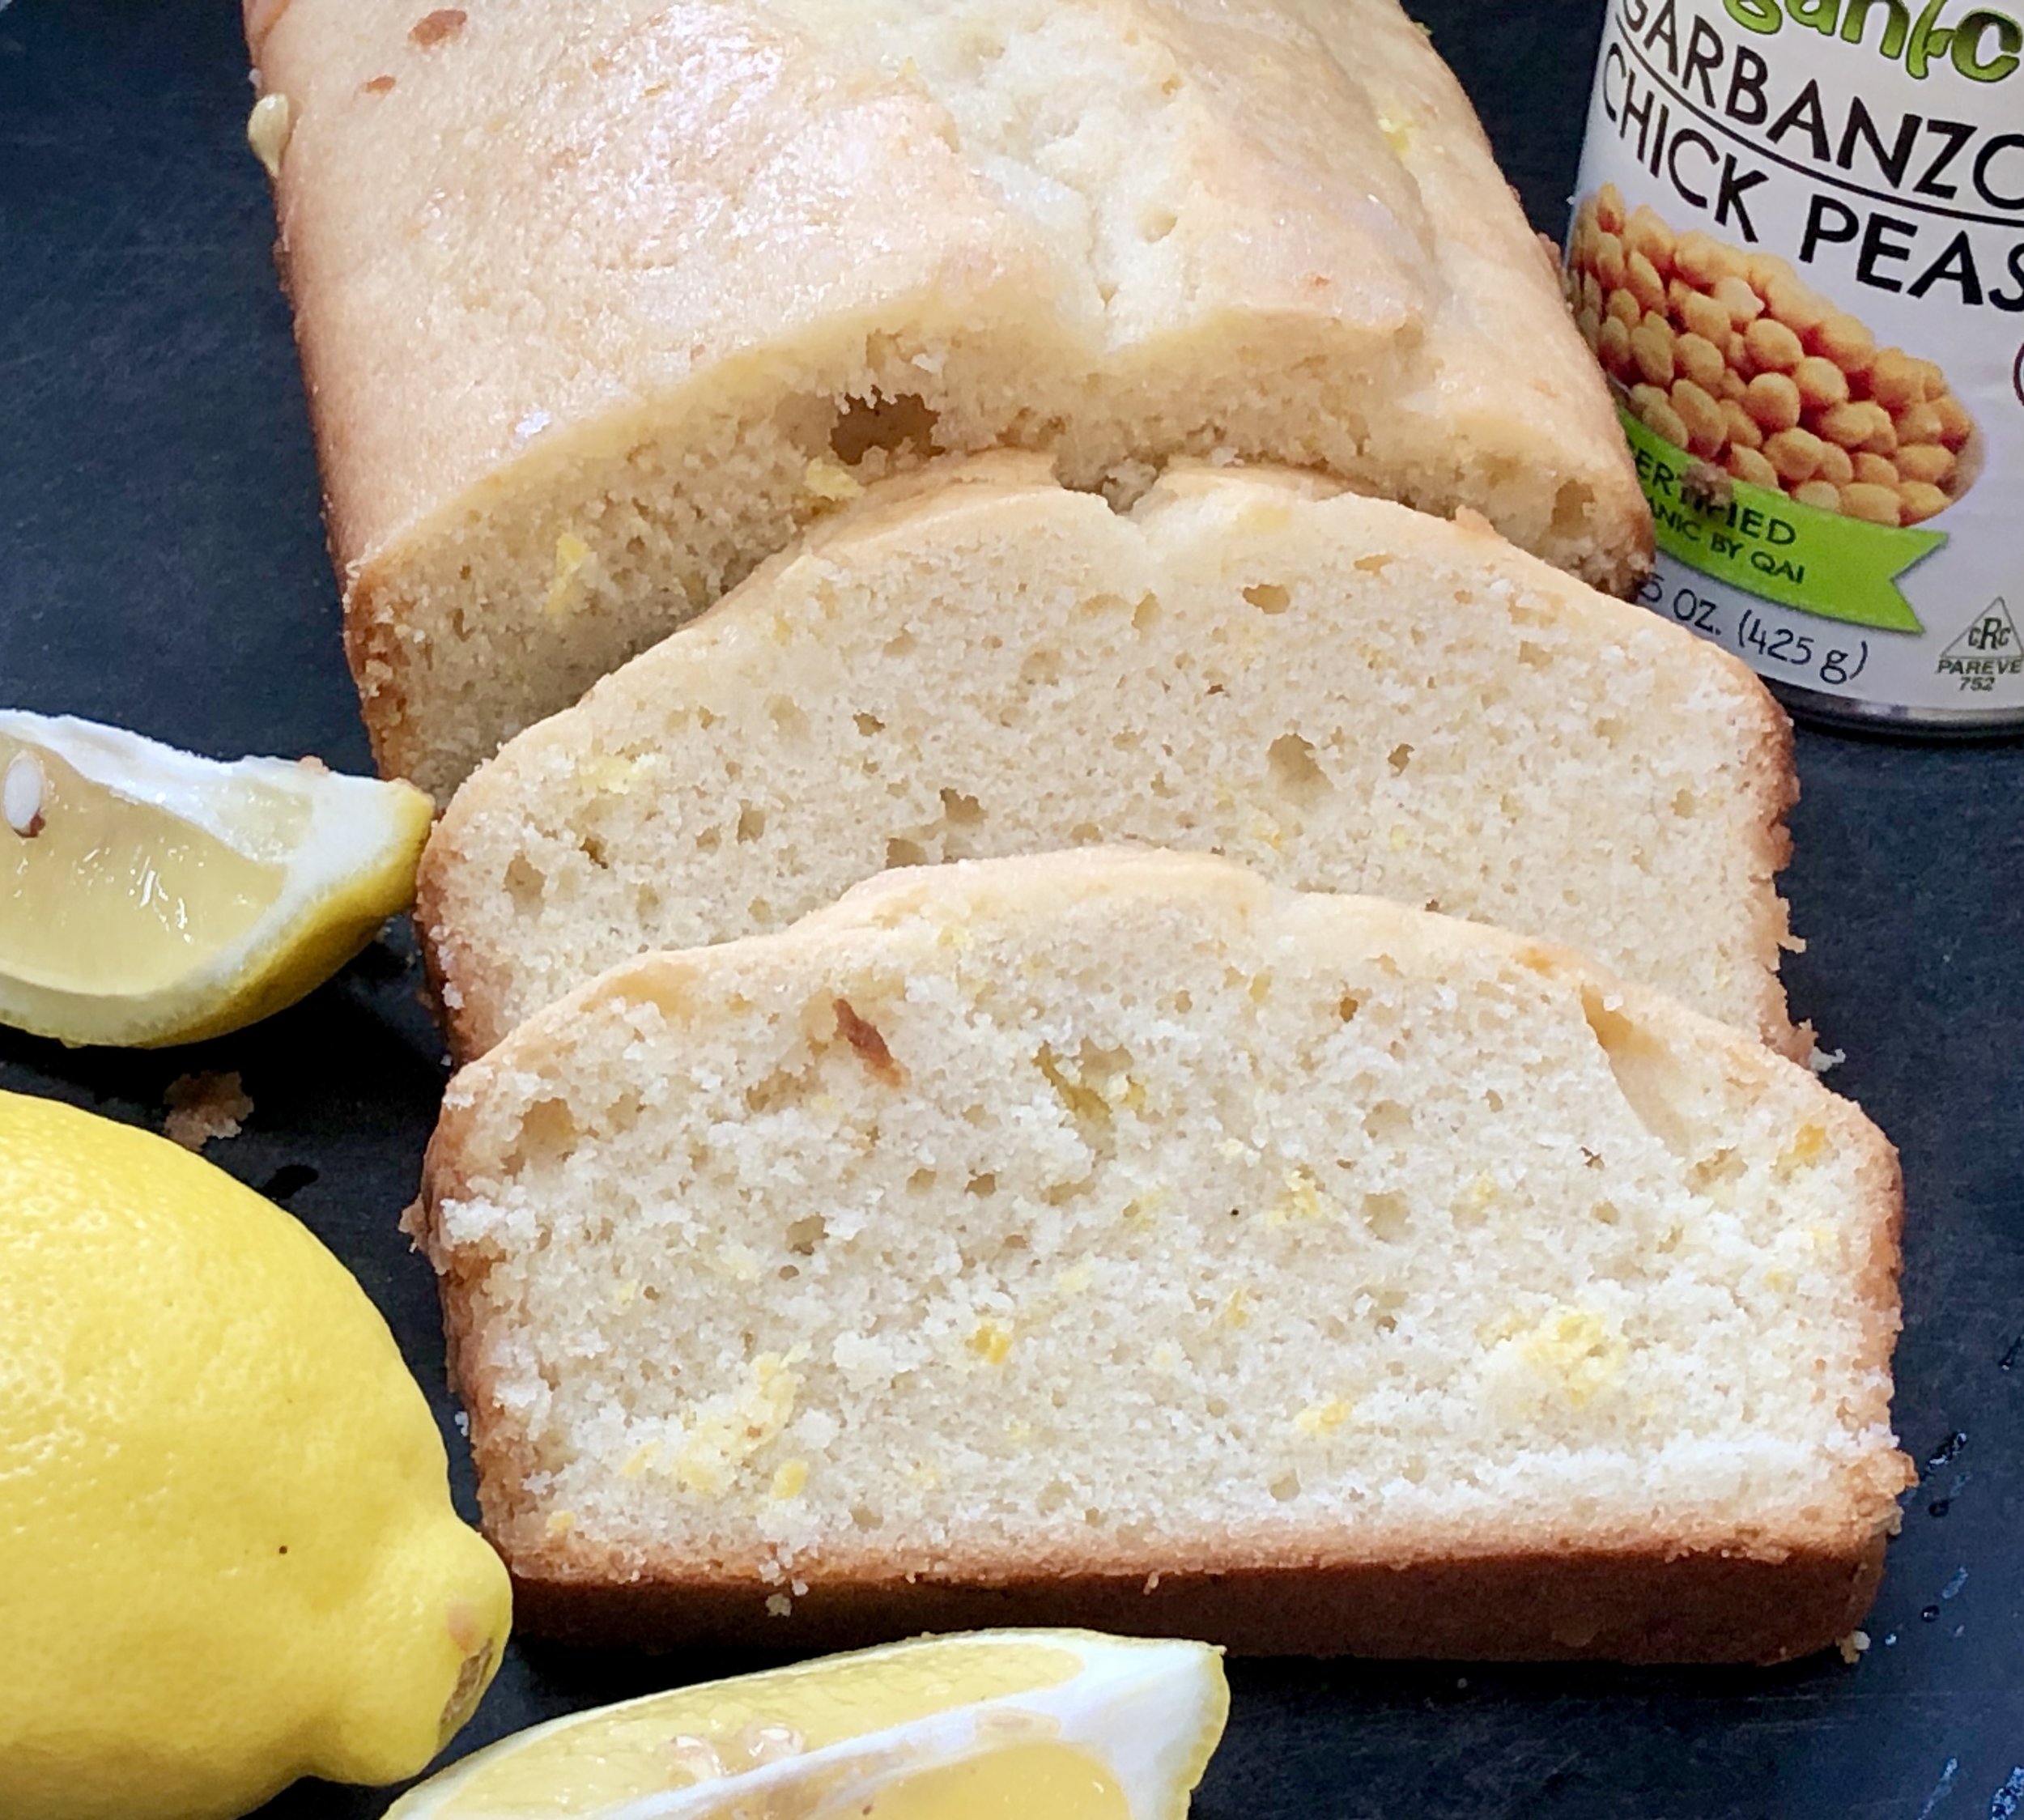
With all this in mind I offer this lemon bread.

I have lots of lemons in my crisper because of an article I am writing. I’ve developed the recipe for that, so I need to make use of the extra lemons.

I also needed to do something with the liquid leftover from a can of chick peas that I opened for a salad. Chick pea liquid is incredibly useful.

In case you aren’t familiar with this leftover liquid (also from canned beans), it is called aquafaba and it can be used in place of eggs. That makes it an ideal ingredient for vegans and anyone who is allergic to or otherwise can’t eat eggs.

When you beat chick pea liquid with a whisk, it traps air like eggs do, so baked goods have both structure and also a light, tender crumb.

I am trying not to use too many fresh eggs that I might need for meals, so I used the aquafaba instead to make this lemon bread.

Dee-lish!

To get the most out of the liquid in a can of chick peas, be sure to scrape the residue at the bottom of the can. For best results, reduce the liquid slowly over medium-low heat until it becomes the consistency of egg white. Use about 3 tablespoons of the liquid in place of each egg. 

For another delicious recipe (carrot bread) using aquafaba, click here.

Lemon Aquafaba Bread

  • 6 tablespoons aquafaba

  • 4 tablespoons coconut oil

  • 3/4 cup sugar

  • 1 tablespoon finely grated fresh lemon peel

  • 2 cups all-purpose flour

  • 2-1/2 teaspoons baking powder

  • 3/4 teaspoon salt

  • 1 cup coconut milk

  • 1/4 cup fresh lemon juice

  • 1-1/2 tablespoons sugar

Preheat the oven to 350 degrees. Grease a 9”x5”x3” loaf pan. If the aquafaba seems thin, boil it for a few minutes to thicken slightly to the consistency of egg white. Set aside to cool. In the bowl of an electric mixer, beat the coconut oil and 3/4 cup sugar at medium speed for 1-2 minutes or until well combined. Add the lemon peel and aquafaba and blend them in. Mix the flour, baking powder and salt in a small bowl. Add the dry ingredients to the creamed mixture in thirds, alternating with the coconut milk. Beat to blend the ingredients to a smooth, even batter. Spoon the batter into the prepared pan. Bake for 50-55 minutes or until a cake tester inserted into the center comes out clean. While the bread is baking, combine the lemon juice and 1-1/2 tablespoons sugar in a small saucepan and cook over medium heat for 1-2 minutes or until the sugar has dissolved. When the bread comes out of the oven, pour the lemon juice mixture on top. Cool the bread in the pan for 10 minutes. Invert onto a cake rack to cool completely.

Makes one bread

Banana Fudge Brownies

fullsizeoutput_b4f1.jpeg

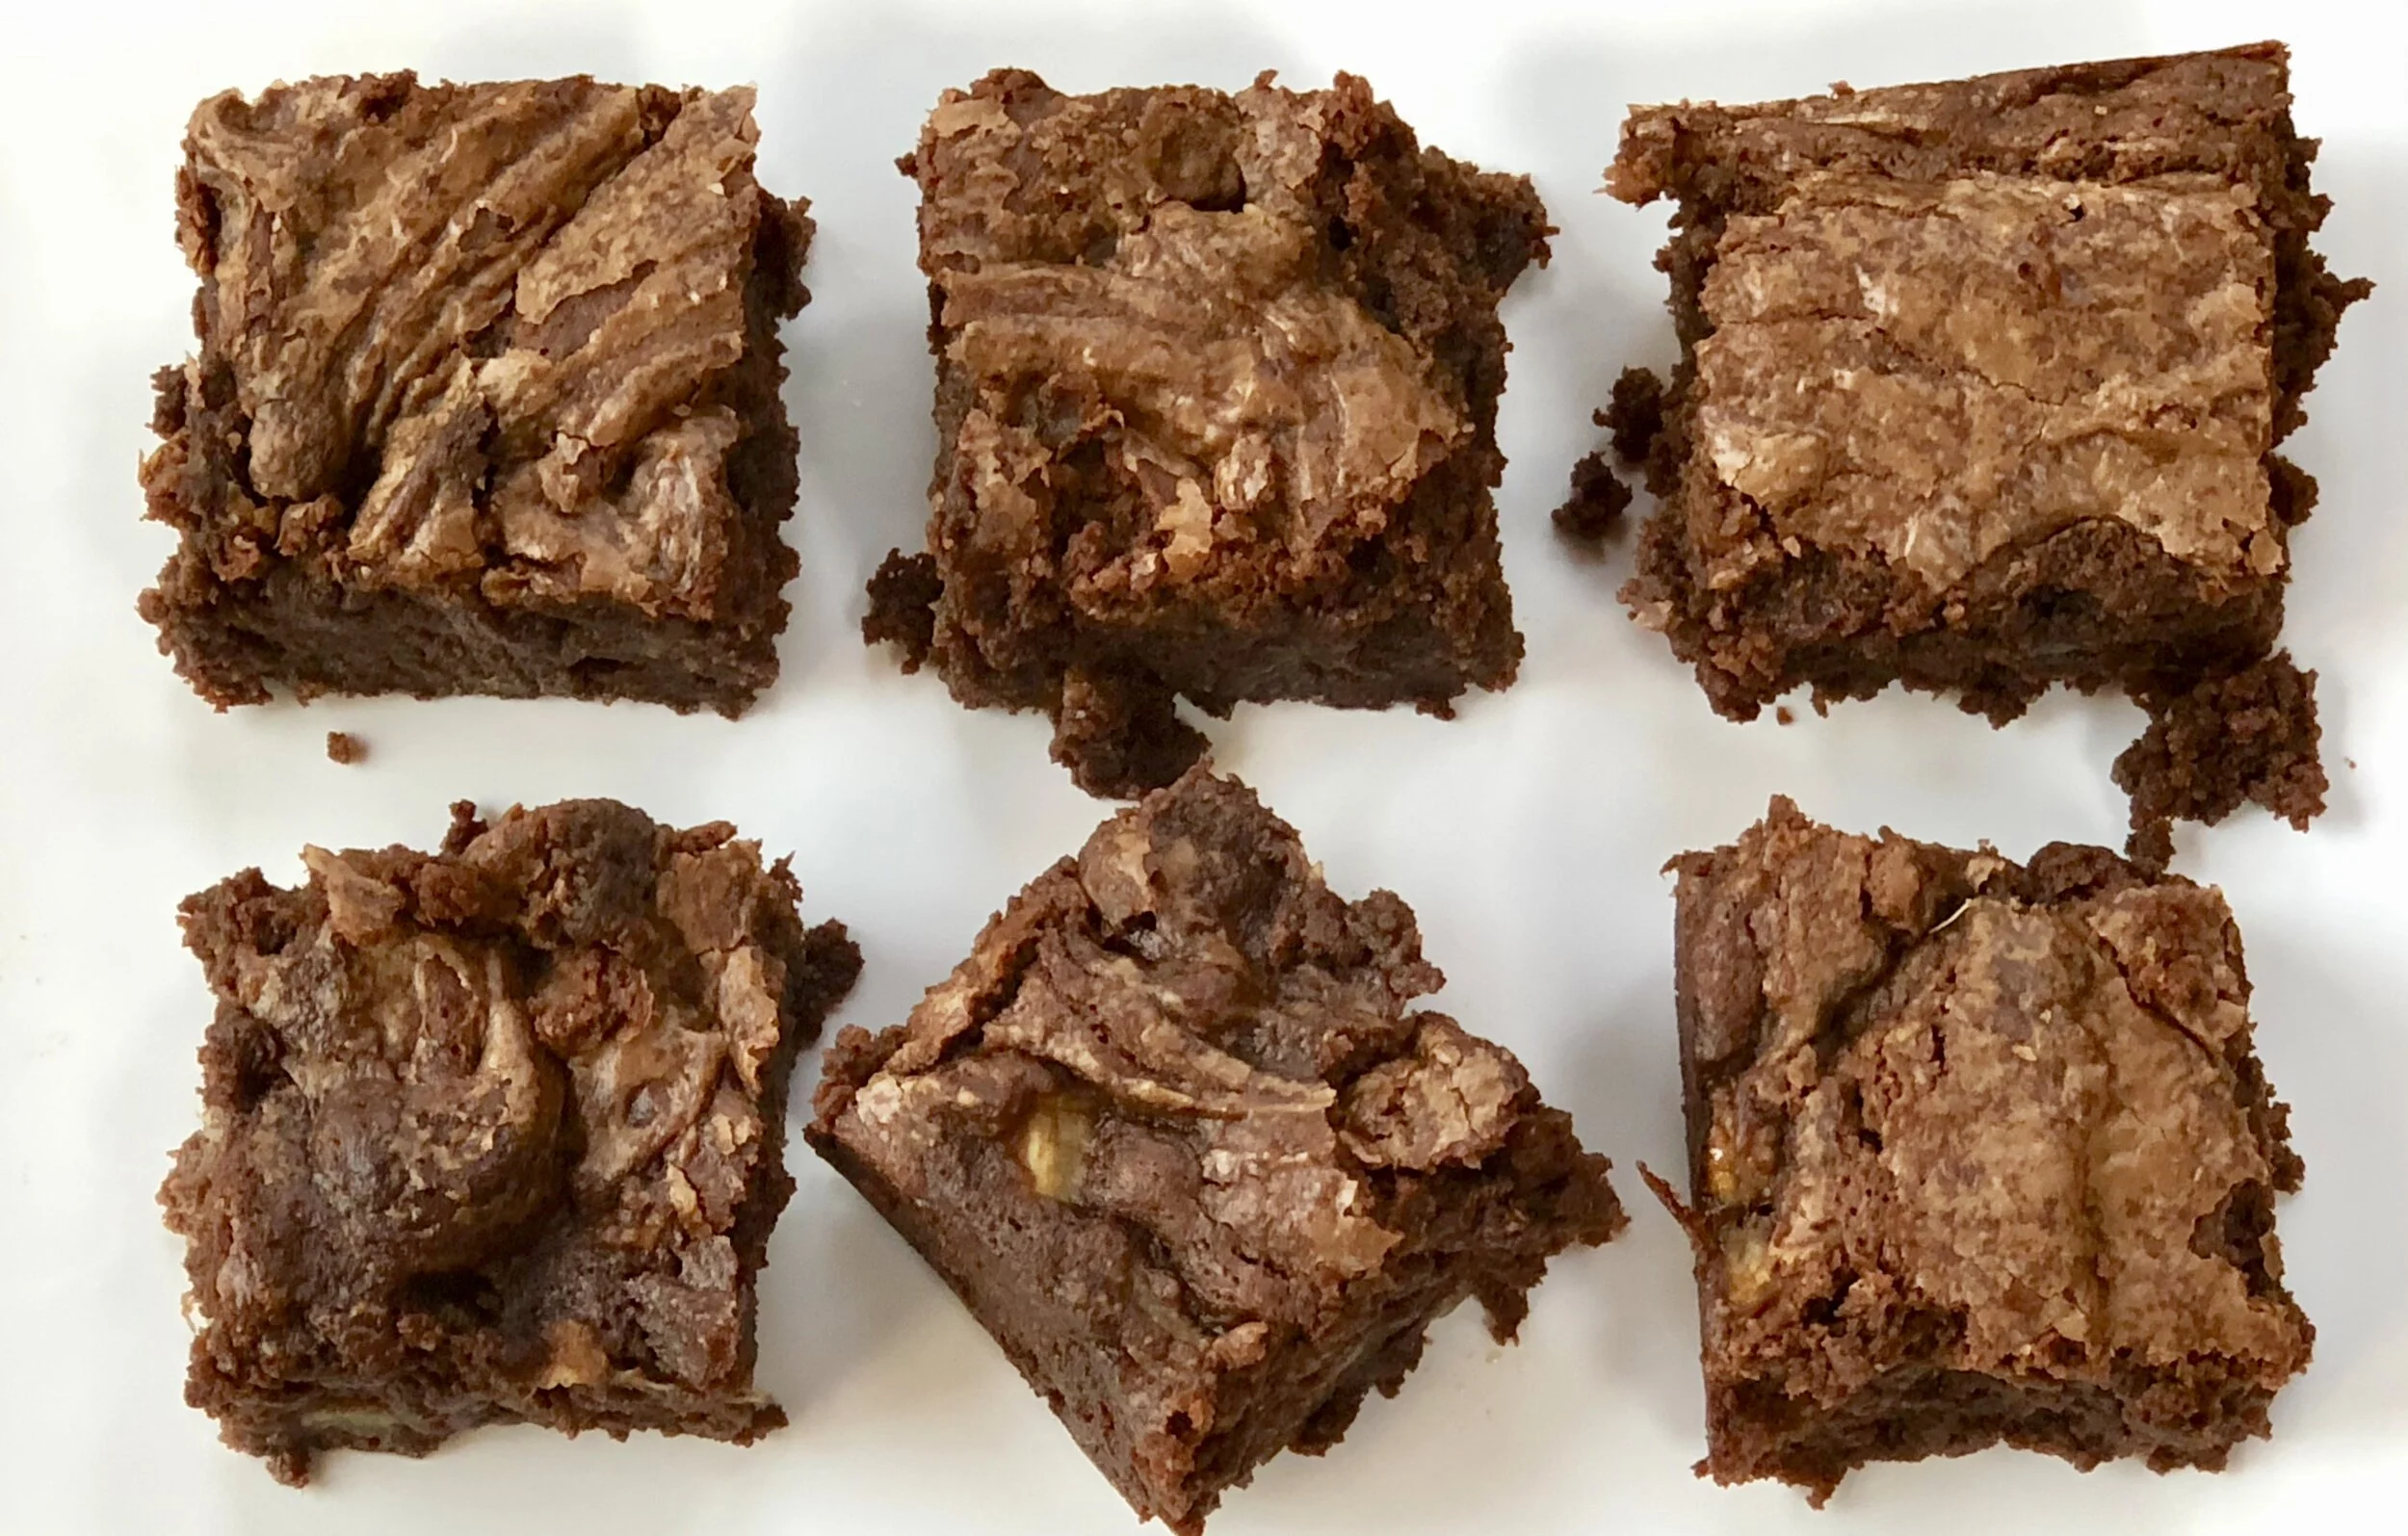
If you like fudgy brownies, you have to try these! The mashed up bananas I added to the batter make them incredibly moist. And the fruit flavor is a perfect balance to the sweet from sugar and chocolate.

The recipe is simple too, easy enough for kids, and a good lesson too, not just on cooking but on how to avoid food waste. I made these when I had two soft, older bananas — no one was going to eat them out of hand and they weren’t enough for banana bread.

Makes a memorable treat on Valentine’s Day.

Banana Fudge Brownies

  • 6 ounces semisweet chocolate (1 cup of chips)

  • 1/2 cup butter

  • 1 cup sugar

  • 2 large eggs

  • 1 cup all-purpose flour

  • 1 teaspoon baking powder

  • 1/2 teaspoon salt

  • 1 teaspoon vanilla extract

  • 2 medium bananas, cut into small pieces

Preheat the oven to 350 degrees. Lightly grease an 8" or 9” square baking pan. Melt the chocolate and butter together in the top part of a double boiler over barely simmering water. When the ingredients have melted, blend them thoroughly. Remove the pan from the heat and separate the top part of the double boiler from the bottom. Combine the sugar and eggs in a large bowl and beat with an electric mixer set at medium speed for 2-3 minutes or until the mixture is as thick and pale. Add the flour, baking powder, salt and vanilla extract and stir to blend them in. Add the chocolate mixture and blend it in thoroughly. Fold in the banana pieces. Pour the batter into the prepared pan. Bake for 30 minutes. Let the brownies cool in the pan. Cut into 16 pieces.

Makes 16

Banana Cake with Dates and Orange

fullsizeoutput_b58f.jpeg

Tu B’shevat is not one of the more well-known Jewish holidays, but it certainly is one of the more delicious ones. It’s known as “new year of the trees” and although it comes in mid-winter it’s a reminder that tree fruit is forming, that winter is nearly over, that warmer weather and new crops will be here soon.

And so, on Tu B’shevat we eat fruit. Our meals typically include some or all of the 7 species mentioned in the Torah: wheat, barley, grapes, figs, pomegranates, olives, and dates.

What a perfect occasion for banana cake studded with sweet, dried dates! I use medjool dates, but any variety will do. Or, you could substitute dried figs or raisins (dried grapes, right?)

Banana Cake with Dates and Orange

  • 2-1/2 cups flour

  • 1 teaspoon salt

  • 1 teaspoon freshly grated orange peel

  • 1 teaspoon baking soda

  • 1 teaspoon baking powder

  • 1/2 cup butter, margarine or vegetable shortening

  • 1 cup sugar

  • 1/4 cup date syrup (silan)

  • 3 very ripe bananas, mashed

  • 3 large eggs, slightly beaten

  • 1 cup chopped dates

Preheat the oven to 350 degrees. Grease and flour a (10-inch) 8-cup bundt pan. Mix the flour, salt, orange peel, baking soda and baking powder together in a bowl and set aside. In the bowl of an electric mixer set at medium speed, beat the butter and sugar until well blended. Add the date syrup and bananas and blend them in thoroughly. Add the eggs and beat well. Add the flour mixture and beat until batter is well blended. Fold in the dates. Pour into the prepared pan and bake for about 45-50 minutes or until a cake tester inserted into the center comes out clean. Remove from the oven and let cool in the pan for 10 minutes. Remove to a cake rack to cool completely.

Makes one cake serving 12-16


Zucchini Bread

fullsizeoutput_acf2.jpeg

When we were first married, Ed promised me 50 years. That was in 1969. We were young and 50 years seemed like a REALLY REALLY long time.

Grandparent stuff.

But here we are. A few months short of 50.

Wasn’t it yesterday that I fit into that long white dress?

We wanted to celebrate with two other couples, all close friends, who are also at 50.

But we didn’t want to have a big party. Not even an intimate dinner party for six. Although those are lovely, it seemed like the same-old, same-old. 50 years deserved something special.

So we decided to have a 150th Anniversary Afternoon Tea.

It was festive, fun and celebratory.

We started with champagne and tea sandwiches.

Then: scones, clotted cream and jams.

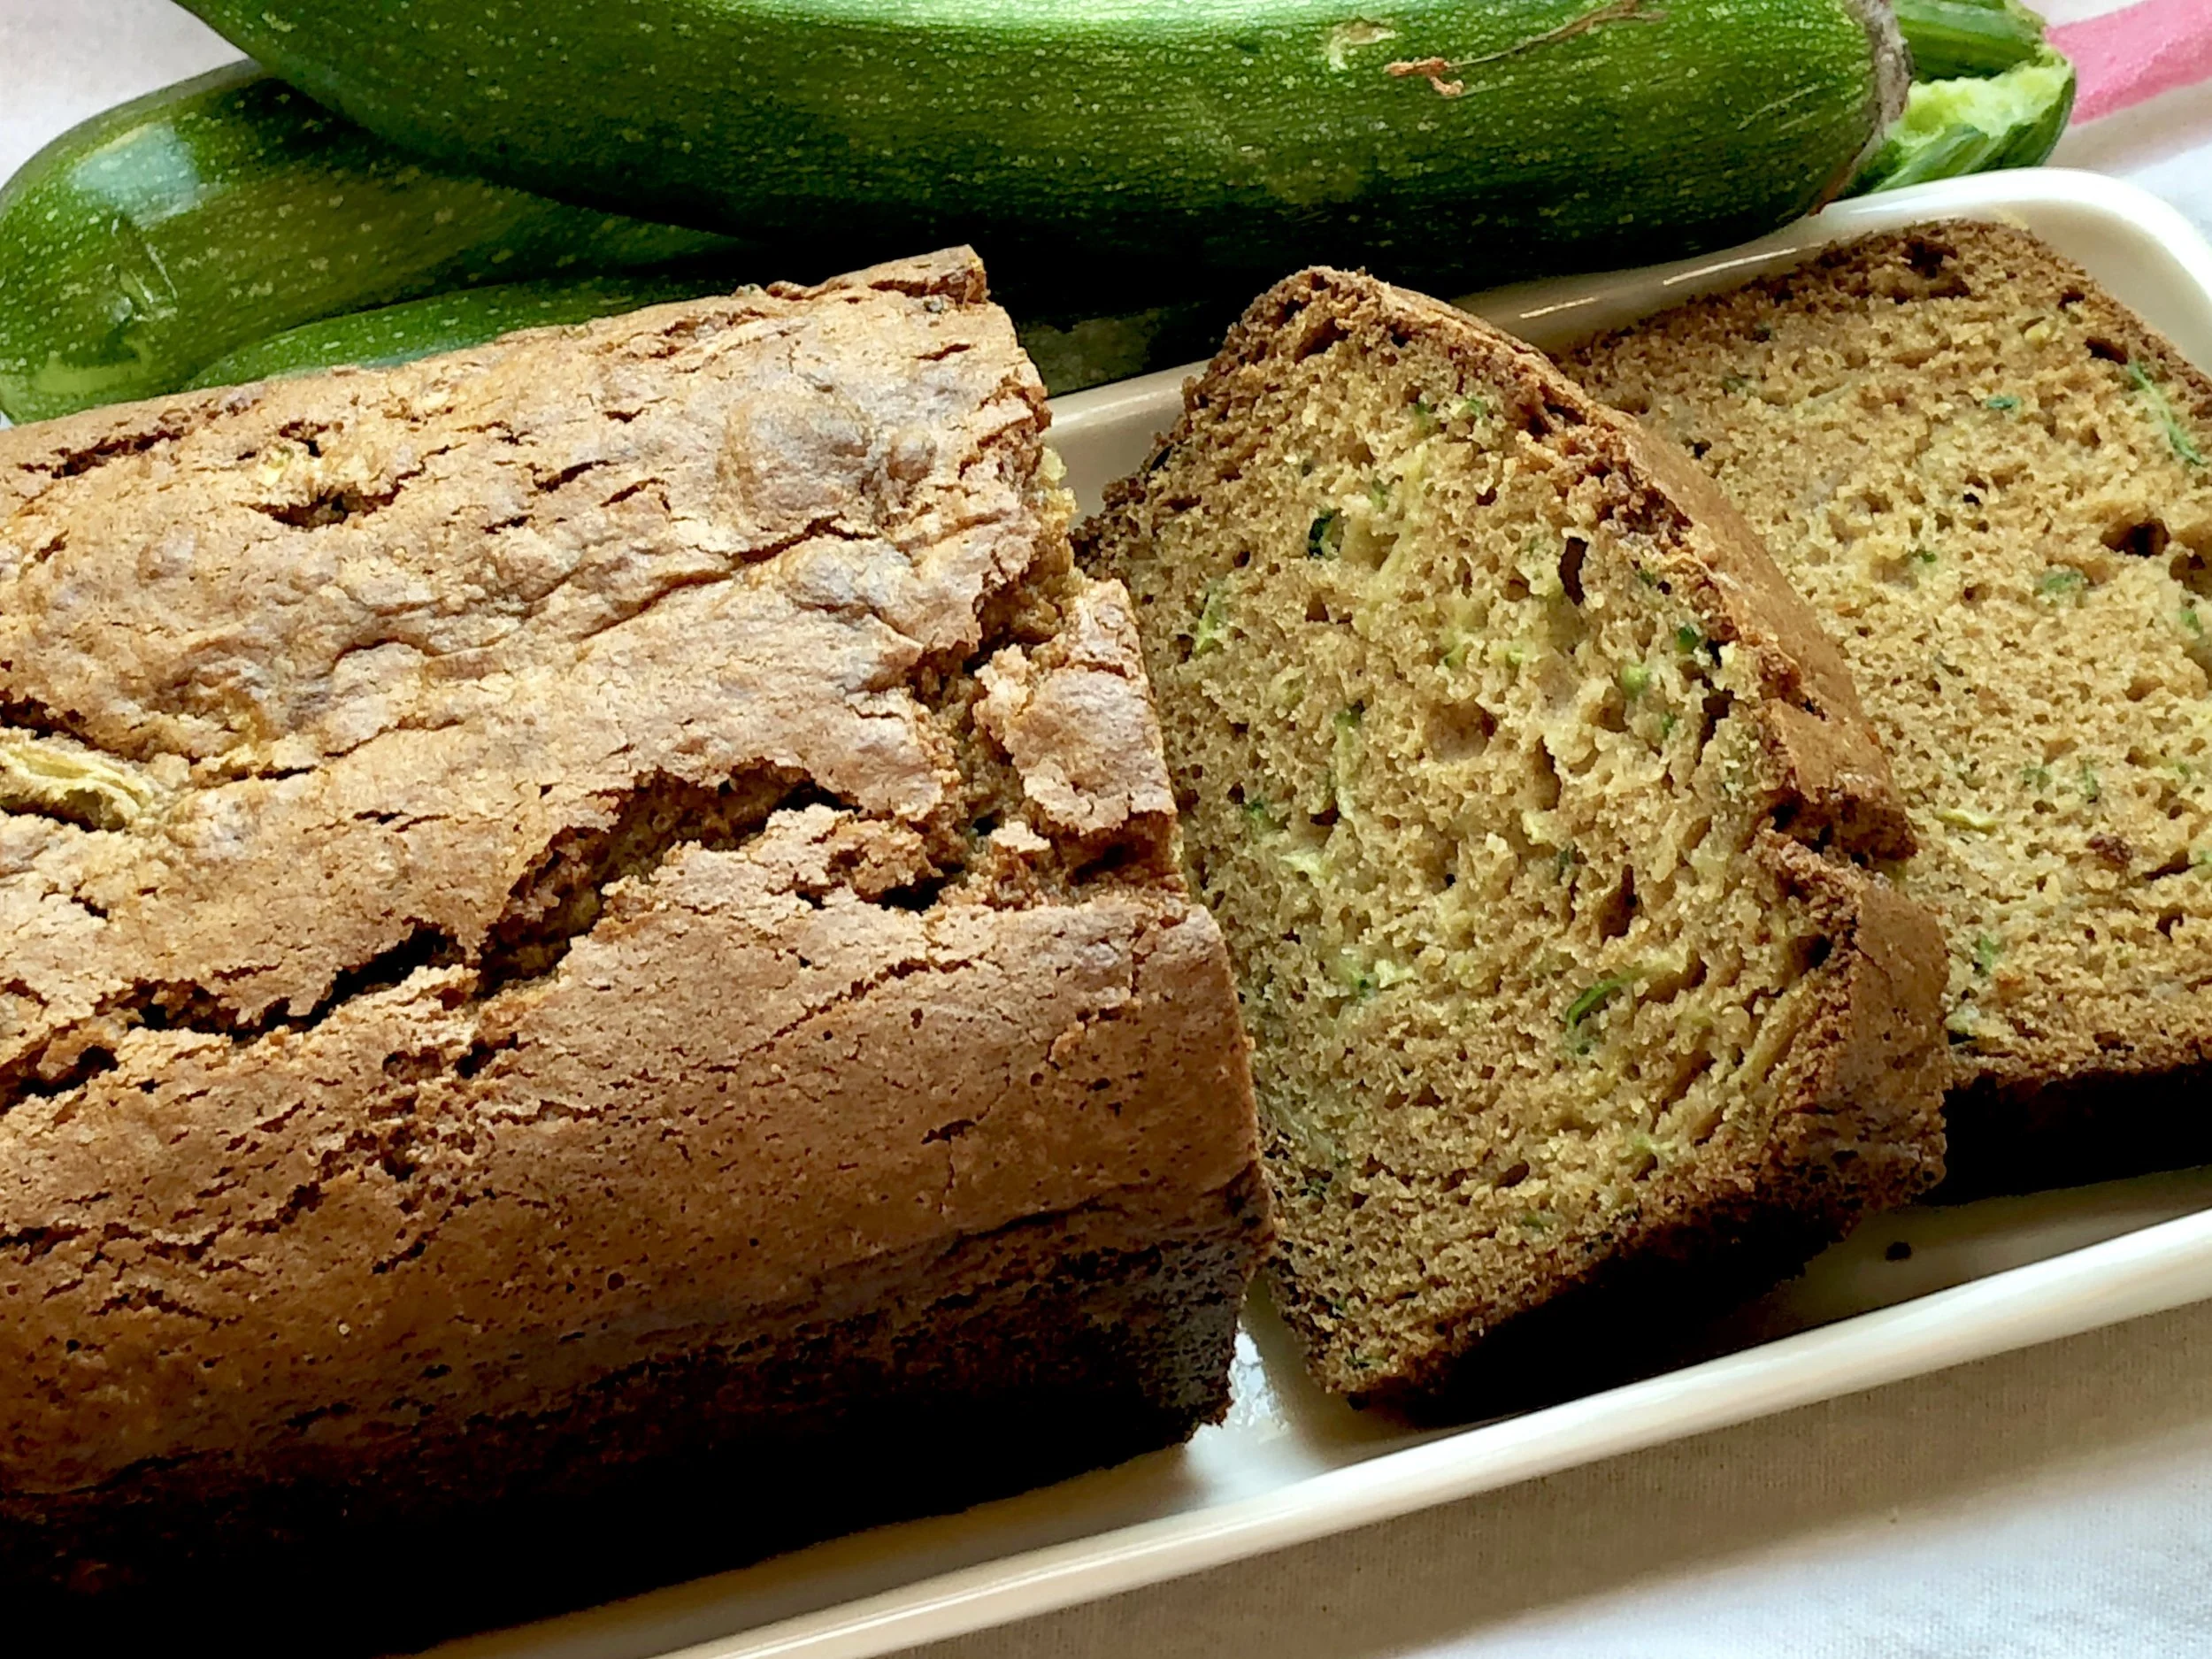
Finally, dessert: several kinds of cookies, Lemon Buttermilk Cake, Pumpkin Spice Cake and this: Zucchini Bread, (made with zucchinis from my garden!).

Just us 6. It was a good day.

We all talked about how amazing it is at how quickly 50 years go by.

Zucchini Bread

  • 2 cups all-purpose flour

  • 1/2 teaspoon cinnamon

  • 1/2 teaspoon nutmeg

  • 1-1/2 teaspoons baking soda

  • 3/4 teaspoon baking powder

  • 3/4 teaspoon salt

  • 3/4 cup brown sugar

  • 1/2 cup sugar

  • 2 large eggs

  • 1/2 cup applesauce

  • 1/4 cup vegetable oil

  • 1 teaspoon vanilla extract

  • 2 cups grated fresh zucchini

Preheat the oven to 350 degrees. Lightly grease a 9”x5”x3” loaf pan. Place the flour, cinnamon, nutmeg, baking soda, baking powder and salt in a bowl and whisk the ingredients until they are evenly distributed. Place the brown sugar, sugar, eggs, applesauce and vanilla extract in the bowl of an electric mixer (or use a hand mixer) and beat at medium speed for 2-3 minutes, until thoroughly blended. Add the flour mixture and stir just until blended. Fold in the zucchini. Spoon the batter into the prepared pan. Bake for 50-60 minutes or until golden brown and a cake tester inserted into the center comes out clean. Cool in the pan on a wire rack for 15 minutes. Invert the muffins onto the rack to cool completely.

Makes one loaf

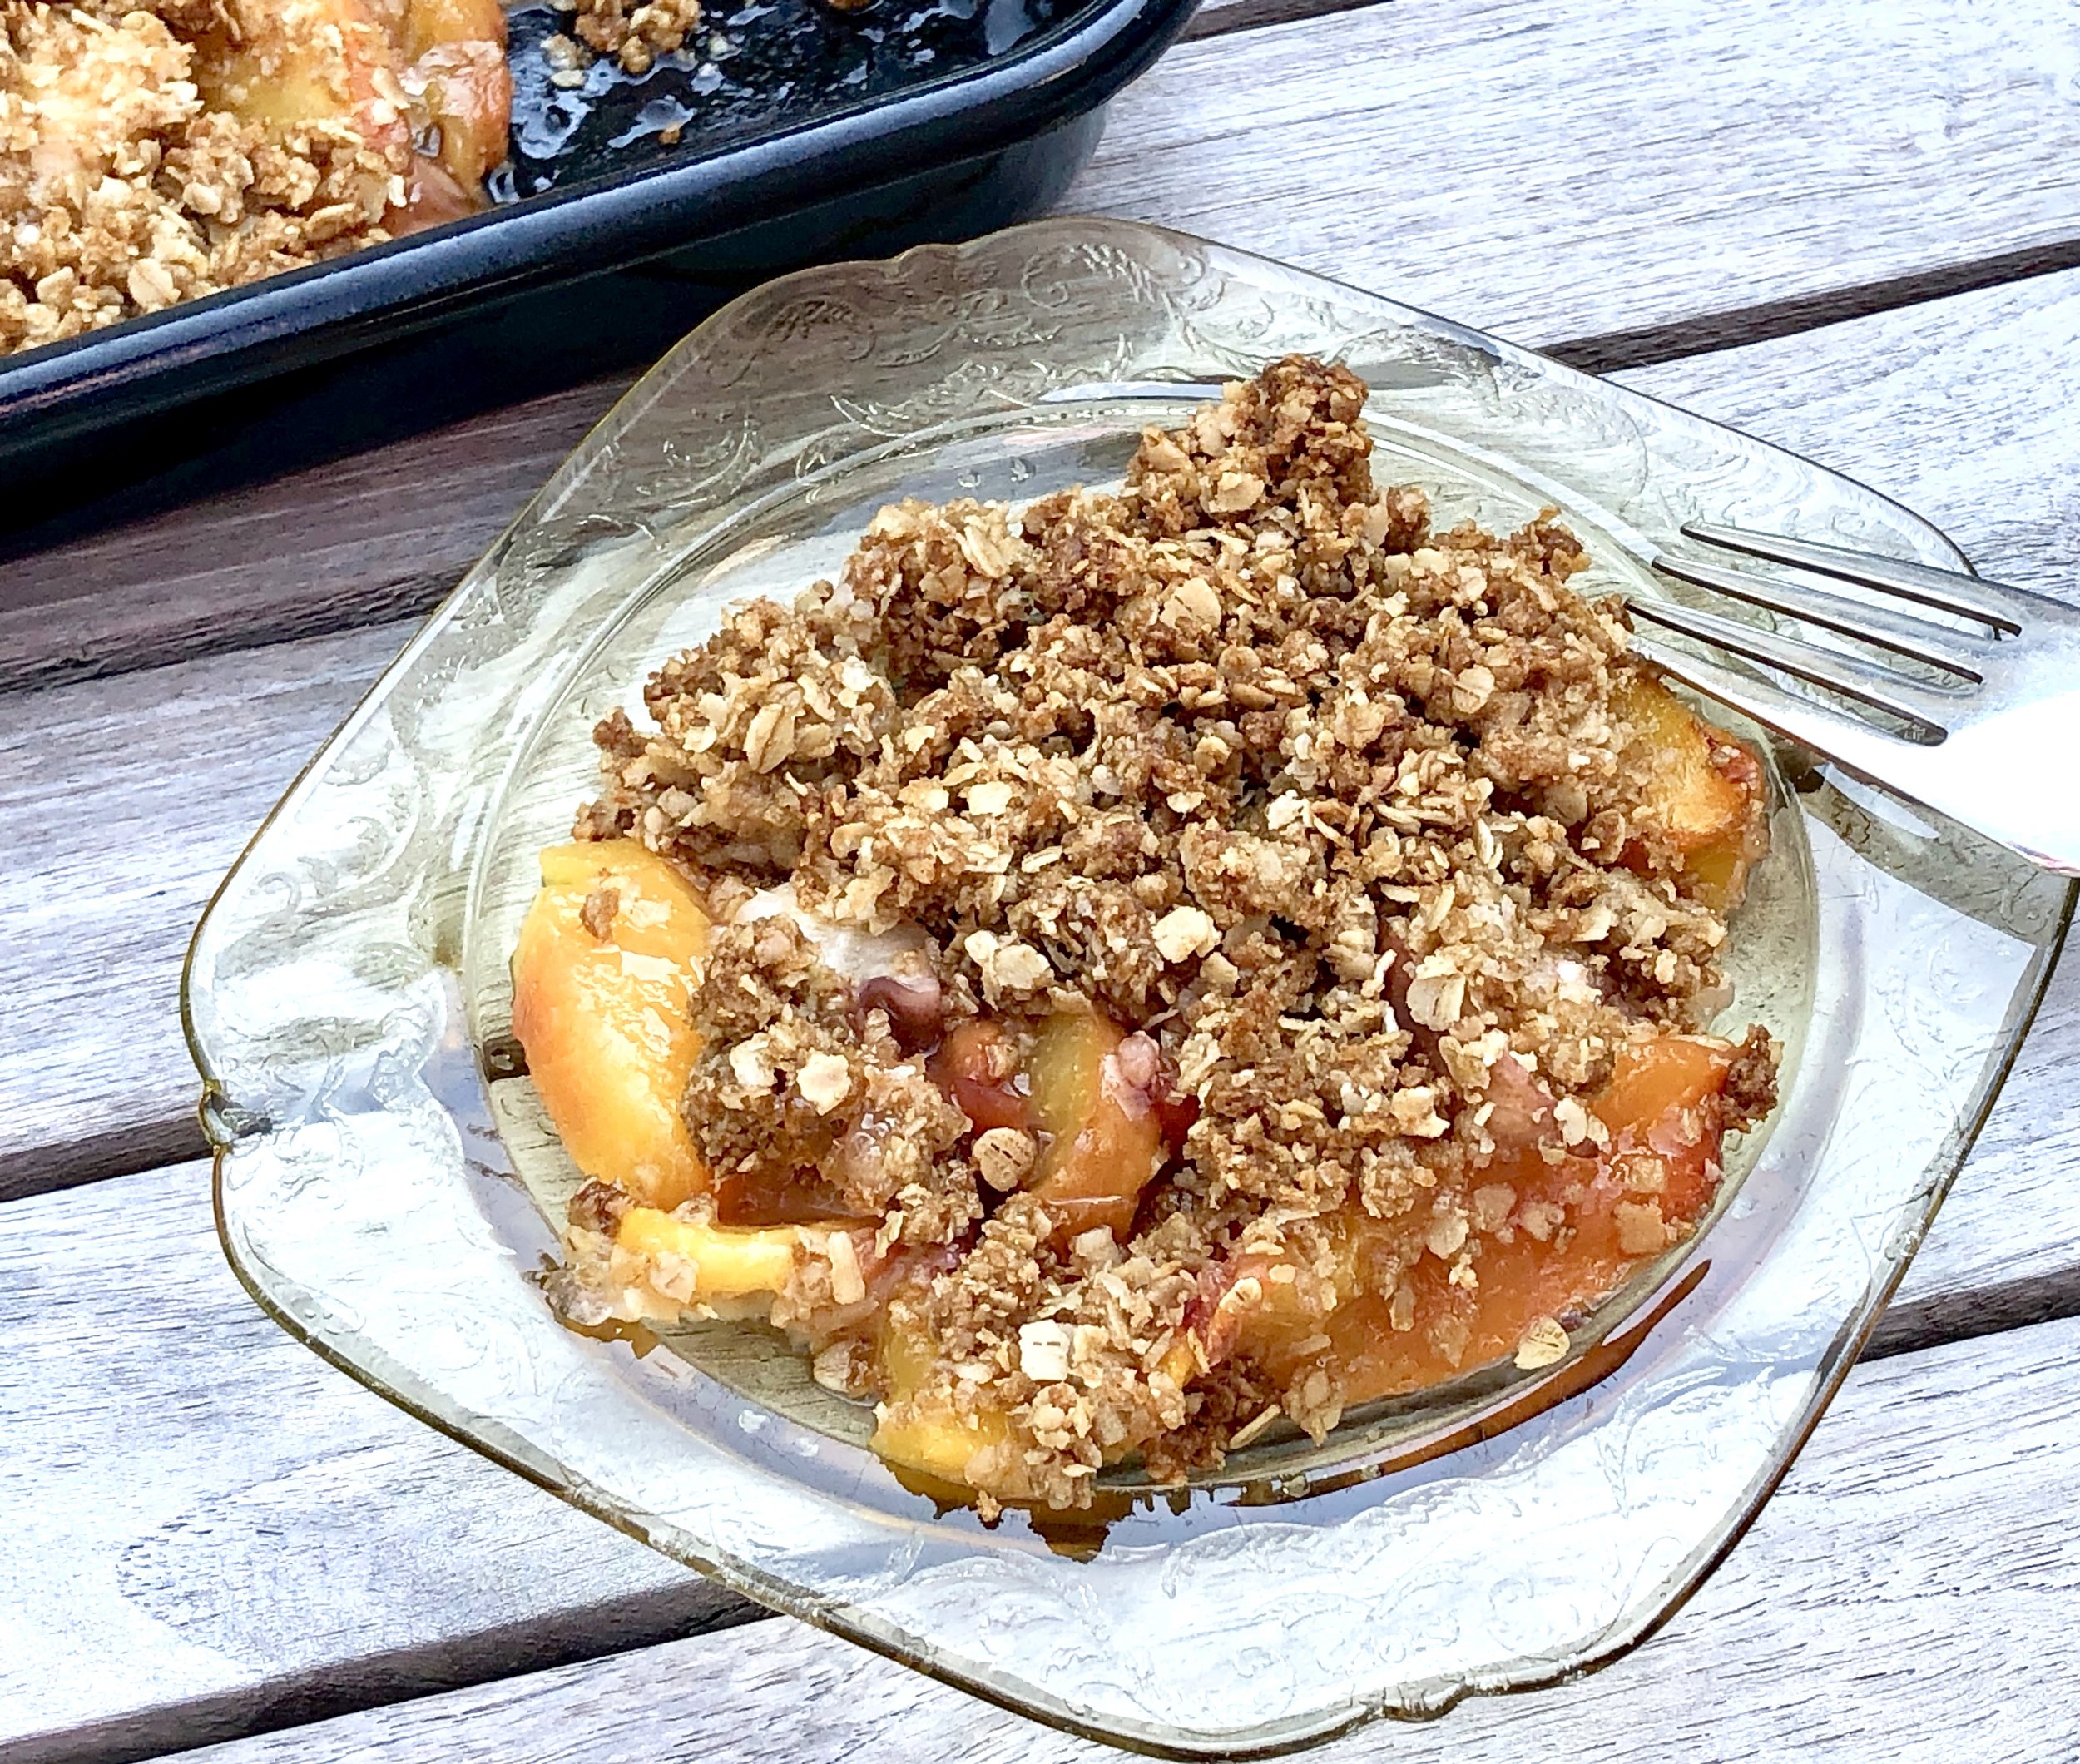
Gluten-Free Peach Crisp

fullsizeoutput_945d.jpeg

Some summers the peaches are glorious.

And then there’s this year. I haven’t had an excellent peach or nectarine yet.

I bought a bunch a few times and they tasted ok, but not really flavorful. Some were cottony and mealy.

I used the cottony/mealy ones to make sauce — like applesauce only made with peaches (with a bit of cinnamon and a squirt of lemon juice). It was very good. We ate some and I used the rest for quickbread.

I used the sort-of-tasty ones for this peach crisp. This was perfect. Baking — plus some other stuff — brought out the best of the fruit.

And look how easy this dessert is!

Plus, it’s gluten-free, in case you need…

Gluten-Free Peach Crisp

Filling:

  • 6 ripe medium peaches

  • 2 tablespoons sugar

  • 2 tablespoons minute tapioca

  • 1 tablespoon lemon juice

Crust:

  • 1-1/2 cups quick cooking oats

  • 2/3 cup brown sugar

  • 1 teaspoon ground cinnamon

  • 1/4 teaspoon salt

  • 6 tablespoons butter (margarine or solid coconut oil), cut into chunks

To make the filling: Lightly butter a baking dish. Preheat the oven to 400 degrees. Slice the peaches and place the pieces in the baking dish. Add the sugar, tapioca and lemon juice, toss the ingredients and let rest for 15-20 minutes. 

To make the crust: Mix the oats, brown sugar, cinnamon and salt in a bowl. Add the butter and work it into the dry ingredients until the mixture is crumbly. Place on top of the fruit. Bake for 30-35 minutes or until the crust is golden brown.

Makes 6 servings


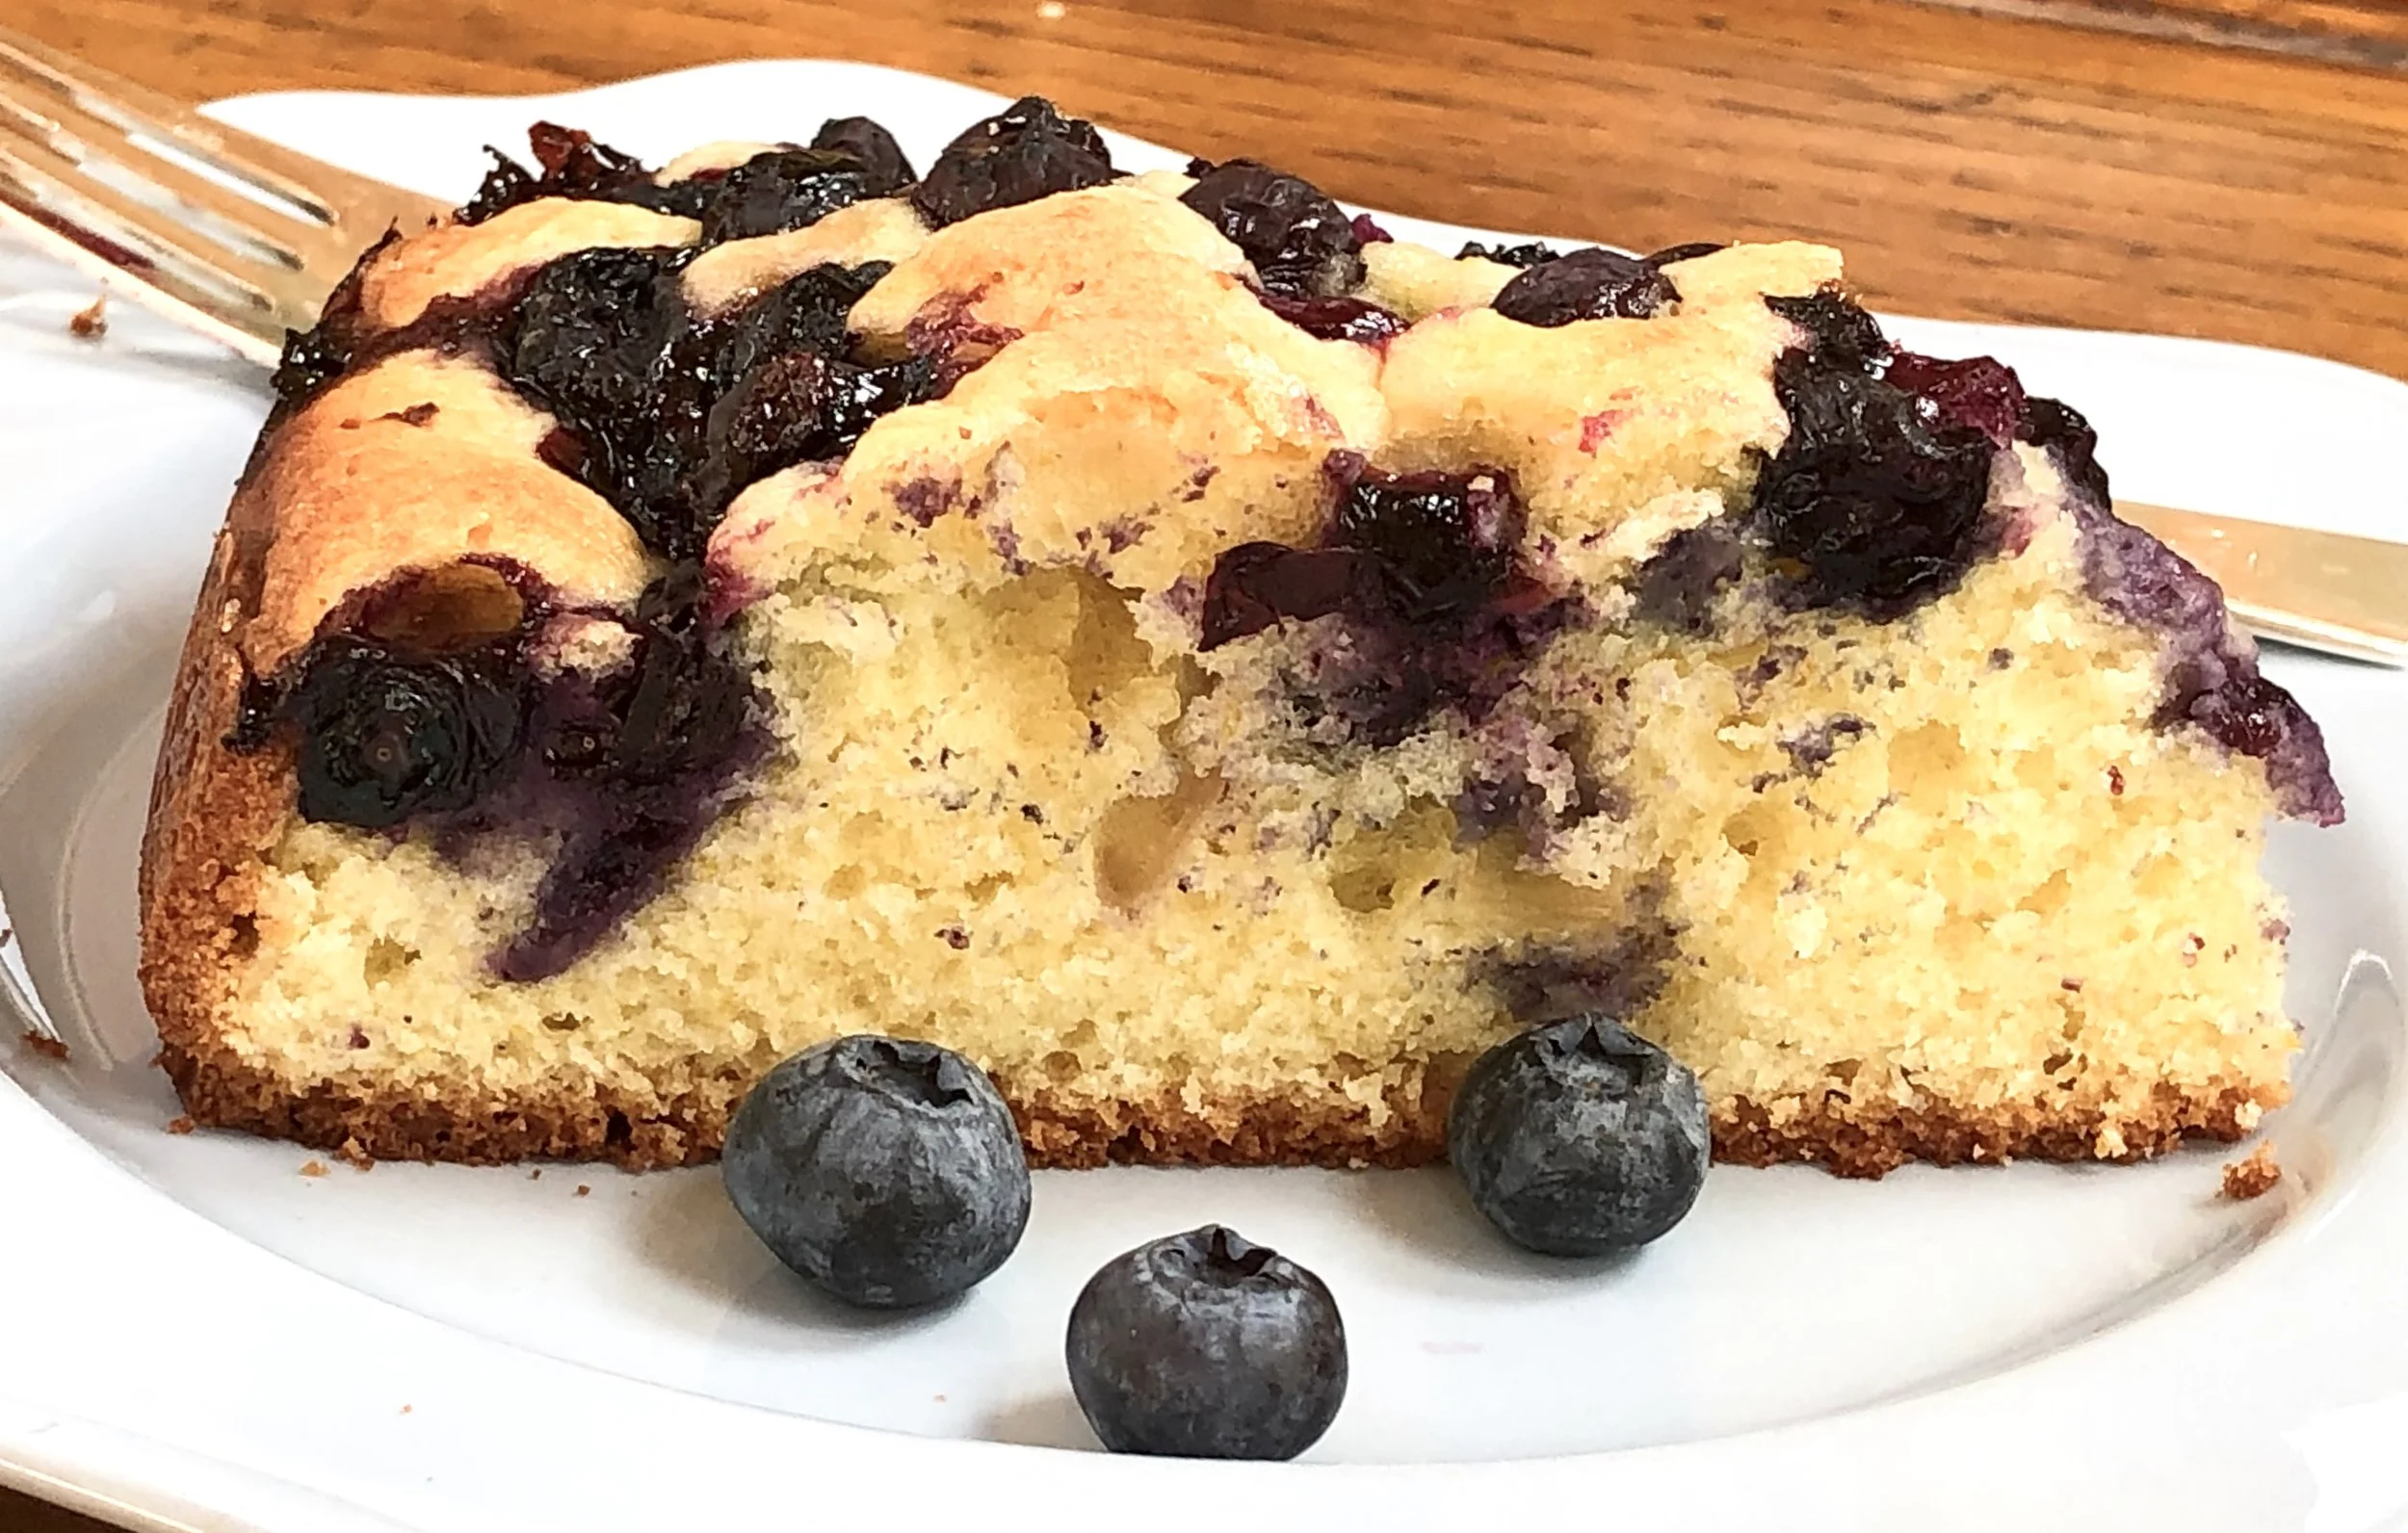
Blueberry Yogurt Torte

fullsizeoutput_9584.jpeg

You know that famous Plum Torte so many of us bake for Rosh Hashanah? I decided to use it for a light, summery coffee cake.

Sort of. I replaced the plums (not yet available anyway) with fresh seasonal blueberries.

I gave it a bit of enrichment by adding some yogurt (dairy sour cream would be fine too) and a splash of orange (by way of peel) because the citrus pairs so well with blueberries.

Voila! A terrific, easy, more-appropriate-for-summer dessert. July 4th? Sure. Picnic? Sure. Any time at all.

Blueberry Yogurt Torte

  • 1/2 cup unsalted butter

  • 1/2 cup plus one teaspoon sugar

  • 1-1/2 cups all-purpose flour

  • 2 teaspoons grated orange peel

  • 1/2 teaspoon salt

  • 1 teaspoon baking powder

  • 1/4 teaspoon baking soda

  • 2 large eggs

  • 1/2 cup unflavored yogurt

  • 1 pint blueberries

  • lemon juice (about one tablespoon)

Preheat the oven to 350 degrees. Lightly grease a 9-inch springform pan. In the bowl of an electric mixer, beat the butter and 1/2 cup sugar on medium speed for 3-4 minutes or until creamy and well blended. Mix the flour, orange peel, salt, baking powder and baking soda and mix briefly to blend ingredients. Add the flour mixture to the butter mixture and beat for a minute or two at medium speed until a thick batter has formed. Add the eggs and yogurt and beat at medium speed for 2-3 minutes or until smooth and creamy. Spoon the batter into the prepared springform pan. Arrange the berries on top of the cake, pressing them slightly into the batter. Sprinkle the lemon juice over the top of the cake. Sprinkle with the remaining teaspoon of sugar. Bake for 50-55 minutes or until browned, set and crispy. Let cool.

Makes 8 servings

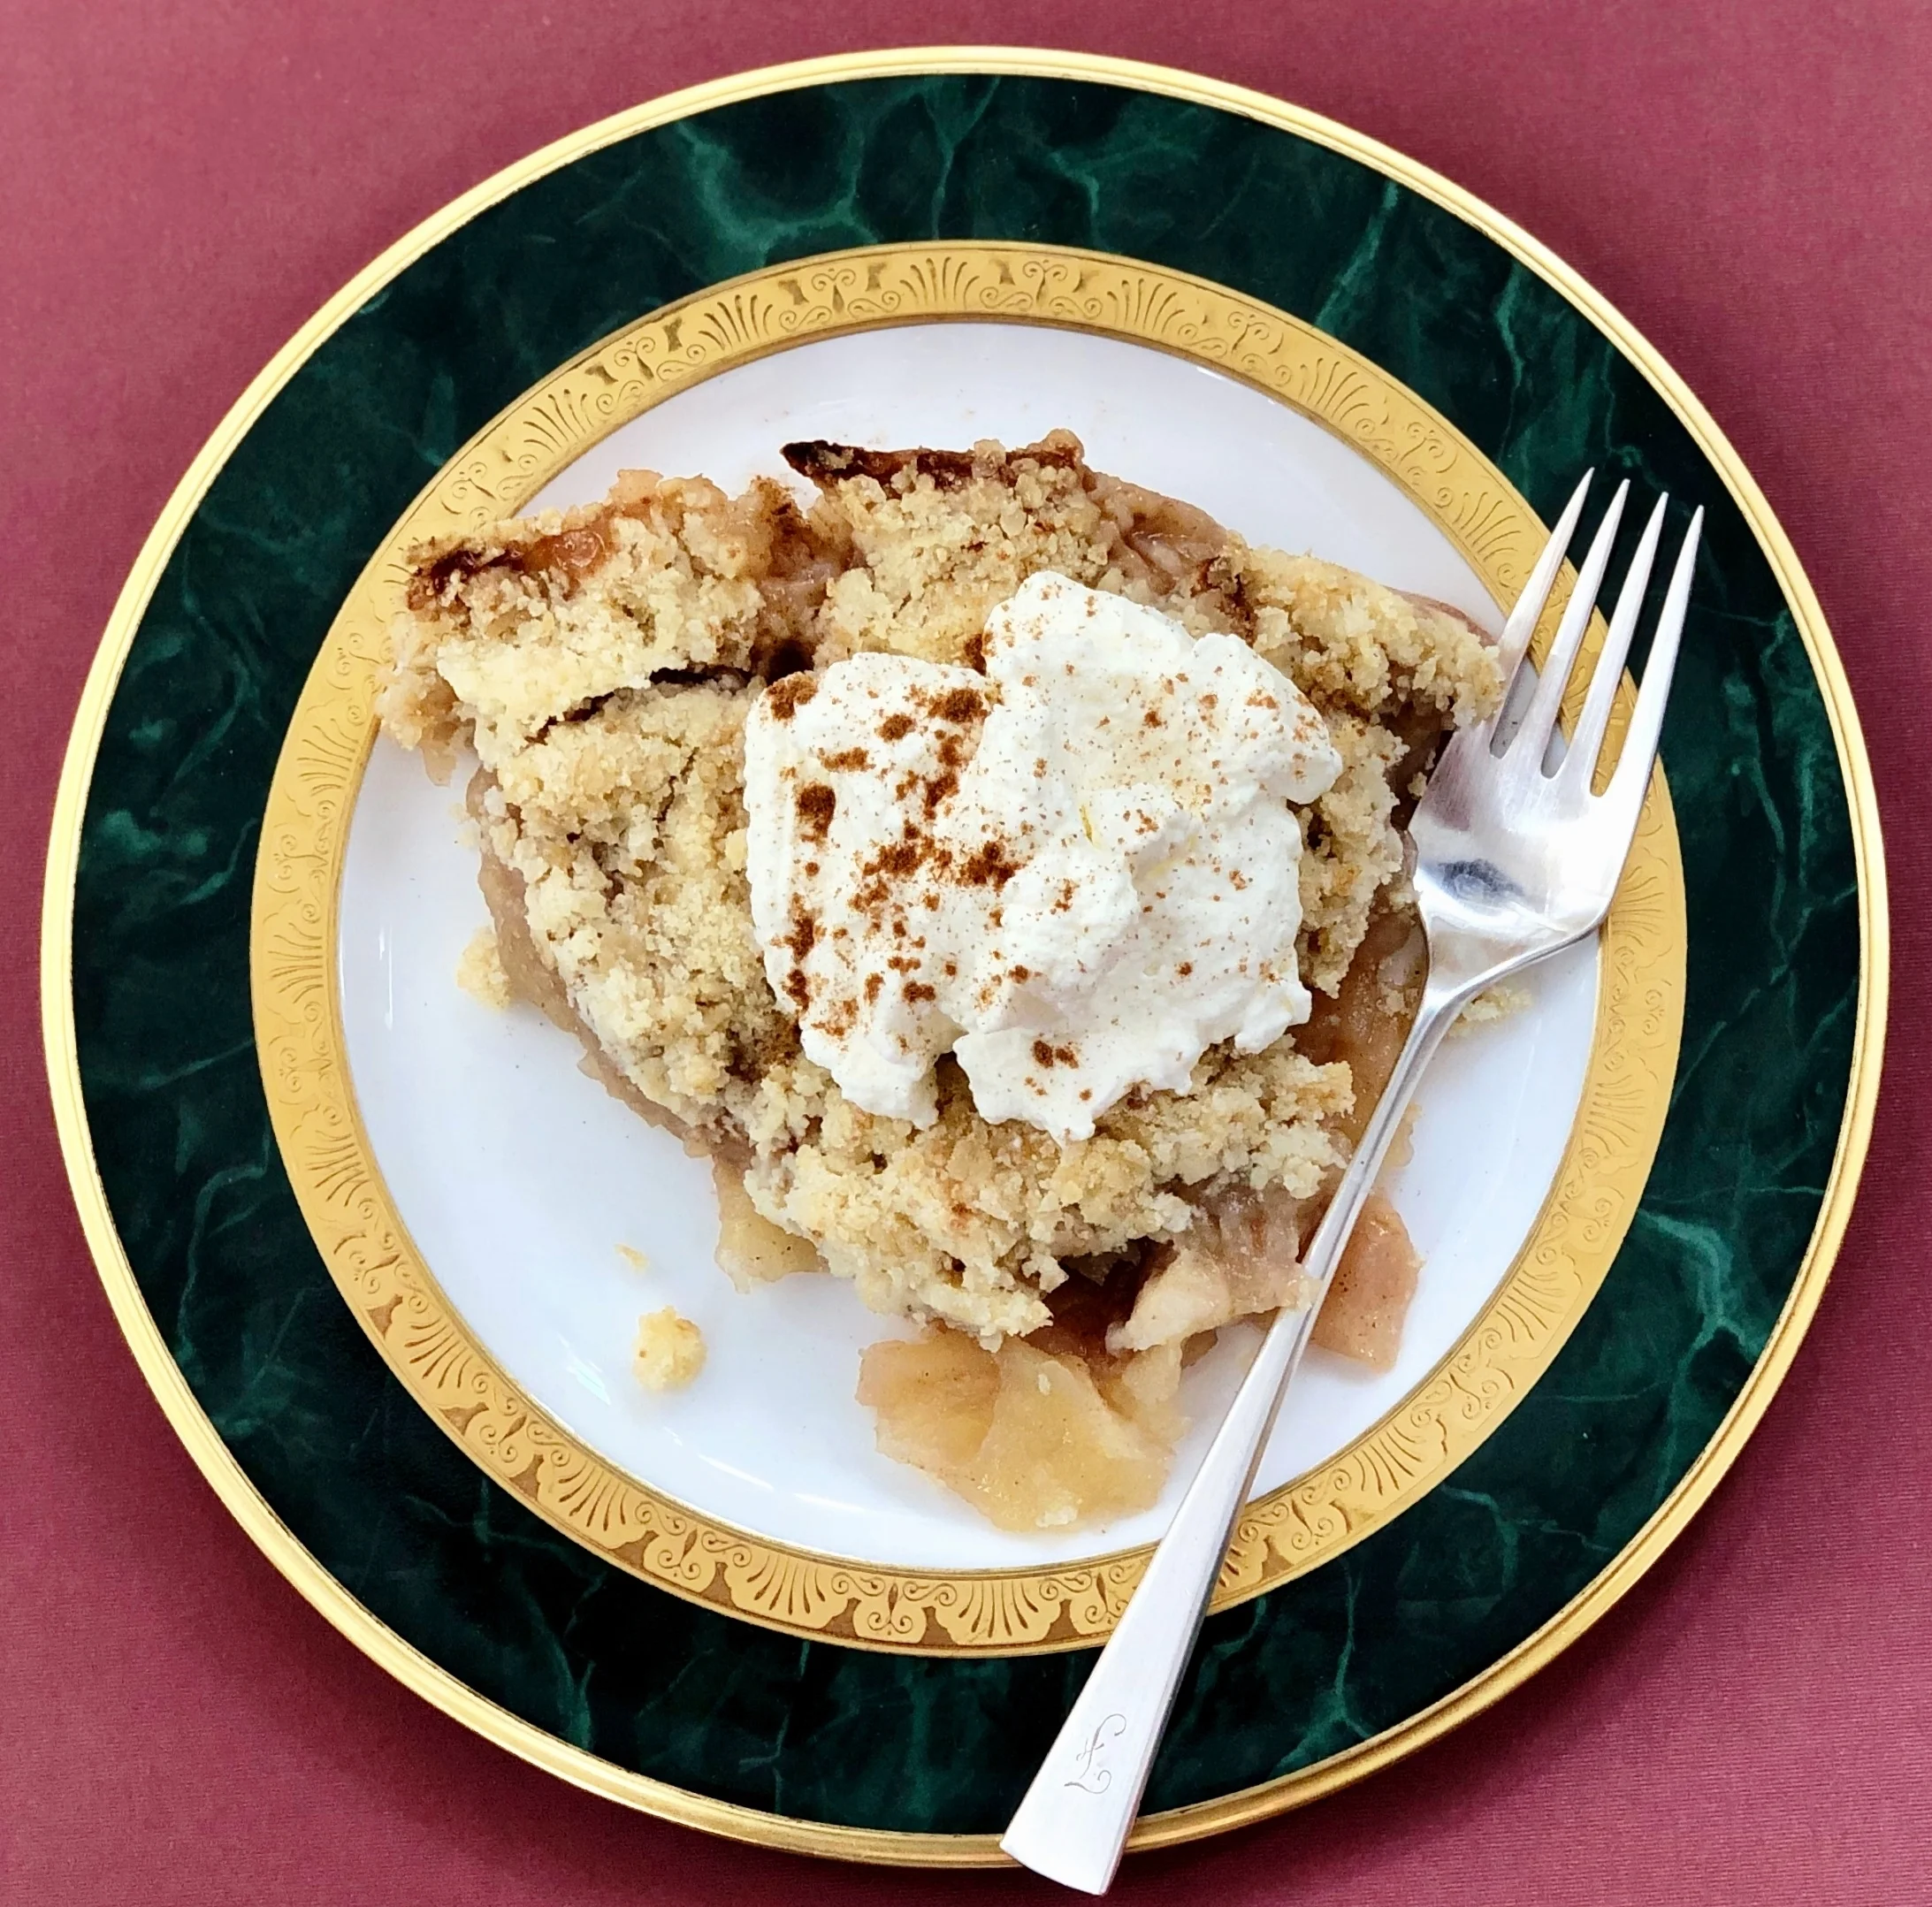
Apple Streusel

fullsizeoutput_9c46.jpeg

My grandma made her own strudel dough. I remember how deftly she stretched and smoothed the paper-thin pastry over the kitchen table before filling it with all sorts of stuff: usually apples, tender and tart, but gently sweetened and seasoned with cinnamon. Sometimes she filled the dough with mashed potatoes bound with shmaltz-fried golden-brown onions. Like some giant knish!

Whatever was inside, those rolls baked to perfectly perfect crispy-crustedness and all was well with the world.

OY! Those were delicious days.

When she got older she bought packaged strudel dough at a Hungarian grocery near her house. She just couldn’t manage preparing this most delicate of doughs anymore.

I’ve looked for real Hungarian strudel dough but it’s difficult to find. So I made my own dough once. It was good, but not worth the work! So, when I make strudel now I use phyllo dough, which is not quite the same thing and is a terrific product, but not exactly right for strudel.

Anyway, I thought of all this because National Apple Strudel Day is Monday, June 17th. And I thought about making some, but decided to make Apple Streusel instead.

They sound almost the same, right?

And it tastes just perfectly perfect.

Apple Streusel

  • 5-6 baking type apples, peeled, cored and sliced

  • 2 tablespoons lemon juice

  • 1 tablespoon all-purpose flour

  • 3/4 teaspoon cinnamon

  • 1/3 cup sugar

  • streusel

 Streusel:

  • 3/4 cup all-purpose flour

  • 1/4 cup oats (any kind)

  • 3 tablespoons sugar

  • 1/8 teaspoon salt

  • 6 tablespoons butter, cut into chunks

Preheat the oven to 375 degrees. Place the apple slices in a bowl. Add the flour, lemon juice, flour, cinnamon and sugar, toss the ingredients and set aside. Spoon the streusel mixture on top of the apples. Bake for 45 minutes or until crusty and golden brown.

Combine the flour, oats, sugar and salt in a mixing bowl. Add the butter and work it into the flour mixture with fingers or a pastry blender, until the mixture resembles crumbs. (You can use a food processor: 24-30 short, quick pulses. If so, if you use quick oats, stir them in to the flour crumbs after pulsing.)

 Makes 8 servings


Coffee Ice Cream with Hawaij Spices

fullsizeoutput_a116.jpg

Shavuot is the “dairy holiday” right?

So that means ….. ice cream!

Here’s a new flavor for you: Hawaij-infused coffee ice cream. It’s like an ultra-rich, coffee-lover’s version of plain old coffee ice cream except that it has a splash of spice. Hawaij spice blend to be specific. A few months ago Pereg sent me some samples of their new Hawaij spice combos.

I used the savory blend for an absolutely fabulous chicken curry (plus several other recipes that I’ll post about some other day).

But the coffee blend (which includes inger, cinnamon, cloves and cardamom) I figured would be useful beyond simply spicing up my afternoon cuppa.

So I used it to make ice cream.

Oh my is all I can say.

If you love coffee ice cream, this one’s for you.

Coffee Ice Cream with Hawaij Spices

  • 1 cup coffee beans

  • 2 cups half and half

  • 1 cup sugar

  • 1/8 teaspoon salt

  • 4 egg yolks

  • 1-1/2 teaspoons Pereg Hawaij coffee spice

  • 1 teaspoon vanilla extract

  • 1 cup heavy cream

Place the coffee beans in a paper or plastic bag and gently tap with a rolling pin or meat mallet to break the beans coarsely. Not all of the beans need to be broken. Place the beans in a saucepan and pour in the half and half. Turn the heat to medium-high and bring the mixture to a boil. Remove the pan from the heat and let steep for at least one hour. Strain the liquid, discard the beans and set the liquid aside. In the bowl of an electric mixer, beat the sugar, salt, egg yolks and Hawaij together at medium speed for 4-5 minutes or until thick and pale. Pour in the strained, steeped cream. Beat the ingredients, starting at low speed and gradually to medium speed, for 3-4 minutes or until the mixture is well blended and a uniform color. Pour the mixture into the saucepan. Cook over medium heat, stirring frequently, for 8-10 minutes or until the mixture has thickened enough to coat the back of a spoon. Stir in the heavy cream. Place the mixture in the refrigerator to cool completely. Stir in the vanilla extract. Freeze in an ice cream maker until thick and cold. Spoon into a container and freeze until firm.

Makes about 5 cups