dessert

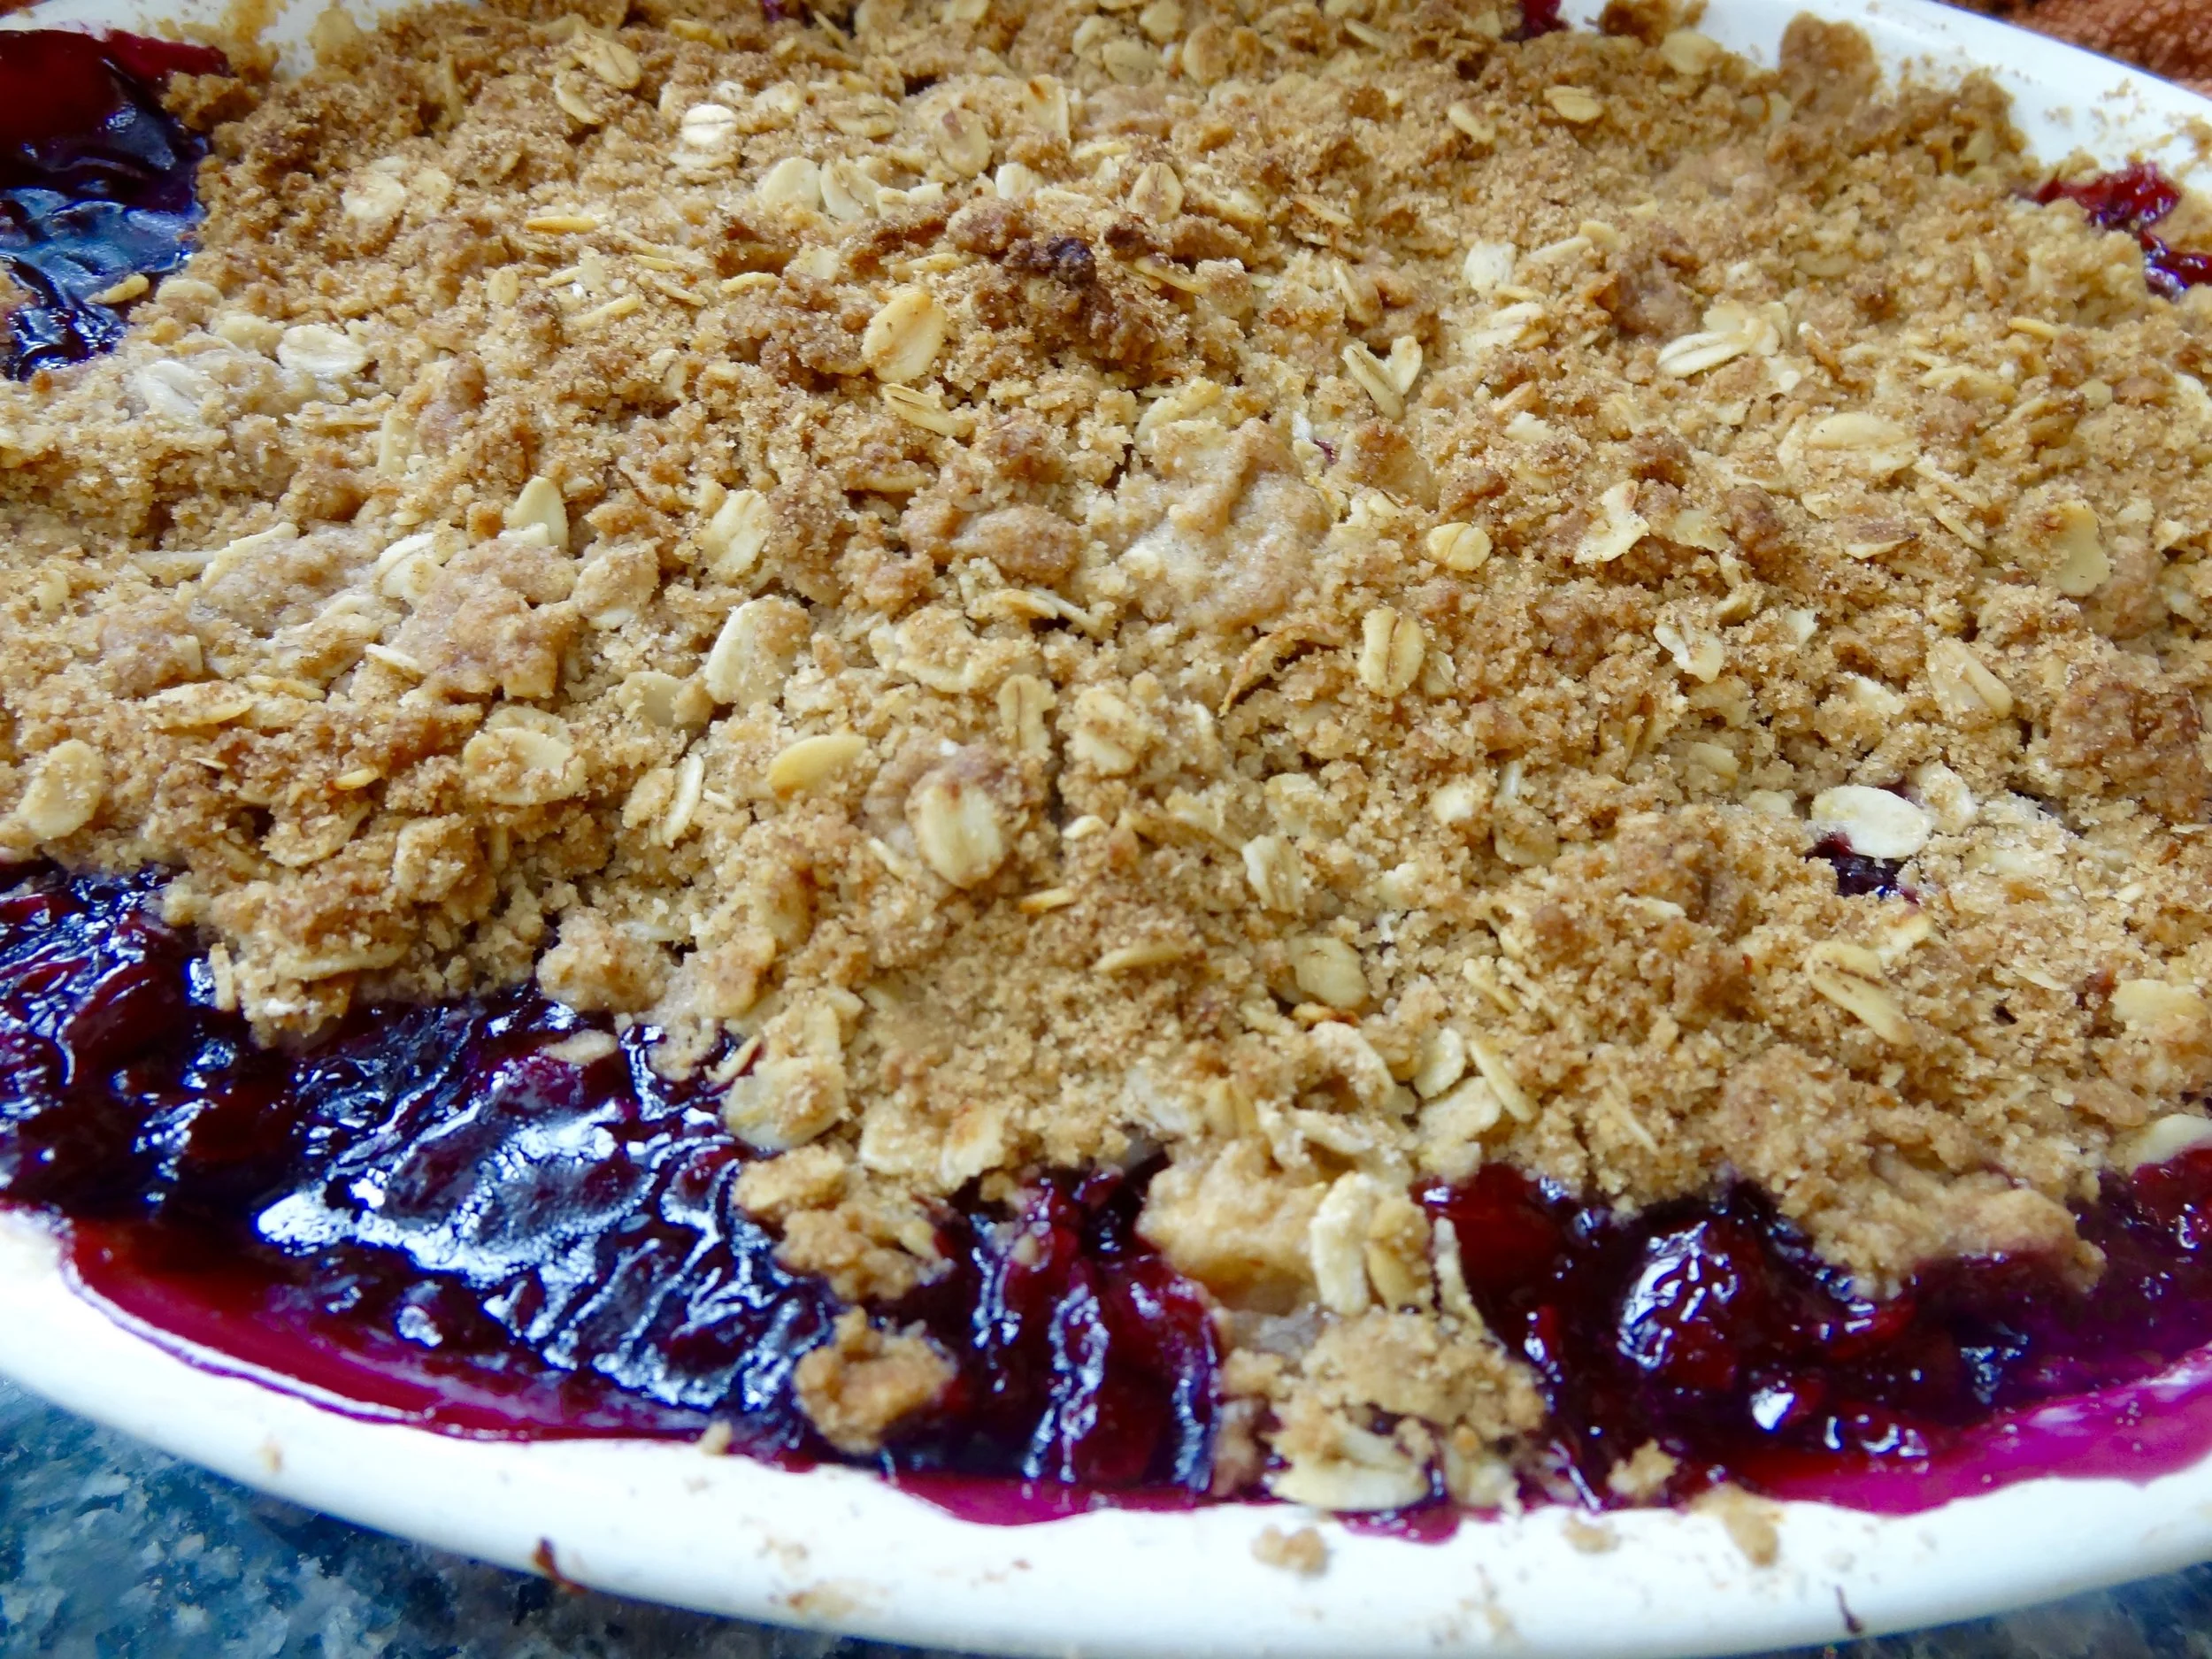
Nectarine and Blueberry Crisp

It’s getting to be that time of year in Connecticut — when the produce is at its summer peak and you know there’s only about a month to eat it up and use it up before the Jewish holidays come and we focus more on festive dinners and heartier food.

The nectarines couldn’t be better than they are right now — so here’s a treat that’s perfect for now. But here’s the thing — you can freeze this and reheat for a holiday dinner. The recipe can be either dairy or dairy-free.

Nectarine and Blueberry Crisp

  • 1 cup all-purpose flour

  • 3/4 cup old fashioned oats

  • 1/2 cup brown sugar

  • 1 teaspoon cinnamon

  • pinch of salt

  • 1/2 cup butter (or use margarine, solid coconut oil, vegetable shortening or a combination of these)

  • 3 large ripe nectarines or peaches

  • 4 cups fresh blueberries

  • 1/3 cup sugar

  • 2 tablespoons lemon juice

  • 2 tablespoons all-purpose flour

Preheat the oven to 375 degrees. Combine the 1 cup flour, oats, brown sugar, cinnamon and salt in a bowl. Cut the butter into chunks and work into the dry ingredients until the mixture is crumbly. Set aside. Cut the nectarines into chunks and place them in a bowl. Add the blueberries, sugar, lemon juice and flour and toss ingredients. Spoon into a baking dish. Top with the crumb mixture. Bake for about 45 minutes or until the top is golden brown.

Makes 8 servings

Roasted Strawberry Ice Cream

Roasted Strawberry Ice Cream

Many years ago Ed and I were on a cruise with our cousins and there we were, lounging on a public deck, when we overheard a woman consoling another woman whose husband had died on board the night before.

It was so shocking that we still talk about it. I felt sorry for the widow of course and something she told the other woman has haunted me ever since.

She said “I told him not to eat the ice cream!” — as if that one dessert was responsible for the heart attack that killed him.

My first thought was “at least he had the ice cream.”

Next week I celebrate a big birthday. I mean big as in round numbers. I mean I have passed my grandparents round numbers. I’m about the age of that widow and her poor husband. And I now say:

Eat the ice cream!”

Because you never know.

For most of my married life, the food we usually eat at home — with indulgences here and there — is healthy. I make fresh food, have cut down on meat, fat and salt over the years, don’t serve processed foods or junk.

We’ve reached the age that an occasional ice cream — especially on vacation — won’t be the thing that kills us. And if it is, well, at least we had the ice cream.

So, for my big round birthday I am going to eat some ice cream.

I love strawberry ice cream so I already made some for the occasion. I would normally have preferred fresh strawberries but I haven’t found a good source yet for real strawberries, the kind I remember from the old days that were small, sweet and smelled like caramelizing sugar. So I roasted the best looking ones I could find with a bit of orange zest and brown sugar and this combo turned out to be absolutely scrumptious for ice cream.

Roasted Strawberry birthday Ice Cream

  • 1 pint strawberries

  • 1/4 cup orange juice

  • 2 tablespoons brown sugar

  • 2 teaspoons finely grated orange zest

  • 3 cups half and half, light cream or whipping cream

  • 1/2 cup sugar

  • 3 large egg yolks

  • 1/8 teaspoon salt

  • 1/2 teaspoon vanilla extract

Preheat the oven to 450 degrees F. Line a baking pan with parchment paper. Rinse the berries, remove the hulls and chop the berries into smaller pieces. Place the berries on the parchment. In a small saucepan, combine the orange juice, brown sugar and orange zest. Bring to a boil over high heat and cook for 2-3 minutes or until the liquid has thickened slightly. Pour the liquid over the berries and toss the fruit to coat all sides. Roast the berries for about 10 minutes or until softened and glazed. Remove from the heat and let cool. Heat 2 cups of the cream over medium heat until bubbles appear around the edges of the pan. Set aside. While the cream is heating, beat the sugar, egg yolks and salt at medium speed in an electric mixer (or with a hand mixer) for 3-5 minutes or until light and thick. Gradually add the heated cream and mix the ingredients until the mixture is uniform. Return the mixture to the saucepan and cook over medium heat, stirring constantly, for 5-6 minutes or until thickened enough to coat the back of a spoon. Pour in the remaining cream and blend it in thoroughly. Pour into a container and refrigerate until cold. Stir in the vanilla extract. Freeze in an ice cream freezer according to manufacturer’s directions, until almost firm. Add the strawberries plus any juices that have accumulated. Continue to freeze until firm.

Makes about 6 cups

Blueberry Yogurt Torte

fullsizeoutput_9584.jpeg

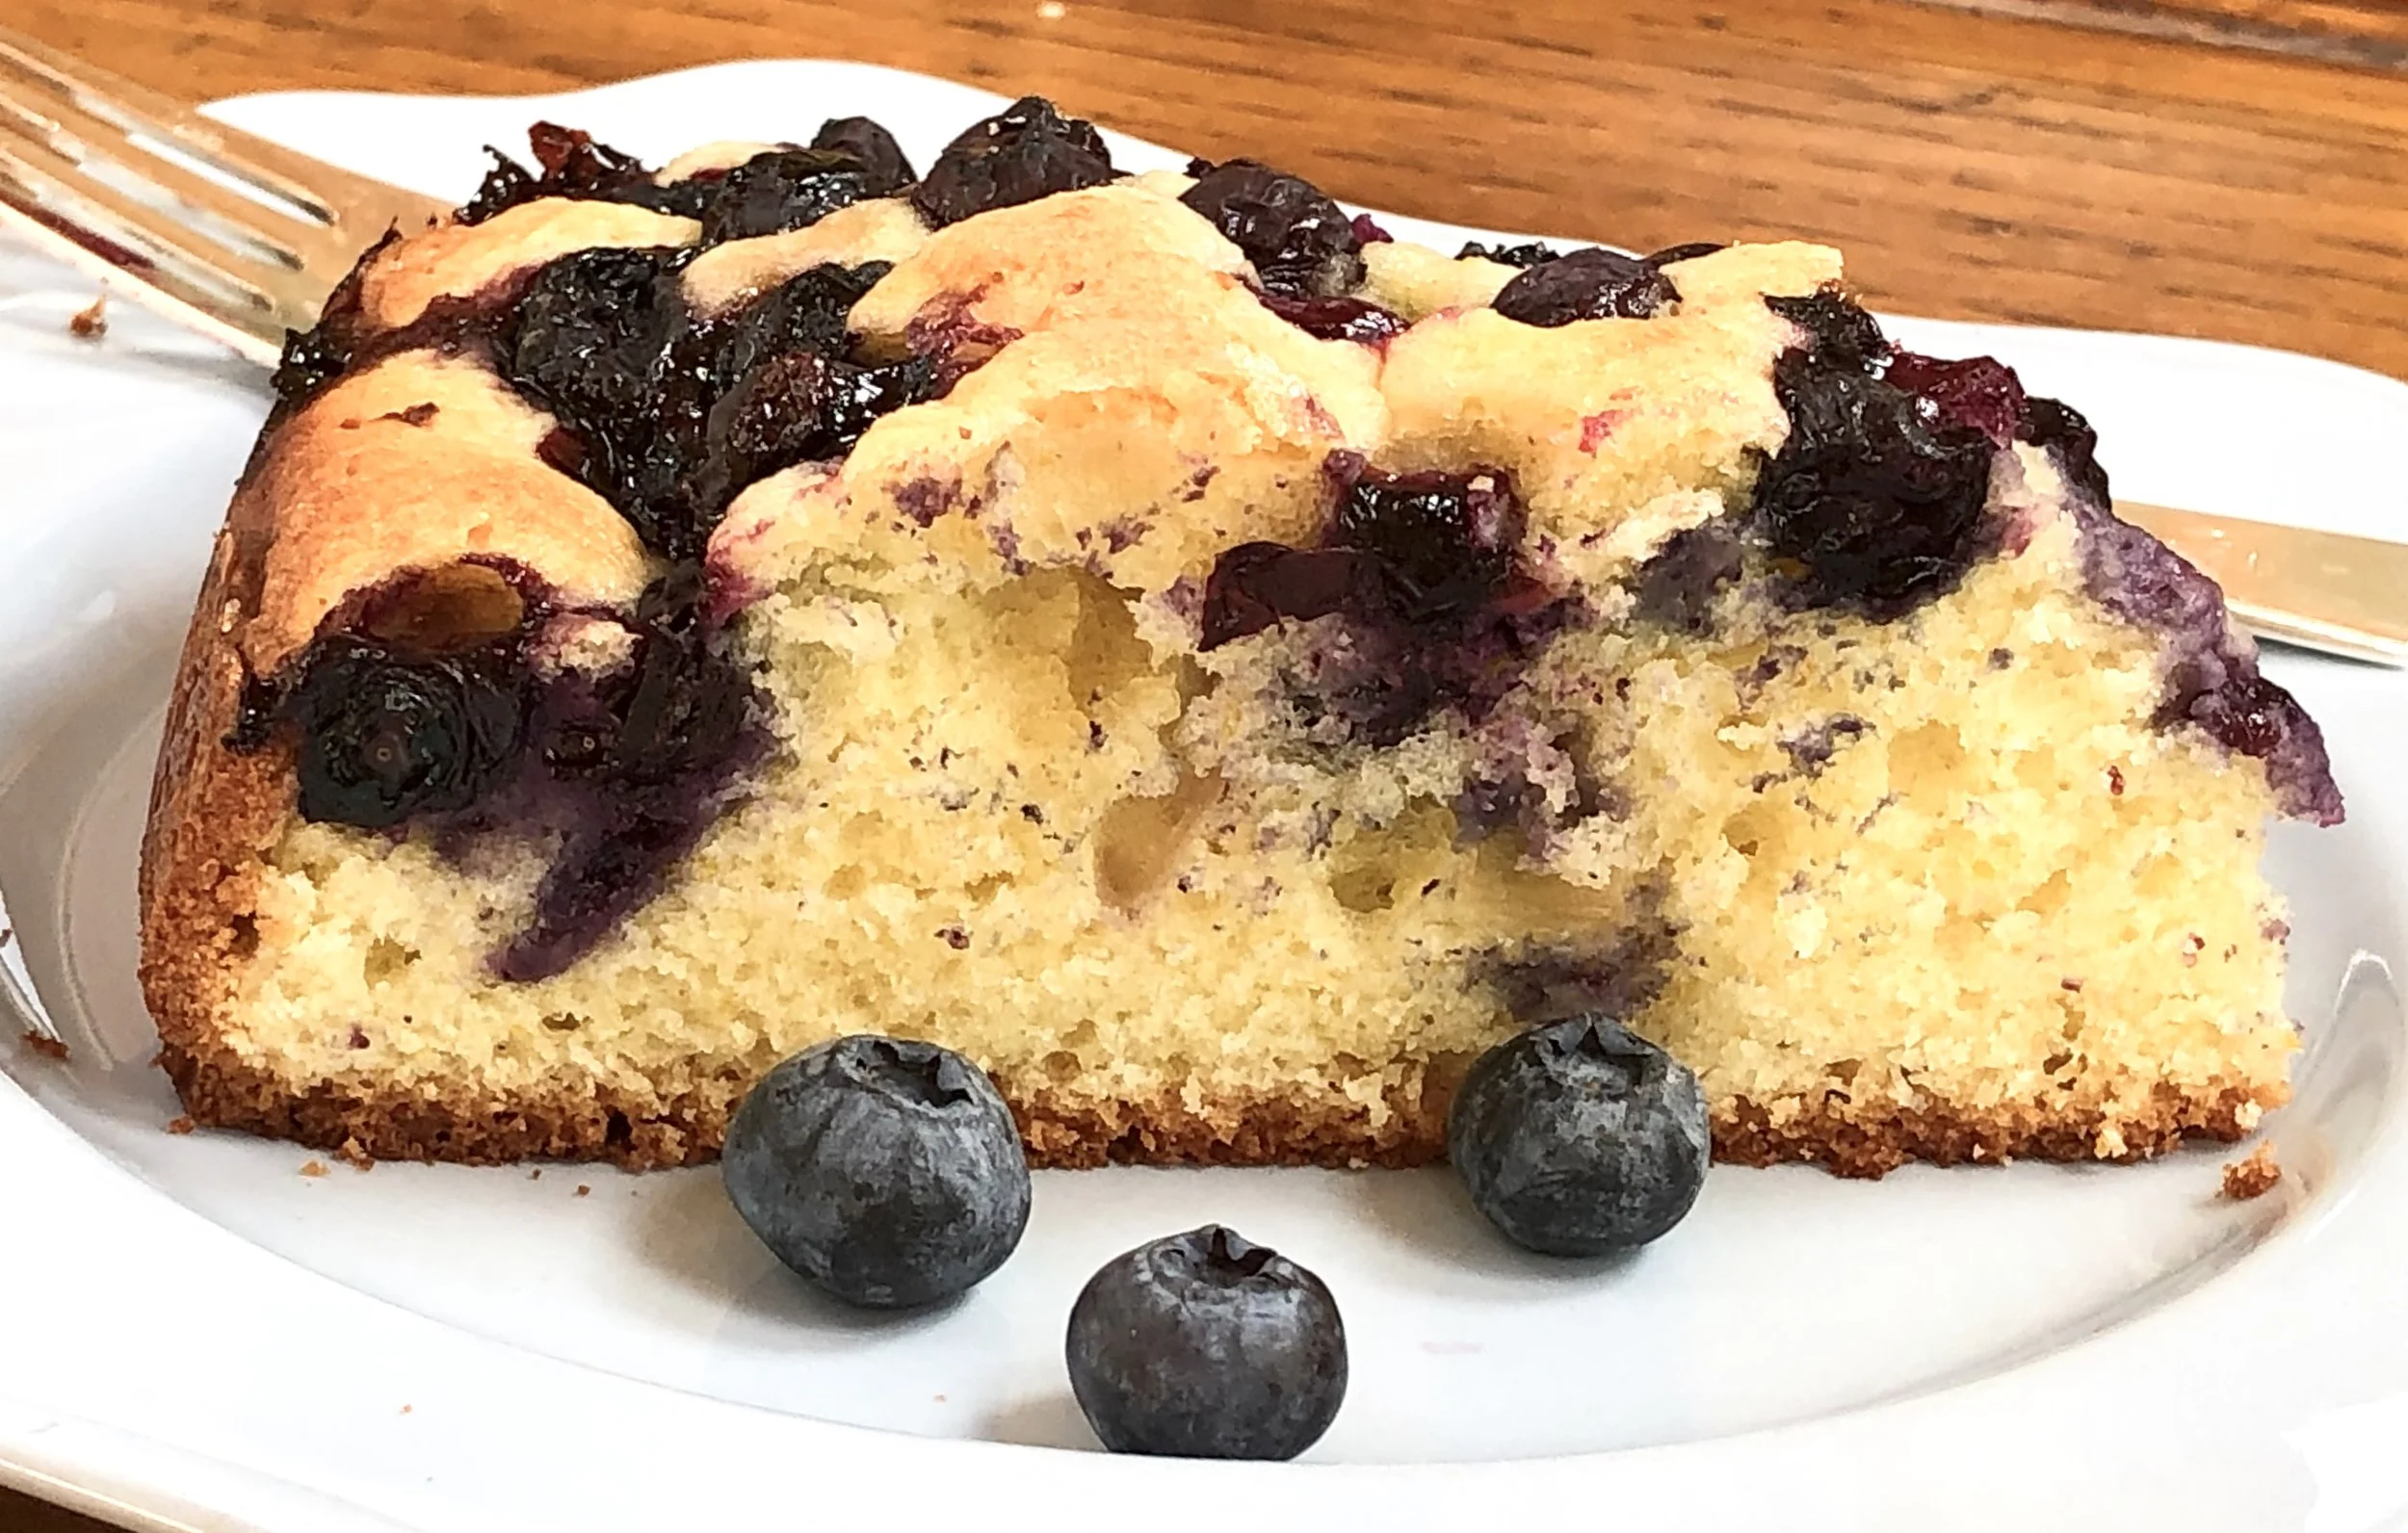
You know that famous Plum Torte so many of us bake for Rosh Hashanah? I decided to use it for a light, summery coffee cake.

Sort of. I replaced the plums (not yet available anyway) with fresh seasonal blueberries.

I gave it a bit of enrichment by adding some yogurt (dairy sour cream would be fine too) and a splash of orange (by way of peel) because the citrus pairs so well with blueberries.

Voila! A terrific, easy, more-appropriate-for-summer dessert. July 4th? Sure. Picnic? Sure. Any time at all.

Blueberry Yogurt Torte

  • 1/2 cup unsalted butter

  • 1/2 cup plus one teaspoon sugar

  • 1-1/2 cups all-purpose flour

  • 2 teaspoons grated orange peel

  • 1/2 teaspoon salt

  • 1 teaspoon baking powder

  • 1/4 teaspoon baking soda

  • 2 large eggs

  • 1/2 cup unflavored yogurt

  • 1 pint blueberries

  • lemon juice (about one tablespoon)

Preheat the oven to 350 degrees. Lightly grease a 9-inch springform pan. In the bowl of an electric mixer, beat the butter and 1/2 cup sugar on medium speed for 3-4 minutes or until creamy and well blended. Mix the flour, orange peel, salt, baking powder and baking soda and mix briefly to blend ingredients. Add the flour mixture to the butter mixture and beat for a minute or two at medium speed until a thick batter has formed. Add the eggs and yogurt and beat at medium speed for 2-3 minutes or until smooth and creamy. Spoon the batter into the prepared springform pan. Arrange the berries on top of the cake, pressing them slightly into the batter. Sprinkle the lemon juice over the top of the cake. Sprinkle with the remaining teaspoon of sugar. Bake for 50-55 minutes or until browned, set and crispy. Let cool.

Makes 8 servings

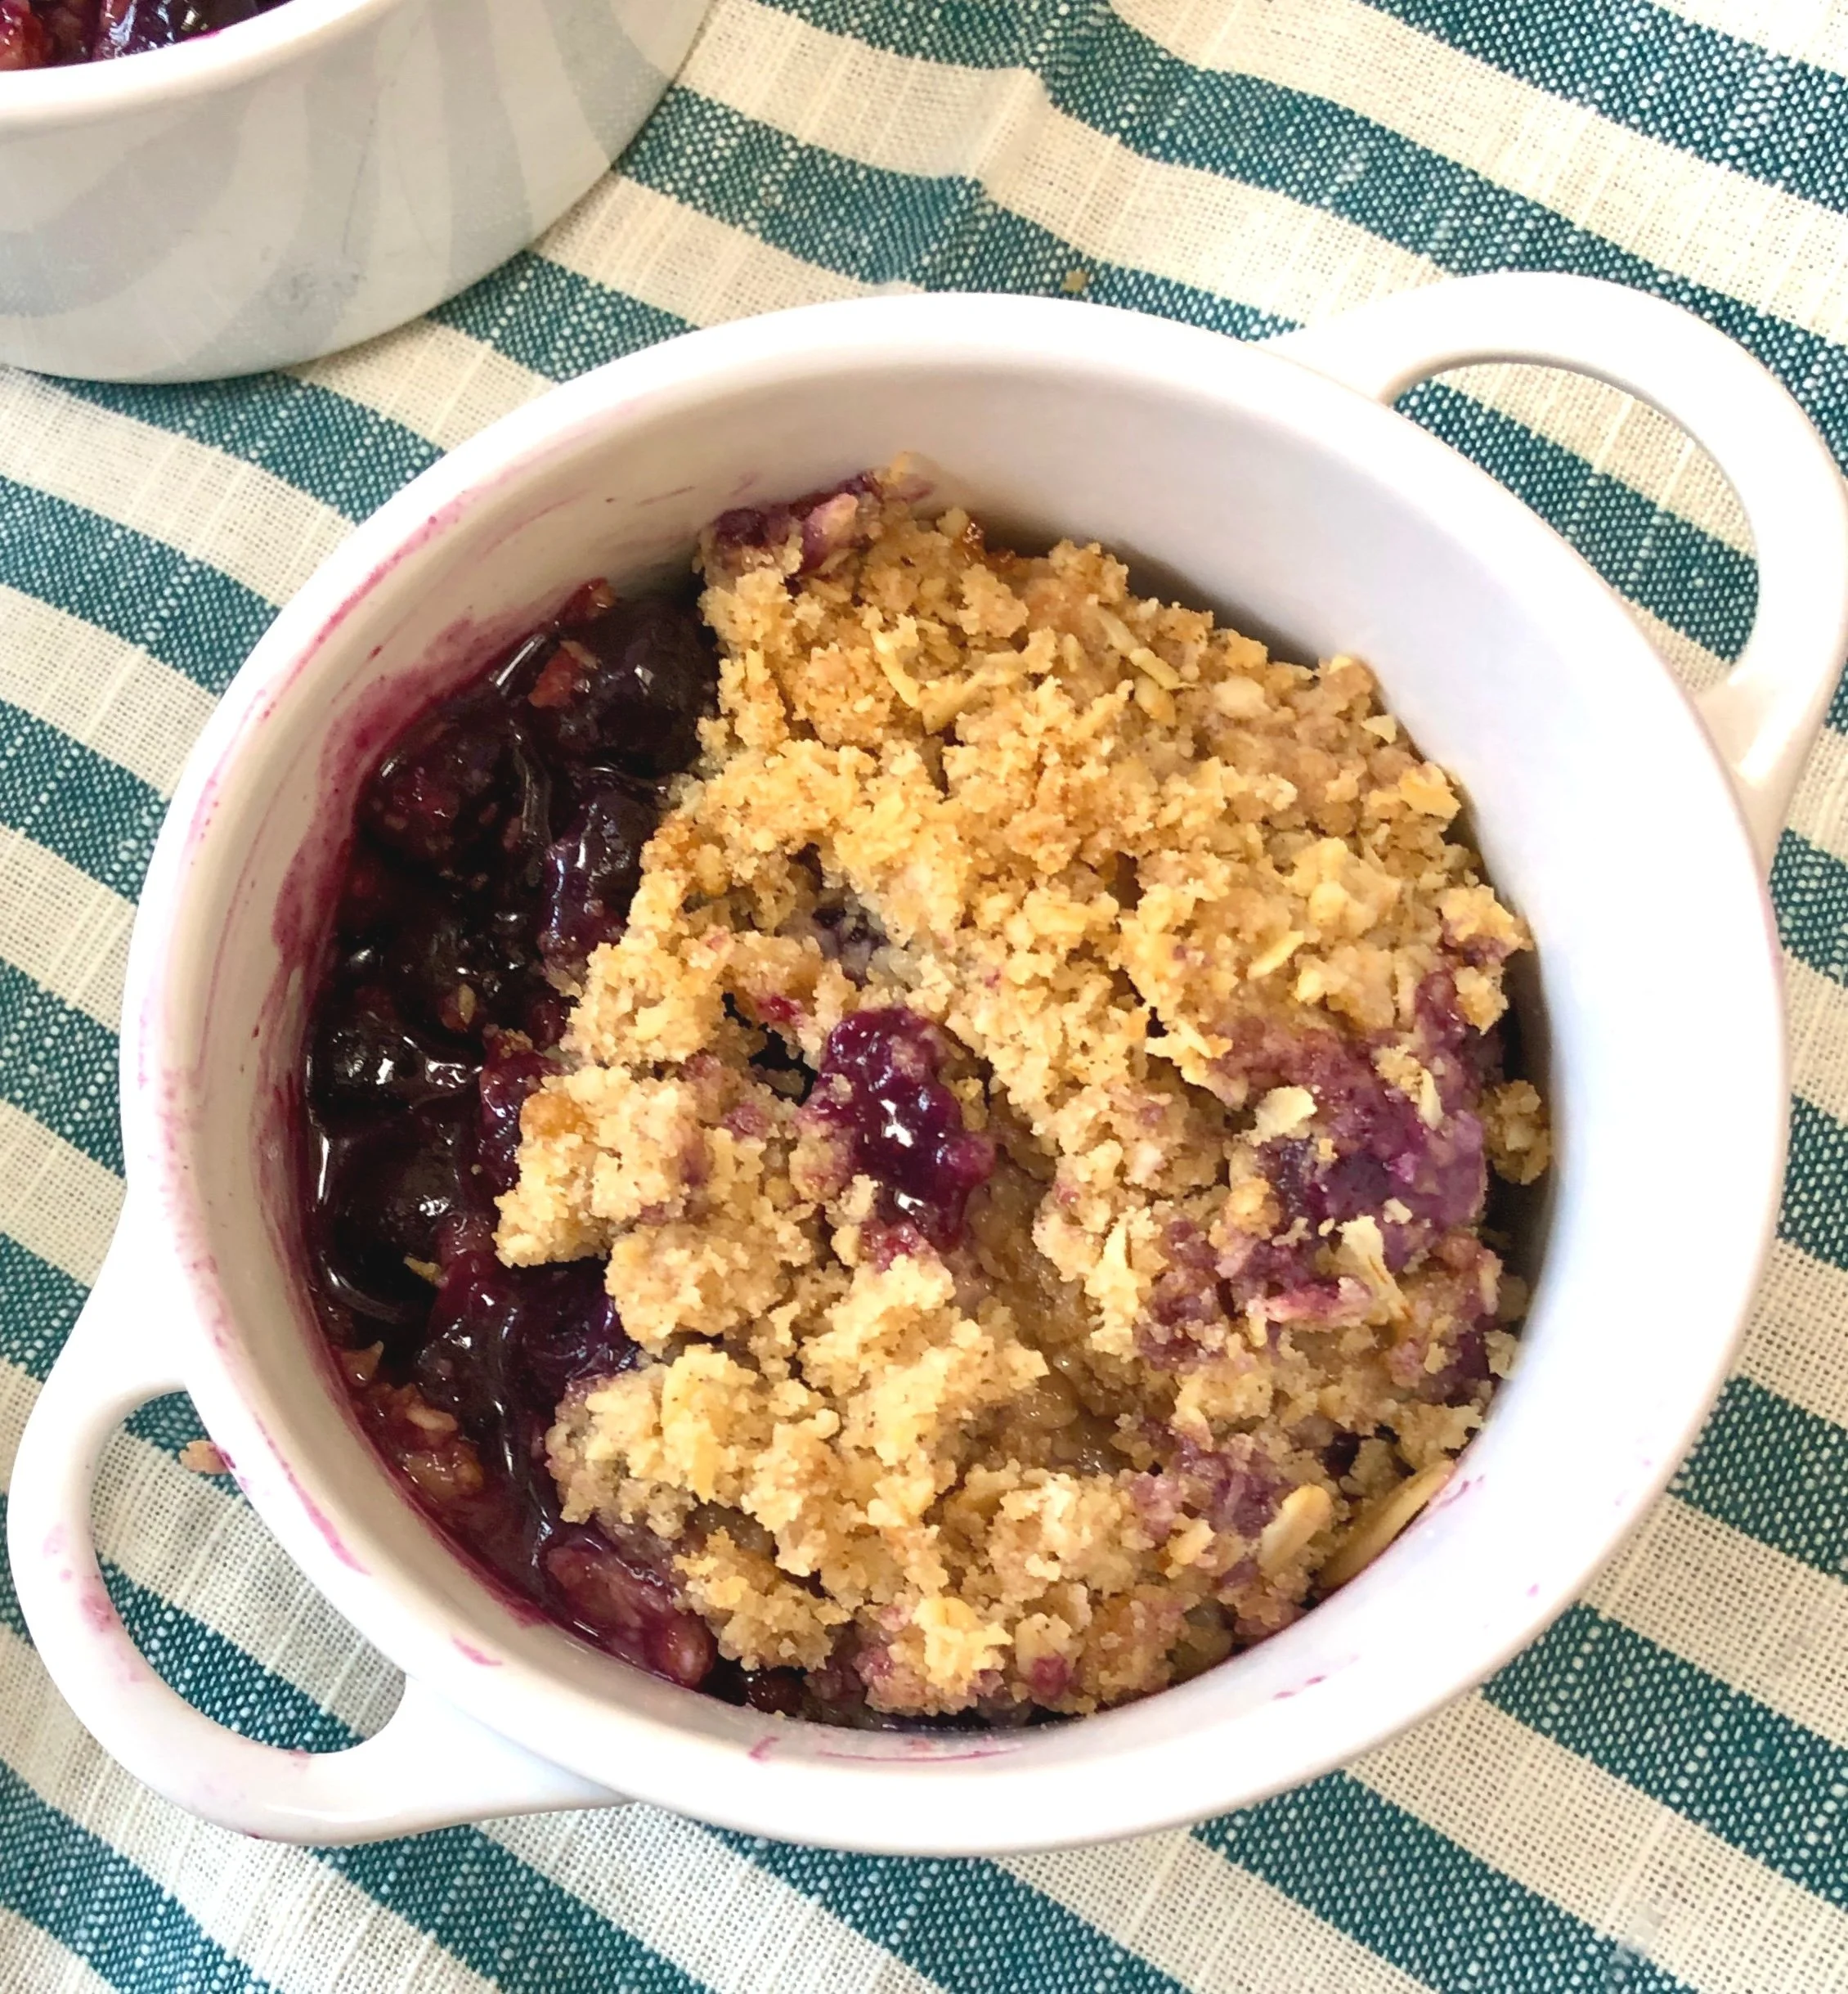
Blueberry Crisp with Oat-Streusel Crust

fullsizeoutput_84ae.jpeg

Where I live (Connecticut), Memorial Day Weekend is the “official” start of outdoor grill/BBQ season. Sure, some people use their grills all year, even in the depth of winter. And some start around April. But the weather has been crummy, so — no grilling for me until this weekend.

I need a nice, summery dessert for after, right?

Here it is. Blueberry Crisp. Really simple and easy. Oaty, lightly sweet and with a gently crispy crust. You can make it dairy or parve. Goes well after anything you might have grilled for dinner. Good stuff for Father’s Day too. And July 4th.

Notice that there isn’t too much sugar in either the filling or the crust. Doesn’t need more.

Blueberry Crisp with Oat-Streusel Crust

Filling:

  • 4 cups fresh blueberries

  • 3 tablespoons sugar

  • 1 tablespoon lemon juice

  • 2 tablespoon all-purpose flour

Crust:

  • 1/3 cup all-purpose flour

  • 1/3 cup quick cooking or rolled oats

  • 3 tablespoons brown sugar

  • 1/4 teaspoon ground cinnamon

  • 1/4 teaspoon salt

  • 1/4 cup cold unsalted butter, vegetable shortening or margarine, cut into chunks

Preheat the oven to 350 degrees. Combine the blueberries, sugar, lemon juice and flour in a baking dish. Set aside. Place the flour, oats, brown sugar, cinnamon and salt in a bowl and mix ingredients to distribute them evenly. Add the butter and work it into the dry ingredients with fingertips or a pastry blender until the mixture looks like coarse meal (or pulse in a food processor). Place the oat mixture over the fruit. Bake for 30 minutes or until the crust is crispy and brown.

Makes 4-6 servings.


Fruit Roll Cookies

DSC03578.jpeg

Our family doesn’t celebrate Christmas, but we do celebrate cookies, which are as ubiquitous during the Christmas season as doughnuts during Hanukkah and matzo balls during Passover.

Every December I make a load of cookies. I give most of them away as gifts, but of course, keep (in the freezer) a container or two of family favorites for us.

Depending on how much time I have, I make these oldies but goodies: Fannies, Grand Finale cookies, Dutch butter-almond cookies, peanut butter cookies, lemon bars, cheesecake cookies, Chinese cookies and Orange Marmalade cookies.

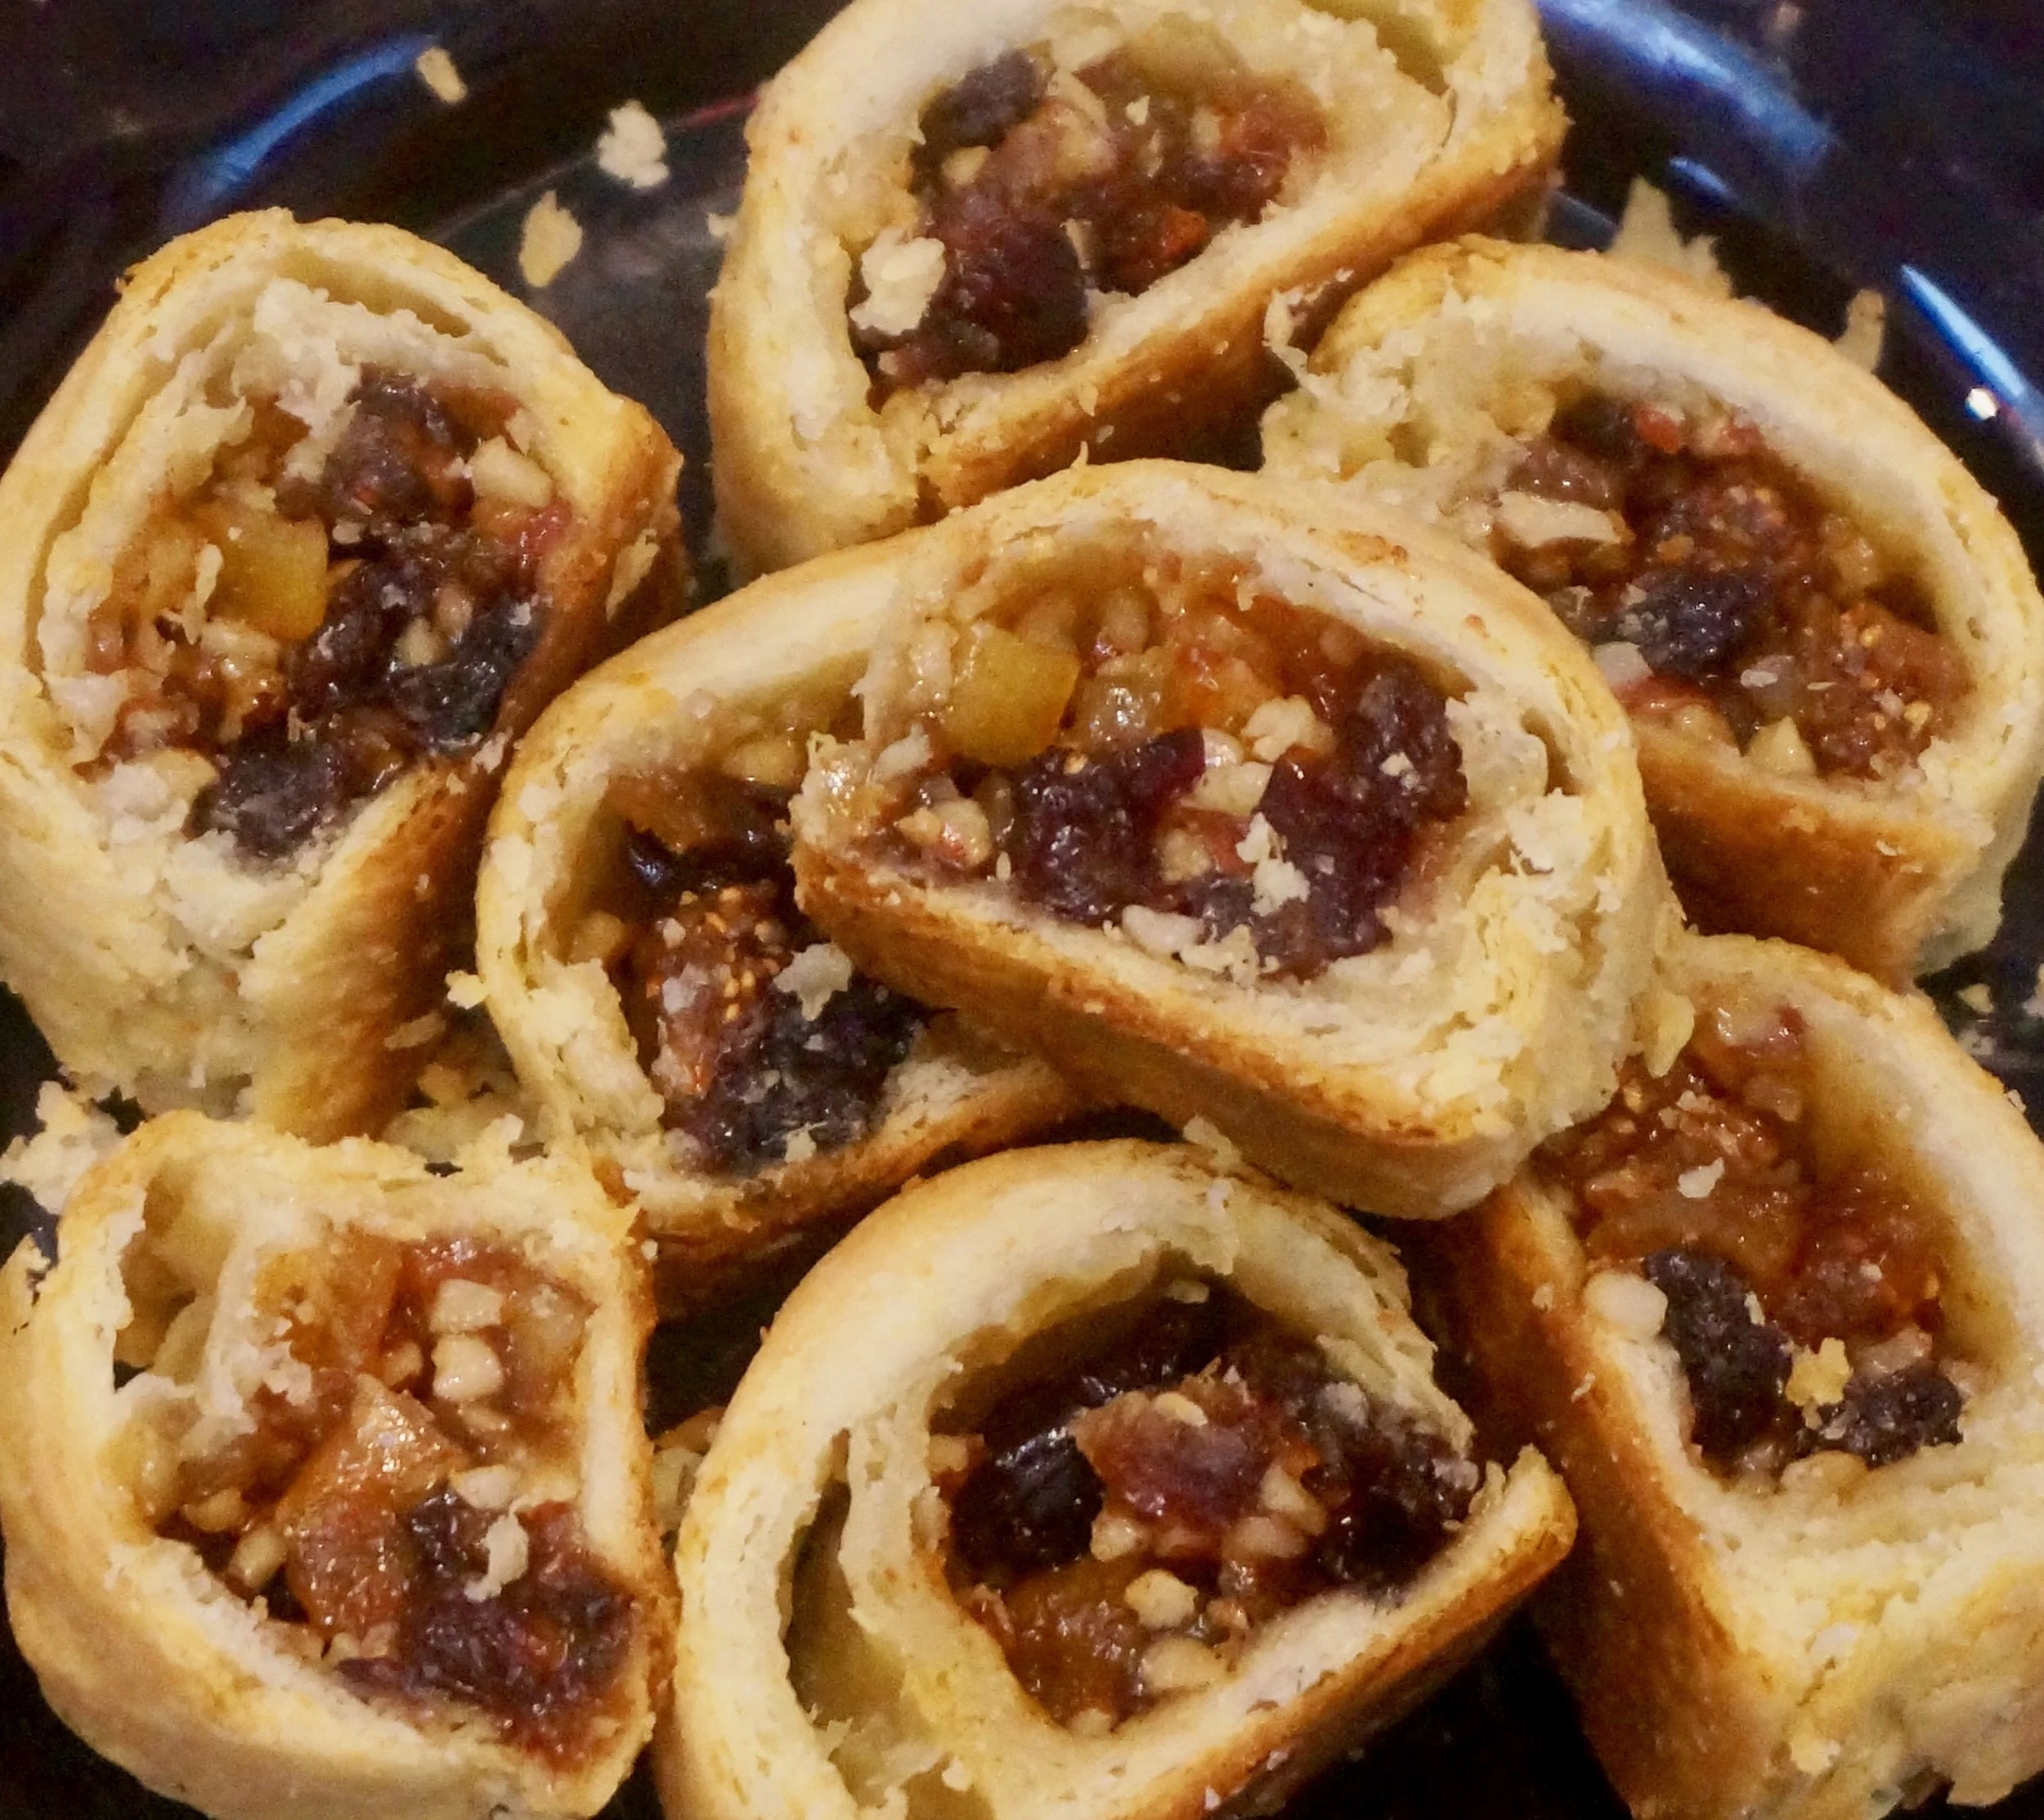
Last year I added these Fruit Roll cookies, based on my mother’s wonderful “frozen dough” nut roll. They were a big hit, so I’m going to make them again this year.

Fruit Roll Cookies

Dough:

  • 2 cups all purpose flour

  • 1/2 pound butter, cut into chunks

  • 1 cup dairy sour cream

Filling:

  • 2 cups mixed diced dried or candied fruit (such as cherries, pineapple, orange peel, cranberries, apricots, dates, figs

  • 1 cup raisins

  • 3/4 cup chopped nuts

  • 1/4 cup sugar

  • 1 teaspoon ground cinnamon

  • 1 cup orange marmalade

To make the dough: place the flour in the bowl of an electric mixer. Add the butter and beat at low speed for 2-3 minutes or until the mixture is crumbly (you may also do this by hand or using the pulse feature of a food processor). Add the sour cream and mix it in to make a smooth, uniform and slightly sticky dough. Dust the dough with flour, wrap it in plastic and refrigerate for at least 6 hours.

To make the filling: Place the dried fruit, raisins, nuts, sugar and cinnamon in a bowl and toss the ingredients to distribute them evenly. Add the marmalade and mix it in to coat all the fruit.

To assemble: Lightly grease a baking sheet. Cut the dough into 5 pieces. Working separately with each piece of dough, roll the dough on a floured surface to a rectangle about 12-inches by 6-inches. Place 1/5 of the filling on each rectangle, forming the mixture into a strip along one of the long sides and to within 1/2-inch from the ends of the two short sides. Roll the dough and place each roll, seam side down, on the baking sheet. Refrigerate for at least 30 minutes. Preheat the oven to 350 degrees. Score each roll along the top with a sharp knife at 1-inch intervals. Bake for about 35-40 minutes or until lightly golden. Remove from the oven, let cool, then cut along the score lines.

Makes about 60


Cranberry Pie with Dried Figs and Cashews

IMG_2718.jpg

There’s more to Thanksgiving than the turkey. It’s cranberry season too! And the folks at Squaremealroundtable.com are featuring a recipe collaboration that showcases all sorts of recipes using cranberries.

Here’s mine, a riff on pecan pie. Because of allergies I can’t cook with pecans, so over the years I’ve learn to develop recipes using substitutions. This pie, which is on my Thanksgiving menu, has cashews. And because cashews are sweeter than pecans, I wanted something tart for some balance.

Cranberries!

I also added some dried figs because why not! I’ve also made this pie using dates. Cut up dried plums would work too.

Thanks to Squaremealroundtable and Whatannieseating for organizing this fun and festive cranberry collaboration.

After the recipe you can find a list of some of the other recipes people submitted.

Cranberry Pie with Dried Figs and Cashews

  • 2/3 cup honey

  • 1/3 cup sugar

  • 3 large eggs

  • 3 tablespoons melted coconut oil, butter or margarine

  • 2 tablespoons all-purpose flour

  • 1/2 teaspoon ground cinnamon

  • 1/4 teaspoon salt

  • 1 teaspoon vanilla extract

  • 1 cup fresh cranberries

  • 1 cup halved cashews

  • 1/2 cup chopped dried figs or dates

  • 1 unbaked 9-inch pie crust

Preheat the oven the 350 degrees. Combine the honey, sugar, eggs and coconut oil in a bowl and whisk the ingredients until well blended. Stir in the flour, cinnamon, salt and vanilla extract and blend in thoroughly. Stir in the cranberries, cashews and dates. Pour the mixture into the pie crust. Bake for about 45 minutes or until the top is richly brown and crunchy.

Makes one pie

Here are some of the other recipes:

LaLaLunchbox Cranberry Orzo Salad

SquareMealRoundTable: http://www.squaremealroundtable.com/recipes/cranberry-orange-streusel-pie

WhatAnniesEating: WhatAnniesEating.Com

RonnieVFein: http://www.ronniefein.com/blog/on-hanukkah-lets-not-forget-that-a-woman-played-a?rq=Cranberries

rumblyinmytumbly:_www.rumblytumbly.com

shortgirltallorder: https://shortgirltallorder.com/vegan-cranberry-orange-sweet-buns

aforkfulofyum: www.aforkfulofyum.com/http://aforkfulofyum.com/chocolate-cranberry-almond-bars/

siftandsimmer: https://www.siftandsimmer.com/white-chocolate-cranberry-cookies/

fufuinthekitchen: https://fufuskitchen.com/cranberry-orange-biscotti/bavettemeat.com

joyosity: https://the-cooking-of-joy.blogspot.com/2016/12/cranberry-curd-tart.html

jessiesheehanbakes: https://www.jessiesheehanbakes.com/2017/12/06/cranberry-buckle/

wildflourchi:www.wildflourchi.com

Ciao Chow Bambina: https://www.ciaochowbambina.com/cranberry-pecan-cracker-spread/

bakingthegoods: http://bakingthegoods.com/2017/11/13/cranberry-apple-brown-butter-crumble-pie/

katiebirdbakes: https://www.katiebirdbakes.com/cranberry-sauce-breakfast-rolls/

crumbtopbaking: https://www.crumbtopbaking.com/cranberry-orange-overnight-oatmeal-muffins/

tinykitchencapers: http://www.tinykitchencapers.com/white-chocolate-cranberry-oatmeal-cookies/

pieladybakes: https:/youcanliverichonless.com/cranberry-tarts/


Chocolate-Banana-Applesauce Cake

fullsizeoutput_97d5.jpeg

When I was a kid my mother sometimes made macaroni-and-cheese using somewhat older, hard-around-the-edges American cheese that didn’t look fit to eat. I thought it was appalling.

But she told me that these cheese wasn’t spoiled, just hard because maybe it wasn’t wrapped quite so well, and that in any event she would never make any dish for us using an ingredient that could be harmful.

Of course.

And also, why waste perfectly good cheese that’s going to melt anyway. So if it isn’t perfect to eat cold, as is, it is perfectly fine for macaroni and cheese.

And it was. She made delicious macaroni and cheese.

My children are appalled if I use an ingredient that’s past its sell-by/expiration date. I feel the same way my mother did. I would never use an ingredient that is spoiled or harmful. But some of those expiration dates are meant more as a “use them soon because the flavor or texture won’t be perfect” than “do not eat this EVER!”

So recently, I noticed that in addition to some fresh bananas turned black-spotty, my snack packages of applesauce were a month beyond their expiration date. Rather than give the applesauce to my grandkids and have my daughters feel appalled, I used it in chocolate cake, in the place of eggs.

Not only was I able to use up a perfectly good ingredient, the cake was delicious and also a good vegan choice.

So there.

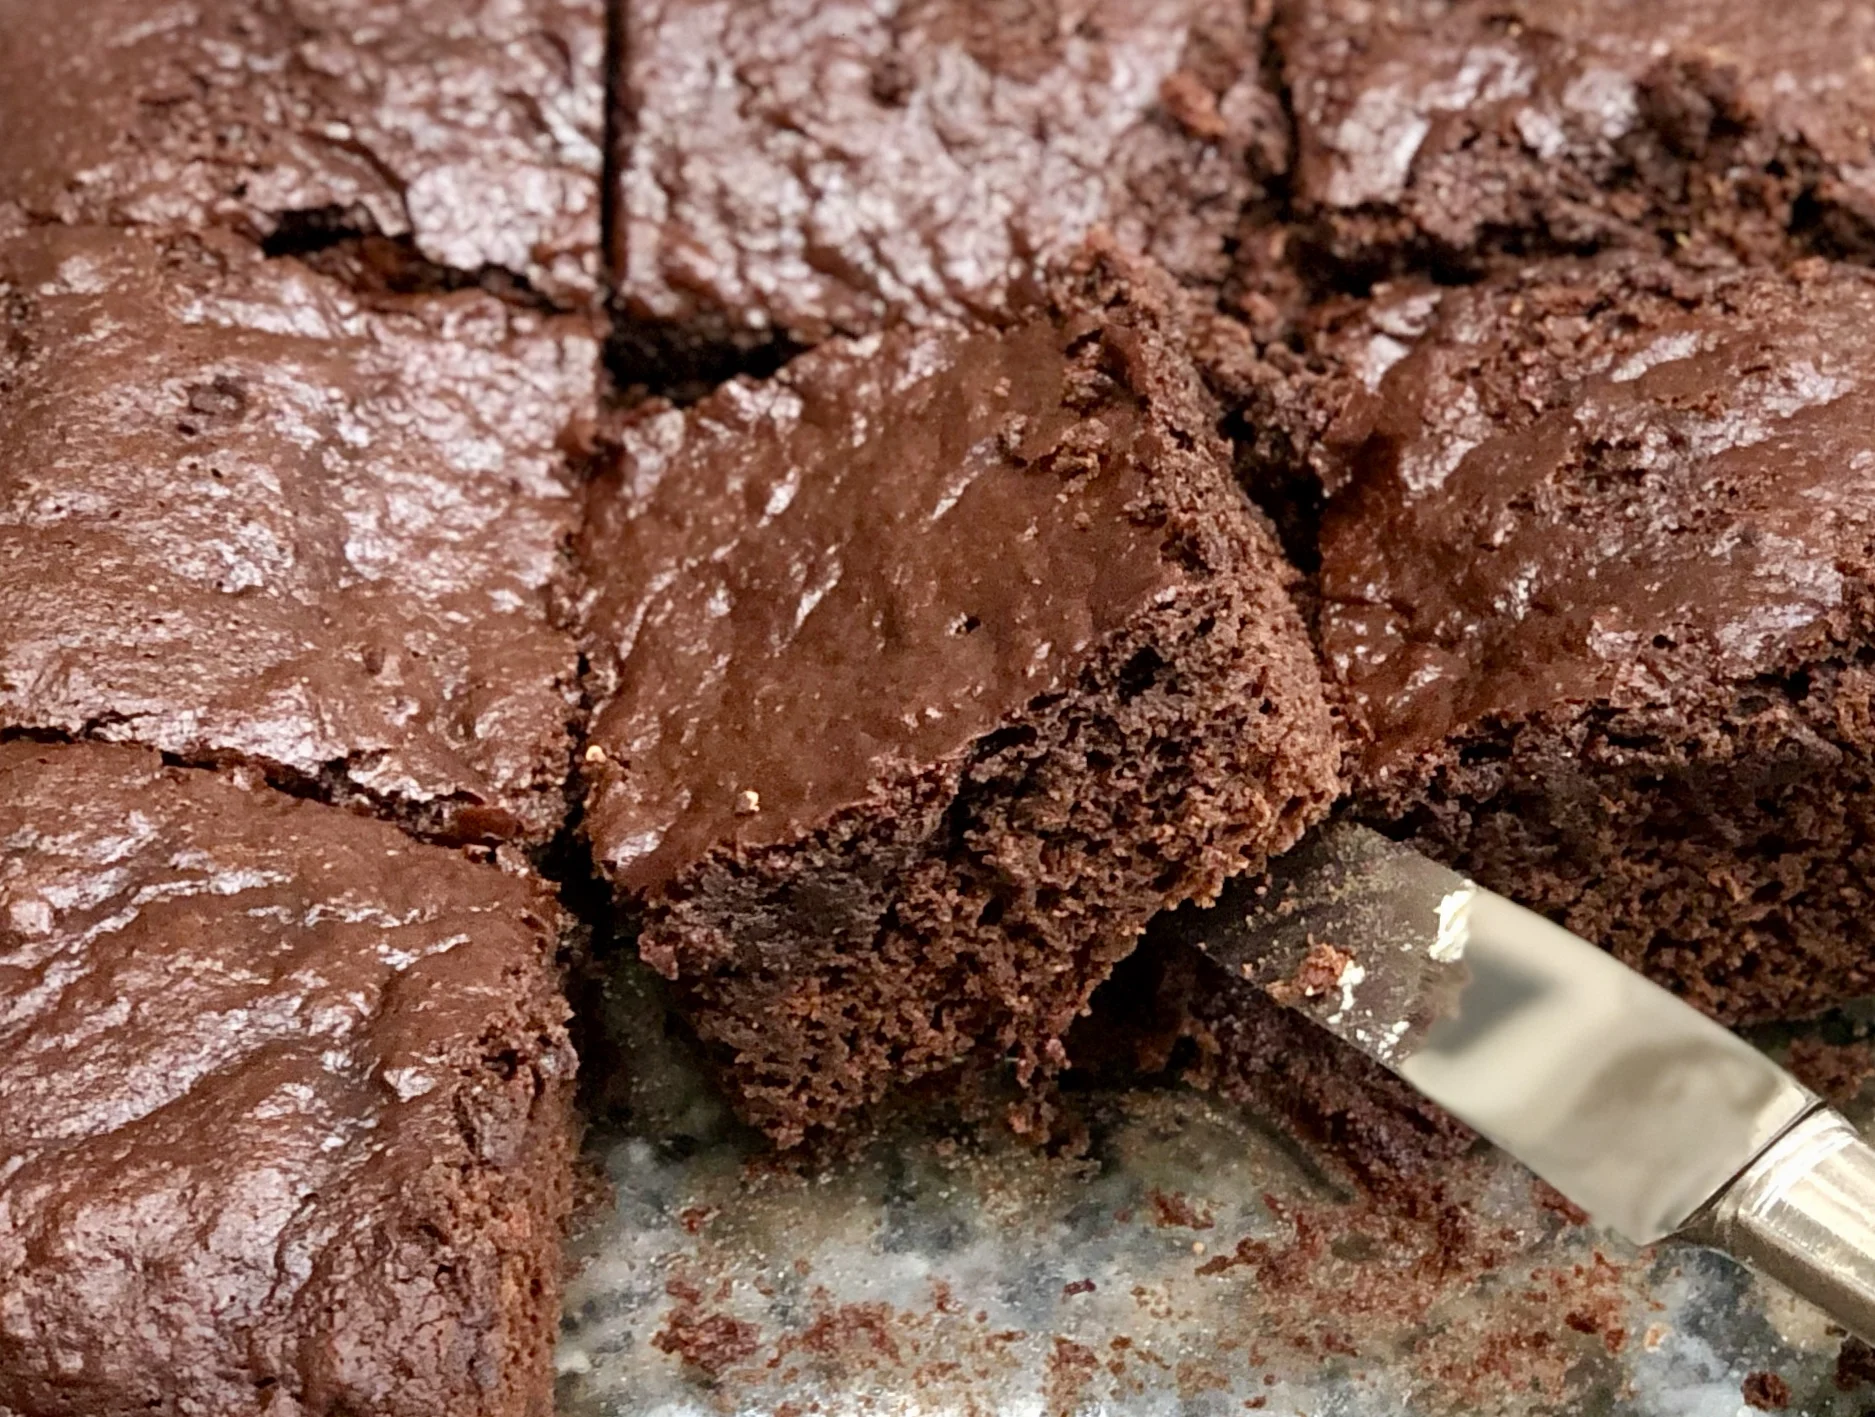
Chocolate-Banana-Applesauce Cake

  • 3 ounces semisweet chocolate

  • 1-1/3 cups all-purpose flour

  • 1/3 cup unsweetened cocoa powder

  • 1 teaspoon baking soda

  • 1 teaspoon salt

  • 2 medium ripe bananas

  • 1 cup sugar

  • 1/2 cup applesauce

  • 1/3 cup apple juice (or orange juice)

  • 1 teaspoon vanilla extract

Preheat the oven to 350 degrees. Lightly grease an 8”x8” cake pan. Melt the chocolate and set it aside to cool. In a bowl, whisk together the flour, cocoa powder, baking soda and salt. Set the flour mixture aside. Mash the bananas and place them in the bowl of an electric mixer (or use a hand mixer and bowl). Add the sugar and mix at medium speed for a minute, or until well blended. Add the applesauce, juice, vanilla extract and melted chocolate and beat for 1-2 minutes, or until thoroughly blended. Add the flour mixture and beat for 1-2 minutes, or until throughly blended. Spoon the batter into the prepared cake pan. Bake for 25-30 minutes or until a cake tester inserted into the center comes out clean.

Makes 9 servings

Plum Streusel Cake

fullsizeoutput_95ea.jpeg

Even though it happens every year, somehow I am always sort of surprised that the Jewish holidays come in such a jumble. We celebrate one holiday on top of another and are busier than ever, observing and celebrating.

Not to mention — LOTS of food. 

I don't want to even count the calories.

And there's still Sukkot to come. 

This year I didn't make my usual Plum Torte for Rosh Hashanah. I needed a change of some of my menu items.

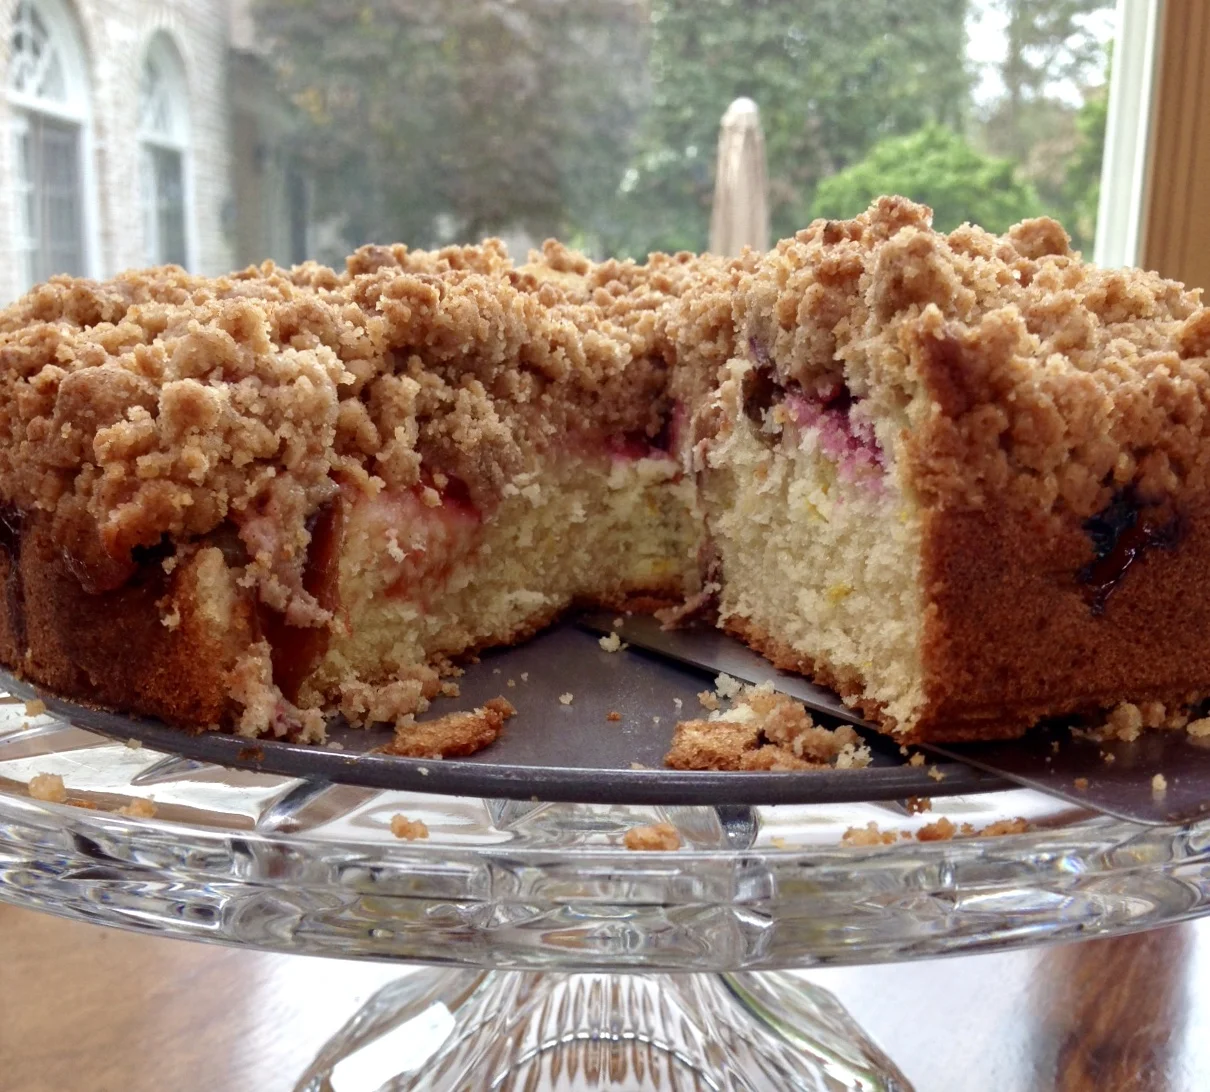
But I still can't resist those once a year Italian-style prune plums (President/Empress plums), so I decided to use them for this Plum Streusel Cake. It turned out to be one of my favorites during the holiday.

If you are still looking for a fabulous dessert for Sukkot -- try this one. Btw, you can make this with any variety of plum. But plum season is almost over, so do take advantage while you can.


Plum Streusel Cake

Streusel:

  • 1/4 pound unsalted butter

  • 1/4 cup granulated sugar

  • 1/4 cup packed brown sugar

  • 1-1/4 cups all-purpose flour

  • 1 teaspoon ground cinnamon

  • 1/8 teaspoon ground nutmeg

Melt the butter and set it aside to cool. Place the sugar, brown sugar, flour, cinnamon and nutmeg in a bowl and mix until well blended. Pour in the butter and blend it in. Let stand for 4-5 minutes, then crumble the mixture using your fingers. Set aside.

Cake:

  • 1/2 cup butter, melted and cooled

  • 2 cups all-purpose flour

  • 1/2 cup sugar

  • 1 tablespoon baking powder

  • 1/2 teaspoon baking soda

  • 1 teaspoon salt

  • 1 teaspoon freshly grated lemon peel

  • 2 large eggs

  • 1 cup milk

  • 6-8 Empress plums, sliced, pit removed (President plums, 10-12 Italian prune plums)

Preheat the oven to 350 degrees. Make the streusel and set it aside. Lightly grease a 9-inch springform pan. Melt the butter and set it aside to cool. Combine the flour, sugar, baking powder, baking soda, salt and lemon peel in the bowl of an electric mixer. In another bowl, combine the eggs, milk and melted butter. Pour the liquid ingredients into the dry ones and stir only to combine: do not overbeat. Turn the batter into the prepared cake pan. Top with the plum slices. Cover with the streusel. Bake for about 45 minutes or until a cake tester inserted into the center comes out clean. Let cool in the pan for 15 minutes. Remove the outer ring from the pan and let the cake cool completely.

Makes one cake serving 8

Sweet Soaked Summer Fruit

fullsizeoutput_92ad.jpeg

A few years ago I learned how to make khoshaf, a Muslim (primarily Egyptian) version of compote -- what my grandma called "kumput," (which she made by cooking dried prunes and apricots with sugar, lemon and cinnamon). Kumput was delicious, but sometimes a bit mushy.

Khoshaf isn't cooked -- you pour simmering, seasoned, sweet syrup over the dried fruit and let it macerate for a while. The fruit becomes tender but never gets soggy.

The khoshaf was such a success that I never went back to "kumput."

So, I figured that the soaking/macerating method would work on fresh fruit too.

I was right.

This simple dish -- cut up fruit steeped in a seasoned, sweetened syrup -- is the perfect ending to a meal on a hot summer day, especially when you want a dairy-free dessert. Of course you could always top the fruit with ice cream or whipped cream. But sorbet would be fine too.

I like it plain, as-is, with a small amount of boiled-down, thickened syrup.


SOAKED SUMMER FRUIT

  • 2 pounds stone fruit (peaches, nectarines, plums, apricots), approximately
  • 3 cups water
  • 1/4 cup honey
  • 1 vanilla bean, broken
  • 2 orange slices, about 1/4-inch thick
  • 4-5 slices crystallized ginger

Cut the fruit in half and remove the pits. Cut the fruit into bite-size chunks and place in a dish deep enough to hold the pieces plus liquid. In a saucepan, combine the water, honey, vanilla bean, orange slices and crystallized ginger and bring to a boil over high heat. Reduce the heat to a simmer and cook for 15 minutes. Pour the contents of the saucepan through a strainer over the fruit. Let soak for at least 2 hours. Serve as-is or strain the fluids, boil the fluids for 6-8 minutes or until thickened, and pour over the fruit (or let cool first).

Makes 8 servings


Sour Cherry Crisp

fullsizeoutput_84f8.jpeg

Recently my daughter Gillian brought me some fresh sour cherries. Cherries that are intended for baking, not eating out of hand.

I love sour cherries. In fact I like most foods that are sour -- anything that provides that satisfying pucker in my mouth. 

Mostly, I like sour cherry pie, but I didn't have enough fruit.

Also, I don't have a cherry pitter.

Thanks to some instruction at The Spruce, I learned how to remove the cherry stones using a pastry tube tip, so I decided to make two individual Sour Cherry Crisps.

Notice that the amount of sugar I use is less than what you'll see in most recipes. The point of sour cherries -- for me -- is that they are supposed to be sour, merely mellowed by sugar, not overwhelmed by it. But, by all means, if you like your desserts more on the sweet side, you can add more.

Sour Cherry Crisp

  • 5 cups pitted sour cherries
  • 1/3 cup sugar
  • 1 teaspoon cornstarch
  • 1-1/2 cups old fashioned oats
  • 1/2 cup all-purpose flour
  • 1/2 cup brown sugar
  • 1 teaspoon cinnamon
  • 1/2 teaspoon salt
  • 1/2 cup melted unsalted butter

Preheat the oven to 375 degrees. Place the cherries, sugar and cornstarch in a bowl and mix to coat the cherries completely. Spoon the cherries into 4 baking ramekins (or a small baking dish). In a bowl, mix the oats, all-purpose flour, brown sugar, cinnamon and salt until the ingredients are evenly distributed. Pour in the butter and mix to coat the dry ingredients. Spoon equal amounts of the oat mixture on top of the cherries. Bake for 28-30 minutes or until the top is crispy and golden brown.

Makes 4 servings