breakfast

Grandma's Baked Blintzes

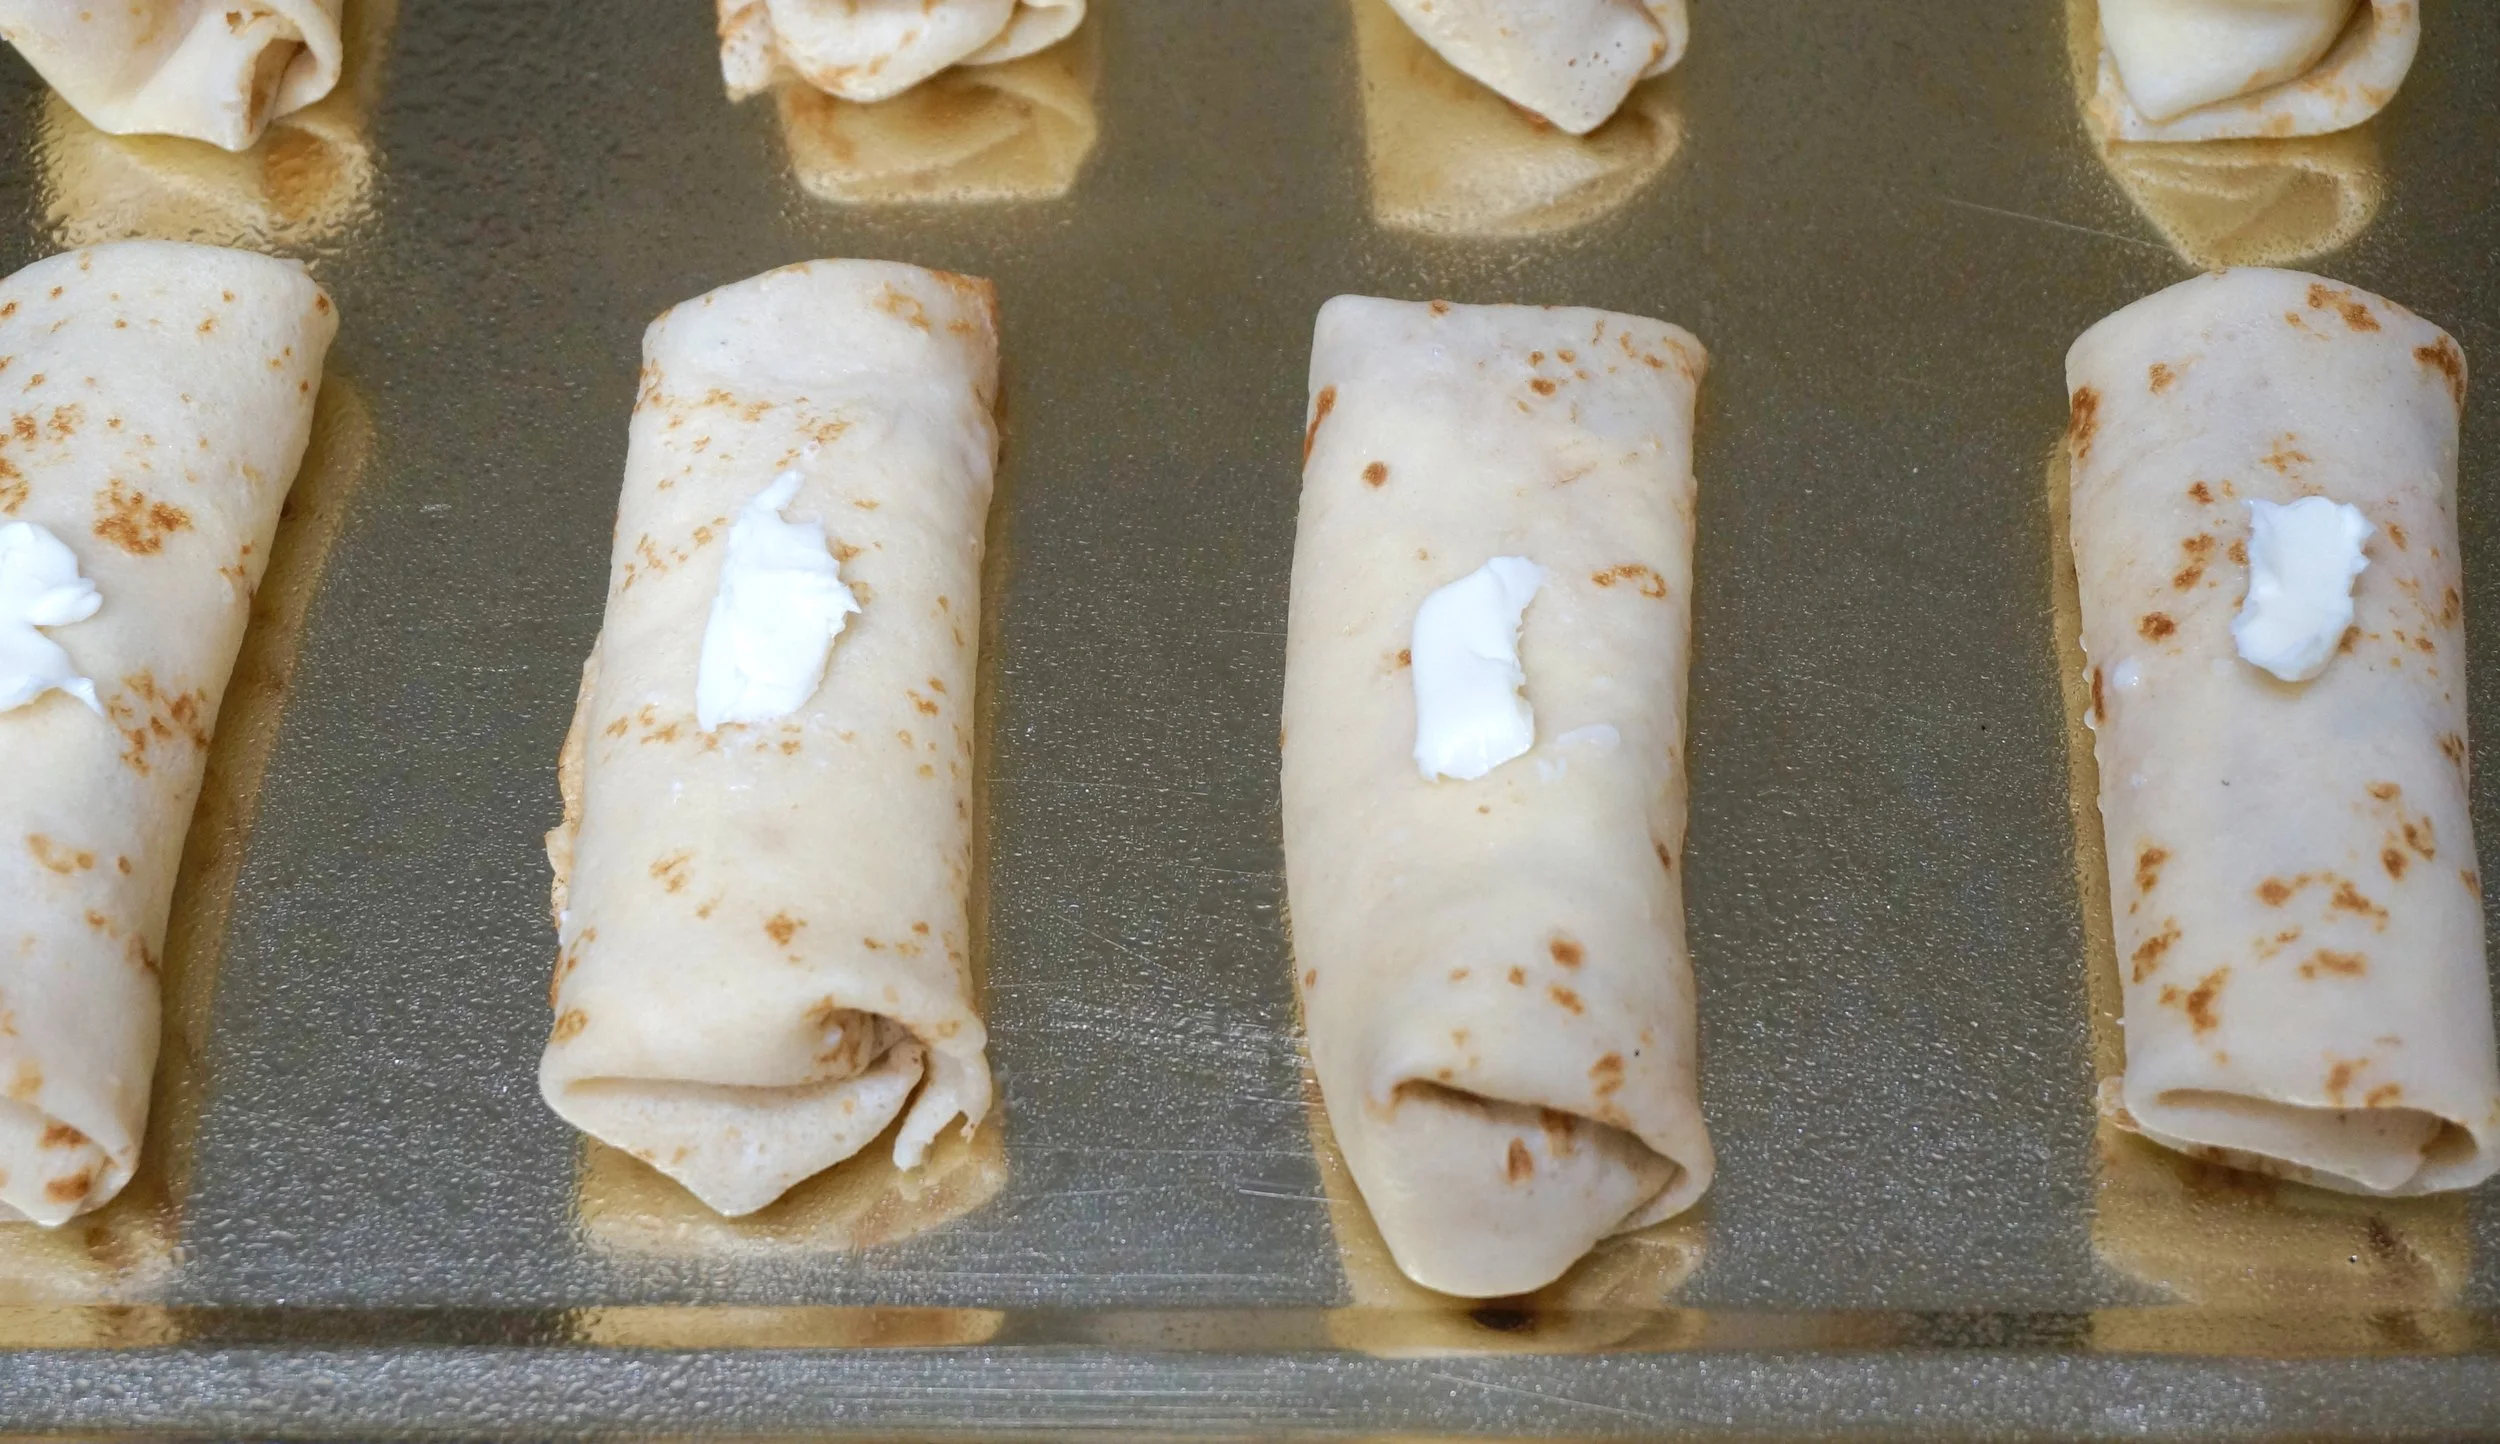
One of my grandma’s signature dishes was blintzes. But the cheese filling she made was different than the classic sweet version (with vanilla and/or cinnamon). Her blintz filling was lemony, and included cheese, egg and a small amount of sugar. Also, because there were so many of us, she had no time to fry them a couple at a time and still have everyone eat at the same time. So she placed the blintzes, seam-side down, on a baking sheet, topped each with a little dab of butter, and baked them until they were golden brown. I still love blintzes, lemony and baked. And so does my family. Grandma’s cheese filling recipe is below, but the instructions give you the option to make the more popular vanilla version (and also how to fry them). Don’t worry if the wrappers don’t fry into perfect circles — you’re going to roll them and if they’re a little off, no one will ever know.

GRANDMA’s CHEESE BLINTZ FILLING:
1 pound farmer’s cheese
1 large egg
2 tablespoons sugar
1 teaspoon lemon juice
1/2 teaspoon grated fresh lemon zest, optional (I always include)
1 teaspoon vanilla extract, optional

Place the cheese, egg, sugar and lemon juice in a bowl and mix thoroughly. Add the lemon zest OR vanilla extract and mix in thoroughly. To fill each wrapper: use the first fried side as the inside of the blintz. Use about 2 tablespoons of filling for an 8-inch wrapper and place the filling in the center of the wrapper. Fold the bottom side up, over the filling. Fold the left side, then the right side over the filling, then roll up to enclose the filling. Preheat the oven to 350 degrees. Place the blintzes in a single layer on a jelly roll pan, top each with a tiny piece of butter. Bake for about 10 minutes.

To fry: place the blintzes seam side down first over medium heat (using the same method as for frying the wrappers – let the butter melt and become foamy).

#blintzes #cheeseblintzes #shavuot #shavuot2024 #shavuos

Perfect Buttermilk Biscuits

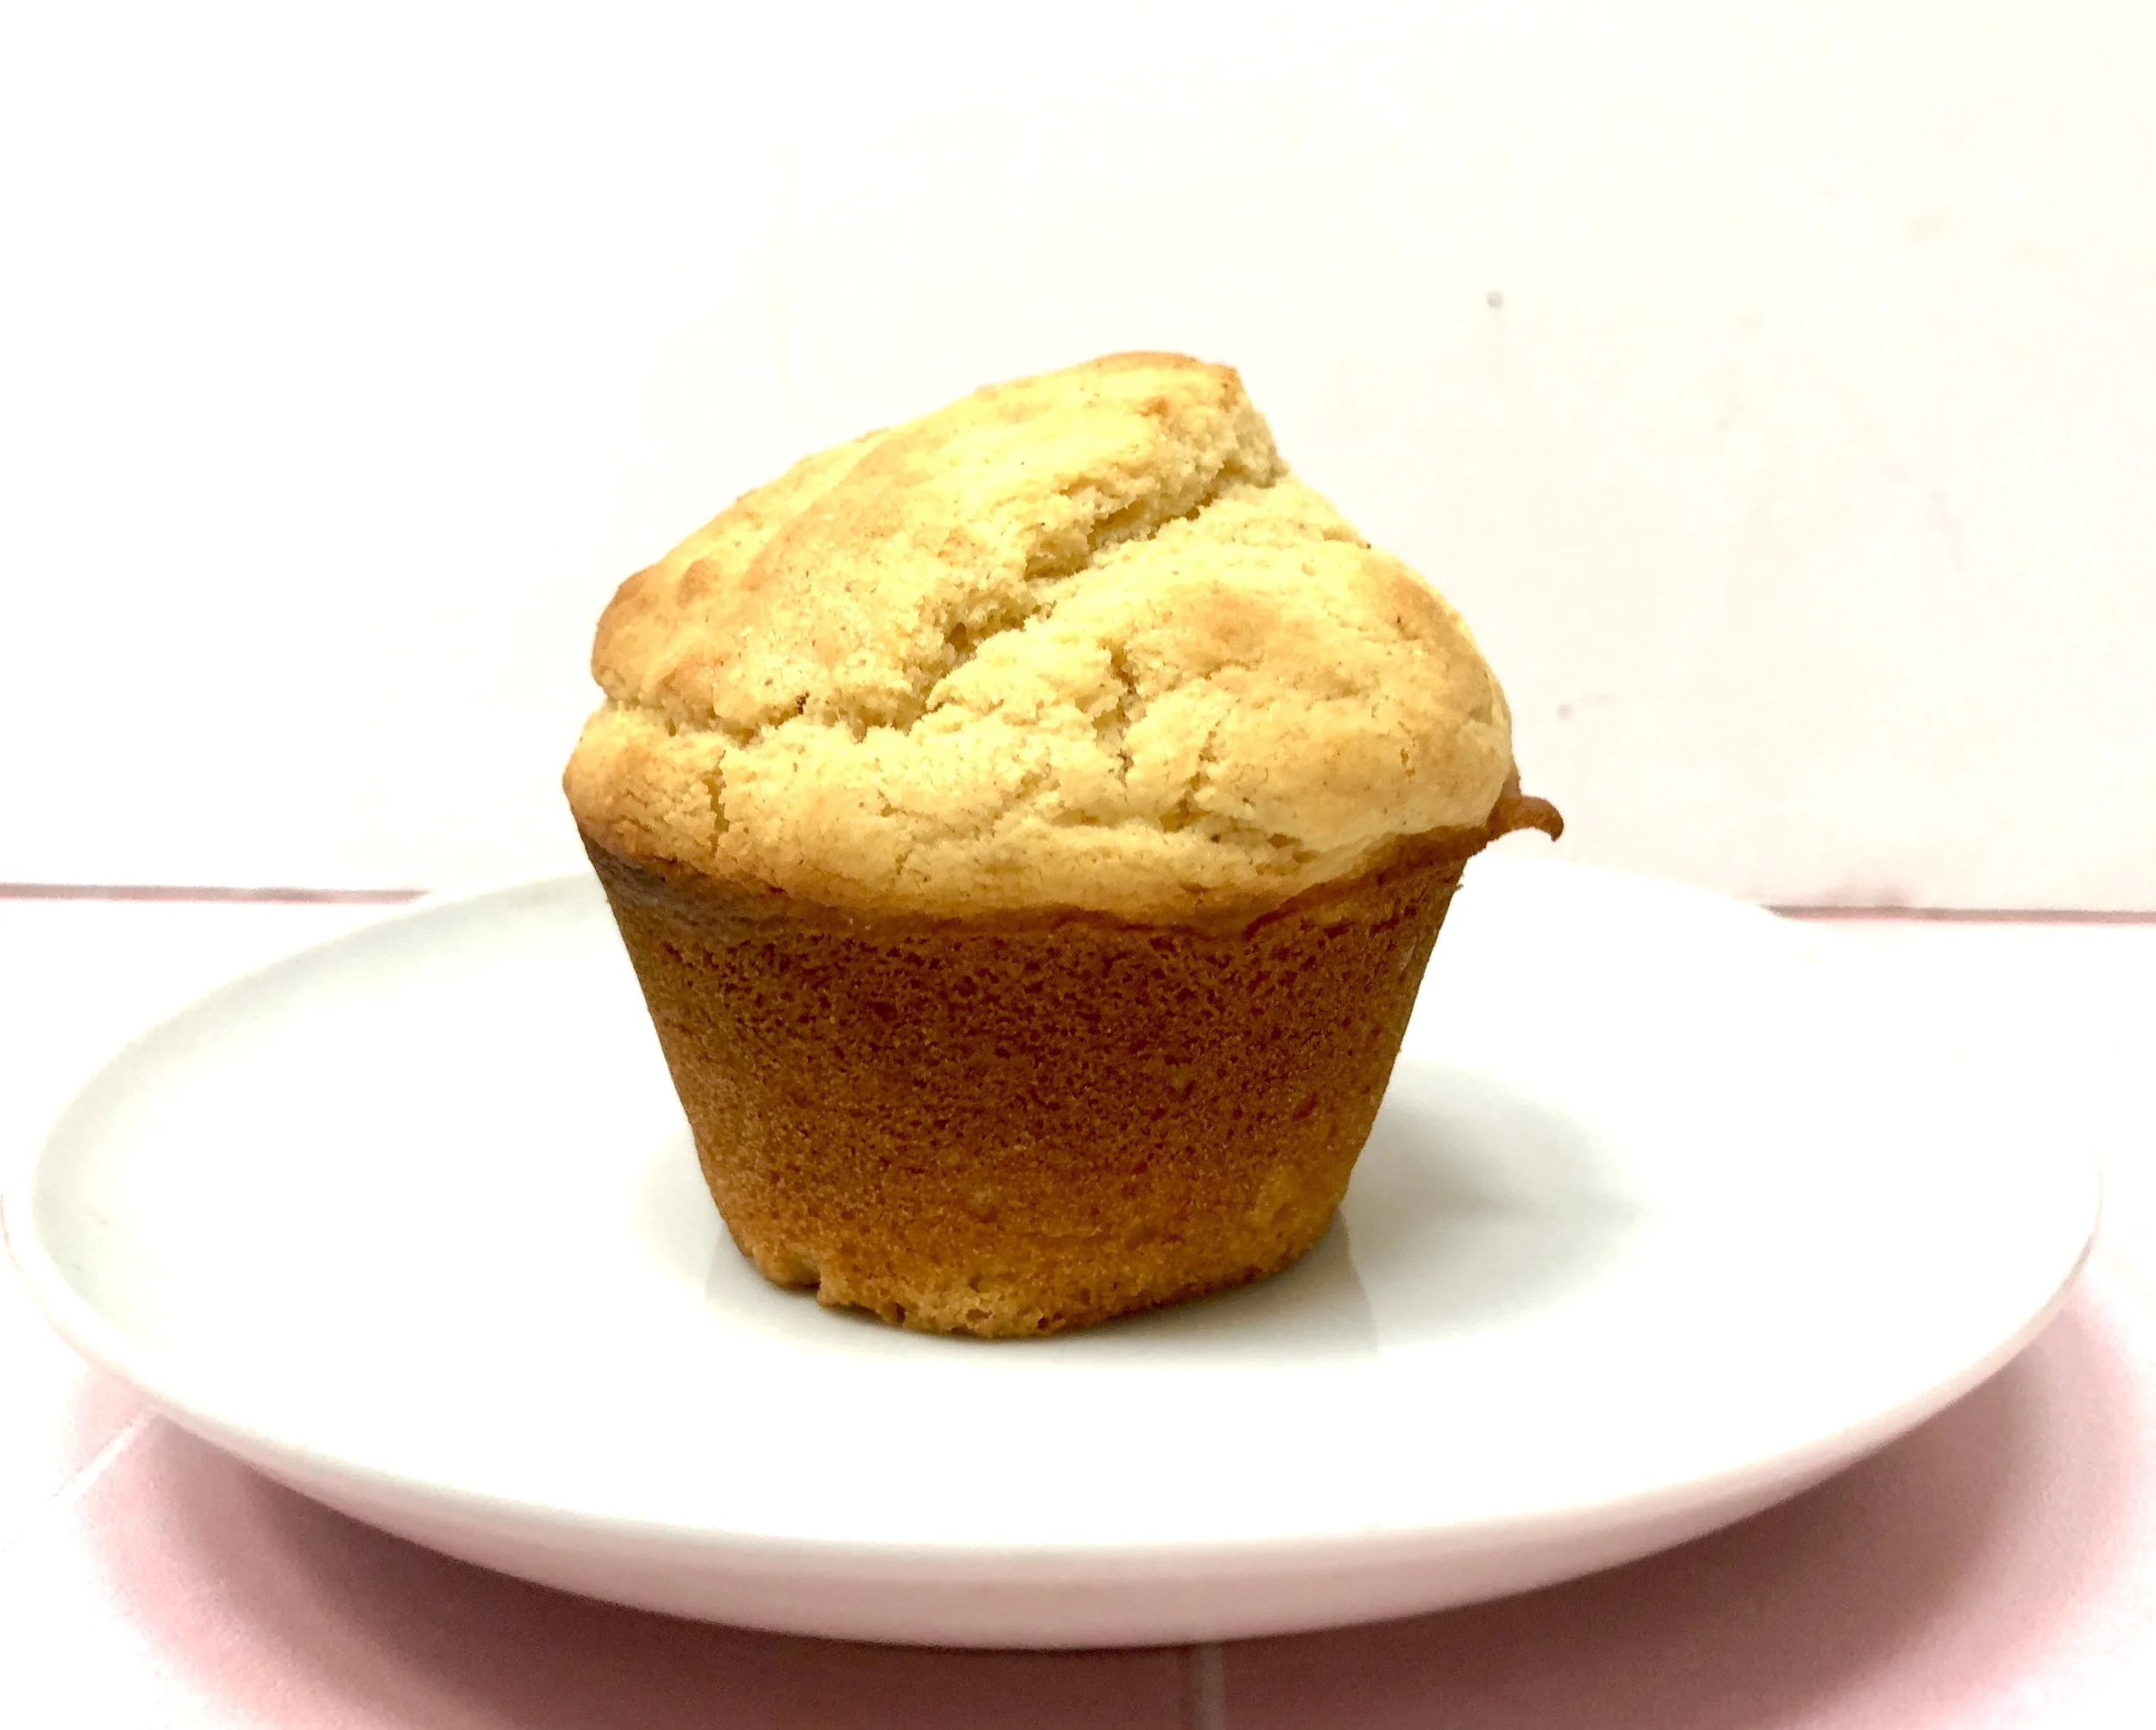
Every once in a while I post a recipe that includes buttermilk and invariably someone tells me that they don’t want to buy it just for this one recipe. But really, I promise! — once you have buttermilk in the house, you’re going to use it again. Because it is SO SO wonderful for so many things like cold soups and cole slaw and most especially for baked goods.

Like these biscuits, baked especially because today is National Buttermilk Biscuit Day. In case you hadn’t heard.

BUTTERMILK BISCUITS

  • 1-1/2 cups all-purpose flour

  • 1/2 cup cake flour (or 7 tablespoons all-purpose flour plus 1 tablespoon cornstarch)

  • 2 teaspoons baking powder

  • 3/4 teaspoon salt

  • 1/2 teaspoon baking soda

  • 2 teaspoons grated fresh lemon zest, optional

  • 8 tablespoons cold butter

  • 2/3 cup buttermilk

Preheat the oven to 400 degrees. Lightly grease a baking sheet or line it with parchment paper. Sift the flour, cake flour, baking powder, salt and baking soda into a bowl. Stir in the lemon zest, if used. Cut the butter into chunks and add it to the bowl. Work the butter into the flour mixture with your fingers or a pastry blender until the mixture resembles coarse crumbs (or use the pulse in a food processor). Pour in the buttermilk and mix until you can form a soft ball of dough. Try not to pound or overwork the dough (this makes the biscuits tough). Place the dough on a lightly floured surface and knead a couple of times. Roll or press the dough gently to 1/2-inch thickness. Cut out circles with a cookie cutter or the bottom of a drinking glass. Place the circles one inch apart (for darker biscuits) or close together (for fluffier biscuits) on the baking sheet. Bake for about 20 minutes or until they have risen and are lightly browned. Makes about 10 #biscuits #buttermilkbiscuits #buttermilkbiscuitsfromscratch #buttermilk #nationalbuttermilkbiscuitday

Grilled "Cheese," Tomato, Egg and Avocado Sandwich

A while ago I mentioned that I was given some vegan “cheese” by Never Better Foods and used it to make a kosher “cheese burger.” The product was excellent and I used it for several other dishes, bought some more and also bought some of the company’s “mozzarella,” which is also quite good (more on that some other day).

There’s a sandwich/panini that I love and have made many times, basically grilled cheese, but with other items such as roasted bell pepper, tomato slices, flat fried egg, avocado and the like.

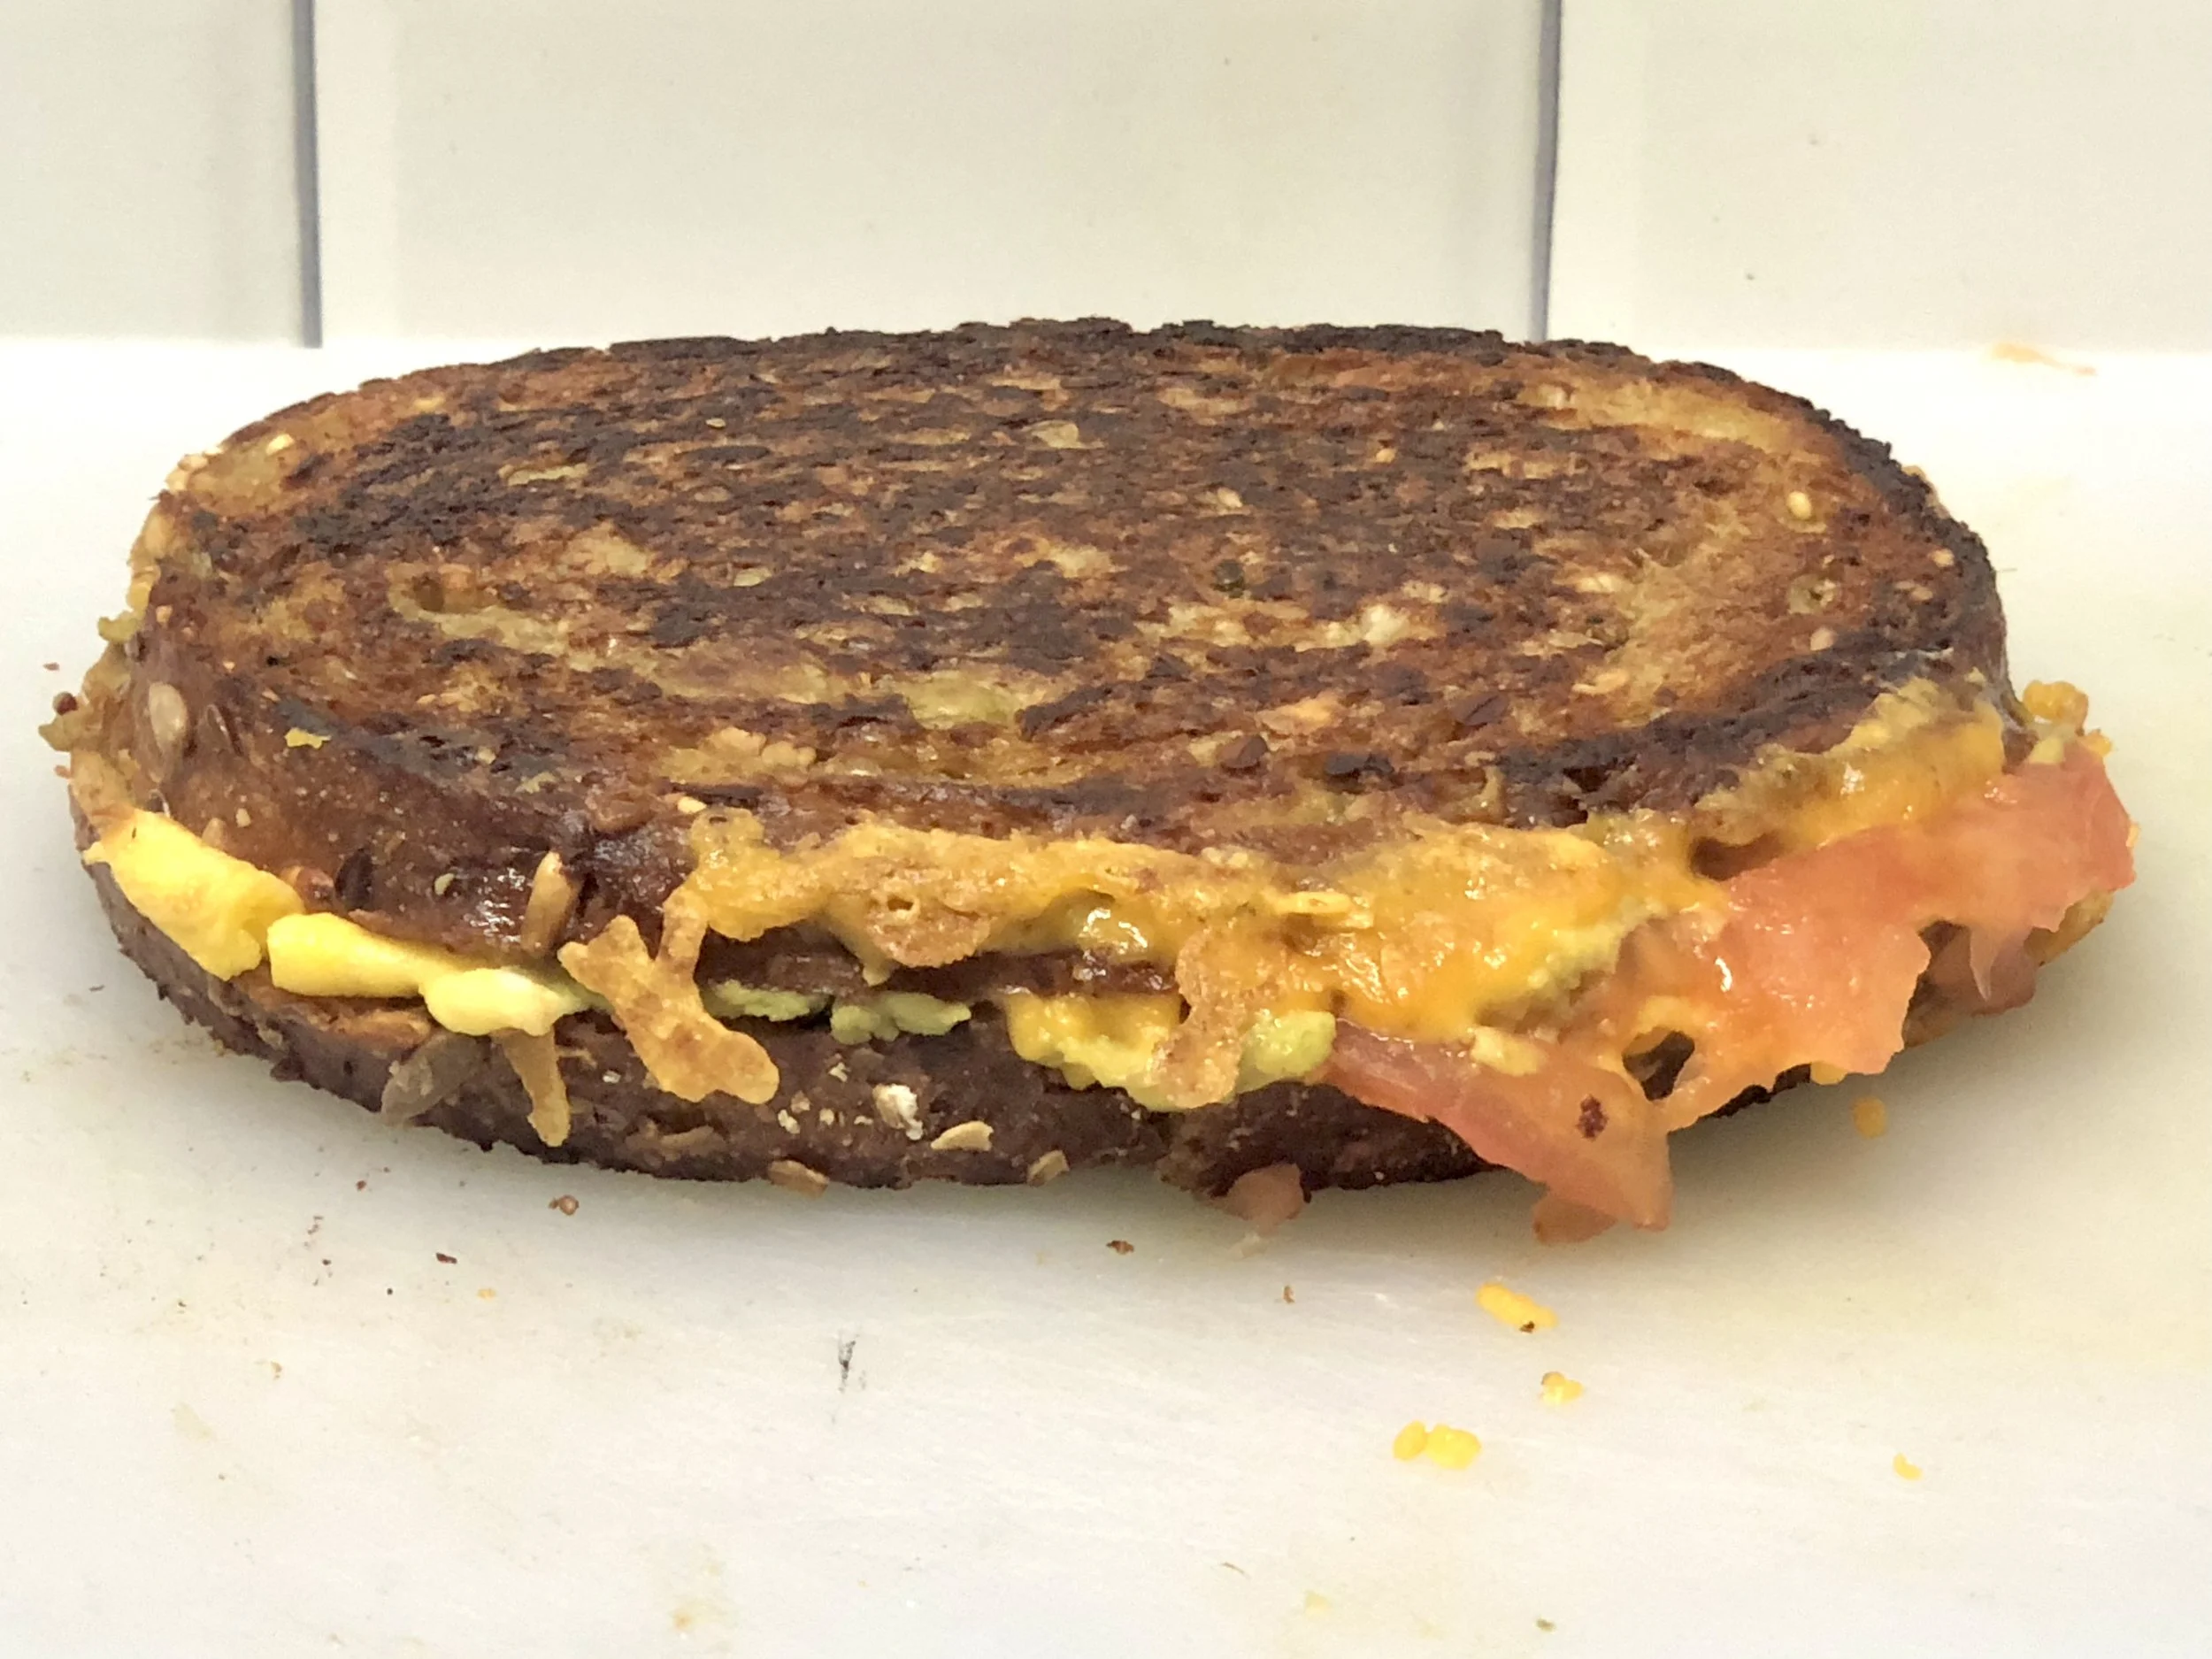
Here’s the latest version — using the vegan “cheese” instead of dairy cheese. It was fabulous!

GRILLED CHEESE, EGG, ROASTED PEPPER AND AVOCADO SANDWICH

  • 1/2 sweet red bell pepper, deseeded, optional

  • 2 teaspoons butter

  • 2 large eggs, beaten

  • 1 ripe avocado

  • A few drops of hot sauce, if desired

  • 4 slices homestyle multigrain bread

  • 3 ounces cheddar “cheese”

  • 4-6 tomato slices

  • 1 tablespoon butter

If including the bell pepper, preheat the oven to broil. Place the half pepper on a piece of foil and broil for about 5 minutes or until crispy and tender. Remove from the oven and wrap the foil around the pepper to enclose it. Let cool, then peel the pepper and set it aside. Melt the 2 teaspoons butter in a sauté pan over medium heat. Add the eggs and cook until set. Dish out, cut in half and set aside. Mash the avocado, mixing in hot pepper sauce if desired. Spread equal amounts of the avocado on two of the bread slices. Top the avocado with equal amounts of cheese, tomato, egg and roasted pepper, if used. Cover with second piece of bread. Melt half the remaining tablespoon of butter in the sauté pan over low-medium heat. Place the sandwiches in the pan. Cover the pan and cook for 2-3 minutes or until the underside is crispy and the cheese is beginning to melt. Lift the sandwiches with a spatula and add the remaining butter to the pan. When the butter has melted, place the sandwiches back in the pan, uncooked side down. Weight down the sandwich with a heavy pan and cook for about 2 minutes or until second side is golden brown and the cheese has melted. (If you have a panini grill, even better!)

Makes 2 sandwiches

Poached Figs with Orange, Cinnamon and Ginger

85 years ago today my father-in-law bought a set of “good” Limoges porcelain dishes for my mother-in-law, for their 5th anniversary.

By the time I met the Feins and became part of their family, they had moved on to other, more modern tableware, and this set, Charles Ahrenfeldt “Bouquet de France,” was tucked away in stackable storage bags in their pantry.

Many years later I inherited those dishes and saw them for the first time.

Of course, I didn’t love the why of my inheritance — who would? I was lucky. My in-laws were good, loving people.

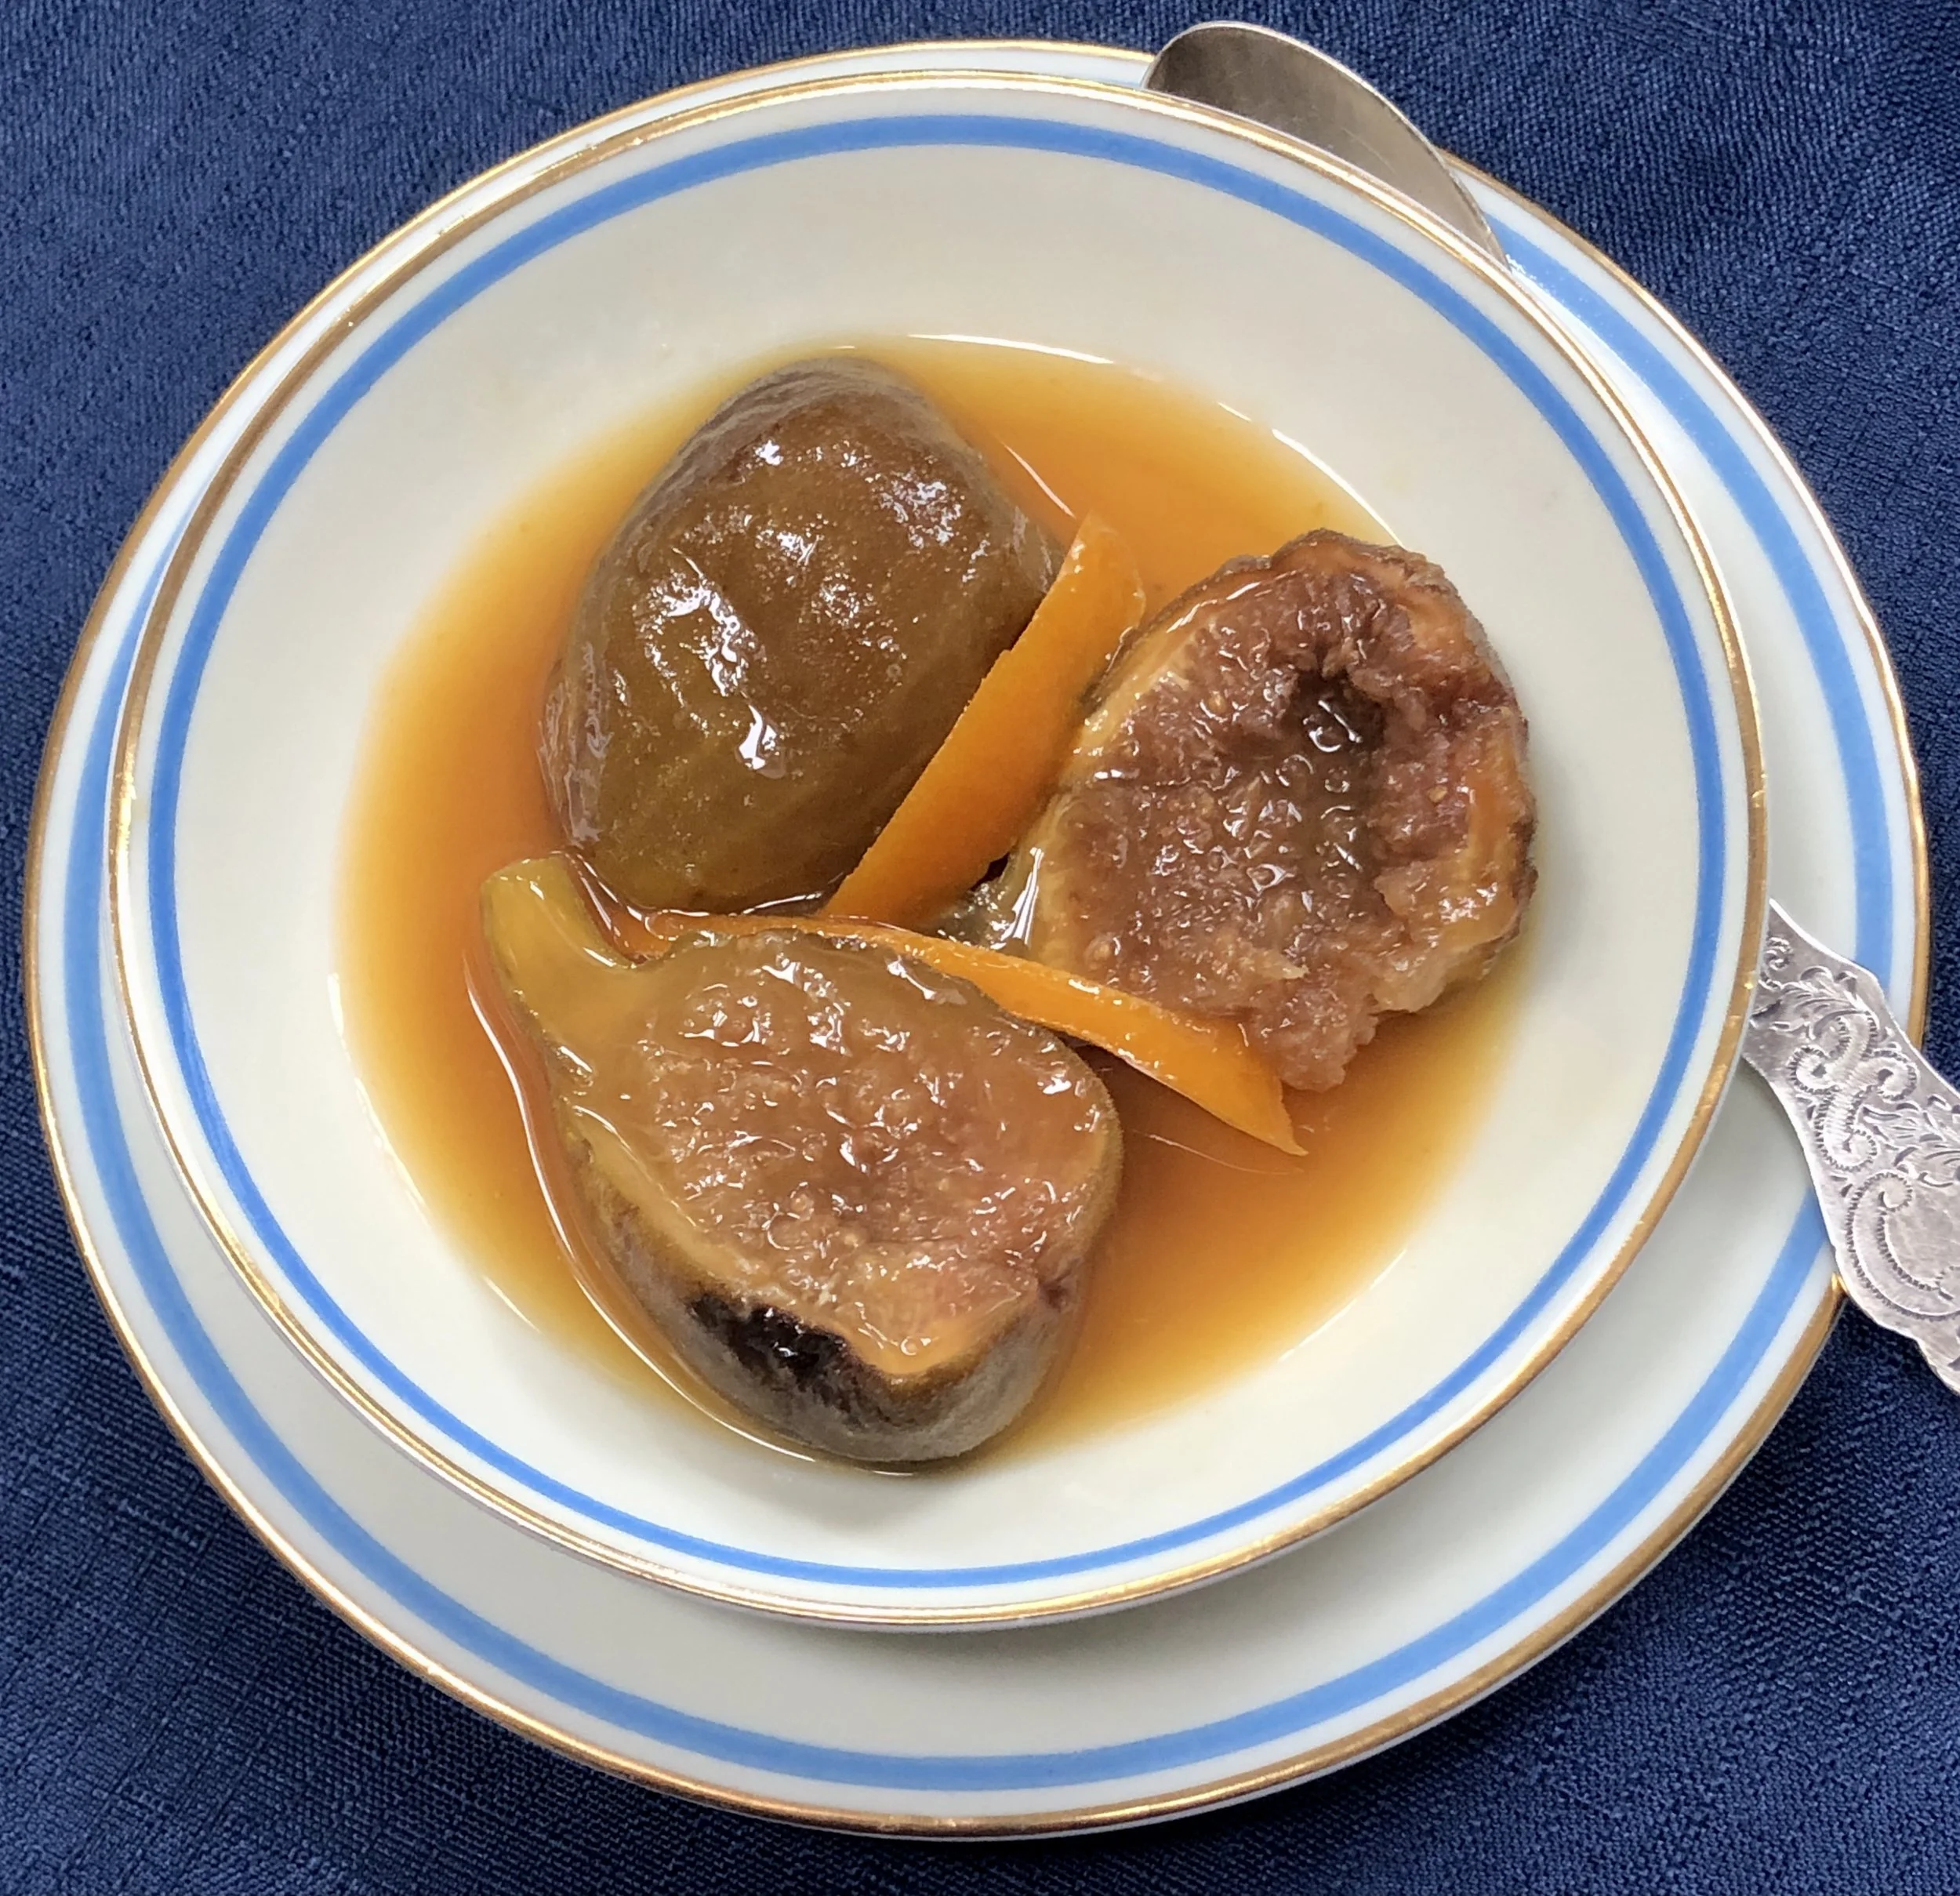
But I did, and still do, love the dishes. I love the old fashioned floral centers, the slim blue and gold rims, the delicacy of Limoges.

Many of the dishes were chipped; several were missing from the service for 12. But over the years, Ed and I set out on a mission to replace them. Recently we were finally able to buy the fruit dishes in the photo above.

I use these dishes every day. I figure, why not? What am I saving them for?

And so I will serve dinner on the dinner plates tonight and for dessert? These luscious fresh figs, poached in orange juice and with a bit of citrusy spark from orange peel and fresh ginger.

I wish my in-laws a very happy 5th/90th anniversary! We will be celebrating. I wish they were here to celebrate with us.

POACHED FIGS WITH ORANGE, Cinnamon and Ginger

  • 1 cup orange juice

  • 1 cup water

  • 1/3 cup brown sugar

  • 1-inch chunk peeled fresh ginger, coarsely chopped

  • 2-inch piece of cinnamon stick, broken

  • 2 2-inch strips orange peel

  • 8-10 fresh green figs (cut in half if very large)

  • ice cream, whipped cream, sorbet, optional

Place the juice, water, brown sugar, ginger, cinnamon stick and orange peel in a saucepan and bring the liquid to a boil. Stir to blend the liquids, lower the heat and simmer for 15 minutes. Add the figs and simmer for another 5-8 minutes, or until the figs are tender. Remove the pan from the heat and let the ingredients cool. Remove the figs from the pan and cut each in half (if not already cut). Set aside. Strain the ingredients in the pan. Discard the solid ingredients. Pour the liquid back into the pan and cook over high heat for 5-6 minutes or until the liquid is syrupy (the consistency of maple syrup). Let the syrup cool. Before serving, some of the fig halves in serving dishes, pour some poaching syrup on top. If desired, place some ice cream, whipped cream or sorbet on top.

Makes 4-6 servings

Mom's Corn Fritters

Mom’s Corn Fritters

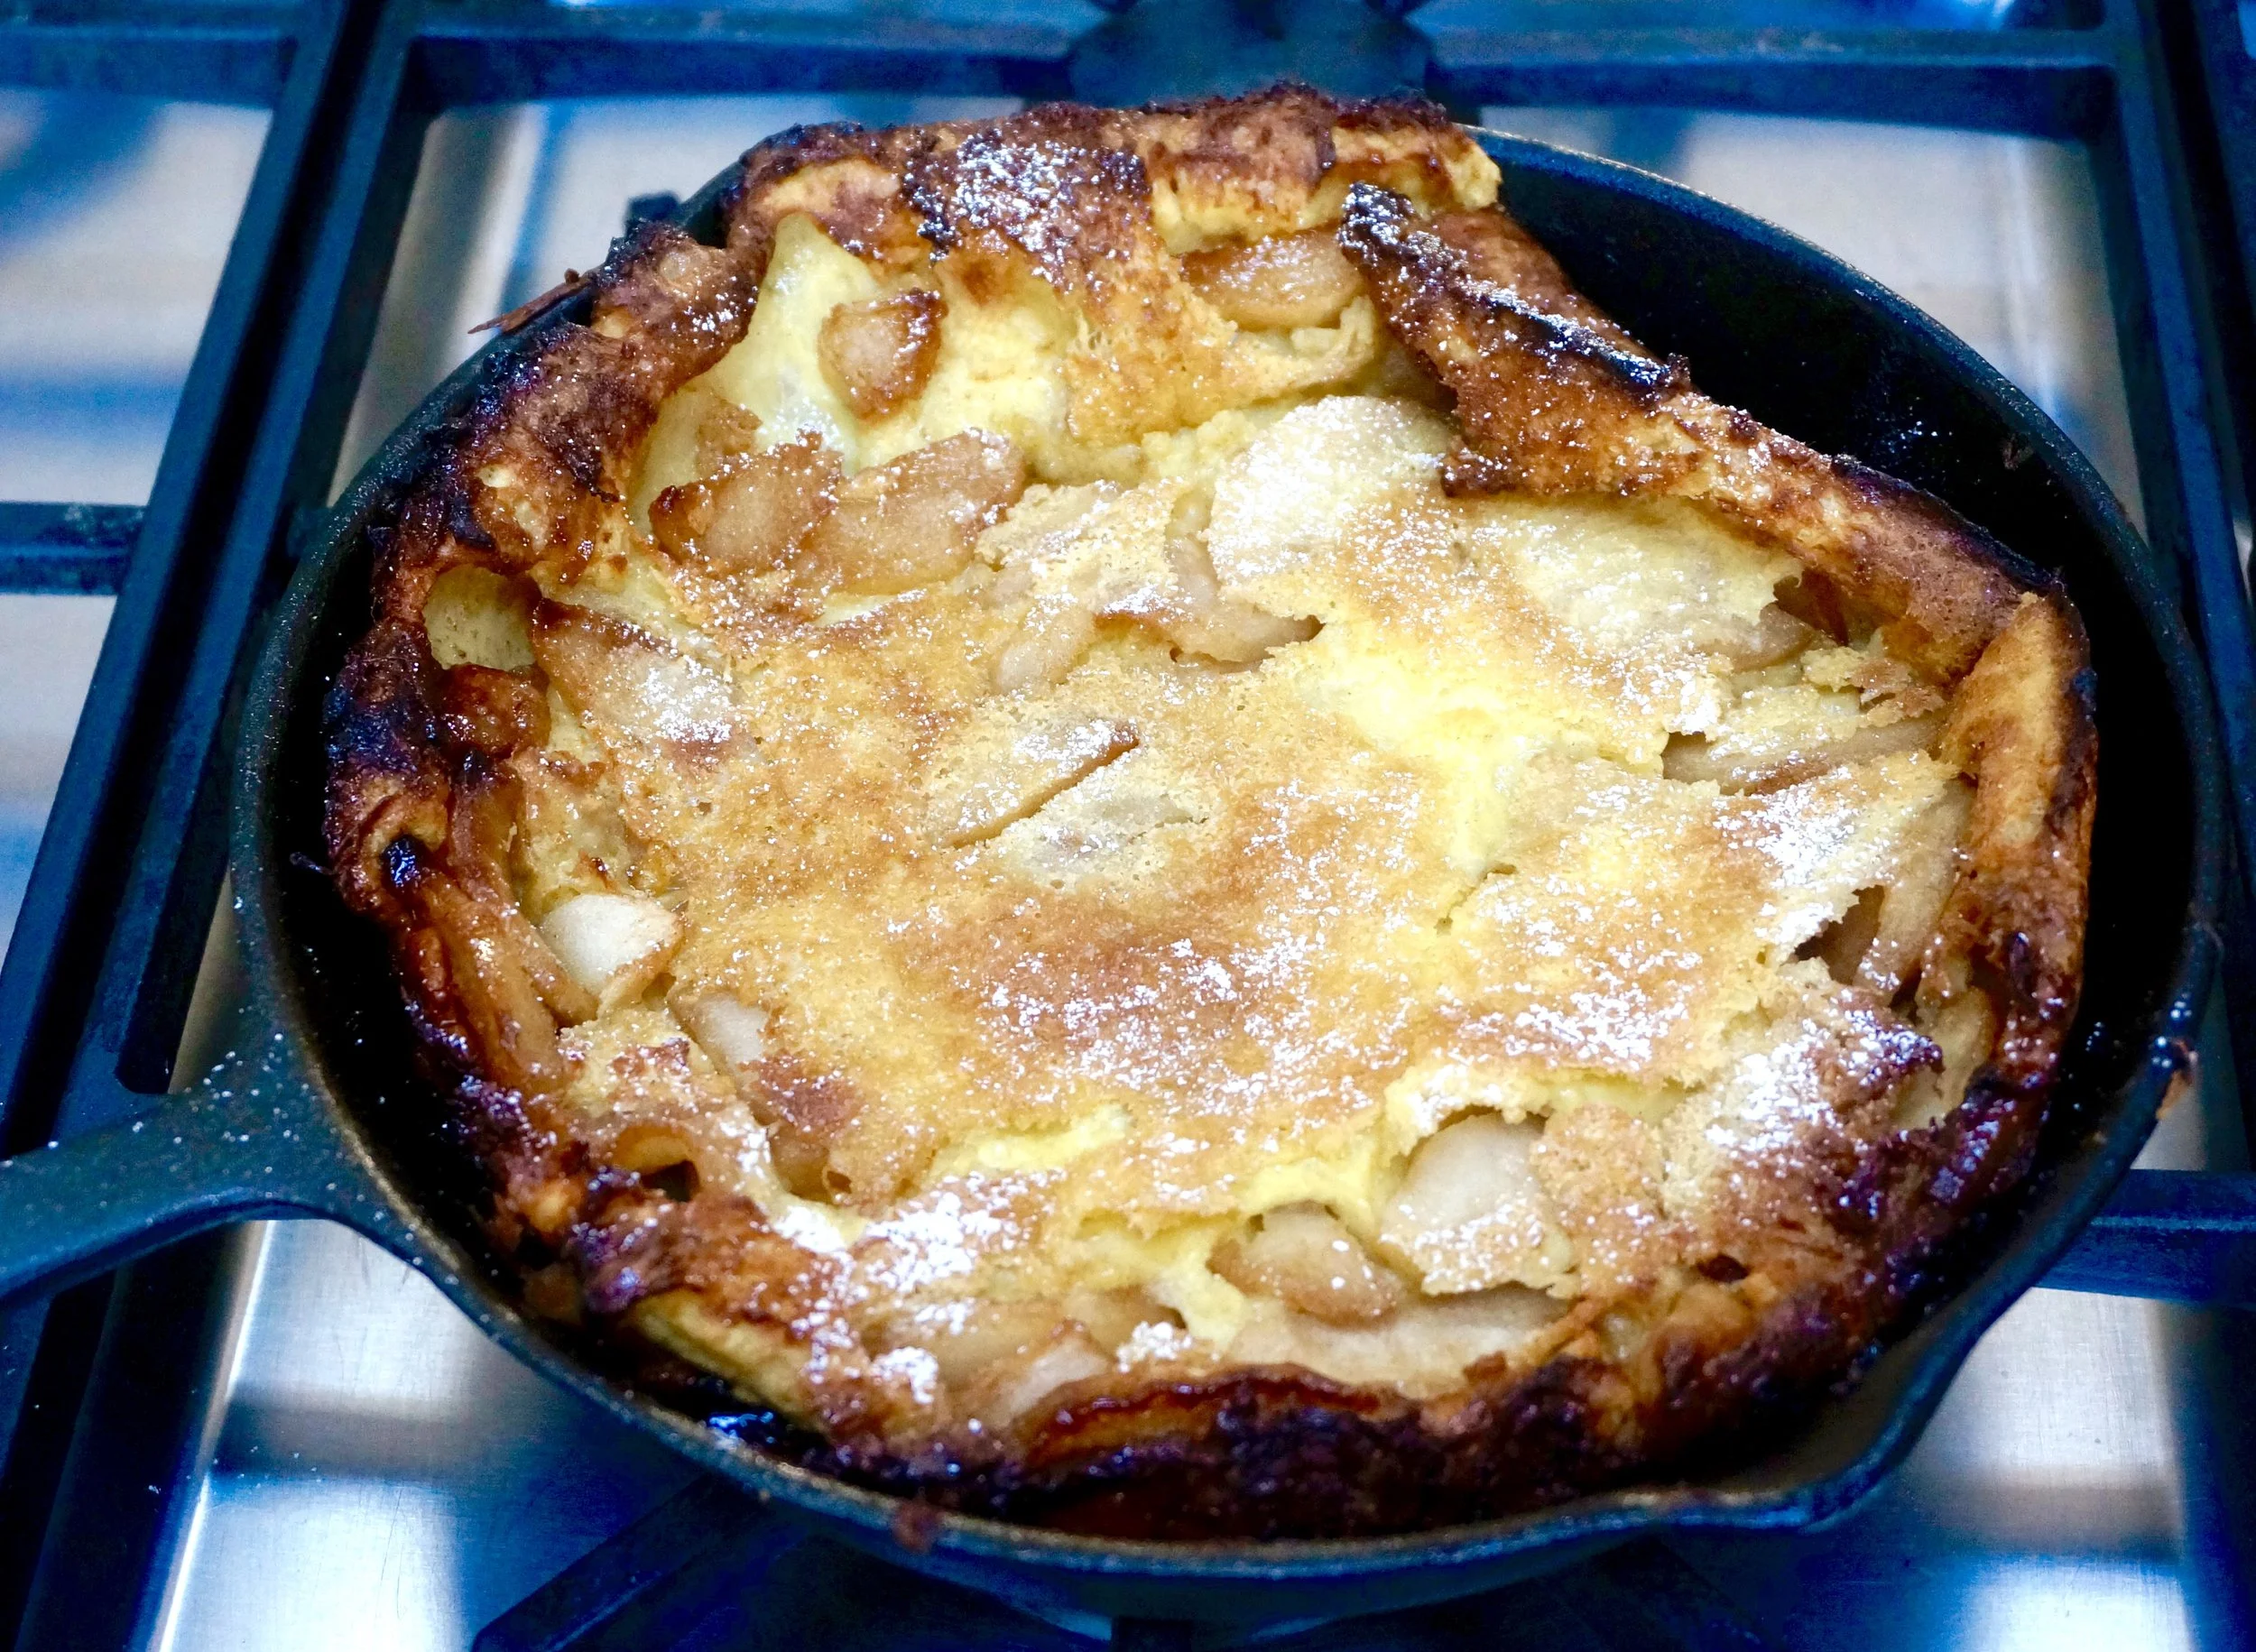
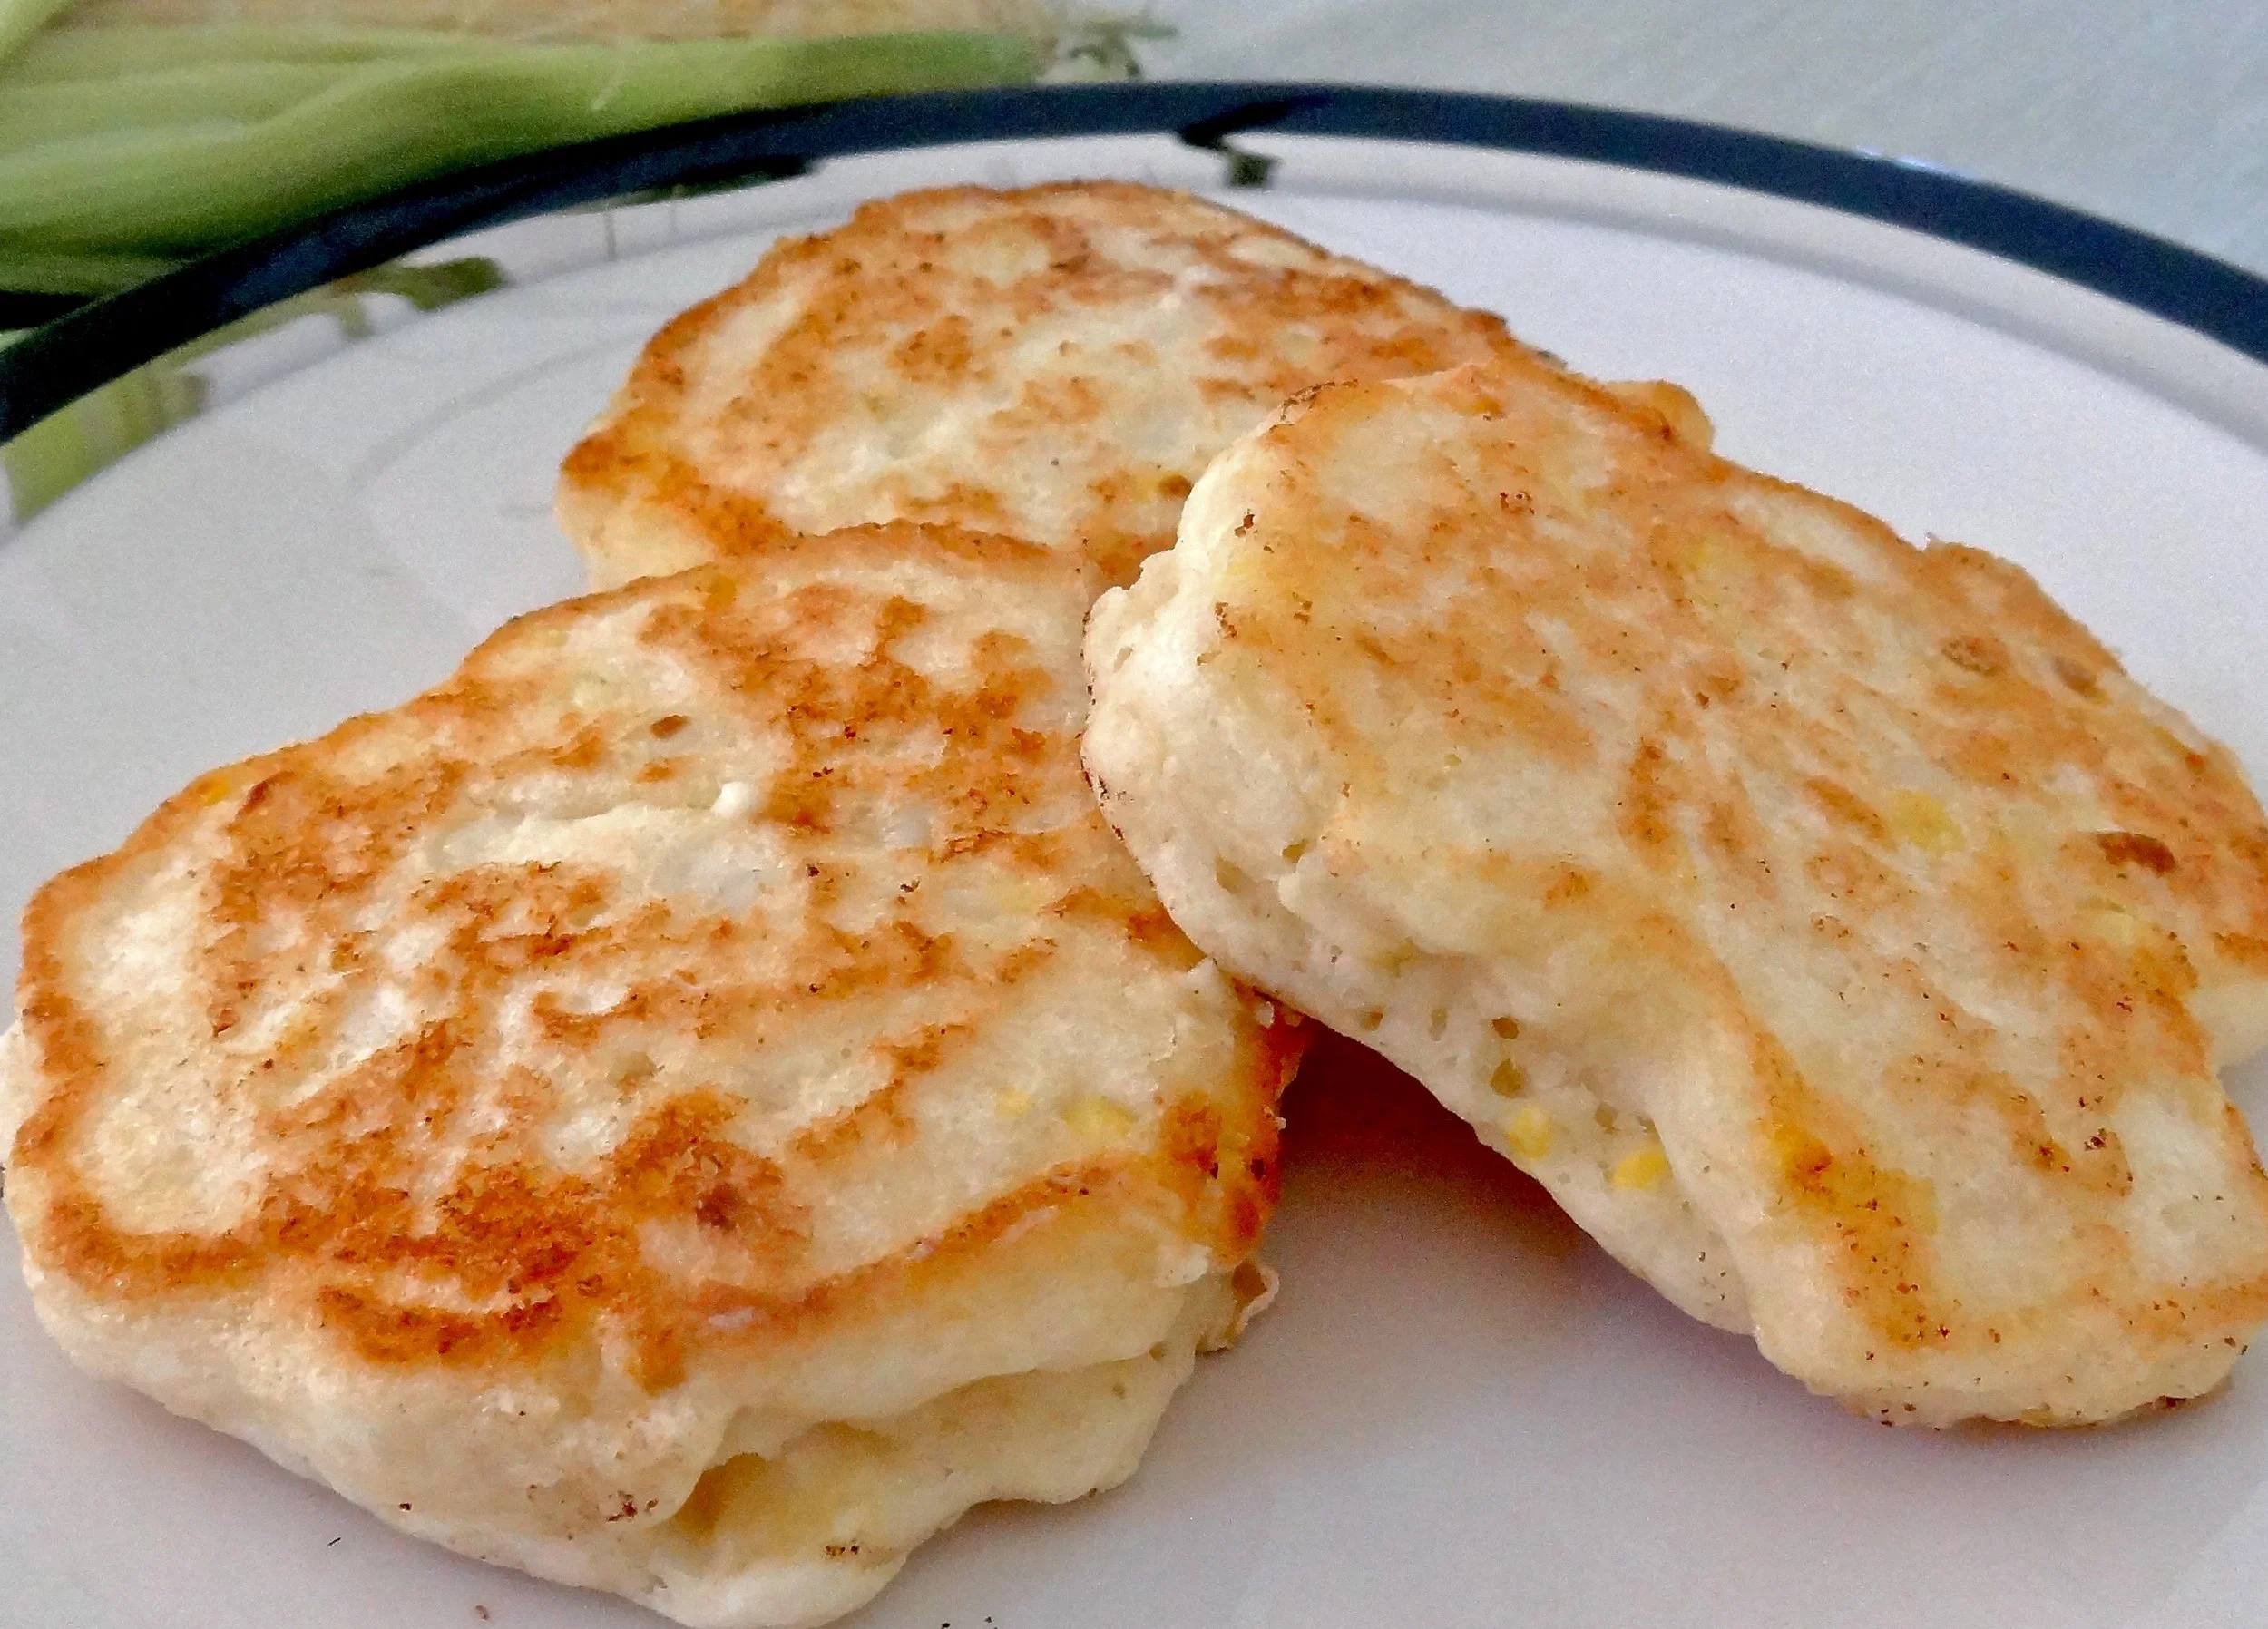
Today is Shrove Tuesday, a Christian holiday, the day before Lent, when it has been traditional to eat pancakes. So it’s also known as Pancake Tuesday. I like that! Anyone can relate to pancakes! And enjoy a day feasting on some! Especially if the pancakes are my Mom’s Corn Fritters. Crispy on the outside, soft and puffy within and loaded with corn. For breakfast, lunch or dinner. With a little (lot?) real maple syrup.

CORN FRITTERS

2 tablespoons butter
1 large egg
1 cup milk
2 cups cooked corn kernels
1-1/4 cups all-purpose flour
1 tablespoon baking powder
1 teaspoon sugar
1-1/4 teaspoons salt (or to taste
butter for frying
maple syrup, optional


Melt the butter and set it aside to cool. In a bowl, beat the egg and milk together. Stir in the cooled melted butter and the corn kernels. In a second bowl, mix the flour, baking powder, sugar and salt; add this to the corn mixture and stir ingredients gently to blend them together. Heat a small amount of butter in a saute pan over medium heat (about 2 teaspoons). When the butter has melted and looks foamy, spoon the corn batter by the 1/4-cupful into the pan, leaving some space between each one. Cook for about 2 minutes or until the bottom has browned. Flip the pancakes and cook for another 1-2 minutes or until the second side is brown. Use more butter in the pan as needed. Serve with maple syrup if desired.

Makes 6-8 servings

Grandma's Stewed Fruit

Many of us over a certain age remember Grandma’s stewed fruit!

I call this Grandma’s Stewed Fruit even though it is way different than my grandma’s version, but I’m the grandma now……. and this is one of the many ways my grandkids have tasted this iconic dish.

It is one of the dishes I cooked for my Tu B’shevat class last week at Temple Beth El in Stamford, CT. I’ve made this so many times and keep changing the fruit, depending on what I actually have in my cupboard. The poaching liquid too — sometimes I use a different juice or add some white wine (I particularly love a German sweet wine). And of course — the seasonings. Cinnamon is always good but there’s also cloves, cardamom, dried coriander, mace, etc. to consider.

It’s always delicious, no matter how you cook it.

Eat some with yogurt for breakfast. Use it for dessert! Remember this for Passover. Or Break-the-fast. It’s versatile, attractive, useful, make-ahead! No wonder this is such an icon of Jewish cuisine.

Grandma’s Stewed Fruit 

  • 2 cups orange or orange/pineapple juice

  • 1-1/2 cups water

  • 1/4 cup maple syrup

  • 1 3” cinnamon stick

  • 2 tablespoons chopped crystallized ginger

  • 1 teaspoon cloves

  • 6-8 whole dried figs

  • 6-8 pitted Medjool dates

  • 1 cup dried apricot halves

  • 8-10 prunes

  • 1/2 cup golden raisins

Place the water, juice, maple syrup, cinnamon stick, ginger and cloves in a saucepan large enough to hold all the fruit. Bring to a boil over high heat. Turn the heat to medium-low and simmer for 15 minutes. Add the figs, dates, apricots, prunes and raisins and simmer another 15-20 minutes or until the fruit is soft. Let the fruit cool in the pan. Discard the cinnamon stick and cloves. Let cool. Serve with the poaching liquid.

Makes 8 servings


Shakshuka

Lately, Ed and I have not been in the mood for a meat meal, so I make pasta or pizza or a big salad and such. These days it’s really easy (also delicious) to put together a tasty vegetarian dinner. One of our favorites is Shakshuka - originally a North African dish but popular everywhere now. I season it differently from time to time (there’s a good recipe for Indian style Shakshuka right here on my website). But this one is my old standby. It’s seasoned with basil, which I realize is not traditional in North Africa or anywhere in the Middle East. But we like it this way. We also prefer a thick, chunky tomato base rather than a more sauce-like version that’s typical of restaurant Shakshuka that we’ve tried. Here it is; it’s a nice dinner but also a feast of a weekend breakfast.

SHAKSHUKA

  • 1/4 cup olive oil

  • 1 medium onion, chopped

  • 1 red bell pepper, deseeded and chopped

  • 2 small habanero or other chili peppers, deseeded and finely chopped

  • 1 large clove garlic, finely chopped

  • 6-8 plum tomatoes, chopped

  • 1 tablespoon chopped fresh basil

  • 1 tablespoon lemon juice

  • 8 large eggs

  • 3/4 teaspoon zatar

Heat the olive oil in a large sauté pan over medium heat. Add the onion, bell pepper, and habanero peppers. Cook for 4–5 minutes or until softened slightly. Add the garlic and cook briefly. Add the tomatoes, basil and lemon juice, stir, cover the pan, turn the heat to low and cook for 8–10 minutes, stirring occasionally, or until vegetables are very soft. Crack the eggs into a small bowl one at a time then transfer each one next to the other over the vegetables. Cover the pan and cook for 4–5 minutes or until the eggs are set but yolks are still slightly runny. Sprinkle with zatar. Serve each person 2 eggs and some of the vegetables.

Makes 4 servings

Blueberry Buttermilk/Yogurt Muffin

It’s not exactly blueberry season here. In fact it’s gloomy and a big rain and windstorm is likely. And I do have some blueberries that aren’t exactly perfect summer blueberries. So I decided to use them to make some blueberry muffins, which are exactly perfect and also cheerful looking enough to brighten my morning.

I usually have buttermilk in my house because I like to bake with it. I also have a canister of buttermilk powder just in case….. however, if you don’t have buttermilk you can use plain kefir or yogurt (stir it to loosen it a bit) or use 1 tablespoon lemon juice plus enough milk to equal one cup and let it stand for 5 minutes. 

Brighten your day with these:

BLUEBERRY MUFFINS

  • 4 tablespoons butter

  • 1-3/4 cups all-purpose flour

  • 1/4 cup sugar

  • 1-1/2 teaspoons baking powder

  • 1/2 teaspoon baking soda

  • 3/4 teaspoon salt

  • 1 tablespoon grated fresh orange zest

  • 1 cup buttermilk or 1-1/4 cups plain yogurt, stirred

  • 1 large egg

  • 3/4 teaspoon vanilla extract

  • 1 cup fresh blueberries

Preheat the oven to 400 degrees. Place 10 muffin liners inside a muffin pan or lightly grease the hollows. Melt the butter and set it aside. In a bowl mix the flour, sugar, baking powder, baking soda, salt and orange zest. In a second bowl, mix the buttermilk, egg and vanilla extract. Pour the liquid ingredients plus the melted butter into the flour mixture and stir only to blend ingredients (do not mix vigorously). Fold in the berries. Drop the batter in equal amounts into the prepared muffin tin cups (the number will depend on the size of the muffins) to about 2/3 filled. Bake for 22-26 minutes, depending on size, or until a cake tester inserted into the center comes out clean.

Makes 10

Broiled Grapefruit

Broiled Grapefruit

Hanukkah’s over and I am already on to New Year’s weekend, contemplating what to serve to my cousins, who always stay for a few days.

Years ago, our “group” — the cousins, Les and Neil, plus my sister-in-law Eileen and brother Jeff — agreed that on New Year’s Eve we would have a day of hors d’oeuvres rather than a big sit-down dinner. We break the day up into separate eating times so that at noonish we will have such goodies as Almond Crusted Chicken Nuggets and Lamb kebabs and a dip or two: Potlagela and Matbucha for sure and probably hummus.

Later on we’ll feast on Pizza with Spinach, Tomato and Cheese, Romanian Cheese Turnovers and an assortment of cheese and crackers accompanied by the Pepper Jam I made last summer from the chili peppers in my garden. Maybe some Lox and Cream Cheese Spread.

Dessert — always one of the apple pies I made last fall. And I’m thinking — Irish Whiskey Cake, because it is one of the most scrumptious cakes ever created.

I used to have a New Year’s Day brunch for the group, but haven’t done that for years. It was always too much food and too much work and so it’s just the cousins and us for plain old breakfast, meaning smoked fish and bagels.

Plus fruit of some sort.

This year I decided the fruit will be one of the simplest recipes I’ve ever made. Broiled Grapefruit. Honestly, it doesn’t get easier than this:

Broiled Grapefruit

  • 4 medium red or pink grapefruit

  • 4 tablespoons turbinado (or other crystal) sugar

  • cinnamon or grated nutmeg

  • Aleppo pepper or cayenne pepper, optional

Preheat the broiler with the rack 4-6 inches below the heat. Slice each grapefruit in half,** then (preferably using a serrated grapefruit knife) cut around the edges of each half to loosen the flesh, then cut the flesh into segments inside the shell. Place the prepared grapefruit halves on a baking sheet. Sprinkle each half with equal amounts of the sugar (each whole grapefruit (2 halves) will get about one tablespoon of sugar). Sprinkle lightly with cinnamon or nutmeg. Add a hint of pepper if desired. Broil for about 6-8 minutes or until the surface is caramelized.

Makes 4 servings

**I also slice the bottom of the grapefruit halves so they are more stable on the baking pan.