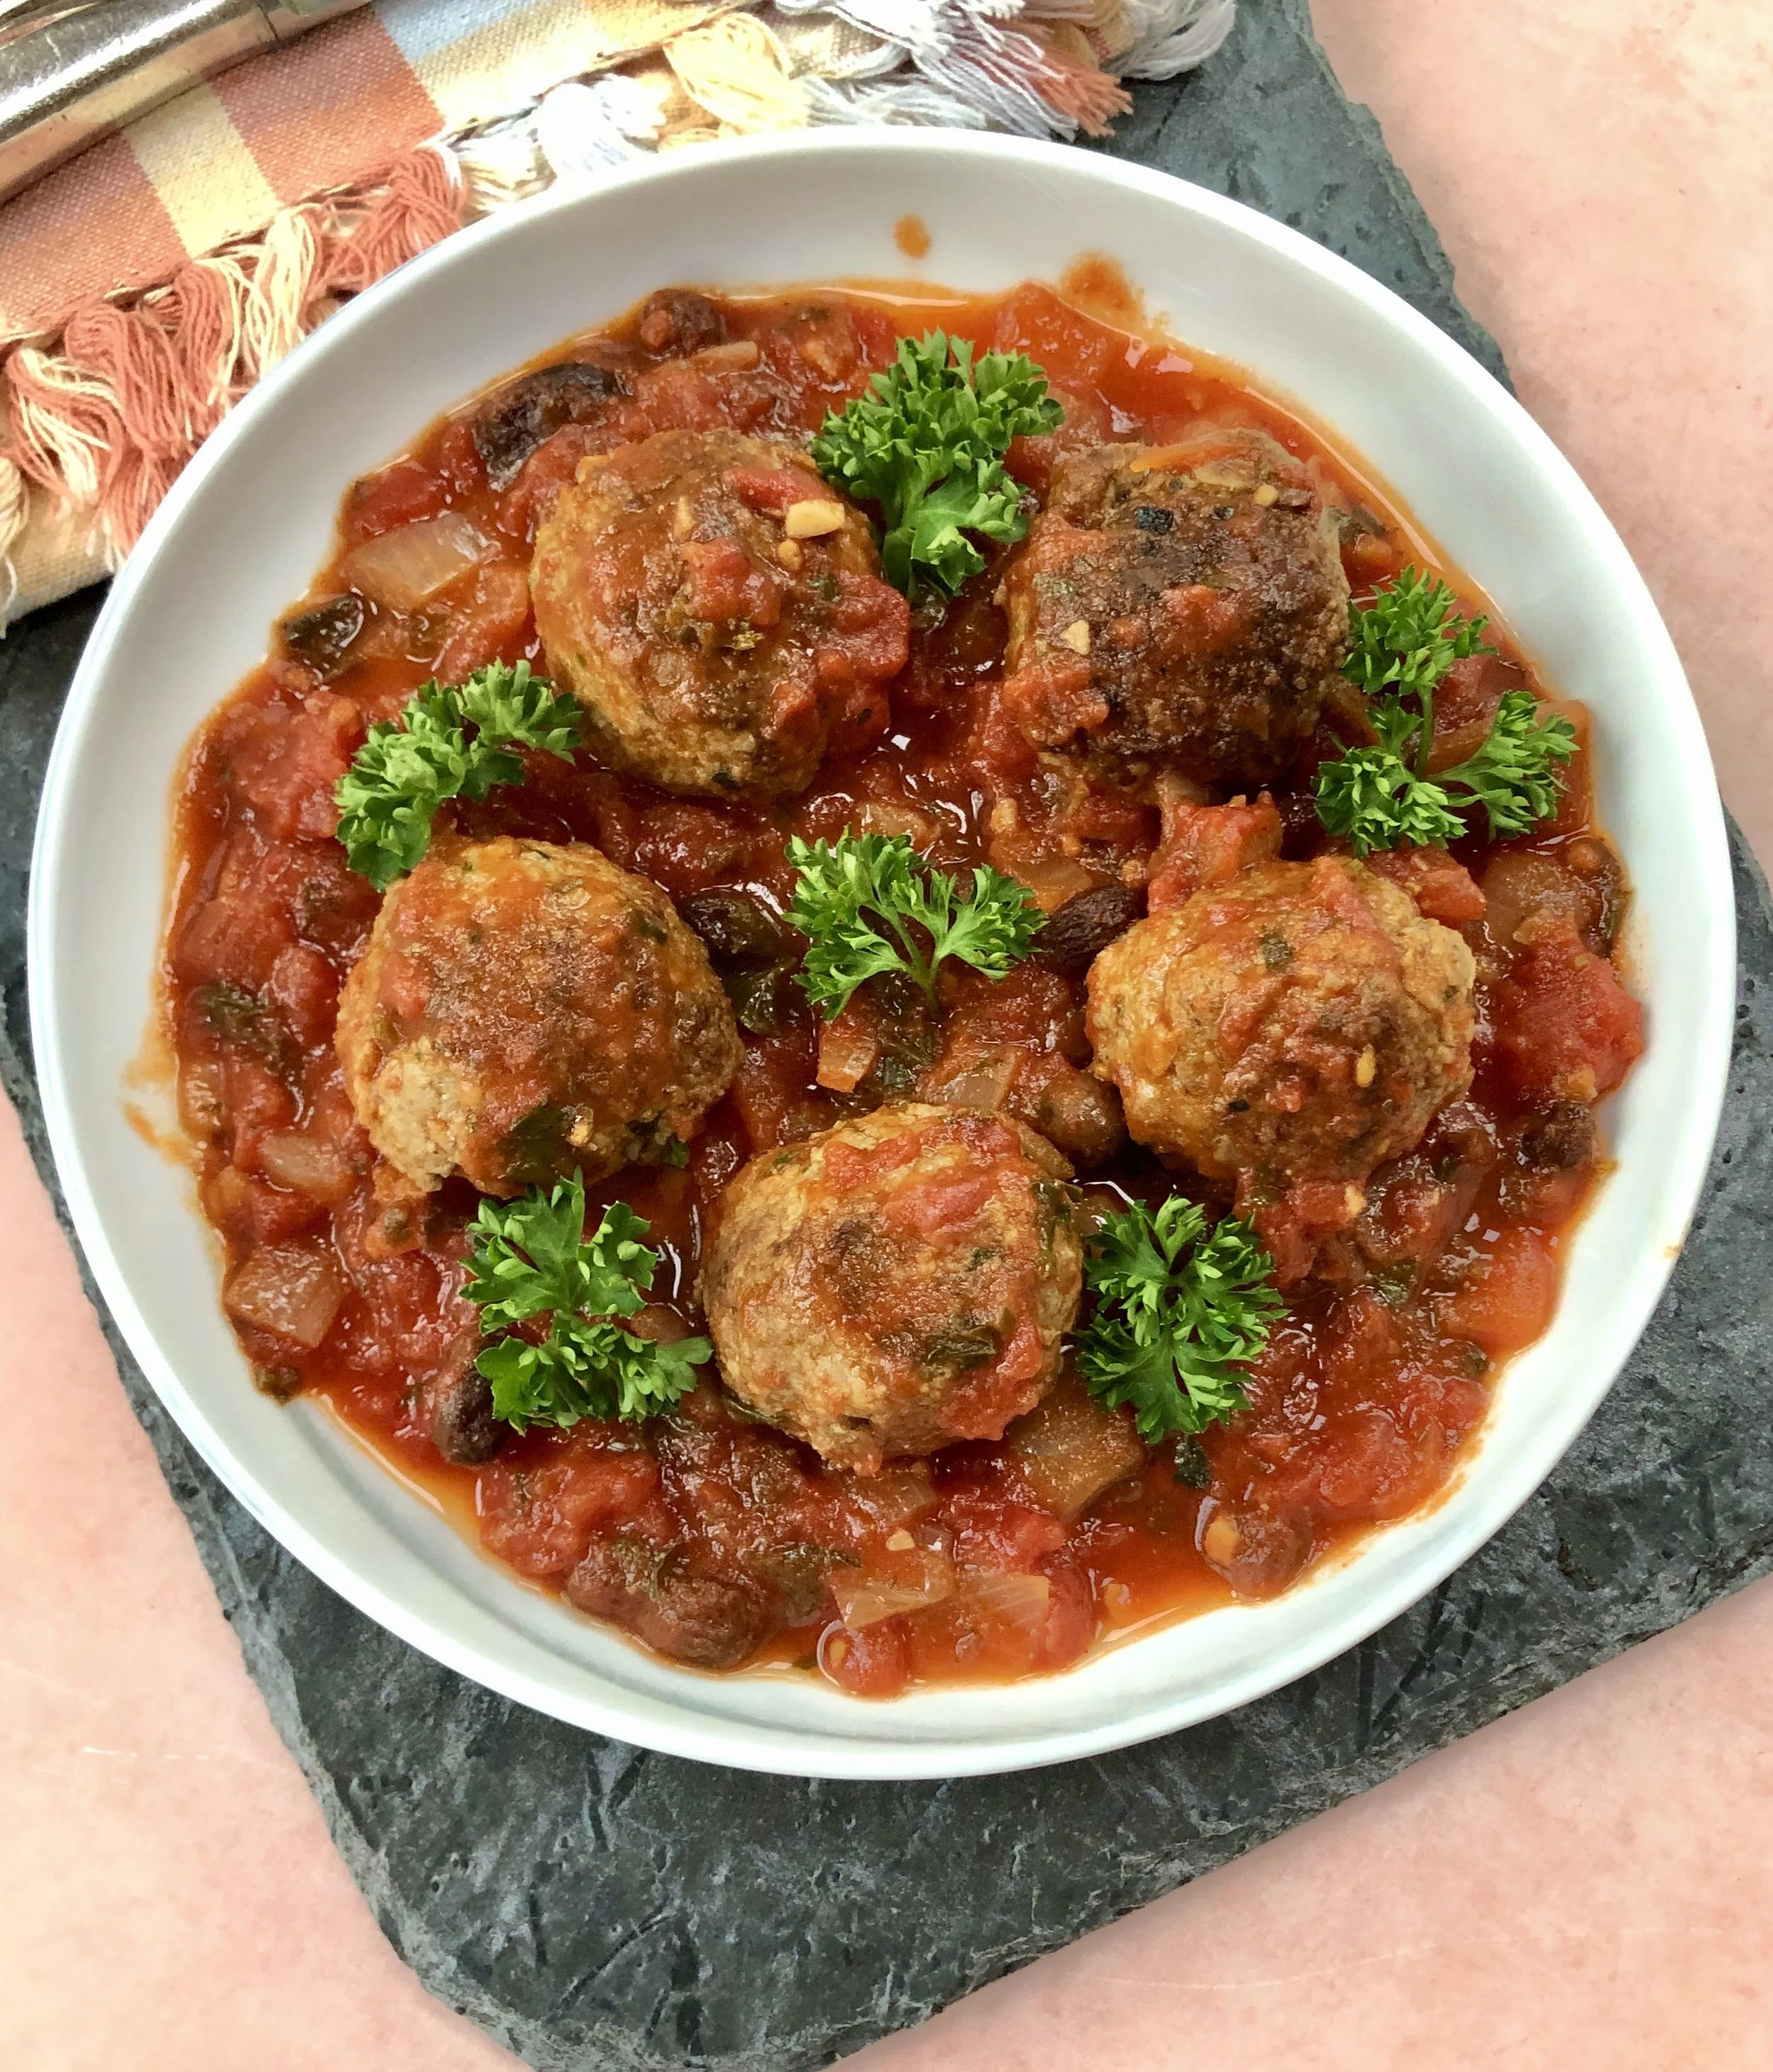
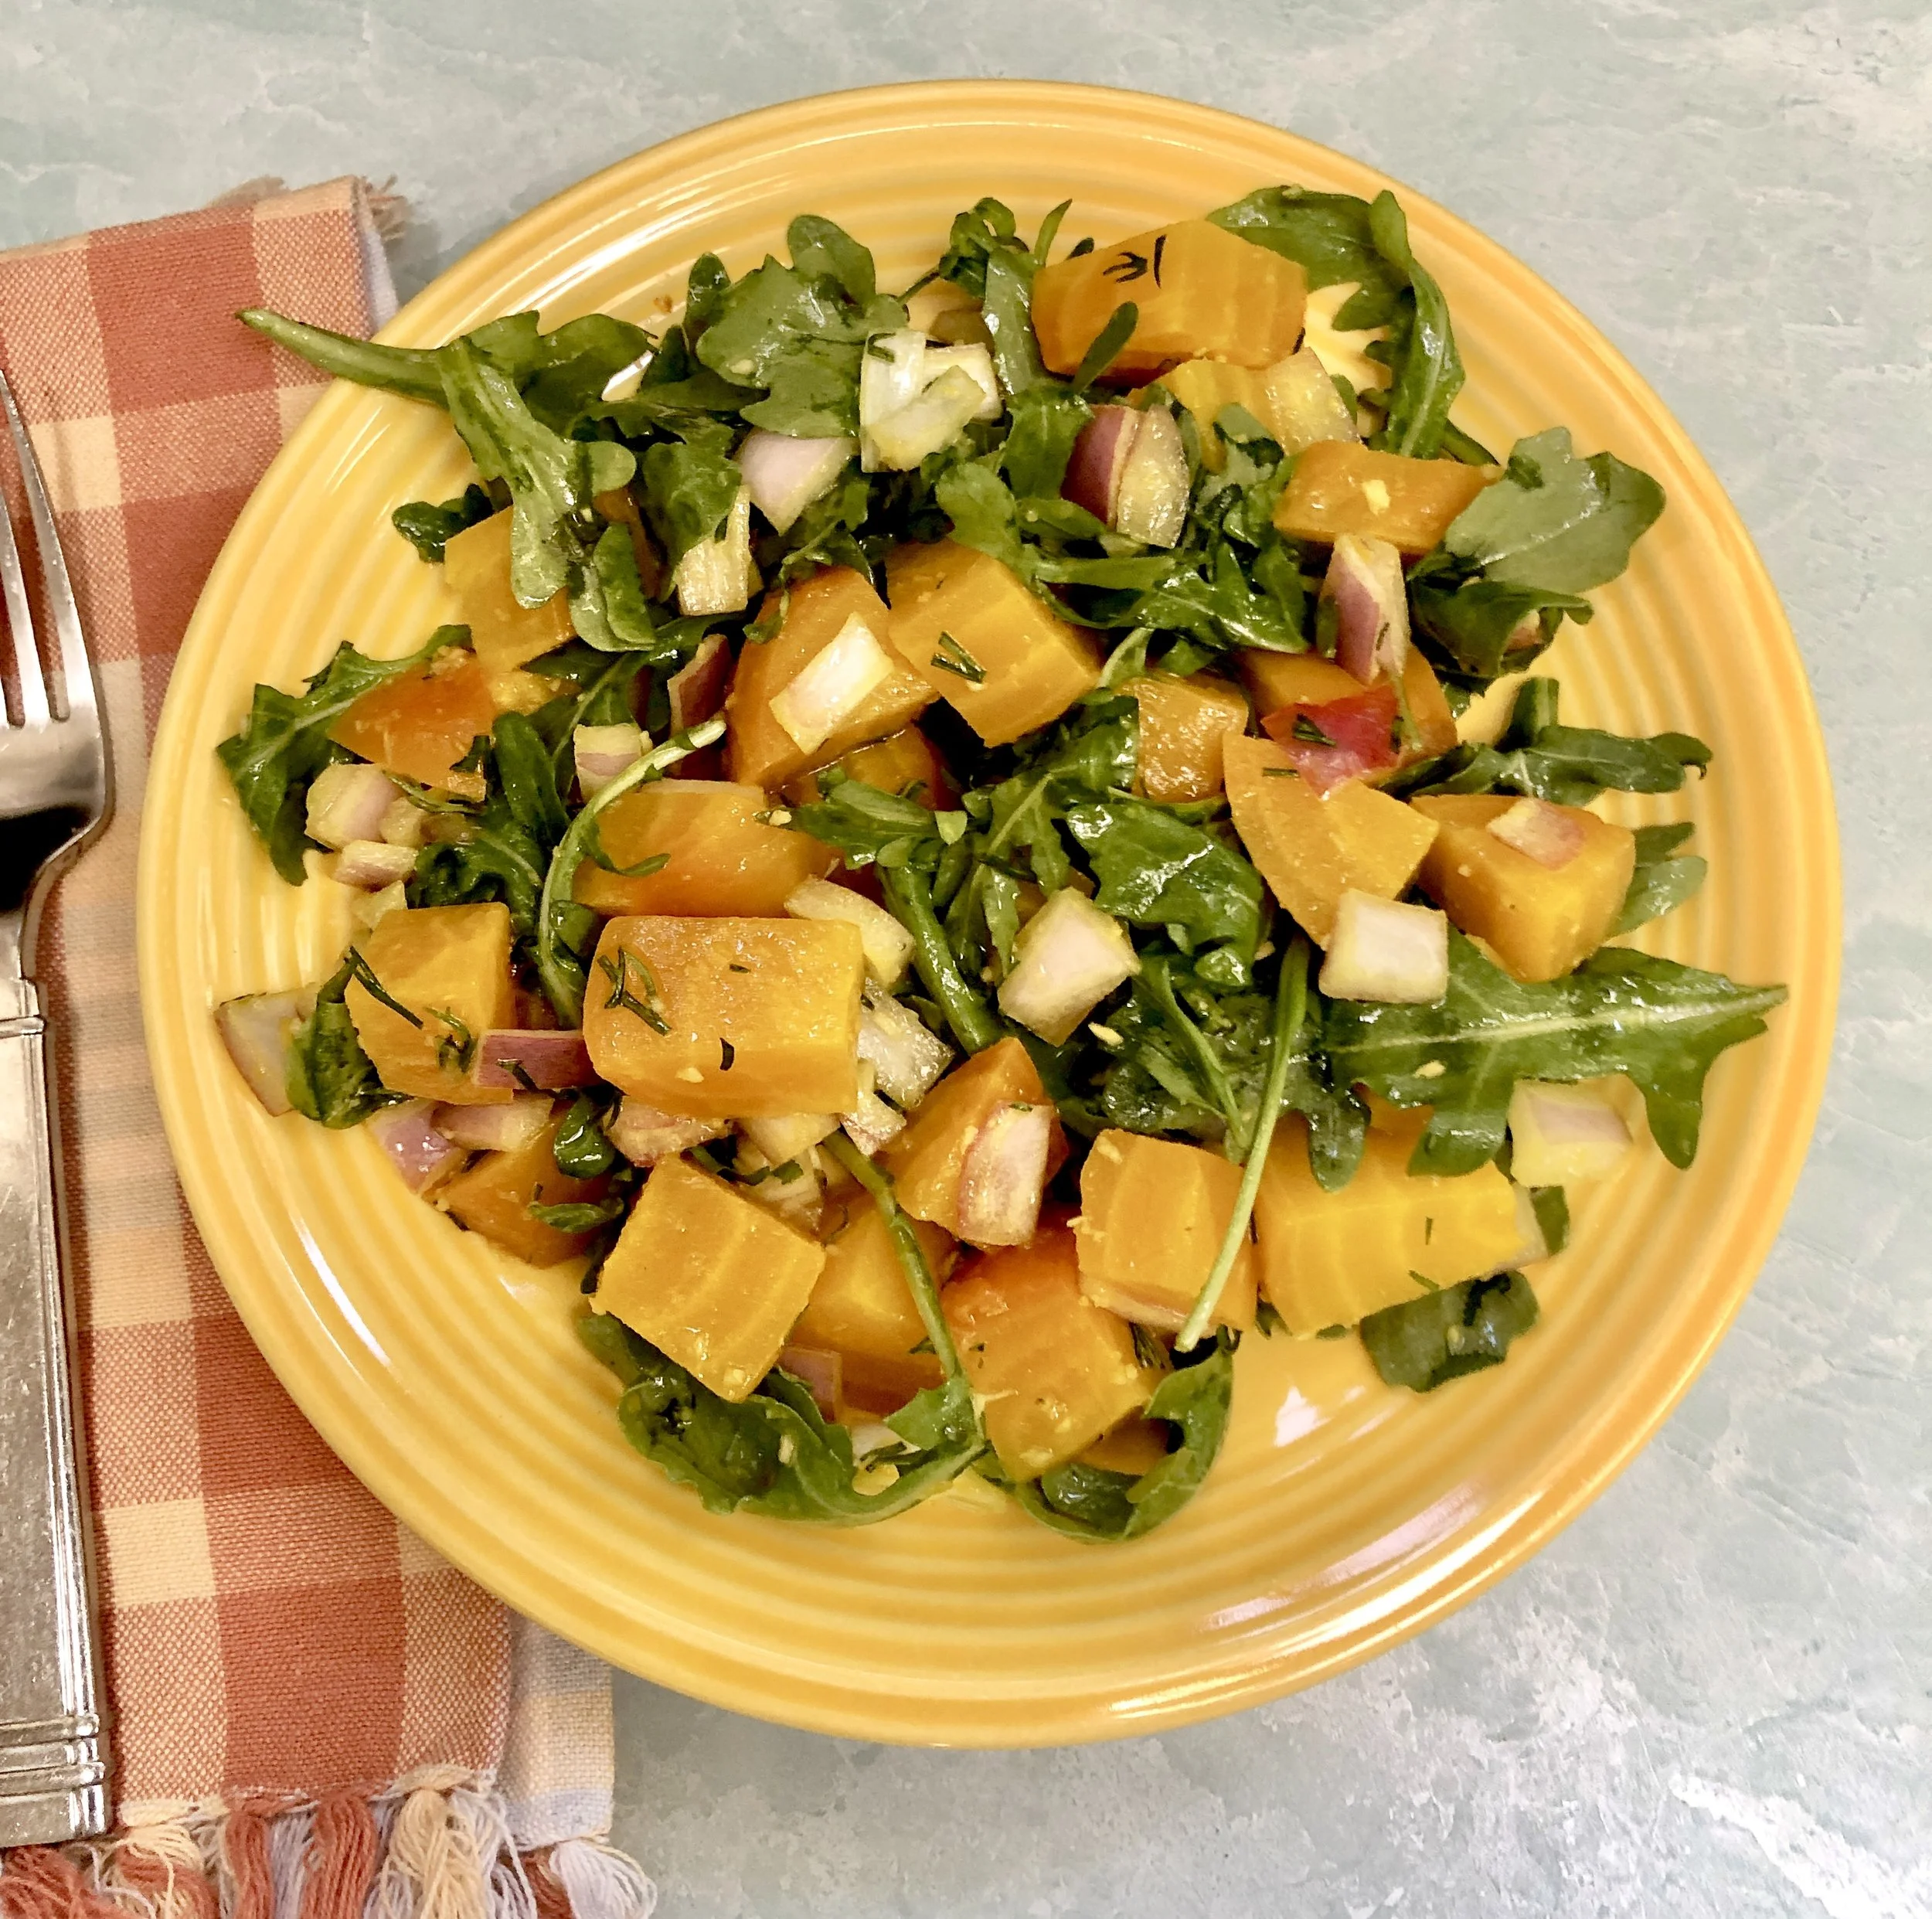
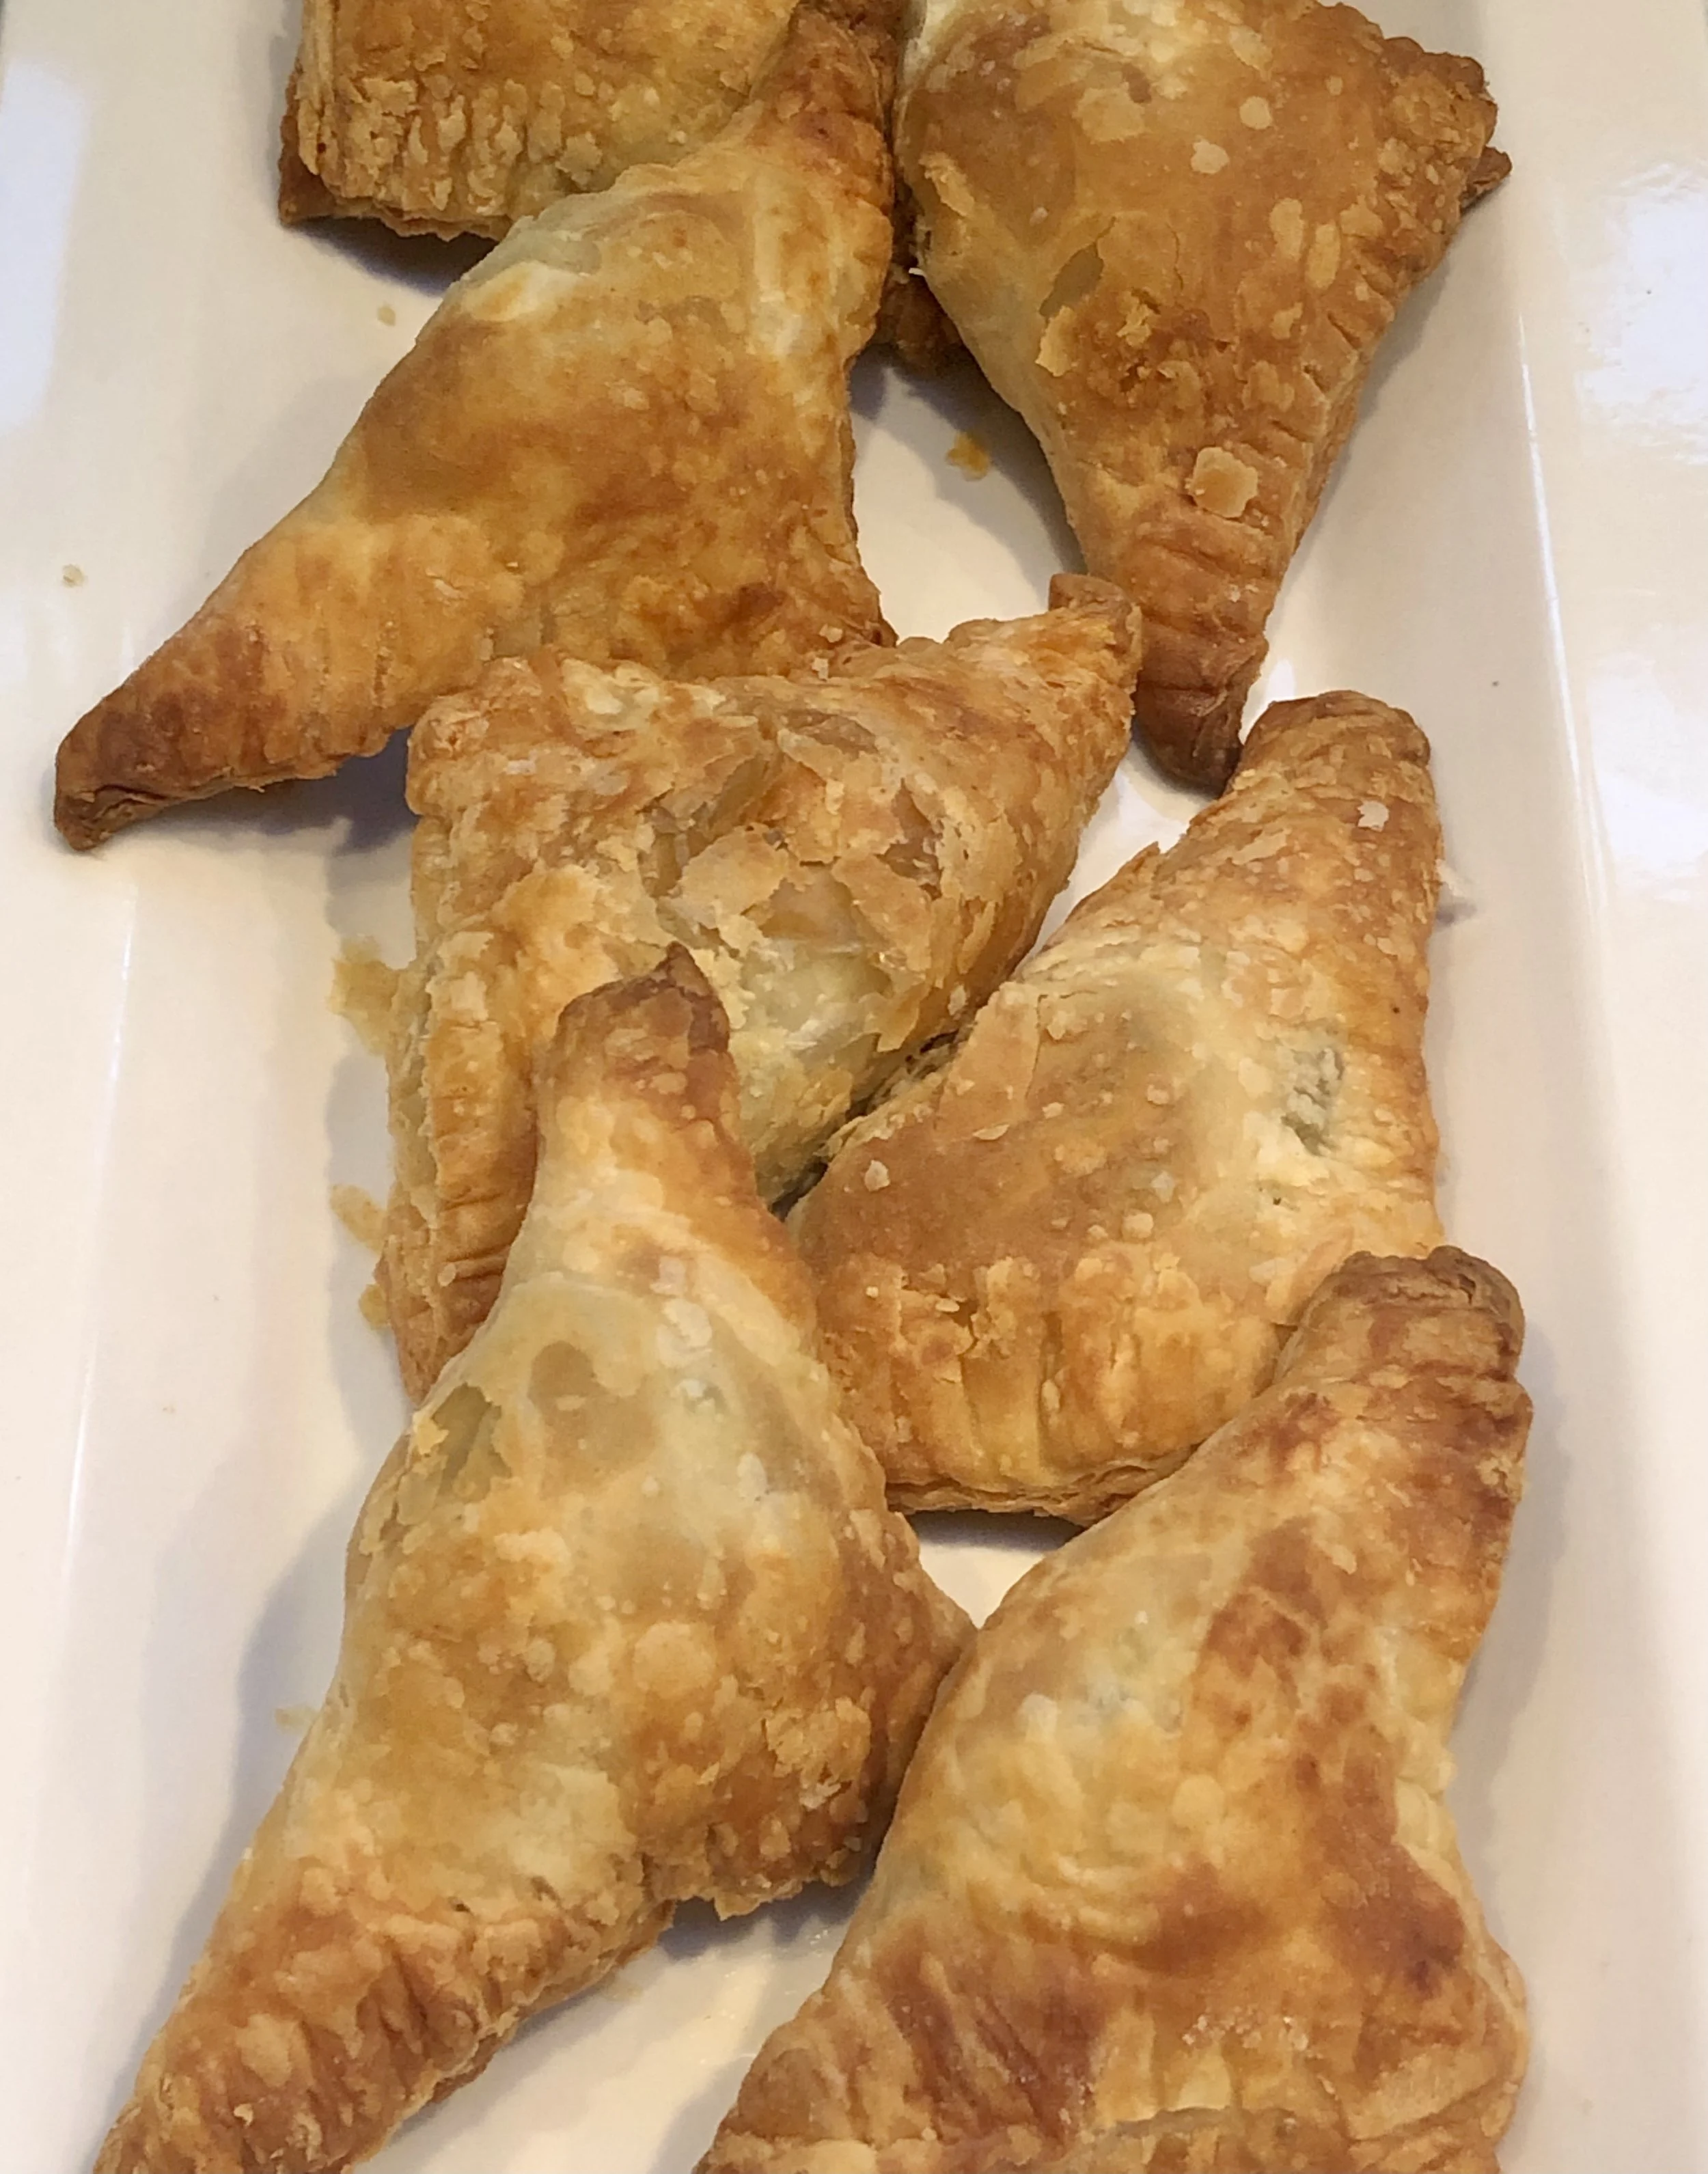
Jewish Holiday

Candied Lemon Peel

Remember the lemon that blossomed, bloomed, matured and turned yellow in my family room? I used the peel to make candied lemon peel! I am feeling joyous about this. Not just because I got an actual lemon from a house plant! But because the peels are so outrageously delicious. Which is why I say the recipe serves 1-4 people. Because I finished almost all of it all by myself. What did I do with the juice? Stay tuned ….

CANDIED LEMON PEEL

  • 1 large or 2 small lemons

  • Boiling water

  • 1 cup water

  • 2/3 cup sugar

  • 1 teaspoon sugar for coating

Peel the lemon into strips, being careful not to include any of the lemon flesh. Scrape the white part to remove any excess pith, but leave some pith (it adds good texture). Cut the strips into narrower strips. Place the strips in a bowl and cover with boiling water. Let stand for 3 minutes. Repeat this process one time. Drain the peels and set them aside. Place the cup of water and 2/3 cup sugar into a saucepan and bring to a boil, stirring until the sugar dissolves. Add the peels. Bring to a boil, then turn the heat to low and simmer for about 45 minutes or until the strips are soft and translucent. Drain the strips (save the liquid for use in other recipes, cocktails or other beverages) and place them on a dish. Sprinkle with the teaspoon of sugar and toss to coat them completely. Place the strips in a single layer on a cookie sheet or some parchment paper. Let cool. Makes 1-4 servings #lemon #lemonpeel #candiedlemonpeel #candiedpeel

Tomato Jam

The Jewish holidays of Shemini Atzeret and Simchat Torah mark the end of the year and the annual cycle of Torah readings. This joyful “ending”reminds me of school commencement which comes after the completion of required courses but means “a beginning,” a celebration of accomplishments but with a look to the future.

We’re done; it’s time to look ahead.

With this in mind, this year my Shemini Atzeret and Simchat Torah menu will focus on the end of the vegetable garden I planted last spring and using the harvest in new ways.

All summer we were blessed with fresh tomatoes that I used for sandwiches, salads, pizzas and sauce. And fresh chili peppers that went into mango salsa and roasted pepper soup. But recently we had a horrific rain storm that more or less put an end to my garden. I harvested the not so beautiful end of season tomatoes and cooked them into jam: Green Tomato Jam and, with the ripe red tomatoes, this simple Red Tomato Jam.

This was such a delicious way to make use of what was left! It’s vaguely sweet, with a hint of cumin. So far I’ve used the jam for grilled cheese sandwich and also as a spread for a cheese board.

Next: a topping for either burgers or steak.

There’s more to come of course. I’ll keep you posted.

New beginnings.

RED Tomato Jam

  • 2 pounds tomatoes, preferably plum tomatoes

  • 1 tablespoon olive oil or avocado oil

  • 3 medium scallions, chopped

  • 1 chili pepper, deseeded and chopped

  • 1-1/4 cups sugar

  • 2 tablespoons apple cider vinegar

  • 1 tablespoon lemon juice

  • 1/2 teaspoon salt

Bring a large pot of water to a boil, add some of the tomatoes, cook them for 20 seconds then place them under cold running water. Continue with the remainder of the tomatoes. Remove the skins from the tomatoes and chop them into small pieces. Heat the olive oil in a saucepan over medium heat. Add the tomatoes, scallions and chili pepper and cook for 4-5 minutes to soften them slightly. Add the sugar, apple cider vinegar, lemon juice and salt, mix thoroughly, bring the ingredients to a boil and turn the heat to low. Cook for about 1-1/2 to 2 hours, stirring occasionally, or until the mixture is thick and jam like.

Makes about 2 cups

Vegetarian Stuffed Red Pepper Halves

Sukkot, which begins at sunset September 29th, is a harvest holiday, which means that in addition to all the ritual and religions traditions, there’s lots of food, especially stuffed foods which are proof of the harvest bounty of fruits and vegetables.

Like stuffed peppers.

I have made stuffed peppers many times for Sukkot, but in recent years have found it easier to cut them into halves. The halves are still filled, but easier to cook and to eat. They are also easier to tote to a Sukkah.

This is one of the versions that my family has loved. I’ve made it with both Israeli and Moroccan couscous and also with rice and barley. The point is to include a starchy pasta or whole grain.

Btw, I cut the peppers in the middle, into top and bottom halves but obviously you can cut them from the stem down and have two top-and-bottom halves.

Vegetarian Stuffed Red Pepper Halves

  • 4 red bell peppers

  • 1/2 cup couscous (or use rice, barley, etc.)

  • 2 tablespoons olive oil

  • 1 medium onion, chopped

  • 2 cups halved cherry or grape tomatoes

  • 1 cup thawed frozen peas

  • 2 beaten eggs

  • 1 cup shredded mozzarella cheese

  • 3 tablespoons grated Parmesan cheese

Preheat the oven broiler. Cut the peppers in half. Discard the stems and seeds. Place the pepper halves, skin side up, on a parchment paper lined baking sheet. Broil the pepper halves for 4-5 minutes or until the skin darkens and blisters. Remove the peppers, wrap them in foil or place them in a bag and let them cool. When cool, remove the skin and place the pepper halves, hollow side up, on a parchment paper lined baking sheet. Set aside. Turn the oven to 425F.

Cook the couscous. Place the cooked couscous in a bowl and set aside. Heat the olive oil in a saute pan over medium heat. Add the onion and cook 2-3 minutes. Add the cherry tomatoes and peas and cook 1-2 minutes. Remove from the heat and add to the cooked couscous. Pour the eggs into the pan and cook, stirring, until the eggs are set. Place them on a cutting bord and chop them into small pieces. Add them to the couscous. Spoon equal amounts of the couscous mixture inside the pepper halves. Sprinkle with equal amounts of mozzarella cheese, then sprinkle with Parmesan cheese. Bake for 12-13 minutes or until the cheese has melted and begins to turn golden brown.

Makes 4-8 servings


Honey-Balsamic Glazed Carrots

Need a last minute side dish for Rosh Hashanah? Carrots are traditional for the holiday and few recipes are as easy as this one.

Bonus: set them up ahead and cook just before you need them.

Best of all: they are exceedingly delicious!

Honey-Balsamic Glazed Carrots

  • 2 tablespoons olive oil

  • 2 tablespoons honey

  • 2 tablespoons Balsamic vinegar

  • 1 pound carrots, peeled and cut into 1/2-inch slices

  • 1 large clove garlic, finely chopped

  • salt and freshly ground black pepper to taste

  • 2 tablespoons chopped fresh chives (or use the green part of scallion)

Preheat the oven to 400 degrees F. Line a baking sheet with parchment paper. Place the olive oil, honey and Balsamic vinegar in a small saucepan and bring to a boil over high heat. Cook briefly, just long enough for the honey to soften and become easy to pour. Set aside. Pace the carrots and garlic on the parchment lined cookie sheet. Pour the honey mixture on top and toss the carrots to coat all the pieces. Sprinkle with salt and pepper to taste. Roast for about 30 minutes, tossing the ingredients 2-3 times during that time, or until the carrots are lightly browned and tender. Spoon the carrots onto a serving dish and sprinkle with chives.

Makes 4 servings

Brisket with BBQ Glaze

I was never a big brisket fan. Soft, wet, brown meat just isn’t my thing. My mother, who was a very good cook, and every other woman in the family, served the meat with pan juices and overcooked onions and carrots.

It was one of the only recipes of my Mom’s that I didn’t like.

So when it was my turn as woman of the house this was not a dish I ever cooked for the holidays.

Then my sons-in-law came along and wanted to know “where’s the brisket?”

I had to find a way that satisfied the whole crew.

After a while I discovered Texas style barbecued brisket: tender meat glazed with thick, tangy sauce and crispy ends and outsides. It was a transformative moment, gastronomically speaking

I wish my Mom was here to try it!

Brisket is expensive, so I don’t make it often, but when I do I always pre-cook it to tenderness this way, then glaze it with barbecue sauce (instructions for when to do what are in that post too).

This year, this is the sauce I am using:

Texas Style Brisket

  • 2 tablespoons olive oil

  • 1 large onion, finely chopped

  • 1 medium clove garlic, chopped

  • 1 teaspoon finely chopped chili pepper

  • 2 cups ketchup

  • 1/2 cup apricot jam

  • 1/2 cup orange juice

  • 1/4 cup honey or maple syrup

  • 1/2 cup apple cider vinegar

  • 1/2 cup brown sugar

  • pinch of ground cloves

  • pinch or two of freshly grated nutmeg

Pour the olive oil into a saucepan over medium heat. Add the onion and cook for about 2 minutes or until slightly softened. Add the garlic and chili pepper and cook briefly. Add the ketchup, jam, orange juice, honey or maple syrup, apple cider vinegar, brown sugar, cloves and nutmeg and stir to blend them. Bring the mixture to a boil, reduce heat to simmer. Cook uncovered, stirring frequently, for about 15 minutes or until thick.

Makes about 2-1/2 cups

Israeli Couscous with Seven Vegetables

It isn’t my Ashkenazi family tradition, but among North African Jews, and particularly Moroccan Jews, there’s a fabulous dish served on Rosh Hashanah: Couscous with Seven Vegetables.

I’ve cooked versions of this dish several times mostly because it sounded so delicious and also because I am always on the lookout for a good, festive and filling vegetarian entree.

This one satisfies in every way possible.

This is the recipe we like best: I used Israeli couscous rather than the traditional tiny grains of Moroccan couscous because my family likes it better. Also, I used Harissa paste (because I always have some) but you can substitute red pepper flakes or a pinch or two of cayenne pepper (or leave it out if you don’t want any pepper). My husband said he would like more raisins. Up to you…..

Israeli Couscous with Seven Vegetables 

  • 2 tablespoons olive oil

  • 1 large onion (preferably a sweet variety such as Vidalia), sliced

  • 1 teaspoon finely chopped fresh ginger

  • 1 clove garlic, finely chopped

  • 4 carrots, peeled and cut into 1/2-inch slices

  • 2 medium tomatoes, cut into chunks

  • 1 parsnip, peeled and cut in 1/2-inch slices

  • 1 cup cut up bite sized butternut squash

  • 1/2 teaspoon harissa paste

  • 1/2 teaspoon ground turmeric

  • 1/2 teaspoon ground cinnamon

  • 2-1/2 cups vegetable stock

  • 1/2 large red bell pepper, cut into bite sized chunks

  • 1 small zucchini, cut into bite sized chunks

  • 1 cup raisins

  • 1 cup canned chickpeas, rinsed and drained

  • Salt to taste

  • 1-1/2 cups Israeli couscous

Heat the olive oil in saucepan over medium heat. Add the onion and cook, stirring often, for about 5-6 minutes or until softened and beginning to brown. Add the ginger and garlic and cook for 1-2 minutes. Add the carrots, tomatoes, parsnip and squash and stir the ingredients. Stir in the harissa, turmeric and cinnamon. Add the stock, bring to a boil, reduce the heat to medium low and cook for about 15 minutes. Add the bell pepper, zucchini, raisins and chickpeas. Cook for about 10 minutes more, or until vegetables are tender. Add salt to taste. Cook the couscous according to the manufacturer’s directions. Spoon the couscous on large serving platter. Spoon the vegetables and pan fluids over the couscous.

Makes 4 dinner servings, 8 side dish ervings


Rhubarb Chutney

Rhubarb has a special place in my life. My mother made it often and served it as a side dish the way most other mothers I knew served apple sauce. She used fresh rhubarb stalks when they were in season and boxes of frozen rhubarb during the rest of the year.

Everyone in my family loved it. My mother didn’t use as much sugar as most recipes said to do because we loved it tart and tangy. I make it the same way she did: mix 1-1/2 pounds of sliced rhubarb with 3/4 cup sugar and cook over medium heat, covered, for about 10 minutes. Remove the cover and cook for another 15 minutes. That’s it!

Recently I’ve also been making rhubarb chutney because its a great favorite at our house. It’s such a good accompaniment to grilled meats — chicken, beef, lamb — all of it, and I’ve also served it with salmon.

Rhubarb season is almost over so make this one while you still can! 

You can serve it with whatever you may be grilling outdoors over Labor Day weekend. Or with a classic roasted chicken for Shabbat or Rosh Hashanah brisket. It will keep in the fridge for awhile too, so you can save some for Thanksgiving.

Or give some away — it’s a delicious, edible gift!

Rhubarb Chutney

  • 1 pound rhubarb, cut into 1/2-inch slices

  • 1 cup sugar

  • 1/3 cup apple cider vinegar

  • 1 2-inch cinnamon stick

  • 1 tablespoon chopped fresh ginger

  • 6 whole cloves

  • 1 medium onion, chopped

  • 2 large cloves garlic, chopped

  • 1 cup golden raisins

Combine the rhubarb, sugar, cider vinegar, cinnamon stick, ginger, cloves, onion, garlic and raisins in a large stainless steel or enamel saucepan. Mix the ingredients and cook over high heat. When the liquid in the pan starts to bubble, lower the heat to medium and cook for about 15 minutes or until the raisins are tender and the sauce is slightly thickened. Refrigerate for at least one hour.

Makes about 3 cups


Nectarine and Blueberry Crisp

It’s getting to be that time of year in Connecticut — when the produce is at its summer peak and you know there’s only about a month to eat it up and use it up before the Jewish holidays come and we focus more on festive dinners and heartier food.

The nectarines couldn’t be better than they are right now — so here’s a treat that’s perfect for now. But here’s the thing — you can freeze this and reheat for a holiday dinner. The recipe can be either dairy or dairy-free.

Nectarine and Blueberry Crisp

  • 1 cup all-purpose flour

  • 3/4 cup old fashioned oats

  • 1/2 cup brown sugar

  • 1 teaspoon cinnamon

  • pinch of salt

  • 1/2 cup butter (or use margarine, solid coconut oil, vegetable shortening or a combination of these)

  • 3 large ripe nectarines or peaches

  • 4 cups fresh blueberries

  • 1/3 cup sugar

  • 2 tablespoons lemon juice

  • 2 tablespoons all-purpose flour

Preheat the oven to 375 degrees. Combine the 1 cup flour, oats, brown sugar, cinnamon and salt in a bowl. Cut the butter into chunks and work into the dry ingredients until the mixture is crumbly. Set aside. Cut the nectarines into chunks and place them in a bowl. Add the blueberries, sugar, lemon juice and flour and toss ingredients. Spoon into a baking dish. Top with the crumb mixture. Bake for about 45 minutes or until the top is golden brown.

Makes 8 servings

Asparagus Salad with Potatoes, Tomatoes and Feta Cheese

We’re big dairy eaters. And when the weather turns warmer, we’re big salad eaters too.

So this salad is perfect for us as summer approaches. I’ve made it a zillion times. Sometimes I substitute green beans or zucchini for the asparagus. Sometimes I use blue cheese (I’ve tried it with firm cheeses such as cheddar but prefer a soft, crumbly one). Sometimes I add leftover cooked fish, but mostly serve it as a side dish.

If you’re having a dairy meal for Shavuot, this would make a delicious first course or side dish. It’s filling, but light, so you have some room for cheese cake!

Asparagus Salad with Potatoes, Tomatoes and Feta Cheese

  • 12 baby potatoes (such as Yukon Golds or Red Bliss)

  • 1 bunch (about 12-16 ounces) asparagus, trimmed and cut into pieces about 2-inches long

  • 1 cup cut up grape or cherry tomatoes (or chopped large tomato)

  • 3 scallions, chopped or 1/3 cup chopped red onion

  • 1/4 cup olive oil or avocado oil

  • 2 tablespoons wine vinegar, approximately

  • 1/2 cup crumbled feta, blue or goat cheese

  • freshly ground black pepper to taste

  • chopped parsley or chives

Place the potatoes in a saucepan and cover with water. Bring to a boil over high heat. Turn the heat to medium and cook for about 15 minutes or until barely tender. Add the asparagus to the saucepan and cook for about 3 minutes. Drain the vegetables and cool them down under cold running water. Drain and place on paper towels to dry. Peel the potatoes and cut them into smaller pieces. Place the potatoes and asparagus in a mixing bowl. Add the tomatoes and scallion and toss the ingredients to distribute them evenly. Pour in the olive oil and toss the ingredients. Add the vinegar and toss again. Add the cheese and sprinkle to taste with pepper. Taste and add more vinegar if needed. Place in a serving bowl and sprinkle with parsley.

Makes 6 servings

Mini Khachapuri

Mini Khachapuri

Khachapuri is one of life’s culinary treasures. I’ve eaten it at restaurants, made it at home. Sometimes I make my own dough, but frequently I use store-bought pizza dough which — I confess — isn’t exactly like khachapuri dough but makes this dish much easier to prepare.

Also, cutting the classic long, boat-shaped khachapuri into single servings is fine, I’ve done it many times, but it’s much more convenient to serve individual ones. Also they’re much easier to prepare if you make them round, like pizza, rather than shape them into boats.

These days? I like easy.

So I made a recent batch of khachapuri into individual “pizzas.”

Yes, this is not the authentic way. You don’t have to tell me that. I know. I know.

But jeeeeez! They are so good! So it’s okay.

I added spinach to the last batch I made. Nope, that’s not traditional either. But it was delicious. And added some color too.

Khachapuri is a good dish any time for any meal! But because it’s a dairy — cheese item — it’s perfect for Shavuot. Hanukkah too.

Mini spinach Khachapuri

  • cornmeal

  • 3/4 cup shredded mozzarella cheese

  • 3/4 cup crumbled feta cheese

  • 1/2 cup farmer cheese (or use dry curd cottage cheese)

  • 1/2 cup chopped fresh spinach

  • 1 large egg

  • 1 pound pizza dough

  • egg yolks, optional

  • 1 tablespoon butter, cut into 8 small pieces, optional

Preheat the oven to 450 degrees F. Line a baking sheet with parchment paper. Sprinkle the paper lightly with cornmeal. Place the mozzarella cheese, feta cheese, farmer cheese, spinach and egg in a bowl and mix for a minute or so until well combined. Set aside. Cut the dough into 8 pieces. Stretch or roll each piece into a 4-inch circle. Form a higher edge around the perimeter of each circle. Spoon equal amounts of filling into the center of each circle. Place each filled circle on top of the parchment paper. Bake for about 15 minutes, until the edges are lightly browned. If desired, place an egg yolk and/or a small piece of butter on top of the filling if desired. Bake for another 5 minutes or until the pizza crust is browned.

Makes 8