shavuot

Grandma's Baked Blintzes

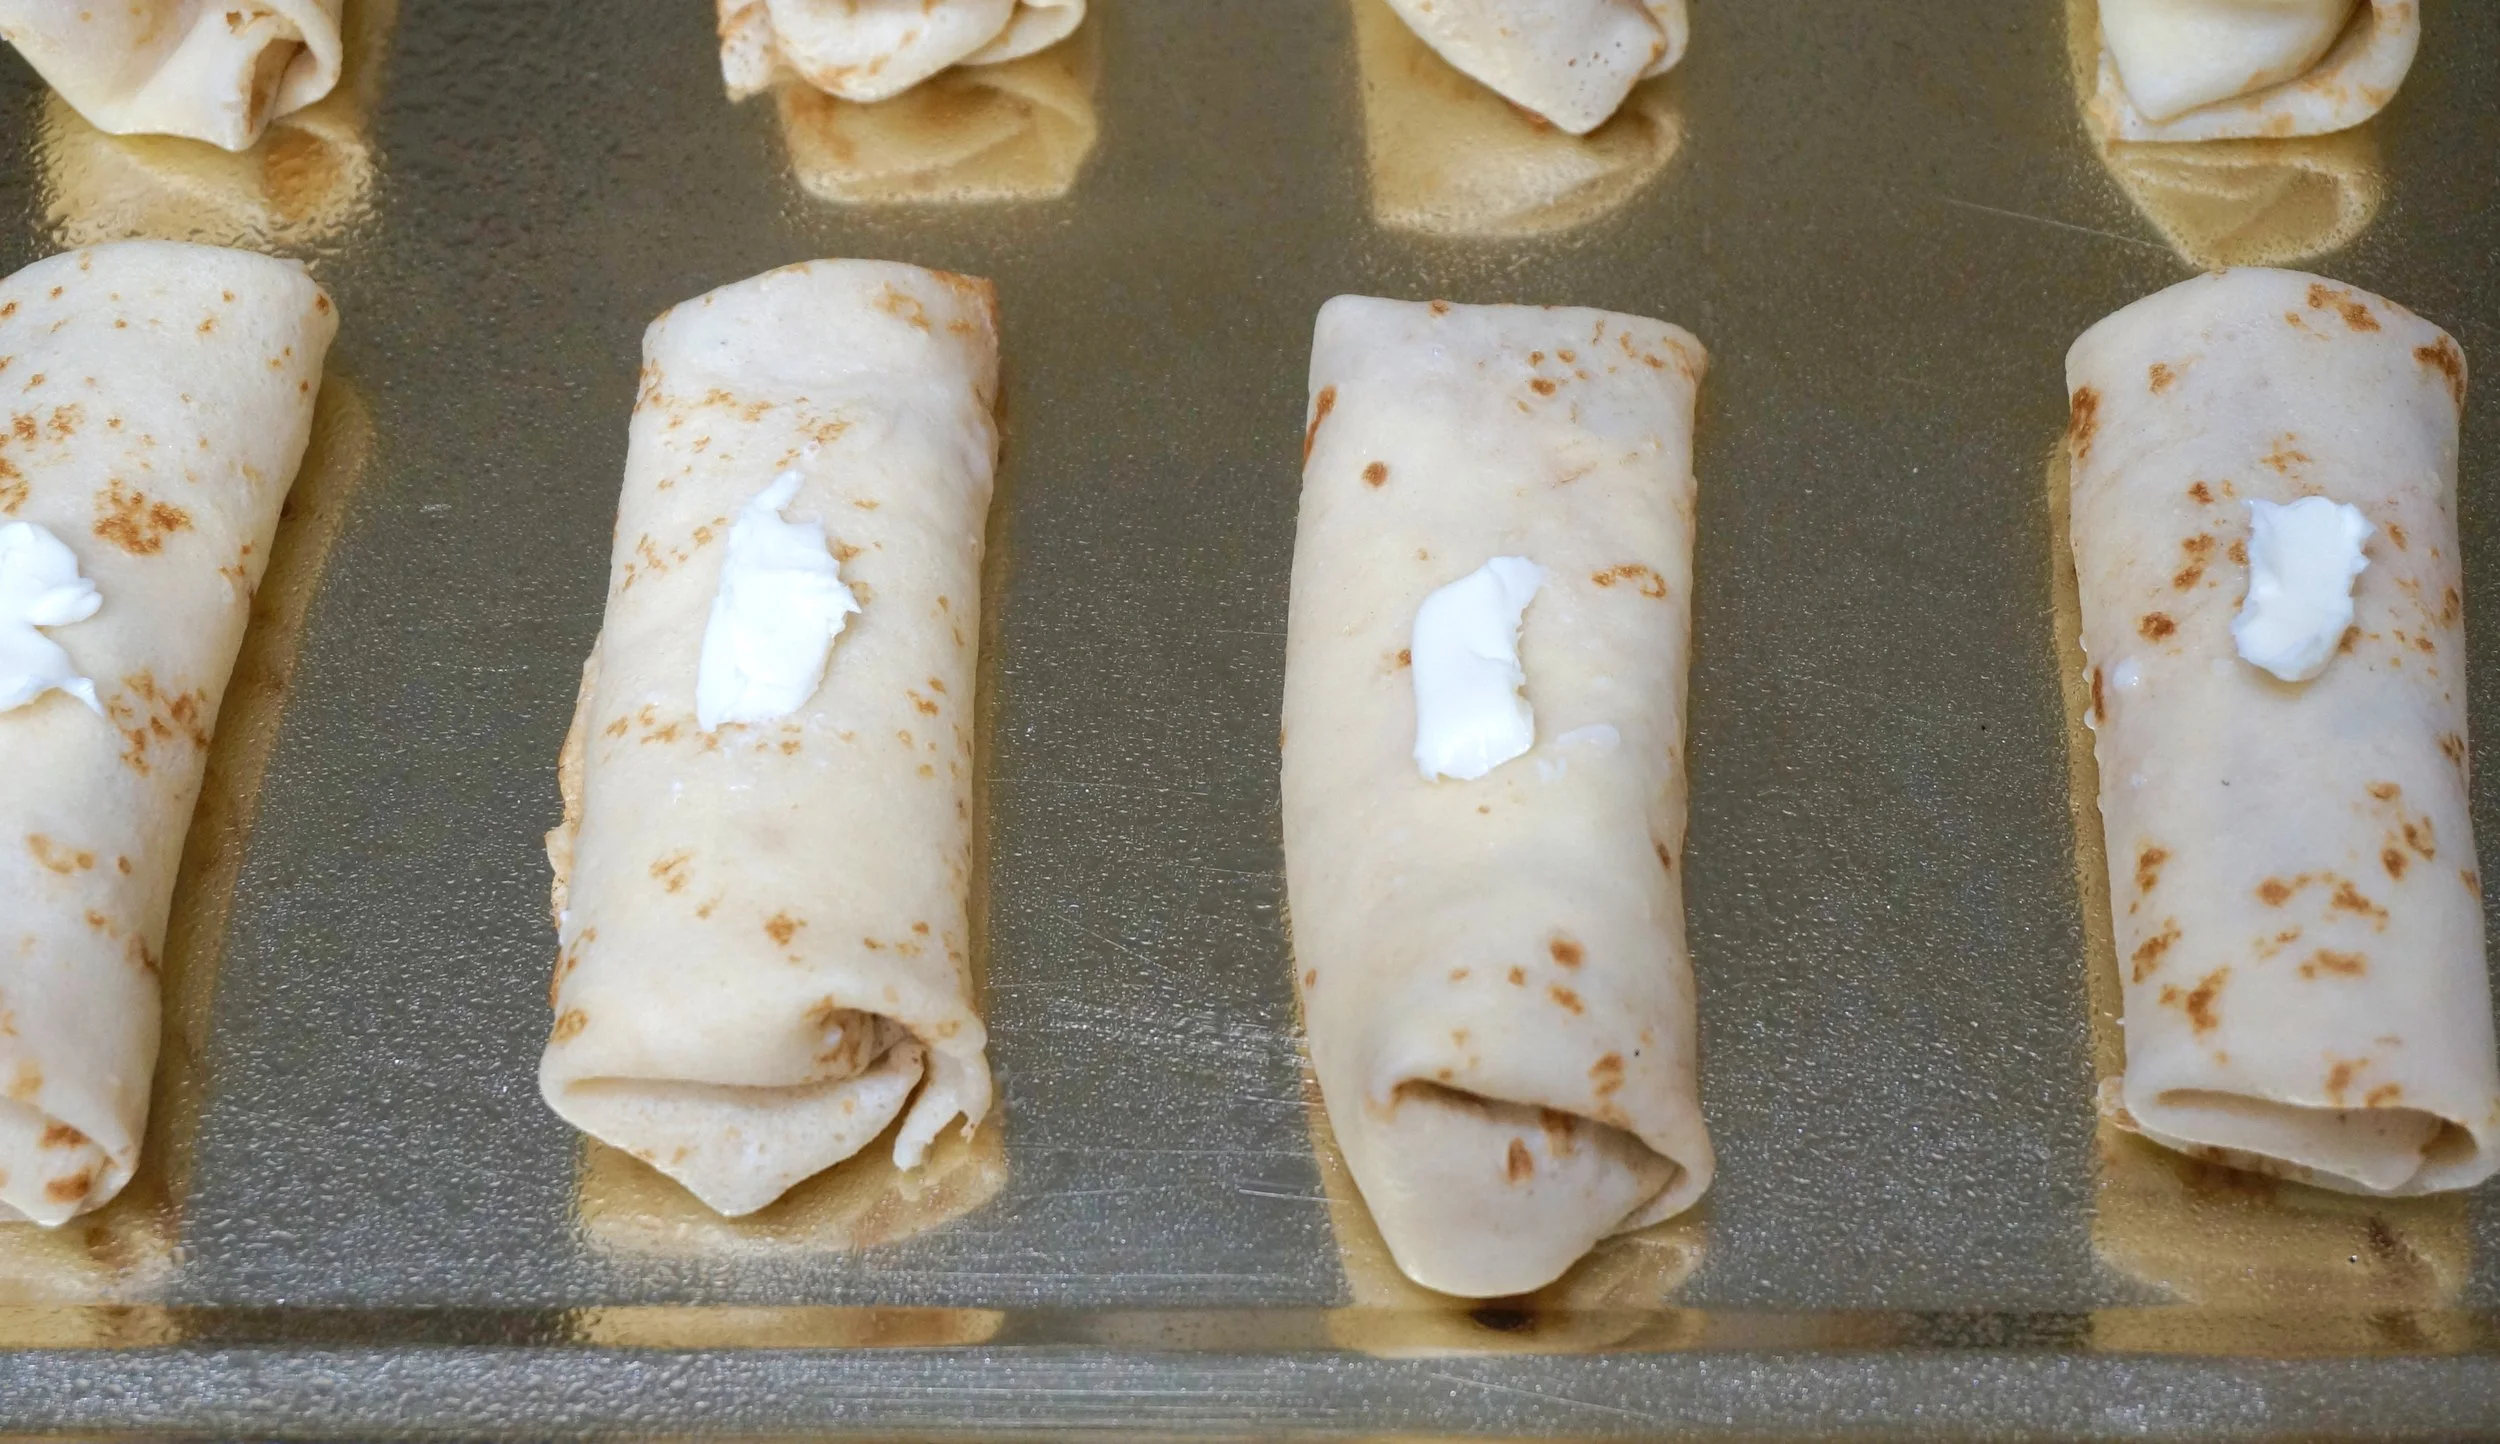
One of my grandma’s signature dishes was blintzes. But the cheese filling she made was different than the classic sweet version (with vanilla and/or cinnamon). Her blintz filling was lemony, and included cheese, egg and a small amount of sugar. Also, because there were so many of us, she had no time to fry them a couple at a time and still have everyone eat at the same time. So she placed the blintzes, seam-side down, on a baking sheet, topped each with a little dab of butter, and baked them until they were golden brown. I still love blintzes, lemony and baked. And so does my family. Grandma’s cheese filling recipe is below, but the instructions give you the option to make the more popular vanilla version (and also how to fry them). Don’t worry if the wrappers don’t fry into perfect circles — you’re going to roll them and if they’re a little off, no one will ever know.

GRANDMA’s CHEESE BLINTZ FILLING:
1 pound farmer’s cheese
1 large egg
2 tablespoons sugar
1 teaspoon lemon juice
1/2 teaspoon grated fresh lemon zest, optional (I always include)
1 teaspoon vanilla extract, optional

Place the cheese, egg, sugar and lemon juice in a bowl and mix thoroughly. Add the lemon zest OR vanilla extract and mix in thoroughly. To fill each wrapper: use the first fried side as the inside of the blintz. Use about 2 tablespoons of filling for an 8-inch wrapper and place the filling in the center of the wrapper. Fold the bottom side up, over the filling. Fold the left side, then the right side over the filling, then roll up to enclose the filling. Preheat the oven to 350 degrees. Place the blintzes in a single layer on a jelly roll pan, top each with a tiny piece of butter. Bake for about 10 minutes.

To fry: place the blintzes seam side down first over medium heat (using the same method as for frying the wrappers – let the butter melt and become foamy).

#blintzes #cheeseblintzes #shavuot #shavuot2024 #shavuos

Coffee Ice Cream with Hawaij Spices

fullsizeoutput_a116.jpg

Shavuot is the “dairy holiday” right?

So that means ….. ice cream!

Here’s a new flavor for you: Hawaij-infused coffee ice cream. It’s like an ultra-rich, coffee-lover’s version of plain old coffee ice cream except that it has a splash of spice. Hawaij spice blend to be specific. A few months ago Pereg sent me some samples of their new Hawaij spice combos.

I used the savory blend for an absolutely fabulous chicken curry (plus several other recipes that I’ll post about some other day).

But the coffee blend (which includes inger, cinnamon, cloves and cardamom) I figured would be useful beyond simply spicing up my afternoon cuppa.

So I used it to make ice cream.

Oh my is all I can say.

If you love coffee ice cream, this one’s for you.

Coffee Ice Cream with Hawaij Spices

  • 1 cup coffee beans

  • 2 cups half and half

  • 1 cup sugar

  • 1/8 teaspoon salt

  • 4 egg yolks

  • 1-1/2 teaspoons Pereg Hawaij coffee spice

  • 1 teaspoon vanilla extract

  • 1 cup heavy cream

Place the coffee beans in a paper or plastic bag and gently tap with a rolling pin or meat mallet to break the beans coarsely. Not all of the beans need to be broken. Place the beans in a saucepan and pour in the half and half. Turn the heat to medium-high and bring the mixture to a boil. Remove the pan from the heat and let steep for at least one hour. Strain the liquid, discard the beans and set the liquid aside. In the bowl of an electric mixer, beat the sugar, salt, egg yolks and Hawaij together at medium speed for 4-5 minutes or until thick and pale. Pour in the strained, steeped cream. Beat the ingredients, starting at low speed and gradually to medium speed, for 3-4 minutes or until the mixture is well blended and a uniform color. Pour the mixture into the saucepan. Cook over medium heat, stirring frequently, for 8-10 minutes or until the mixture has thickened enough to coat the back of a spoon. Stir in the heavy cream. Place the mixture in the refrigerator to cool completely. Stir in the vanilla extract. Freeze in an ice cream maker until thick and cold. Spoon into a container and freeze until firm.

Makes about 5 cups

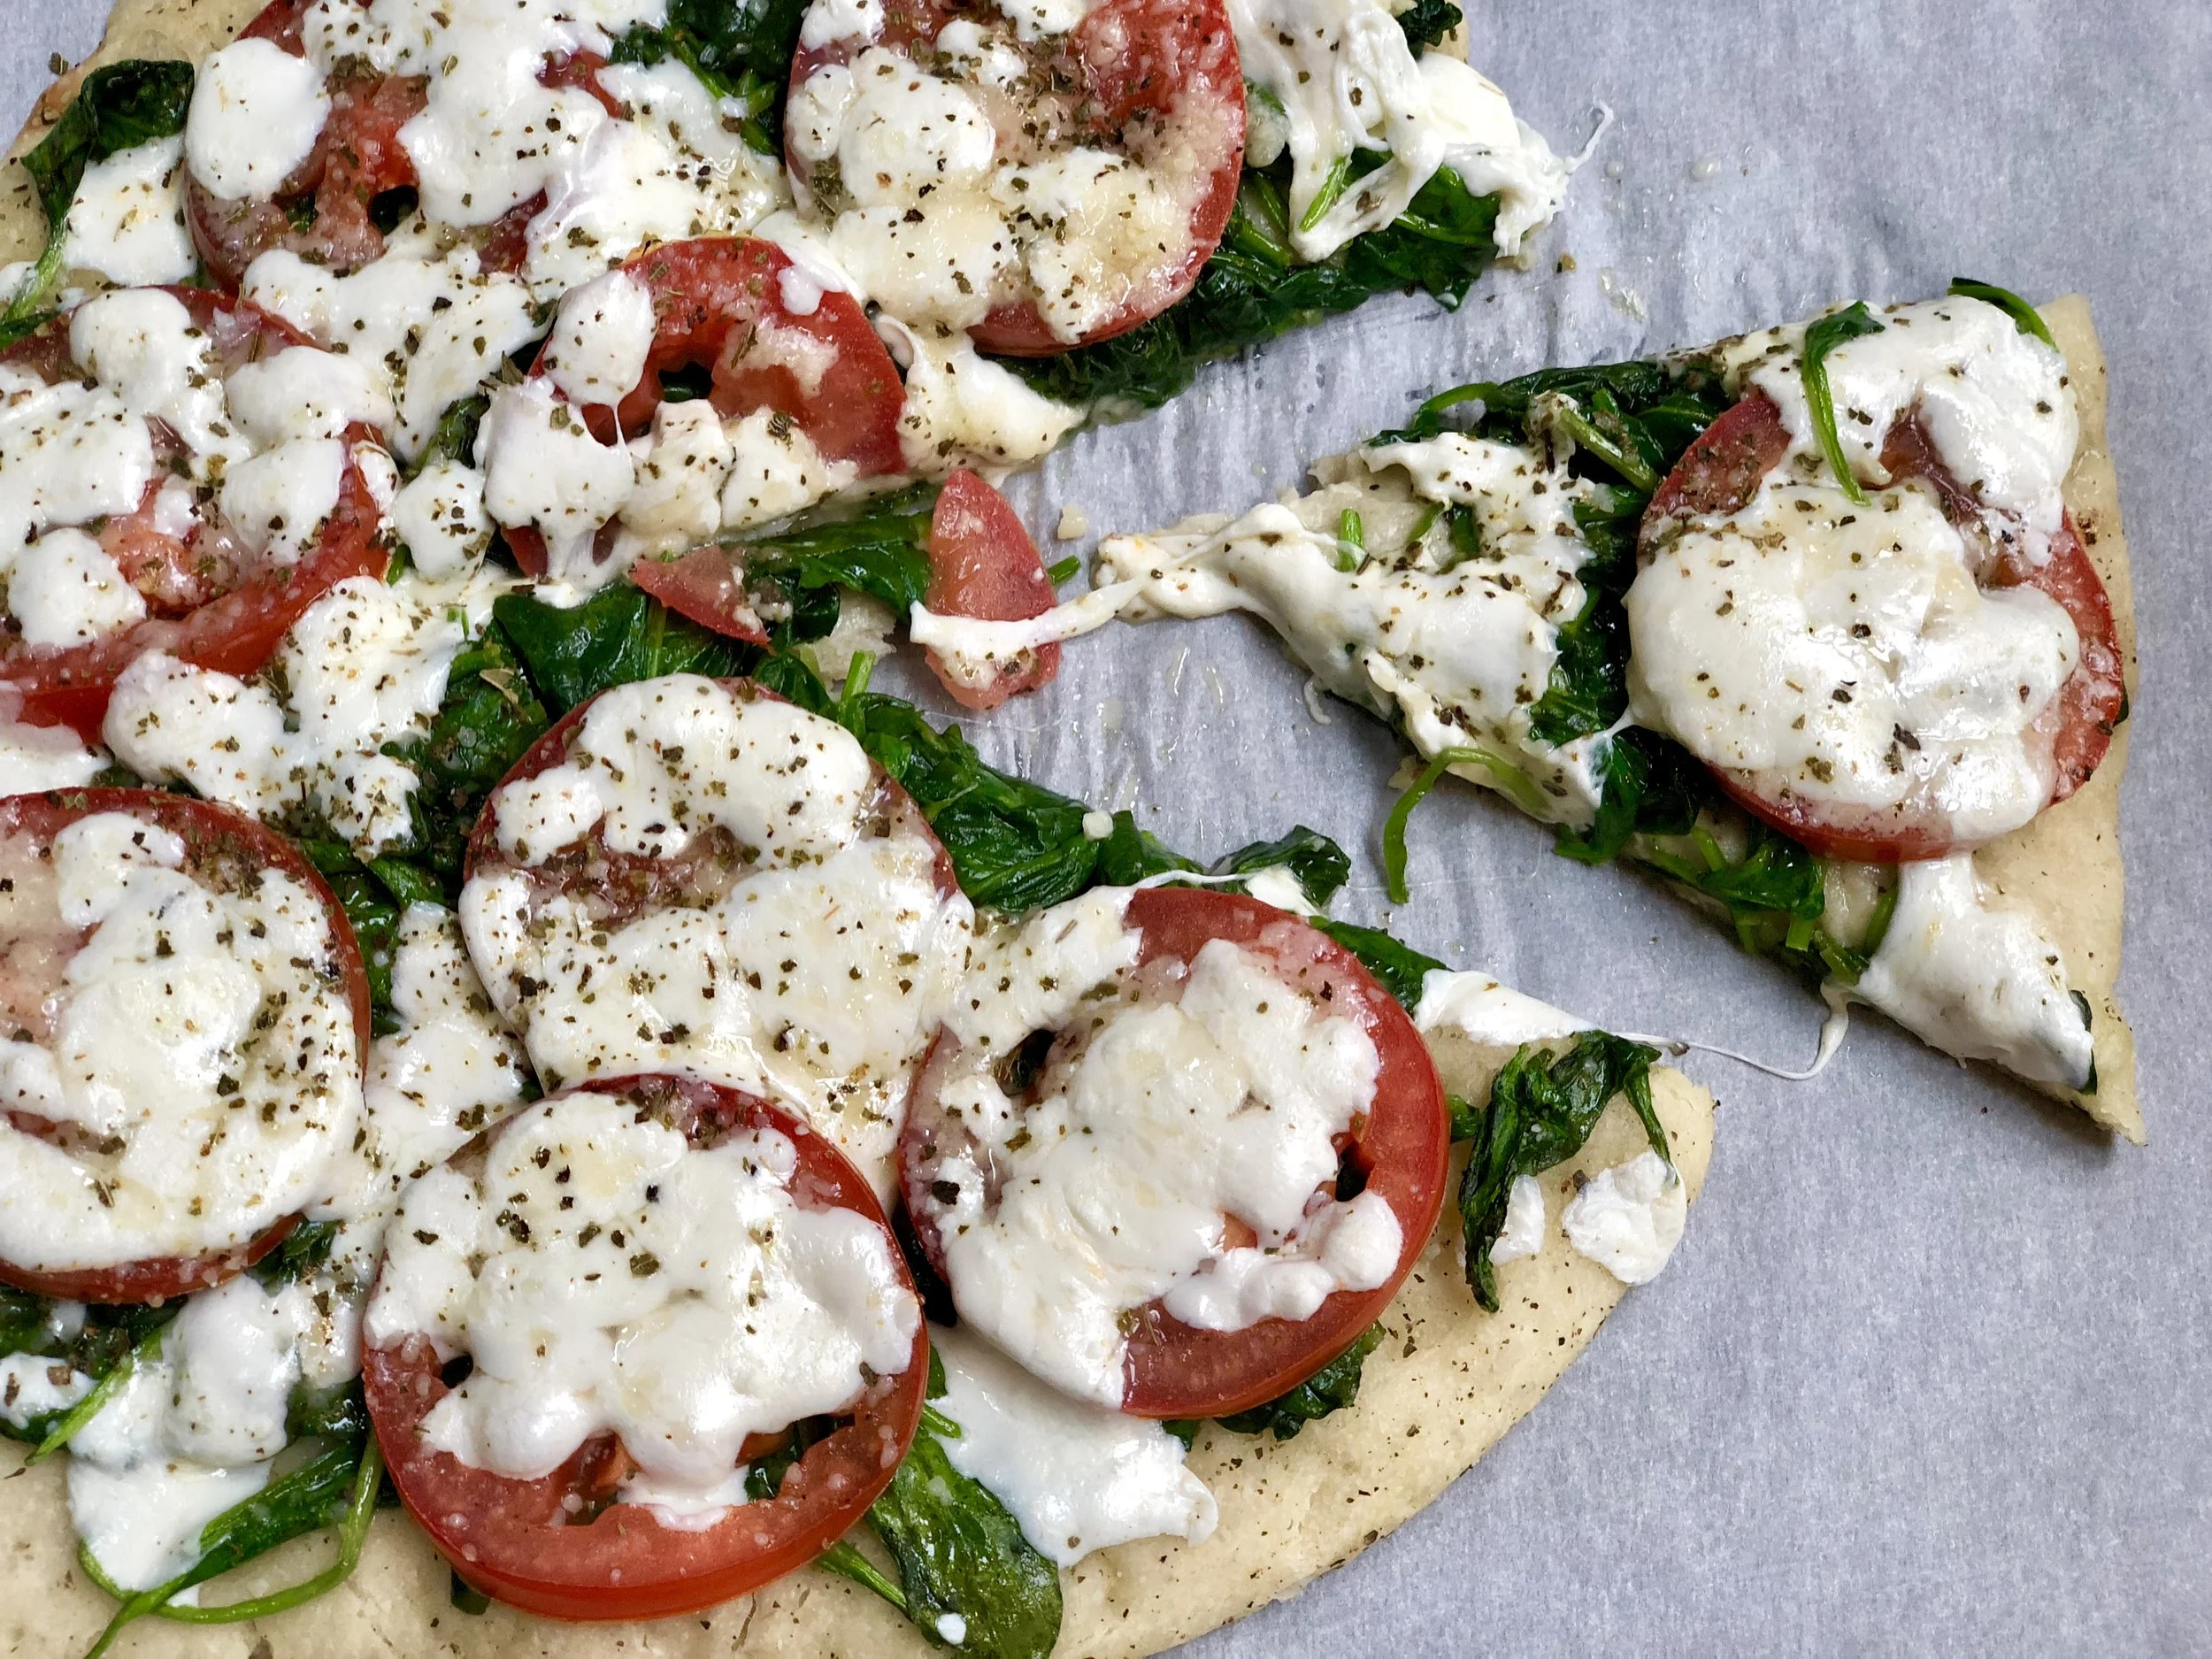
Pizza with Spinach, Tomatoes and Cheese

fullsizeoutput_a3a9.jpeg

Has pizza become the official post Passover food?

I don’t remember that being the case when I was growing up. After Passover, we were full-on with bagels, challah and sandwiches.

So when did this well-loved dish become so extraordinarily popular?

In the first half of the 20th century there were only a few pizza parlors in the United States, all in urban centers such as New York and Boston (and in New Haven, where, in 1925, Frank Pepe set up the still-famous Pepe’s Pizza). But most of the clientele were folks in the local Italian immigrant community.

Pizza became a “thing” in the late 1940s, spurred on by former GIs who had been to Italy during World War II and tasted it there and didn’t want to do without.

Can you blame them?

Pizza has since become an iconic American dish, with toppings way way beyond the classic, original Italian Marhgerite.

We have homemade pizza post Passover, because why not!

Also, when we want a meatless meal, because why not!

For Shavuot, the “dairy” holiday, because why not!

As an hors d’oeuvre for a dairy or fish dinner, because why not?

Pizza with Spinach tomatoes and cheese 

  • 1 pizza crust (about 10-inches)

  • 2 tablespoons olive oil

  • 1 large garlic clove, minced

  • 1 bunch fresh spinach, washed and dried (about 6 ounces)

  • 2 medium plum tomatoes, sliced

  • 4 ounces mozzarella cheese, shredded or chopped

  • 2 tablespoons freshly grated Parmesan cheese

  • 1/2 teaspoon dried oregano

Preheat the oven to 450°F. Place the crust on a pizza stone or lightly oiled pizza pan or parchment-lined cookie sheet. Heat 1-1/2 tablespoons olive oil in a sauté pan over medium heat. Add the garlic and cook briefly. Add the spinach and cook for 3–5 minutes or until wilted and all the liquid has evaporated from the pan. If necessary, press the spinach in a sieve to extract liquid. Spread the spinach evenly on top of the crust. Place the tomato slices on top. Sprinkle with the mozzarella cheese. Sprinkle with Parmesan cheese and oregano. Drizzle with remaining half tablespoon olive oil. Bake for 10-13 minutes or until the cheese has melted and the crust is beginning to brown.

 Makes 2 servings


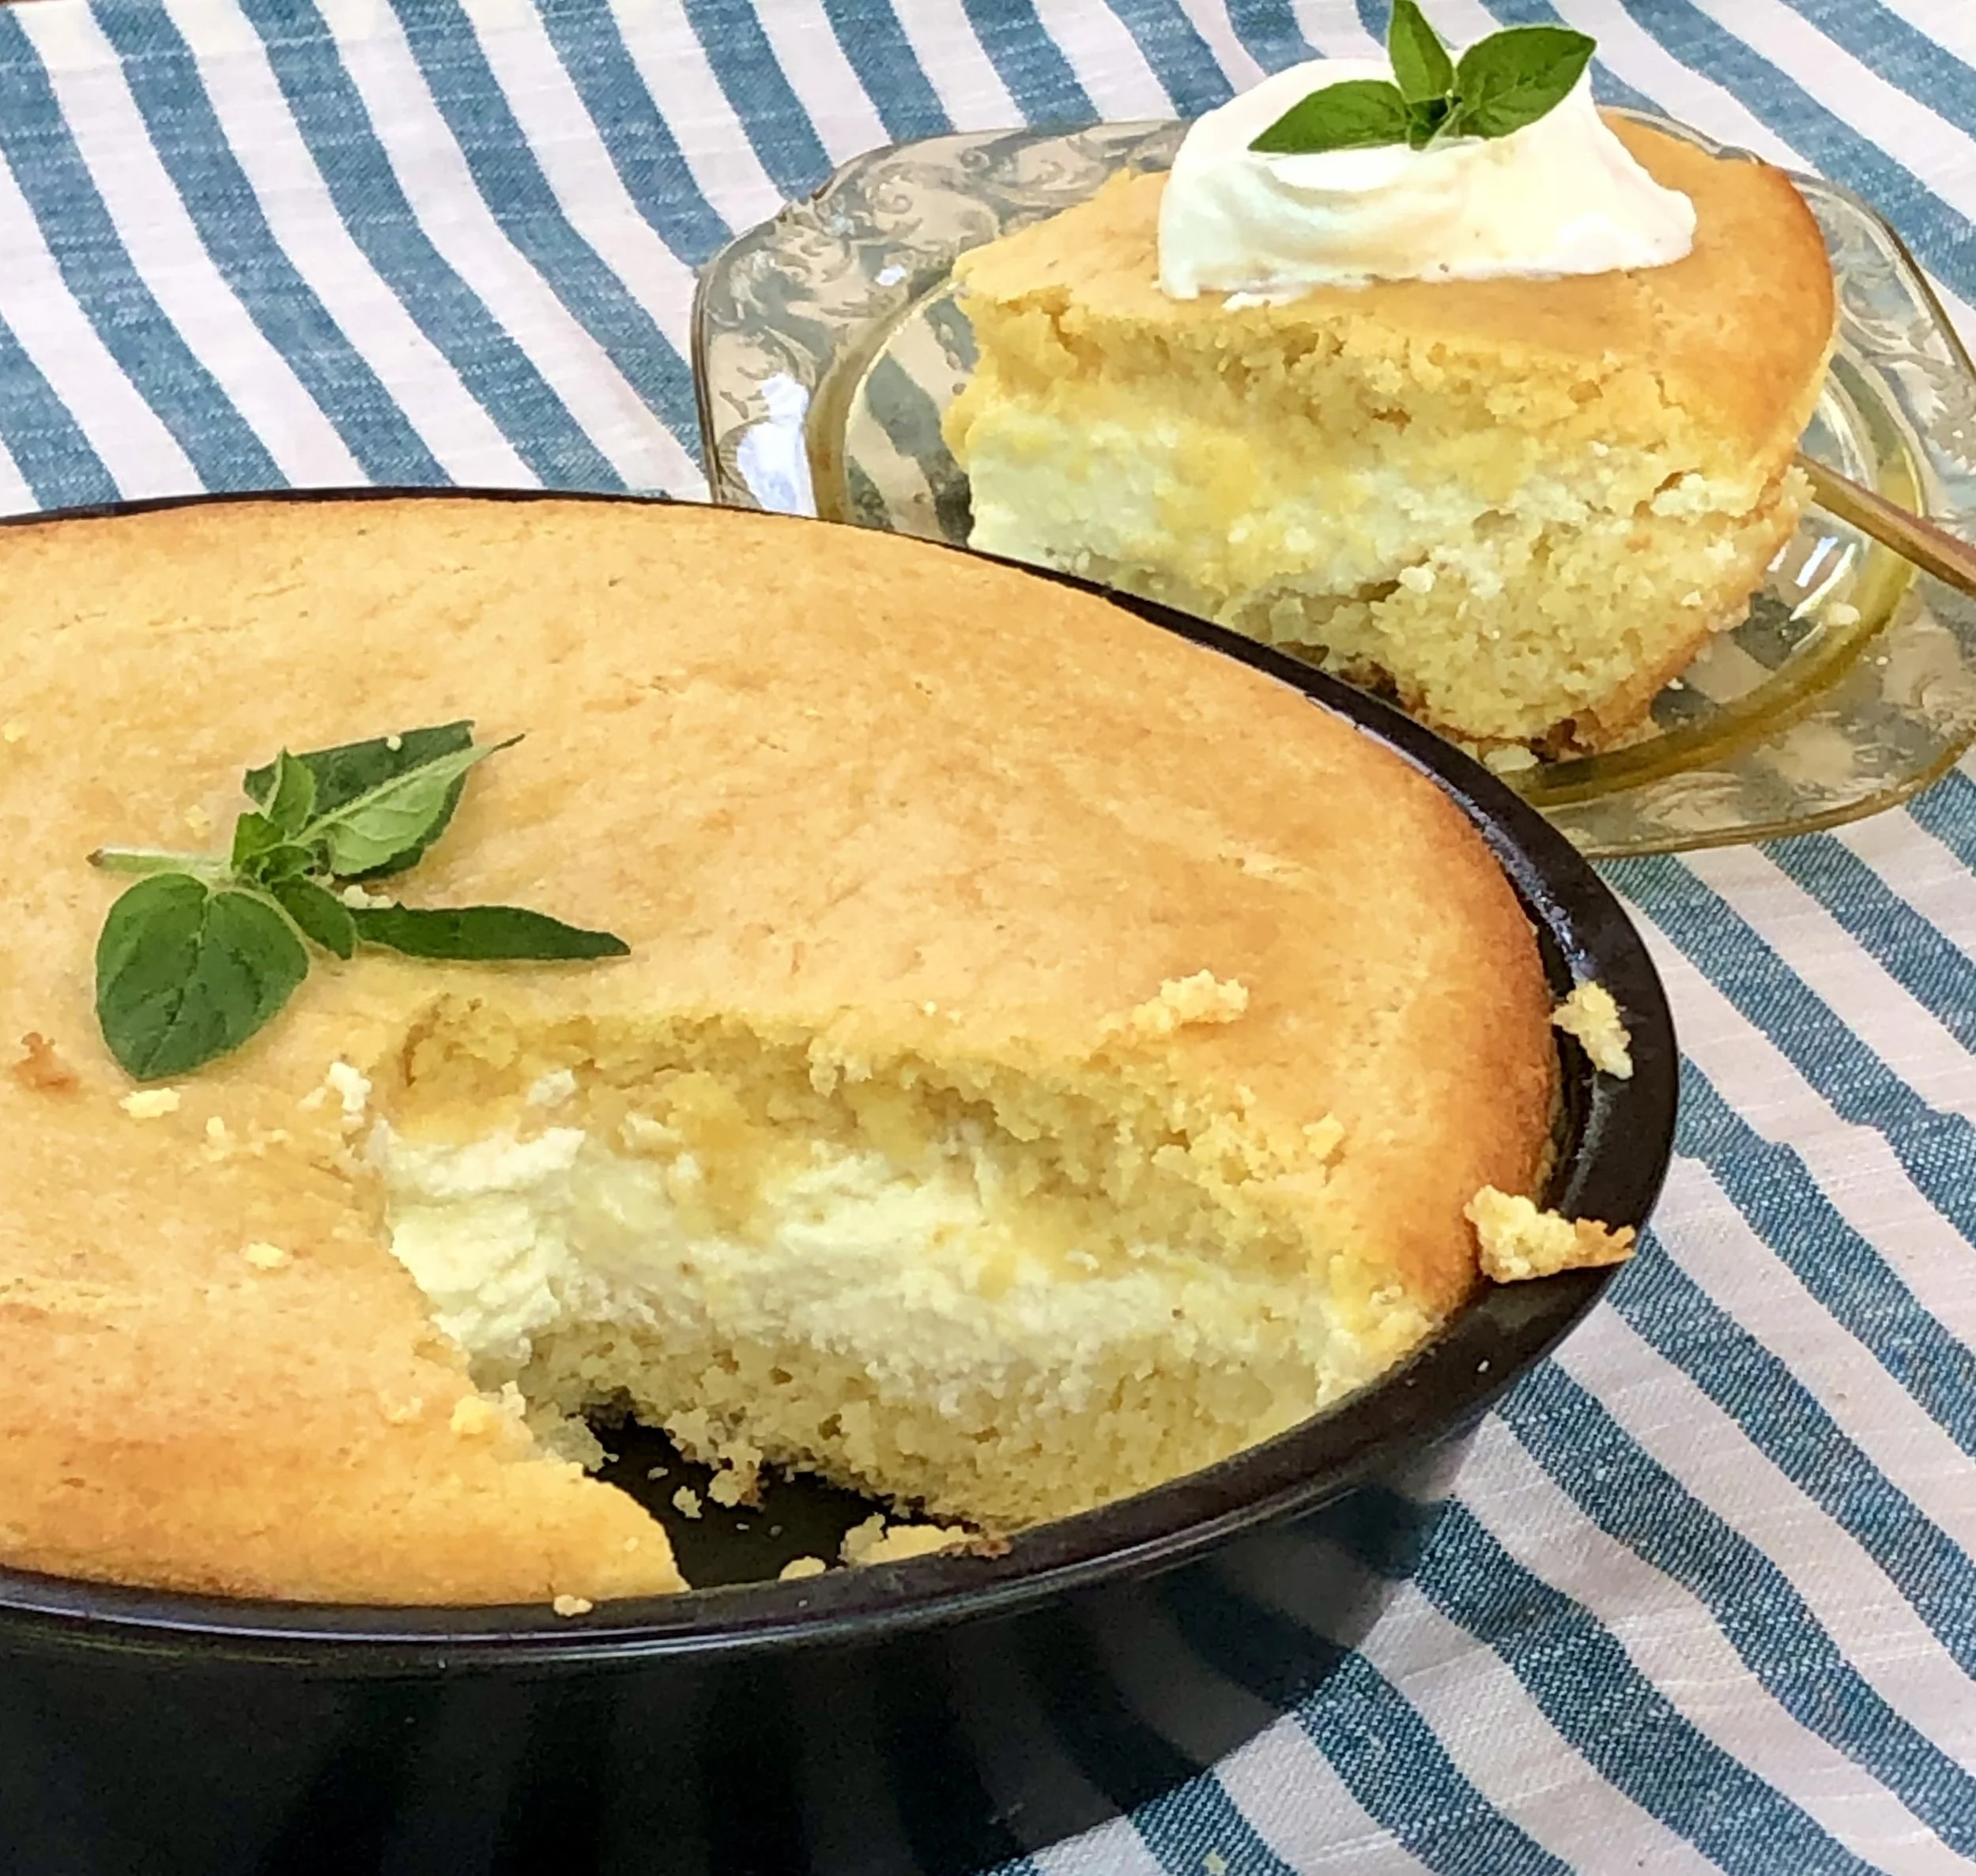
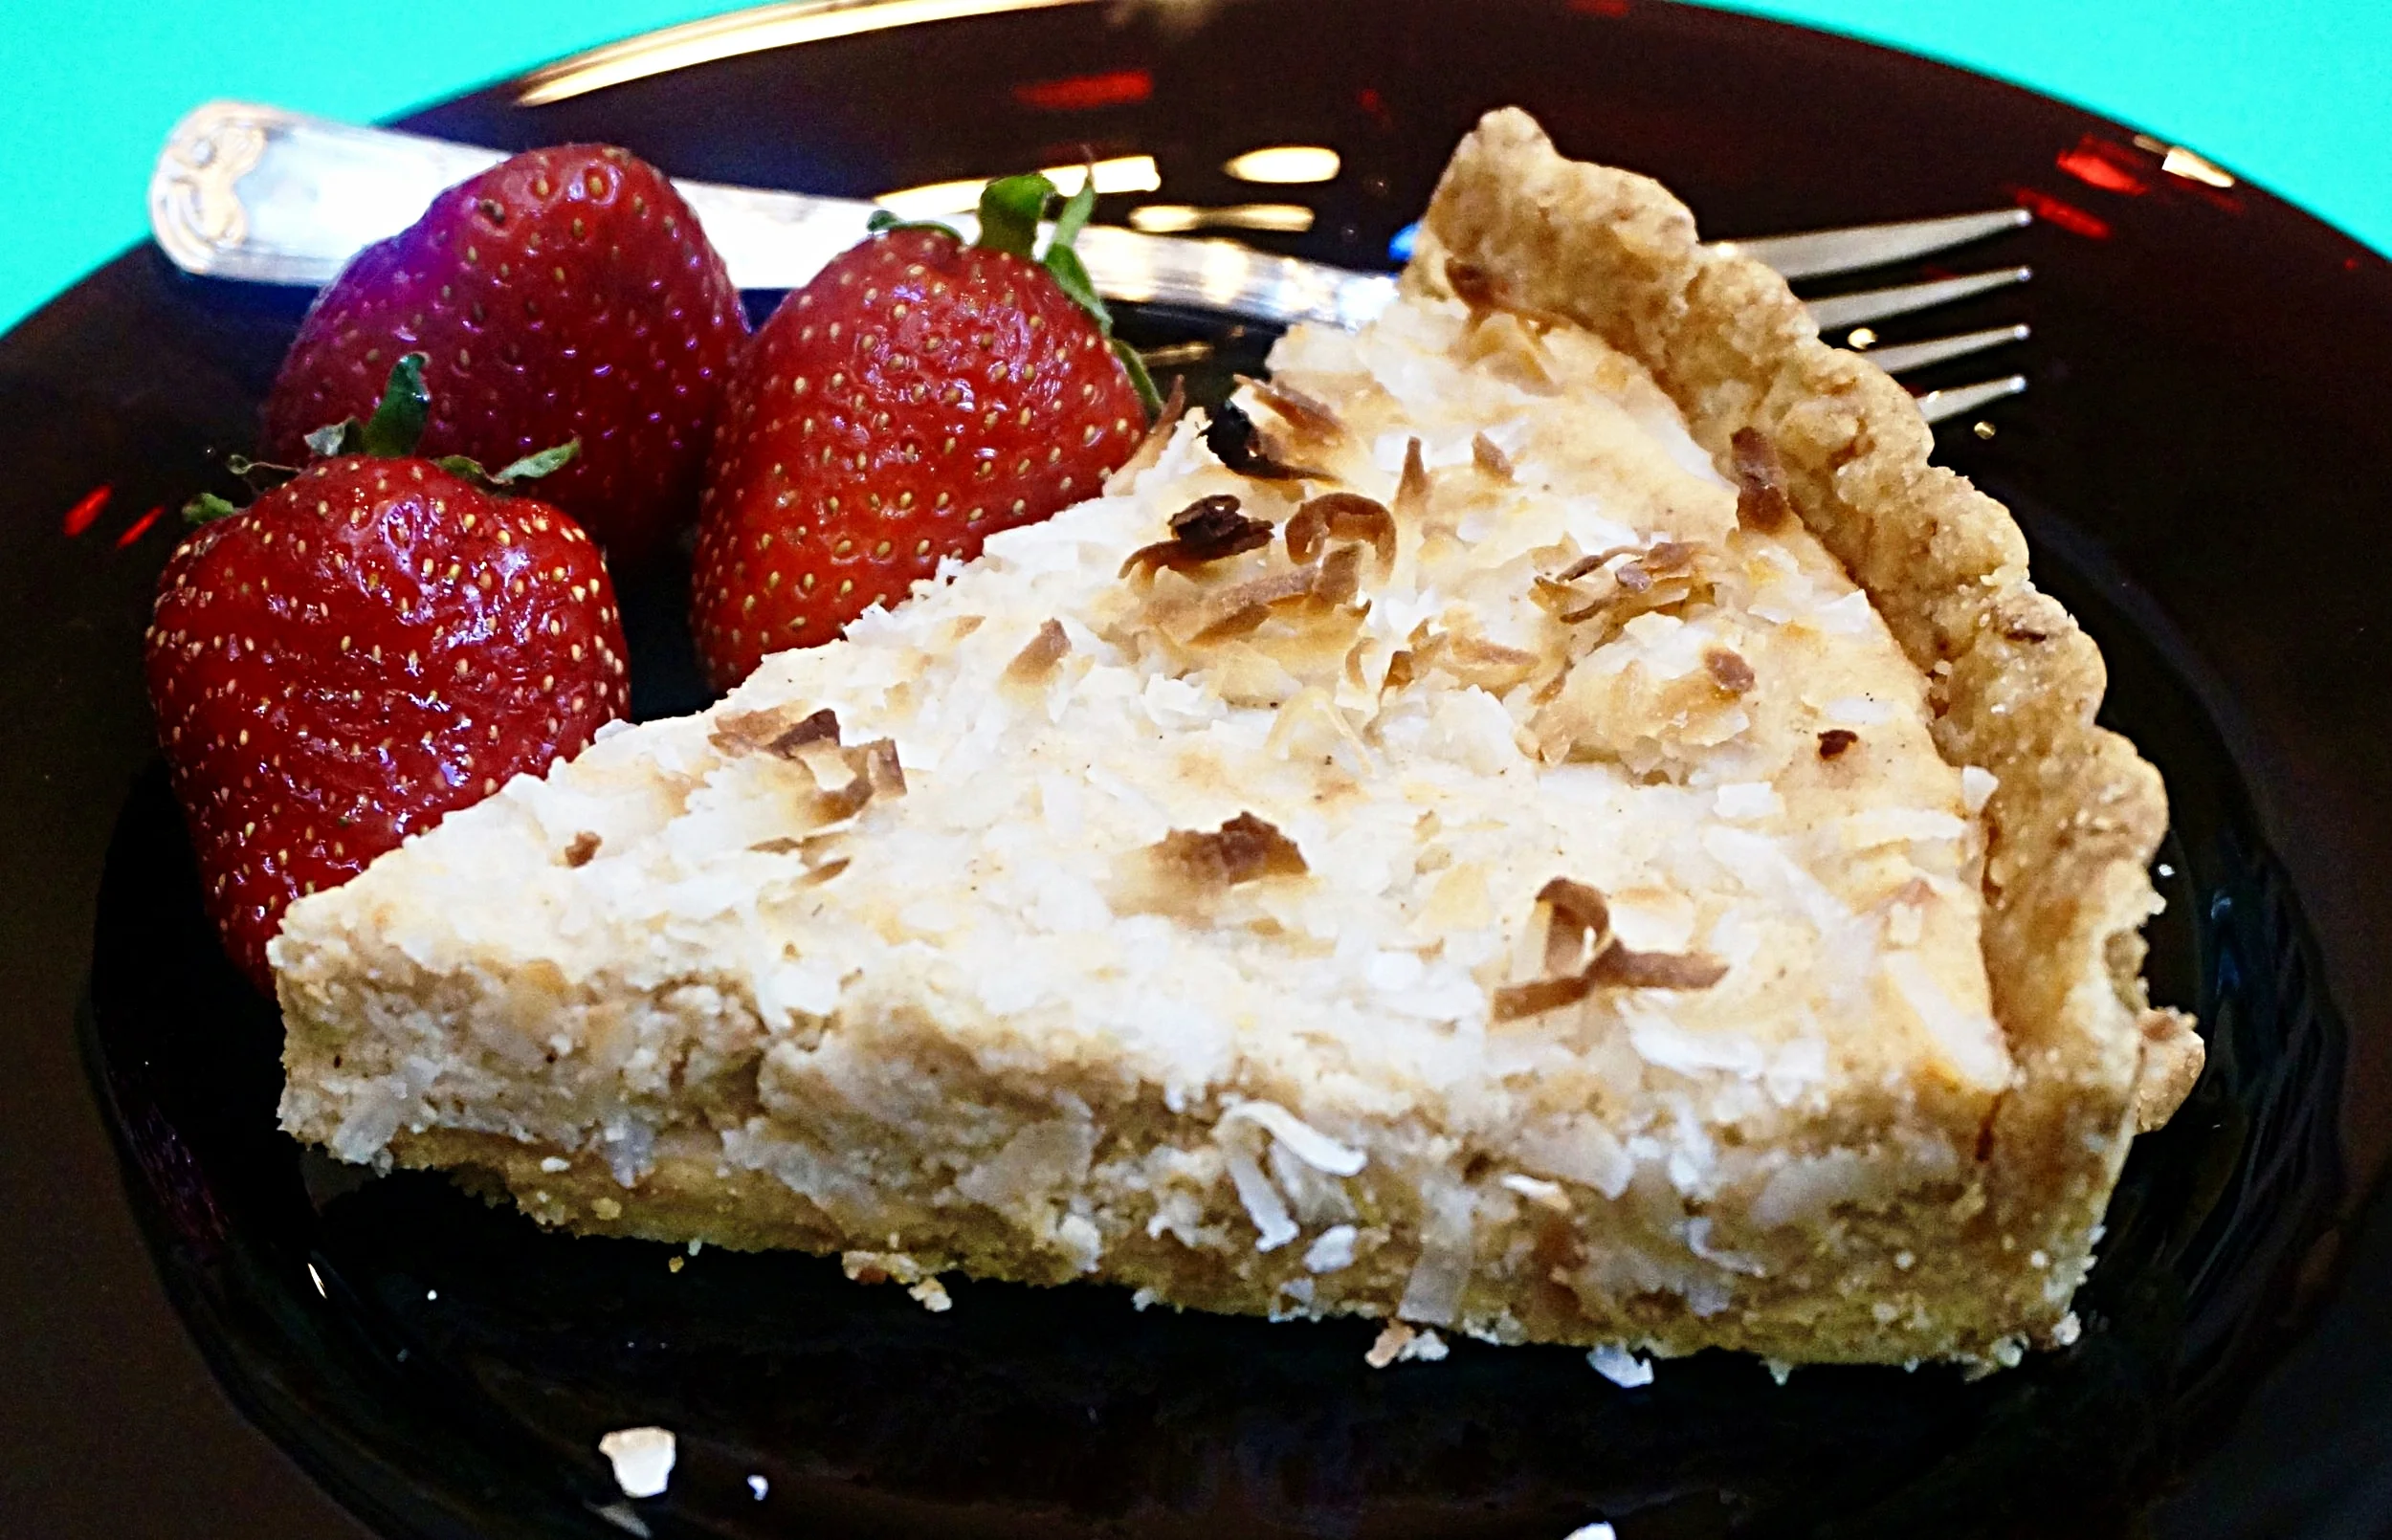
Ricotta Tart with Lemon and Coconut

fullsizeoutput_8674.jpeg

Cheesecake? Wonderful! 

But how about cheese pie? Tart?

For Shavuot.

Or anytime at all!

This recipe started with a nut streusel top but I needed something nut-free, so substituted shredded coconut. You can change that to chopped almonds if you prefer.

You need to start ahead on this one so that the cheese can drain and become dry-ish. This gives the filling a tender texture and also helps assure the crust won't get too soggy too soon.

Ricotta Tart

For the filling:

  • 1 pound ricotta cheese
  • 2 large eggs
  • 1/2 cup honey
  • 1 tablespoon finely grated lemon or orange peel
  • 1/2 teaspoon ground cinnamon
  • 1/2 cup shredded coconut

For the crust:

  • 1-1/4 cups all-purpose flour
  • 1 tablespoon sugar
  • 1/4 teaspoon salt
  • 2 teaspoons finely grated lemon or orange peel
  • 1/4 pound butter, melted

To make the filling:

Place the ricotta cheese in a strainer set over a bowl and refrigerate for at least 8 hours, to drain as much liquid as possible from the cheese. Pace the drained cheese in a food processor bowl. Add the eggs, honey, citrus peel and cinnamon and process until the ingredients are well blended and smooth. Set aside while you make the crust.

To make the crust:

Place the flour in a bowl. Mix in the sugar, salt and citrus peel. Pour in the melted butter and mix the ingredients to form a soft dough. Press the dough onto the bottom and sides of a 9-inch tart pan. Refrigerate for at least 30 minutes. Prick the dough with the tines of a fork. Preheat the oven to 400 degrees. Line the dough with aluminum foil and weight it down with pie weights. Bake for 10 minutes. Remove the aluminum foil and weights, turn the oven heat down to 375 degrees and bake the crust for another 12-15 minutes or until golden brown. Spoon the filling in baked crust and sprinkle the coconut over top. Bake for about 25 minutes or until crispy looking and the center is set. Serve slightly chilled or at room temperature.

Makes 8 servings

Potato Cheese and Spinach Kugel

Tell me Shavuot is coming and my first thought is cheesecake.

Of course. Cheesecake the dish most associated with the holiday. I love it. Make all kinds. Some plain. Some spiced. Some covered with fruit. Some with chocolate.

On the other hand you can't just eat cheesecake. 

Shavuot is generally a dairy holiday.

I love dairy.

Especially if there is a potato involved.

Like in this kugel, which is a wonder all by itself. But also good with salad, other dairy dishes or served with sunnyside eggs on top.

Perfect dish for the holiday.


Potato Cheese and Spinach Kugel

  • 4 medium Yukon Gold potatoes (about 1-1/2 pounds)

  • 8-10 ounces fresh spinach

  • 2 tablespoons olive oil

  • 1 medium onion, chopped

  • 1 cup crumbled feta cheese

  • 2 tablespoons chopped fresh dill

  • 6 large eggs

  • 5 tablespoons melted butter

  • salt and freshly ground black pepper to taste

  • 3/4 cup panko crumbs

  • 2-3 tablespoons grated Parmesan cheese

Preheat the oven to 375 degrees. Lightly grease a 2-quart baking dish. Peel the potatoes, cut them into chunks and boil them in lightly salted water for about 15 minutes or until tender. Let cool and chop into small pieces. Place the potatoes in a bowl. While the potatoes are cooking, wash and dry the spinach and chop it coarsely. Heat 2 tablespoons olive oil in a sauté pan over medium heat. Add the onion and cook for about 3 minutes or until softened. Add the spinach and cook for 2-3 minutes or until wilted (if there is liquid in the pan, raise the heat and cook until it evaporates, or drain using a strainer). Add the spinach mixture, the feta cheese and dill to the potatoes and mix gently to distribute the ingredients evenly. Beat the eggs in a large bowl. Mix in 3 tablespoons of the melted butter and pour over the potato mixture. Sprinkle with salt and pepper. Gently mix the ingredients. Place the mixture inside the greased baking dish. In a small bowl, mix the panko, the remaining 2 tablespoons melted butter and the Parmesan cheese and sprinkle over the ingredients. Bake for about 30 minutes or until hot and crispy.

Makes 8-10 servings


Grandma's Blintzes

_DSC9289.jpg
_DSC9381.jpg

I feel blessed that my children and grandchildren come to stay over at my house in Connecticut for holidays and birthdays and occasionally just to hang out. It reminds me of when I was a kid and visited my grandma -- almost every weekend -- along with practically everyone else in my mother's family (aunts, uncles and cousins).

That was back in the day before children had so many other activities. Sure, there were brownies and cub scouts, but back then I never heard of things like soccer or gymnastics. Art classes happened during school hours. The only cooking classes for children took place in your own kitchen if you were lucky to have a Mom like mine who let you patchky around.

Weekends were strictly for family activities.

I'm not saying one way of life is better than another. One size does not fit all, as they say. And maybe today's kids are better educated or are more well-rounded than we were.

But I have wonderful memories of that life. 

It was good. I got to play with my cousin Leslie every weekend. She and her family lived with our grandma.

I also got to eat some of my grandma's wonderful food. 

I hope that in years to come my grandchildren will feel happy when they recall their visits to Ed and me. And have good memories of some of the favorite foods I cooked when they came.

Like Macaroni and Cheese. Apple Pie. Matzo Brei.

My grandma also made matzo brei and macaroni and cheese. But one of her signature dishes was blintzes.

She filled the blintzes with cheese, the classic, but, as I learned later, most people made the cheese filling sweet, seasoned with vanilla and/or cinnamon. My grandma's cheese-blintz filling was lemony, with just a hint of sugar.

Also, because there were so many of us, she had no time to fry them a couple at a time and still have everyone eat at the same time. So she placed the blintzes, seam-side down, on a baking sheet, topped each with a little dab of butter, and baked them until they were golden brown.

Me? I still love blintzes lemony and baked. And -- surprise to me! -- so do my grandchildren.

Her recipe is below, but the filling instructions give you the option to make the more popular vanilla version (and also how to fry them). Don't worry if the wrappers don't fry into perfect circles -- you're going to roll them and if they're a little off, no one will ever know.

Grandma Rachelle Hoffman’s Blintzes

Wrapper:

  • 3/4 cup all-purpose flour
  • 1-1/2 teaspoons sugar
  • 1/2 teaspoon salt
  • 3/4 cup milk, approximately
  • 2 large eggs
  • softened butter for frying

Filling:

  • 1 pound farmer’s cheese
  • 1 large egg
  • 2 tablespoons sugar
  • 1 teaspoon lemon juice
  • 1/2 teaspoon grated fresh lemon peel, optional
  • 1 teaspoon vanilla extract, optional

To make the wrapper, combine the flour, sugar and salt in a bowl and stir to blend the ingredients. Add the milk and eggs and whisk until the batter is smooth and uniform (you may do this in a food processor). Add more milk if the batter seems too thick (it should be the consistency of heavy cream). Set aside for 30 minutes. Place a small amount of the softened butter in a crepe or omelet pan and place the pan over medium-high heat. When the butter has melted and the foam is beginning to separate, add enough batter to cover the bottom of the pan (for an 8-inch pan it will be 1/4-cup), shaking the pan quickly to spread the batter evenly. Cook for a minute or so or until the bottom is lightly browned. Turn the wrapper over and cook briefly. Remove the wrapper and proceed with the remaining batter, separating the cooked wrappers with aluminum foil or waxed paper.

To make the filling, place the cheese, egg, sugar and lemon juice in a bowl and mix thoroughly. Add the lemon peel OR vanilla extract and mix in thoroughly.

To fill each wrapper: use the first fried side as the inside of the blintz. Use about 2 tablespoons of filling for an 8-inch wrapper and place the filling in the center of the wrapper. Fold the bottom side up, over the filling. Fold the left side, then the right side over the filling, then roll up to enclose the filling. Fry the blintzes seam side down first over medium heat (using the same method as for frying the wrappers – let the butter melt and become foamy). Or, you can bake the filled blintzes: Preheat the oven to 350 degrees. Place the blintzes in a single layer on a jelly roll pan, top each with a tiny piece of butter. Bake for about 10 minutes.

Makes 8 8-inch blintzes
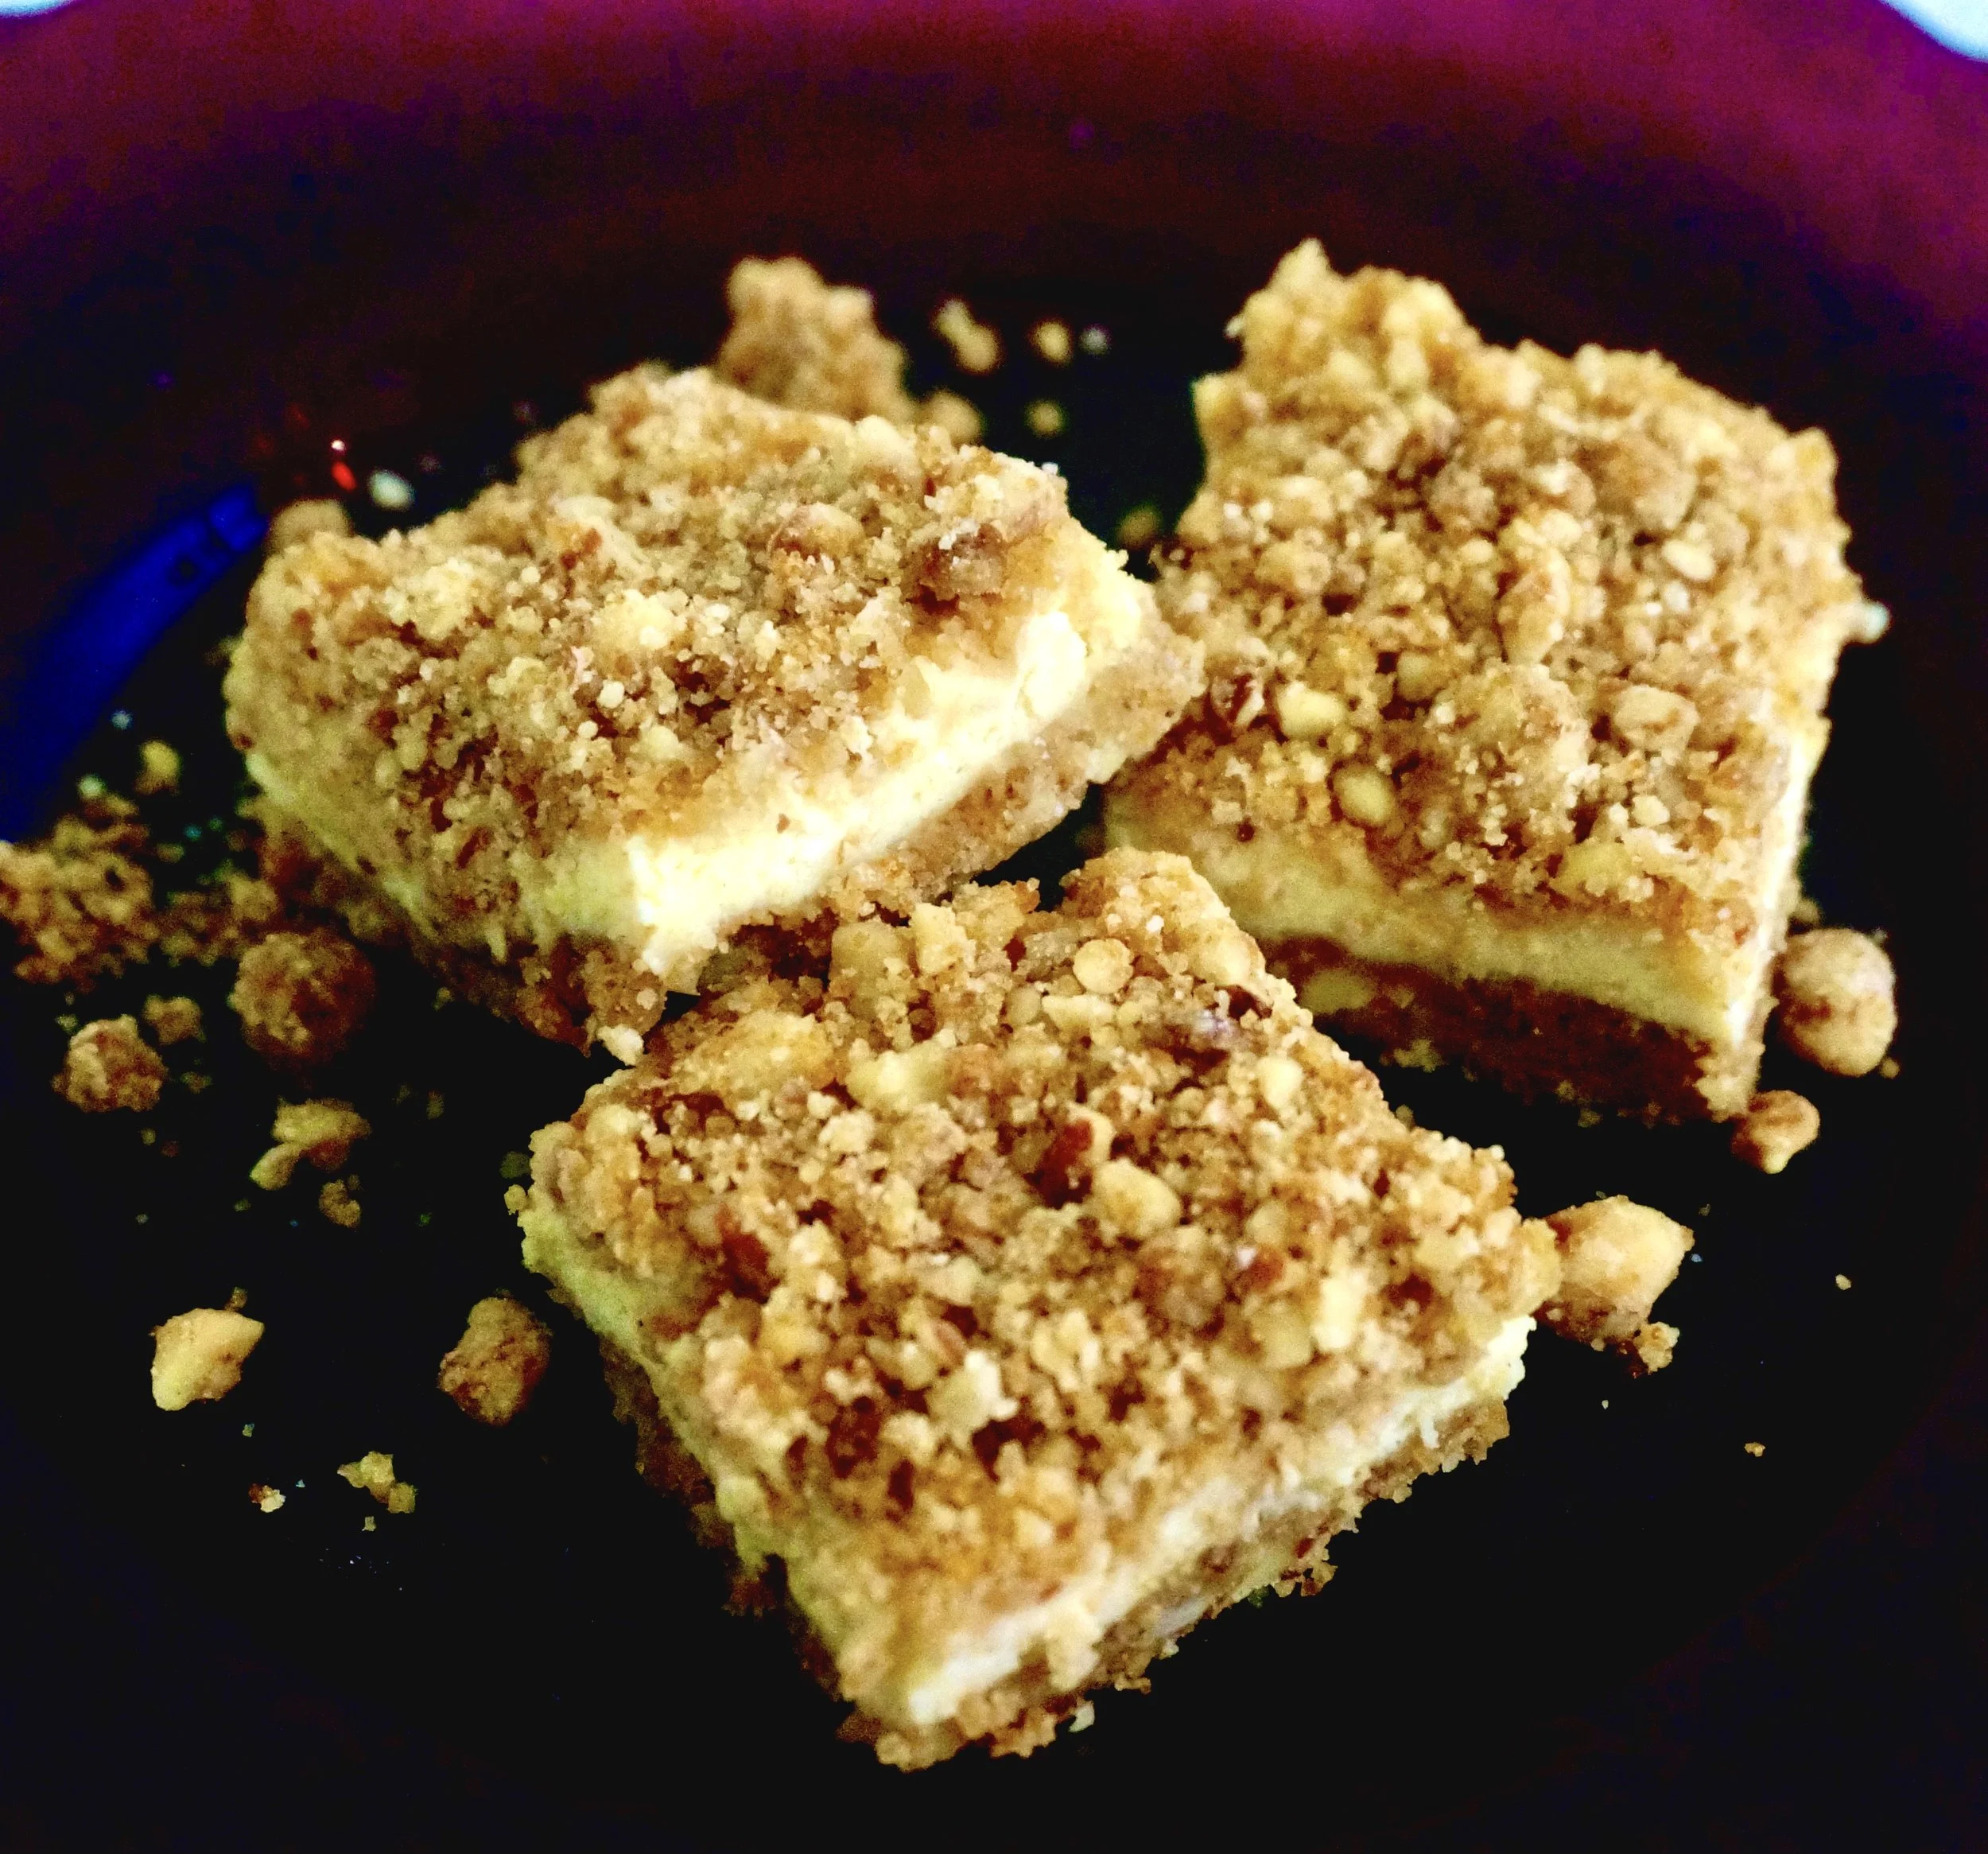
Cranberry Cheese Cake

_DSC7798.jpg

Many years ago I was one of three judges at a cheese cake contest sponsored by a local cookware shop. We were told that 50 people had entered and would be bringing their cakes over.

Fifty cakes!

Fortunately only 32 people showed up. My first thought was about what might have happened to those other people. Did they just decide not to bother or had their cakes not come out right?

My second thought -- how am I going to eat -- even small samples -- of 32 cakes!

But, I was younger and thinner then and so I soldiered on.

There were some incredibly elaborate versions -- one was swirled with gorgeous white chocolate leaves, another was drizzled with thick, viscous drippings of autumn-leaf-colored caramel.

But frankly, we all thought the best cakes were the simplest ones. The ones where you could actually taste the cheese in the cheese cake. Like classic New York Cheese Cake. Or, if adorned, only simply, with some glazed fresh fruit.

And so, in this season of cheese cakes (it's the number one food for Shavuot), I offer a simple cheese cake. You can absolutely taste the lush, creamy cheese. It isn't overloaded with sugar or chocolate. There is a fruit top, made with fresh cranberries, which are tart and acidic and do a fabulous job balancing out the dense, rich cake beneath.

Or, you can serve the cake plain, maybe garnishing with a sprinkle or two of confectioner's sugar.


Cranberry Cheese Cake

  • 1-1/2  teaspoons butter
  • 1/3 cup graham cracker crumbs
  • 1-1/2 pounds cream cheese (3-8 ounce packages)
  • 2 teaspoons grated orange peel
  • 1 teaspoon vanilla extract
  • 1/2 cup whipping cream
  • 1 cup sugar
  • 4 large eggs
  • 1/3 cup dairy sour cream or unflavored yogurt

 Topping:

  • 2 cups fresh cranberries
  • 1/3 cup sugar
  • 3 tablespoons water
  • 1 teaspoon cornstarch dissolved in one tablespoon water
  • 1 teaspoon grated orange peel

Preheat the oven to 350 degrees. Spread the butter on the bottom and sides of a 9-inch springform pan. Sprinkle the inside of the pan with the graham cracker crumbs. Shake the pan to coat it evenly. Beat the cream cheese in an electric mixer at medium speed for 1-2 minutes or until softened and smooth. Add the orange peel, vanilla, cream and sugar and beat for 2-3 minutes or until the mixture is smooth, scraping down the sides of the bowl occasionally with a rubber spatula. Add the eggs one at a time, beating after each addition. Stir in the sour cream. Pour the batter into the prepared pan. Place the springform pan inside a larger pan. Fill the larger pan with enough hot water to come at least 1-inch up the sides of the baking dish. Bake for 70-75 minutes or until the top of the cake is tanning lightly. Remove the springform pan from the water and let the cake cool. When the cake is at room temperature, refrigerate it at least 4 hours or until thoroughly chilled. Remove the sides of the pan. Spread the topping over the cake.

 Topping:

Place the cranberries, sugar and water in a small saucepan. Bring to a boil and cook over medium-high heat, stirring often, for about 3 minutes or until cranberries start to pop. Stir the cornstarch mixture and add it to the pan. Mix for about one minute or until the topping thickens. Stir in the orange peel. Let cool.

 Makes one cake serving 8-10

Cream Cheese Cookies

While cleaning out/purging my files recently, I rediscovered this recipe for these Cream Cheese Cookies. It was on an old index card, in my mother's handwriting. I'd always wanted to try these, but never did because after the list of ingredients there was this instruction: "bake and freeze."

I don't remember watching my Mom bake these cookies and I had no clue what "bake and freeze" meant other than that I had to chill the dough before doing anything with it. She also never wrote down the oven temperature.

So I tried several versions. I rolled clumps of dough into 1-inch balls and baked them. I made some crescent shaped. The best ones were when I rolled the dough into two long logs, refrigerated them overnight and cut the logs into 1/4-inch slices, baked at 325 degrees.

My mother never said to dust the baked cookies with confectioners' sugar. I tried them with and without and think the cookies taste better and look nicer with that final garnish.

Glad I finally tried the recipe! The cookies are rich and tender, lightly sweet (only 2 tablespoons of sugar!), a perfect snack for a coffee or tea break.

Here's the recipe, with instructions.

MY MOTHER'S CREAM CHEESE COOKIES

  • 1/2 pound butter
  • 1/2 pound cream cheese
  • 2 large egg yolks
  • 2 tablespoons sugar
  • 1/2 teaspoon salt
  • 1 teaspoon vanilla extract
  • 1-3/4 cups all-purpose flour
  • confectioners' sugar

Beat the butter and cream cheese together in the bowl of an electric mixer set at medium (or use a hand mixer) for 2-3 minutes, until softened and completely blended. Add the egg yolks, sugar, salt and vanilla extract and beat them in thoroughly. Add the flour gradually, beating it in until a smooth, uniform dough has formed. Cut the dough in half and roll each half into a long log about 1-inch in diameter. Wrap in plastic wrap and chill for at least 4 hours, or until firm and cold. Preheat the oven to 325 degrees. Slice the logs into 1/4-inch slices and place the slices on cookie sheets. Bake for 23-25 minutes or until lightly browned. Remove from the oven and let cool. Dust with confectioners sugar (best if sifted over the cookies).

Makes about 60 cookies


Aunt Kate's Cheese Cake

My Mom always talked about what a good cook Aunt Kate was. She'd say "Kate could make franks and beans taste like a gourmet dinner."

Truth is, Aunt Kate (Kate Winter) was actually not my biological or married-in aunt; she was our neighbor when I was a little girl in Bridgeport, CT. In those days it was the custom to call your parents' good friends aunt/uncle, out of respect. My parents and the Winters remained close friends, even after my parents moved away.

Recently, while going through a purge of my recipe files, I came across Aunt Kate's recipe for cream cheese cake. It was on an index card, in her handwriting, complete with instructions, including the reminder to place the finished, cooled cake "in the ice box."

Naturally, I had to try it.

My Mom was right. This was one fabulous recipe. Creamy, rich cheesecake -- but lighter and fluffier than most. It doesn't need anything but itself, although Aunt Kate apparently garnished it with strawberry topping (frozen strawberries mixed with cornstarch and sugar). I preferred to use fresh berries so I changed that part.

Otherwise, in all its delicious glory, here is the recipe for Aunt Kate's wonderful cheese cake.

AUNT KATE'S CHEESE CAKE

  • 2 teaspoons butter or margarine

  • 1/3 cup graham cracker crumbs

  • 1 pound cream cheese

  • 1 pound cottage or farmer cheese

  • 1 cup sugar

  • 3 large eggs

  • 1 teaspoon vanilla extract

  • Topping

 TOPPING:

  • 2 cups dairy sour cream

  • 3 tablespoons sugar

  • 1 teaspoon vanilla extract

 GARNISH

  • 12-15 strawberries

  • 1/4 cup apricot or currant preserves


Preheat the oven to 375 degrees. Spread the butter on the bottom and sides of a 9-inch springform pan. Sprinkle the inside of the pan with the graham cracker crumbs. Shake the pan to coat the bottom and sides of the pan completely. Beat the cream cheese and cottage cheese in an electric mixer at medium speed for 1-2 minutes or until they are thoroughly blended. Add the sugar and blend it in. Add the eggs and vanilla extract and beat the ingredients for 2-3 minutes or until the mixture is smooth, scraping down the sides of the bowl occasionally with a rubber spatula. Pour the batter into the prepared pan. Bake for 20 minutes.

While the cake is baking, make the topping by mixing the sour cream, sugar and vanilla extract together until well blended. When the cake has baked for 20 minutes, remove it from the oven and carefully spoon the topping over the cake. Return the cake to the oven. Bake for 10 minutes. Turn the heat off but leave the cake in the oven until it has cooled to room temperature.

When the cake has reached room temperature, (“place it in the ice box”) refrigerate it at least 4 hours or until it is thoroughly chilled. Wash and trim the berries and cut the in half. Place the halves attractively on top of the cake. Heat the preserves in a small saucepan and brush the melted preserves over the berries. Remove the sides of the pan to serve the cake.

Makes one cake serving 12-16


Rich, Dense, Cream Cheese Pound Cake

_DSC7518.JPG

I've been experimenting with cream cheese lately, mostly because I had some extra left over from creating and testing recipes for Philadelphia Cream Cheese at JoyOfKosher.com. (You can find the recipes here, where there are recipes also from Tamar Genger and Jamie Geller).

But also because the Jewish holiday of Shavuot is coming and this particular holiday usually involves a lot of cream cheese.

I've made several cheesecakes. You'll read about them here soon.

But I decided to make a pound cake too. With the addition of cream cheese, this plain old cake is outrageously dense, moist and rich.

You don't need to add frosting, powdered sugar, any sort of glaze, accompaniments of any kind like ice cream or fresh fruit. Although, of course, none of those would hurt.

But this one is good just the way it is.

Cream Cheese Pound Cake

  • 1-1/2 cups butter
  • 8 ounces cream cheese
  • 2-1/2 cups sugar
  • 6 large eggs
  • 2 teaspoons vanilla extract
  • 2 teaspoons grated lemon peel
  • 3 cups all-purpose flour
  • 1 teaspoon baking powder
  • 1/2 teaspoon salt

Preheat the oven to 300 degrees. Grease a 10-cup bundt pan. Beat the butter and cream cheese together in the bowl of an electric mixer set at medium for about 2 minutes, or until well blended. Add the sugar gradually and beat for about 2 minutes or until thoroughly incorporated. Add the eggs one at a time, beating after each addition. Scrape down the sides of the bowl occasionally to keep the batter smooth and uniform. Add the vanilla extract and lemon peel and stir them in. Add the flour, baking powder and salt and beat the ingredients for about 1-2 minutes or until smooth, uniform and well-blended. Spoon the batter into the prepared pan. Bake for 1-1/2 hours or until a cake tester inserted into the center comes out clean.

Makes one cake serving 16 people