side dish

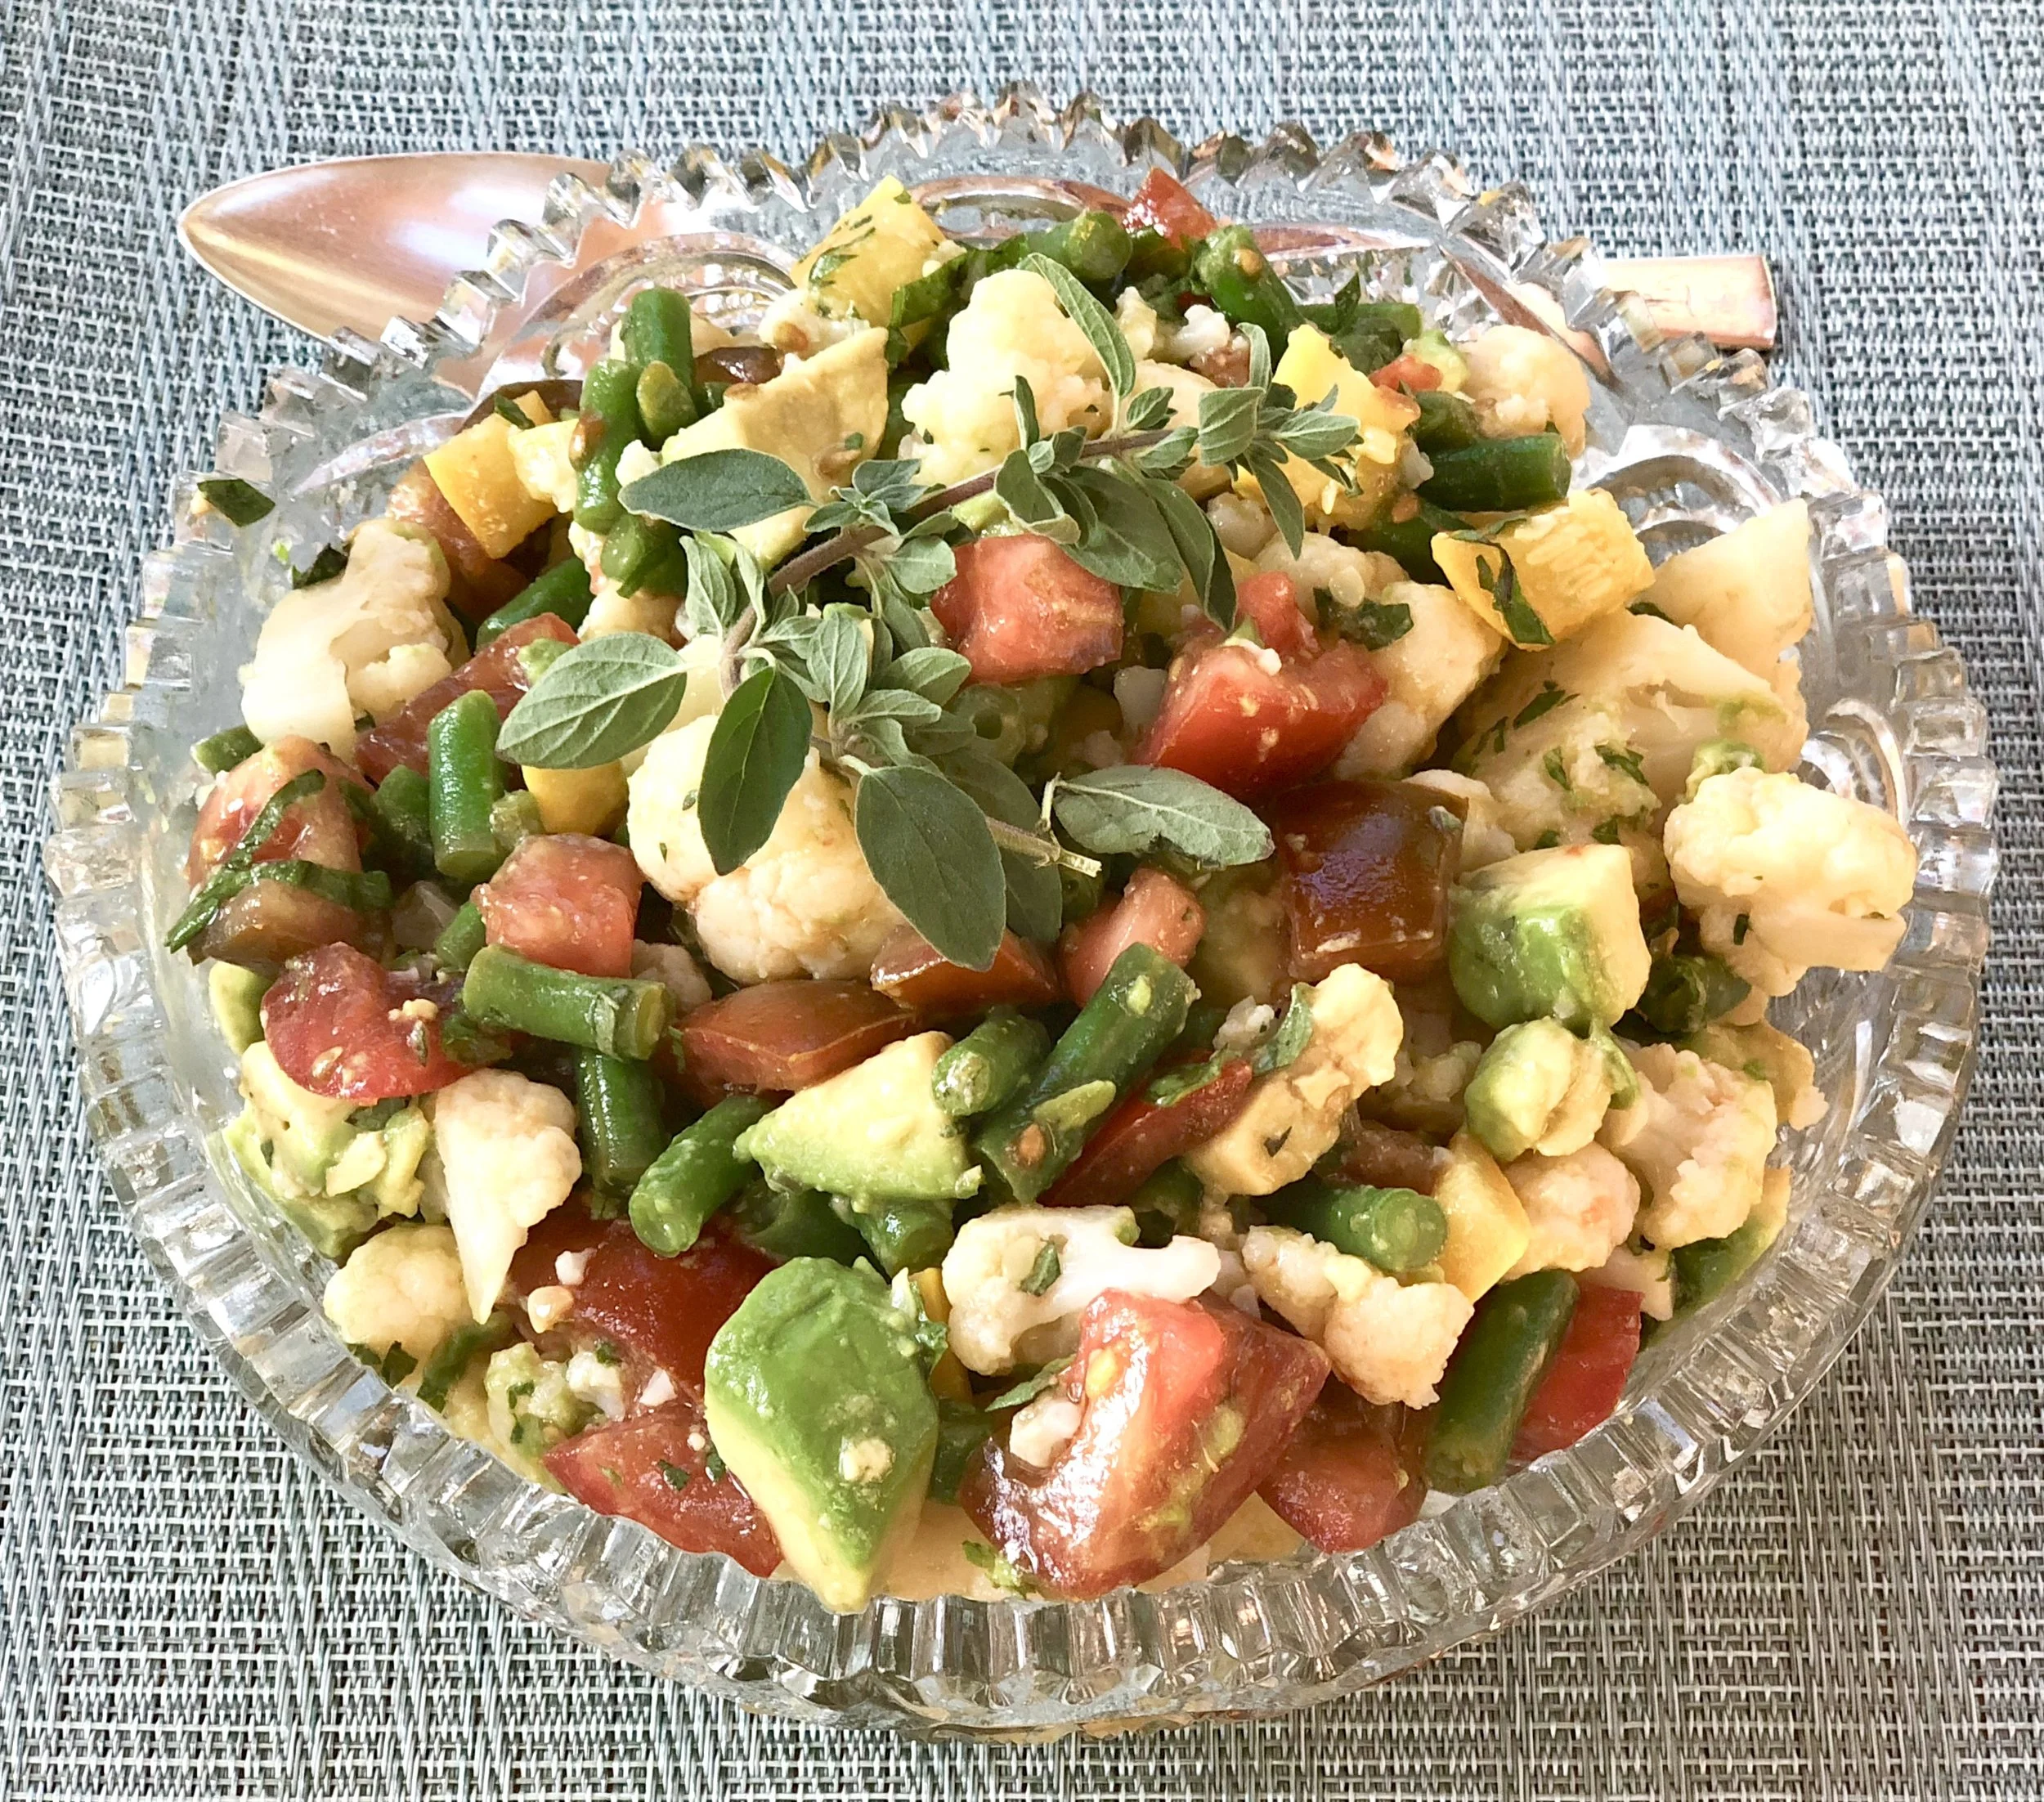
Vegetable Salad

fullsizeoutput_a6ee.jpeg

Light, refreshing food. That’s what we want during the summer.

Also, easy to make. And as quick as possible.

I made this vegetable salad using leftovers from the veggies we had over a couple of meals. Added some fresh tomatoes, an avocado and some herbs. Not only did I get to use up stuff from the fridge, the dish took less than 10 minutes to make.

It’s a side dish. But you can add some tofu, cheese or hard-cooked eggs and make it into a main course (or add leftover fish, meat or poultry).

Add crusty bread and it’s a sandwich filling.

Mix it into cooked penne or ziti and it becomes pasta primavera.

Use whatever vegetables you have in proportions suggested. There’s no magic here, no actual recipe that will fail if you don’t have one of the ingredients.

Vegetable Salad

  • 3 cups cooked cut up cauliflower

  • 1 cup cooked, cut up green beans

  • 1 cup cooked cut up yellow squash

  • 3-4 cut up small tomatoes

  • 1 avocado, cut into small chunks

  • 3 tablespoons chopped fresh basil

  • 2 teaspoons chopped fresh oregano

  • 2 tablespoons olive oil

  • 2-3 tablespoons fresh lemon juice (or use white wine vinegar)

  • salt and freshly ground black pepper to taste

Place the cauliflower, green beans, yellow squash, tomatoes, avocado, basil and oregano in a bowl and toss the ingredients to distribute them evenly. Pour the olive oil over the vegetables and toss again. Pour 2 tablespoons of the lemon juice over the vegetables and toss again. Taste for seasoning and add more lemon juice and salt and pepper to taste.

Makes 4-6 servings
Bulgur Wheat Varnishkes

fullsizeoutput_86ca.jpg

Tisha B’av isn’t one of the better-known Jewish holidays. I’ve heard people say “oh yeah, I think that’s when you can’t get married.” Or, “you can’t get a haircut or listen to music.”

All true, and much more, and that’s because, unlike holidays when we celebrate joyful occasions such as a new year or deliverance from Pharaoh, Tisha B’av is when observant Jews mourn the destruction of the First and Second Temples. In addition, we remember the numerous times throughout history that the Jewish people were subjected to pogroms, exile and a multitude of other catastrophes. These are days that we don’t celebrate; we grieve.

Mournful times deserve respect and reflection. During the nine days leading up to the actual holiday (which begins at sundown on August 10th) many families will refrain from the usual pleasure-filled events and activities that make up our lives.

That includes getting married or getting a haircut or listening to music.

It also includes refraining from eating certain foods.

Tisha B’av is a full fast day, but during the days leading up to it many families don’t eat meat. Fish, dairy, vegetarian — is on the menu, and especially eggs and lentils, which are considered “mourner’s food.”

It’s just as well frankly. Skipping heavy meat meals during the hot weather makes good sense. It’s a whole lot smarter to eat fish, dairy and vegetarian.

Whether or not you follow the culinary guidelines during the Nine Days, this dish will do!

Anytime.

It’s my particular riff on classic kasha varnishkes. Our family really doesn’t like kasha, so I make the dish using bulgur wheat. Not only does it taste better, it’s easier to prepare and easier on the digestion.

Bulgur wheat or kasha varnishkes is usually a side dish, but it becomes a full meal if you add a fried egg or two on top.

Bulgur Wheat Varnishkes

  • 6 tablespoons vegetable oil

  • 1 cup bulgur wheat

  • 1-3/4 cup water, vegetable stock (can use chicken stock)

  • 2 large onions, chopped

  • Salt and freshly ground black pepper to taste

  • 6 ounces bow-tie pasta

  • 6 fried eggs

Heat 3 tablespoons of the vegetable oil in a sauté pan over medium heat. Add the bulgur wheat and cook, stirring occasionally, for about 3-4 minutes or until lightly toasted. Pour in the water or stock, bring to a boil, lower the heat and cover the pan. Cook for about 20 minutes or until all the liquid has been absorbed. Heat the remaining 3 tablespoons vegetable oil in a sauté pan over medium heat. Add the onions, sprinkle with salt and pepper and cook for about 20 minutes, stirring often, or until the onions are soft and browned. Cook the pasta according to directions on the package. Combine the bulgur wheat, pasta and onions in a large bowl. Sprinkle with salt and pepper. Keep warm while you fry 6 eggs, sunnyside-up style.

Makes 6 servings


Grilled Crispy Pineapple

Grilled Pineapple

Grilled Pineapple

If you’ve never tasted grilled pineapple, you’ve missed a real treat.

Cut into thick slices, it’s a fabulous side dish for dinners of grilled or roasted chicken, lamb, duck or fish.

But it has a sort of rum-like flavor, so I also think of it as a “solid cocktail.” Which makes it the perfect accompaniment to such items as grilled chicken wings and other savory nibbles. In that case, cut the large slices into cubes and skewer the chunks onto toothpicks.

OR — this dish is so versatile — top each slice with whipped cream, ice cream or sweetened mascarpone cheese (garnish with some chopped pistachios or mint) and use it as a dessert.

Any way at all — you can’t go wrong.

Grilled Pineapple

  • One whole pineapple

  • 2 tablespoons brown sugar

  • 2 tablespoons coconut oil, vegetable oil, melted butter or a mixture of these

  • 2 tablespoons orange juice

  • 1 teaspoon grated orange peel

  • sea salt

  • mint for garnish, optional

Cut the leaves off the pineapple. Remove the outer fibrous rind. Cut the peeled pineapple in slices about 3/4-inch thick. Set aside in a single layer in a pan. Heat the brown sugar, coconut oil, orange juice and orange peel in a saucepan over medium heat, stirring until the sugar is dissolved. Pour over the pineapple slices, turning the pieces to coat both sides. Let macerate for about 45 minutes. Preheat an outdoor grill to medium (or use a grill pan or the oven broiler). Grill the slices for about 4 minutes per side or until well glazed and tender, brushing occasionally with some of the liquid. Sprinkle lightly with sea salt. Garnish with fresh mint if desired.

Makes 6 servings

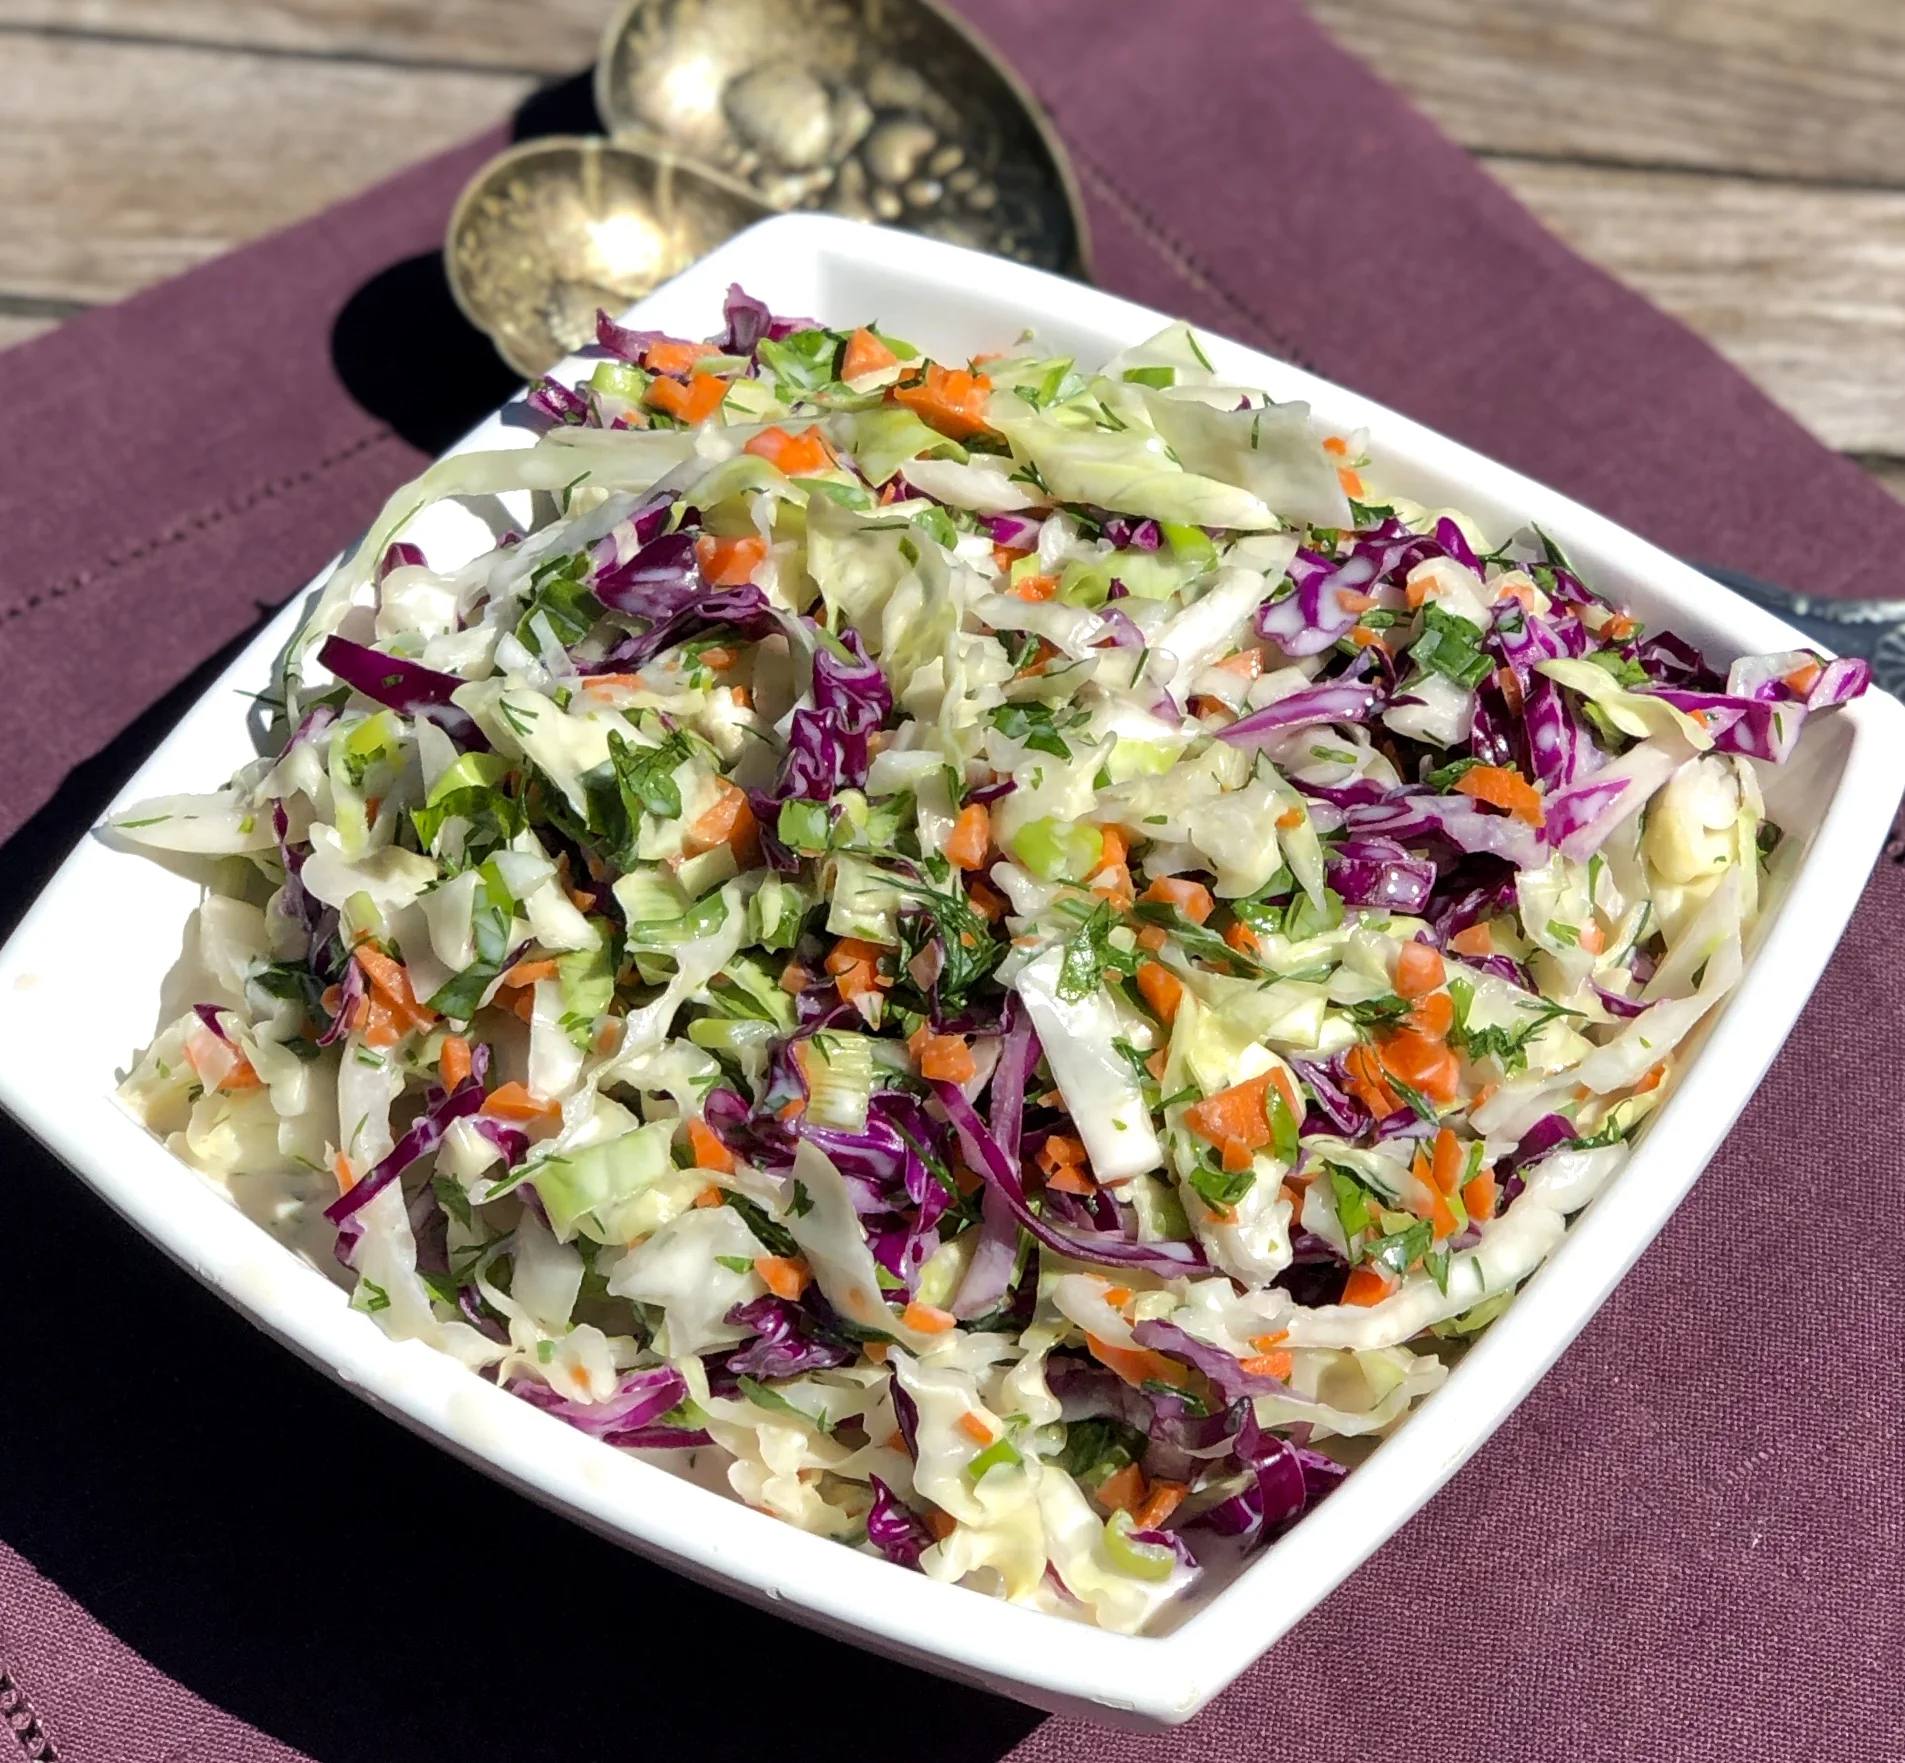
Two Color Cabbage Slaw

fullsizeoutput_a6e7.jpeg

Picnic on July 4th? Of course! It’s the American thing to do.

So of course, we need to bring typically American food.

Like cole slaw.

Which has become an iconic American picnic dish but is actually not an American recipe at all. Cole slaw (which means “cabbage salad”) was originally a Dutch specialty.

Nevertheless, we Americans love it so much we have claimed it as our own and it is therefore perfectly perfect for any Fourth of July celebration.

Two Color Cabbage Slaw

  • 4 cups packed shredded green cabbage

  • 2 cups packed shredded purple cabbage

  • salt

  • 2 finely chopped carrots

  • 3 chopped scallions

  • 1/4 cup chopped fresh parsley

  • 2 tablespoons chopped fresh dill

  • 1-1/4 cups buttermilk

  • 1/3 cup mayonnaise

  • 2 tablespoons cider vinegar

  • 1 tablespoon sugar

  • pinch or two of cayenne pepper, optional

Place the green and purple cabbage shreds in a large bowl, sprinkle with 1-2 teaspoons of kosher salt and toss to distribute the ingredients evenly. Let rest for 45 minutes. Rinse the cabbage and wipe the shreds dry on paper towels. Place the shreds in a large bowl. Add the carrots, scallions, parsley and dill and toss the ingredients. In another bowl, combine the buttermilk, mayonnaise, cider vinegar and sugar. Whisk the ingredients and pour over the vegetables. Toss the ingredients and let rest for at least 15 minutes. Before serving, taste for seasoning and add salt and cayenne pepper to taste.

Makes 8 servings

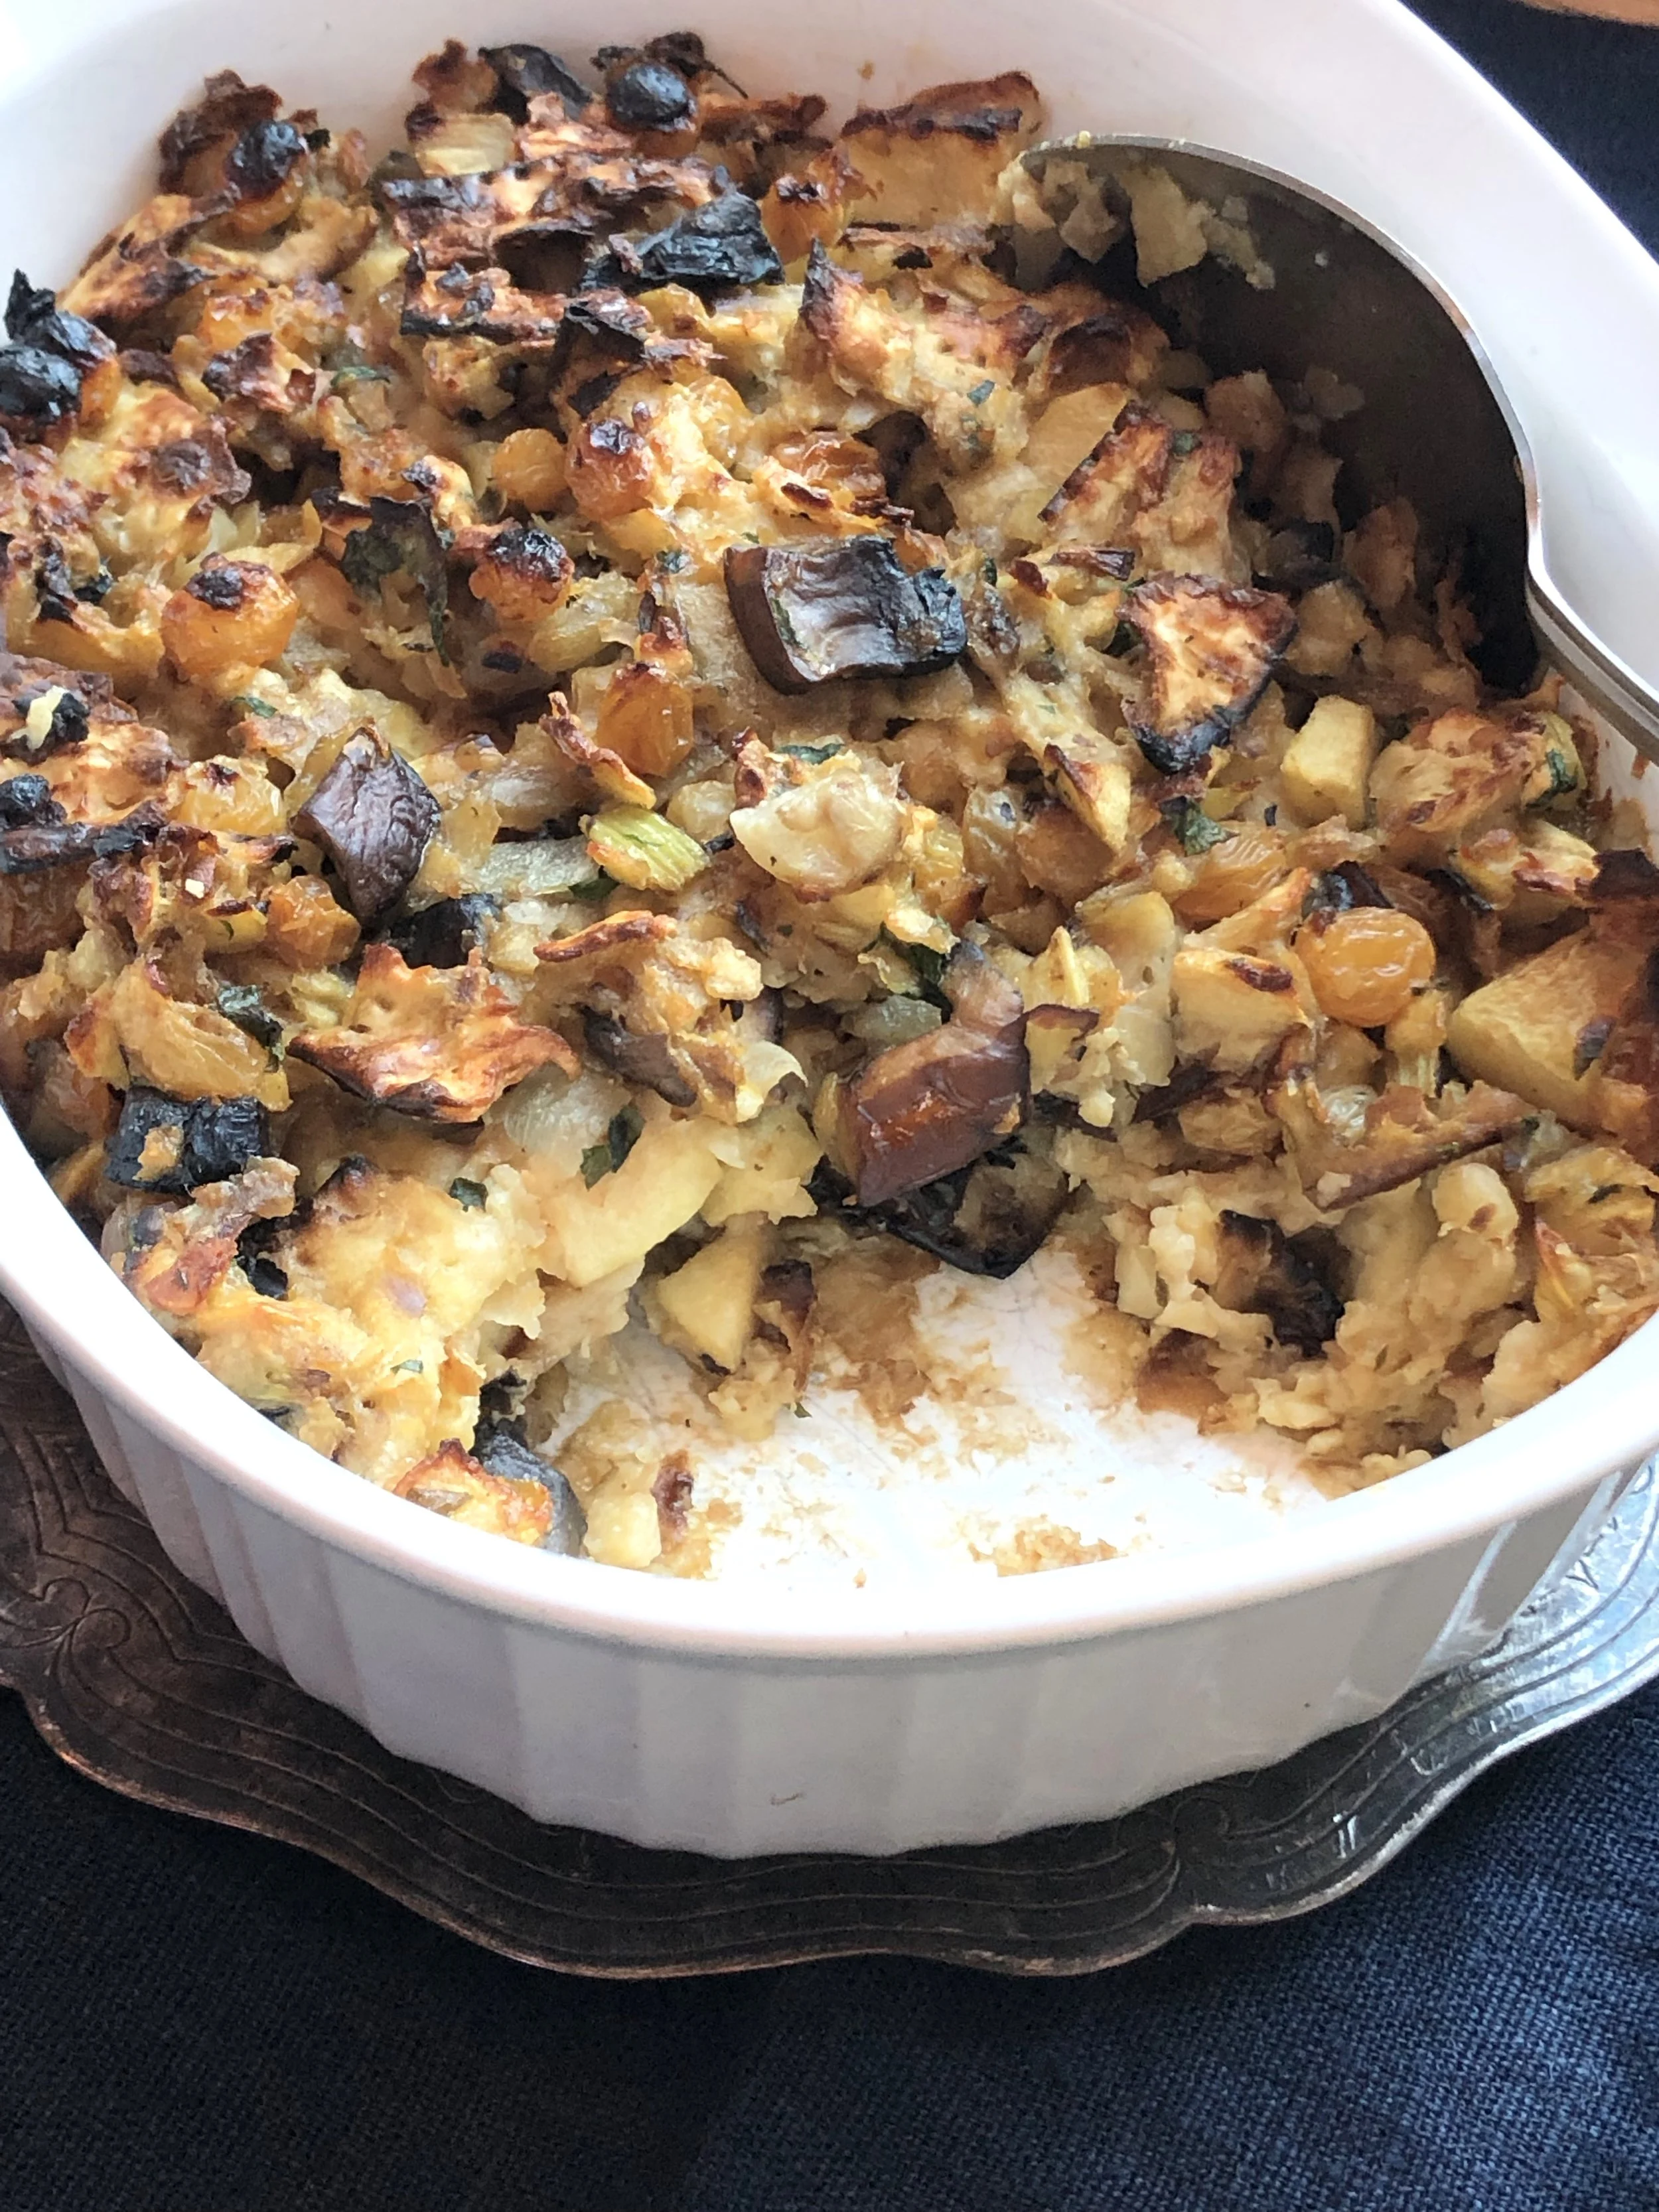
Stuff It: Matzo Stuffing

Matzo Stuffing with Apples and Portobello Mushrooms

Matzo Stuffing with Apples and Portobello Mushrooms

Almost everyone I know makes brisket for the first Seder.

But my grandma, and then my mother — for all the years that I remember — served turkey. So, so do I.

I may also make a brisket, depending on how many people are coming to celebrate with us. Or, I may make brisket for the second night. Depends.

But there’s always a turkey. And that means stuffing.

And so, the chosen stuffing for this year: crushed matzo with apples and portobello mushrooms. It’s easy and can be prepared in advance; just pop it in the oven to cook about 40 minutes before serving time. Sometimes I add thyme to this dish, sometimes I don’t, depending on the crowd. It’s delicious either way, although of course, the fresh herb gives it a bit more flavor.

Matzo Stuffing with Apples and Portobello Mushrooms

  • 6 pieces of matzo, broken up into little pieces

  • 1-1/2 cups chicken or turkey stock (or vegetable stock)

  • 3 tablespoons vegetable oil

  • 1 large onion, chopped

  • 1 large stalk celery, chopped

  • 2 large Portobello mushroom caps, chopped

  • 2 tart apples, peeled and chopped

  • 1/2 cup golden raisins

  • 3 tablespoons chopped fresh parsley

  • 2 teaspoons fresh thyme leaves, optional

  • salt and freshly ground black pepper to taste

  • 2 large eggs, beaten

Preheat the oven to 375 degrees. Place the matzot in a bowl and pour the stock over them. Let soak for 5-6 minutes or until liquid has been absorbed. Set aside. While the matzot are soaking, heat the vegetable oil in a saute pan over medium heat. Add the onion and celery and cook for 1-2 minutes. Add the mushrooms and cook for 3-4 minutes. Add the apples, raisins, parsley and thyme, if used, and cook for another minute. Spoon the contents of the pan into the bowl with the matzot. Sprinkle with salt and pepper. Toss ingredients to distribute them evenly. Add the eggs, mix the ingredients thoroughly. Spoon the ingredients into a baking dish. Bake for about 40 minutes or until the top is crispy.

Makes 6-8 servings


Matbucha

fullsizeoutput_a219.jpeg

Spring has sprung and for me, that means more salad.

So I got to thinking about that word salad, which I realize means so many things that I was never able to fit all of my salad recipes into a file folder simply marked “salad.” I had to sub-categorize them into files such as “grain salads,” “tomato salads,” “fruit salads” and so on.

Over the years I’ve made salads of all sorts. Some based mostly on greens and some that had no greens at all.

I’ve made beet salads, dinner salads, fish salads and quinoa salads.

I could go on. But really, there is no one way to describe “salad,” even though a dictionary might say something like “a mixture of raw and cooked vegetables served with dressing.”

No.

Because recently I prepared some Matbucha, which is an entirely different salad category.

Matbucha is a “salade cuit” — that is, “cooked salad.” In fact the word Matbucha, is an Arabic word that means “cooked salad".”

Cooked salad may seem odd to Western thinking except for the fact that most of us actually eat lots of cooked salads, such as potato salad and egg salad too. We just don’t think of them as “cooked salads,” but that’s what they are.

Matbucha is a Moroccan dish, especially popular in the Moroccan Jewish community, which was once large and thriving in North Africa. When good numbers of Moroccan Jews migrated to Israel, they brought their love of this dish with them and it is now wildly popular in Israel too.

For good reason: Matbucha is vibrantly tasty, easy to cook and is ideal for Shabbat because, even though it’s cooked, you can serve it at room temperature. Use it as a salad course or as a side dish with dinner. I’ve always served it with hors d’oeuvre, as a topping for crackers or pita wedges (it works well with other Middle Eastern nibbles and dips such as hummus, raheb, baba ghanoush and so on).

You can make Matbucha 3-4 days ahead. That’s handy isn’t it?

Matbucha

  • 2 large red bell peppers

  • 3 tablespoons olive oil

  • 1 serrano pepper, deseeded and chopped

  • 2 large cloves garlic, finely chopped

  • 6 medium tomatoes peeled and finely chopped

  • 1-1/2 teaspoons paprika

  • 1 teaspoon sugar

  • 1/2 teaspoon salt or to taste

Preheat the broiler. Place the peppers under the broiler, about 4-6" away from the heat, and broil for 2-3 minutes, until the skin has blistered. Turn the peppers and repeat this process until the entire surface is blistered and lightly charred. Remove the peppers and place them in a paper bag. Let rest at least 10 minutes. Remove the peppers from the bag, peel off the skin and discard the stem and the seeds. Cut the peppers into pieces. Heat the olive oil in a large saucepan over medium heat. Add the peppers, serrano pepper and garlic and cook for 2-3 minutes. Add the tomatoes, paprika, sugar and salt. Bring to a simmer over medium-high heat. Cook for 30-35 minutes, until most of the liquid has evaporated and the mixture is thick.

 Makes 1-1/2 to 2 cups


Roasted Cauliflower with Crumbs

Roasted Cauliflower with Crumbs

Roasted Cauliflower with Crumbs

I recently read Mark Twain’s novel “The Tragedy of Puddin’head Wilson,” a story about what happens after two babies are switched and their real identities are lost almost forever.

In addition to being a good read, filled with humor and irony, this book also includes a character who keeps a diary where he writes wise sayings.

I always wondered where this famous Twain quote came from: “Cauliflower is nothing but cabbage with a college education.” Now I know.

I recommend the book. Also recommend this cauliflower dish, which is so easy to prepare you don’t need a college eduction to make it.

Roasted Cauliflower with Crumbs

  • 3/4 cup Panko

  • 1 large clove garlic, finely chopped

  • 2 tablespoons chopped fresh dill

  • 1/4 cup olive oil

  • 2 teaspoons Dijon mustard

  • 1 large head cauliflower, cut into florets

Preheat the oven to 425 degrees. Mix the Panko, garlic and dill together and set aside. In a large bowl, mix the olive oil and mustard together until thoroughly blended. Place the cauliflower in the mustard-oil bowl and toss to coat the pieces on all sides. Place the coated pieces on a baking sheet. Scatter the Panko over the pieces and toss to coat the pieces lightly. Roast for about 15 minutes or until crispy and tender, turning the pieces once or twice. Most of the crumbs will separate from the cauliflower. Place the cauliflower in a serving dish, scatter the crumbs on top.

Makes 6 servings

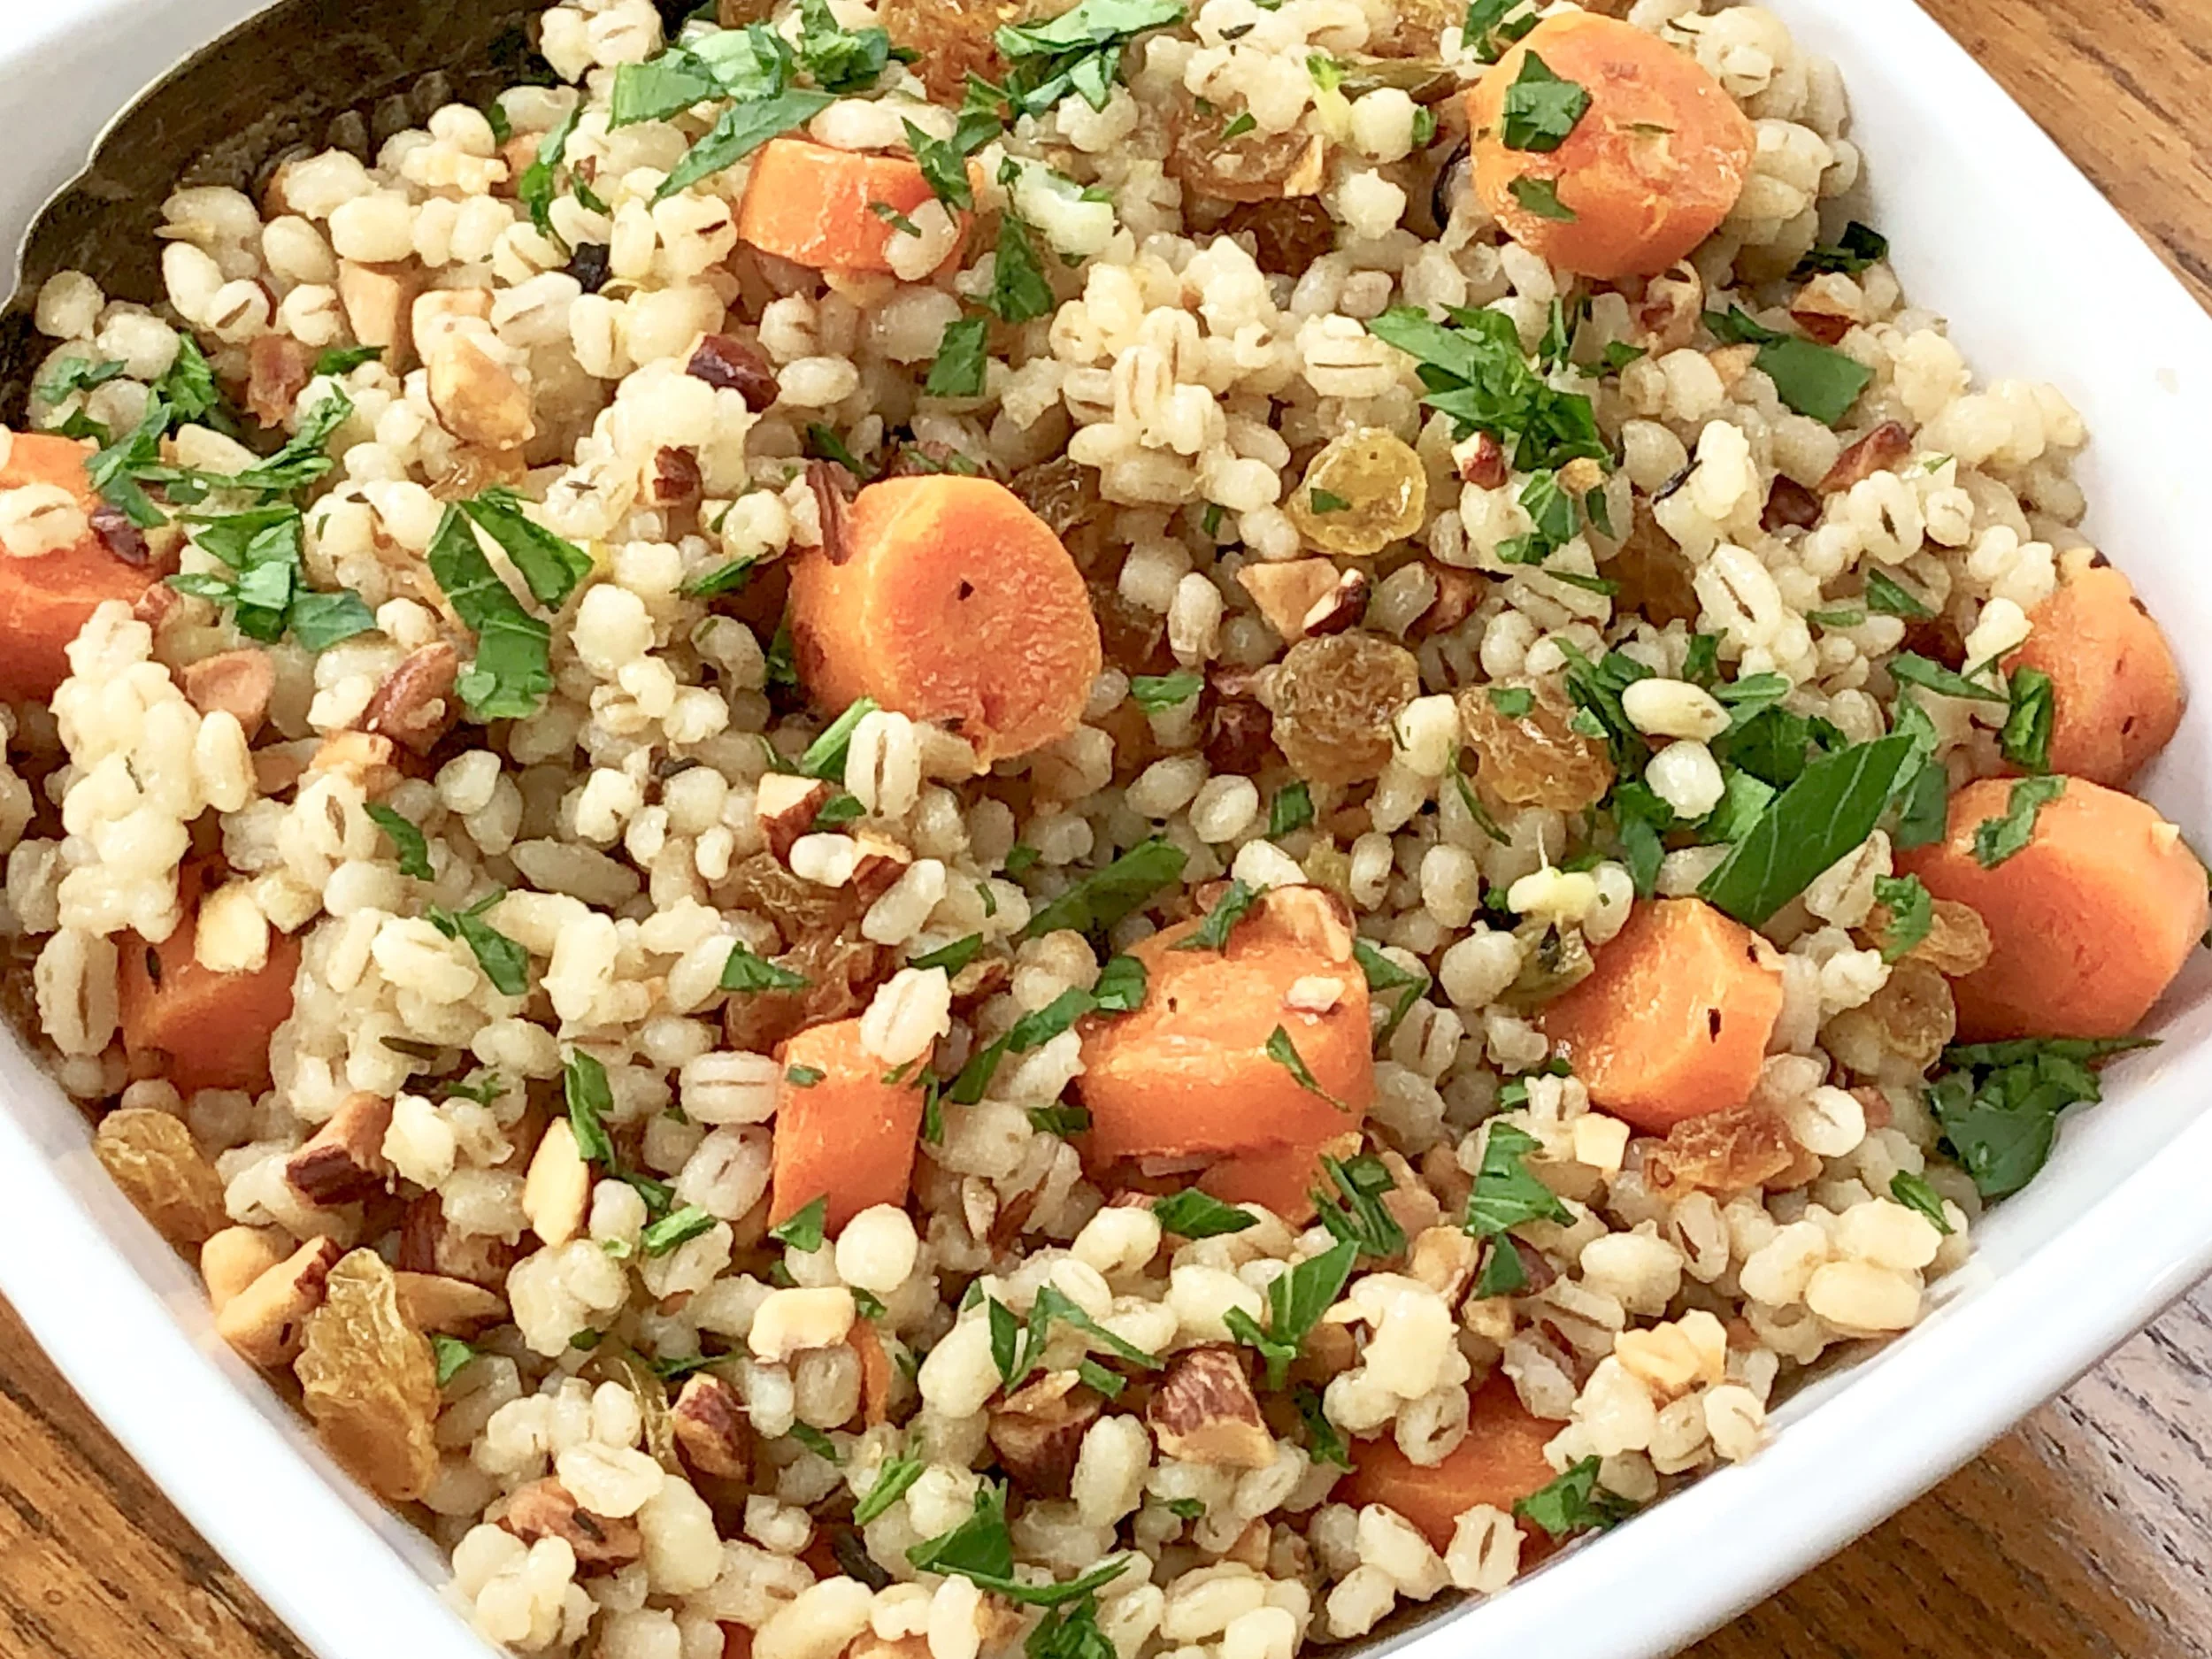
Barley with Carrots, Raisins and Almonds

fullsizeoutput_92d5.jpeg

For me, the appeal of winter foods is their ability make me feel warm and well-nourished. I don’t expect them to be gorgeous. When I look at dishes such as beef stew or a beloved chicken-and-soup, I don’t see art, I see safety and memory and the expectation of comfort.

This is why, when winter comes, I look for side dishes or desserts or an appetizer that can provide some color or add some beauty to the entree or the meal.

This barley casserole fits the bill. It’s a substantial side dish that works with meat, fish and poultry, with stews and hearty winter casseroles and for vegetarian meals too. It’s colorful and makes for an attractive addition to a winter dinner.

Barley with Carrots, Raisins and Almonds

  • 2 tablespoons olive oil

  • 2-3 carrots, sliced 1/2-inch thick

  • 3-4 scallions, chopped

  • 1 cup pearled barley

  • 2-1/2 cups vegetable stock

  • salt and freshly ground black pepper to taste

  • 1-1/2 teaspoons chopped fresh thyme

  • 1/2 cup golden raisins

  • 1/2 cup chopped toasted almonds

  • 2 tablespoons chopped fresh parsley

Heat the olive oil in a sauté pan over medium heat. Add the carrots and scallions and cook for about 2 minutes. Add the barley and cook for another 2 minutes, stirring often. Pour in the stock and add the salt, pepper and thyme. Stir, bring to a boil, lower the heat, cover the pan and simmer for about 50 minutes or until all the liquid has been absorbed. Stir in the raisins and almonds and toss gently to distribute the ingredients evenly. Cover the pan and let rest for 5 minutes. Spoon into a serving bowl and sprinkle with parsley.

Makes 6-8 servings


Mashed Potatoes, Two Ways (dairy-free and dairy-loaded)

fullsizeoutput_82a2.jpeg

In our nuclear family of 11, there are the pro-potato people and the no-potato people.

I am a top level pro-potato person.

And as you can see from the photos, so are two of my grand daughters, who helped me make some mashed potatoes for dinner a while ago.

The recipe we made was a butter-cream-cheese-sour-cream indulgence. (It could be a meal in itself!) But we’ve also made dairy-free versions. Pro-potato people like it all ways.

Are mashed potatoes on your menu for Thanksgiving? If so — or any other time — check out both recipes, dairy-loaded and dairy-free.

dairy-loaded Mashed Potatoes

  • 2 pounds boiling potatoes (such as Yukon Gold)

  • 4 tablespoons butter, cut into chunks

  • 4 tablespoons cream cheese, cut into chunks

  • 1/2 cup dairy sour cream

  • 1/4 cup warm milk, approximately

  • salt and freshly ground black pepper to taste

Peel the potatoes and cut them into chunks. Cook them in lightly salted simmering water for about 20 minutes or until tender. Drain and return the potatoes to the pan. Cook briefly over low heat to evaporate the excess moisture. Mash the potatoes with a ricer or potato masher. Add the butter and cream cheese and mash them in thoroughly until the butter and cheese are completely blended in. Add the sour cream and blend in thoroughly. Mix in enough milk for desired consistency. Season to taste with salt and pepper.

Makes 6 servings


DAIRY-FREE Mashed Potatoes

  • 5 medium all-purpose potatoes such as Yukon Gold

  • 1/4 cup olive oil

  • 1 small onion, chopped

  • 1 large clove garlic, chopped

  • 3 tablespoons lemon juice

  • 3 tablespoons chicken or vegetable stock

  • salt to taste

  • pinch or two of cayenne pepper

  • 3 tablespoons fresh bread crumbs

Preheat the oven to 400 degrees. Peel the potatoes, cut them into chunks and cook them in lightly salted water for about 15 minutes, or until they are fork tender. While the potatoes are cooking, heat the olive oil in a sauté pan and add the onion. Cook, stirring occasionally, for about 3 minutes, then add the garlic. Cook for another 1-2 minutes, or until the vegetables are beginning to brown. Set aside. Drain the potatoes and mash them with a ricer or potato masher until the lumps have disappeared. Add the vegetables and olive oil and stir them in gently. Stir in the lemon juice, stock, salt and the cayenne pepper. Place the mixture in a baking dish. Sprinkle with the bread crumbs. Bake for 10-15 minutes or until the top is crispy and brown.

Makes 6 servings

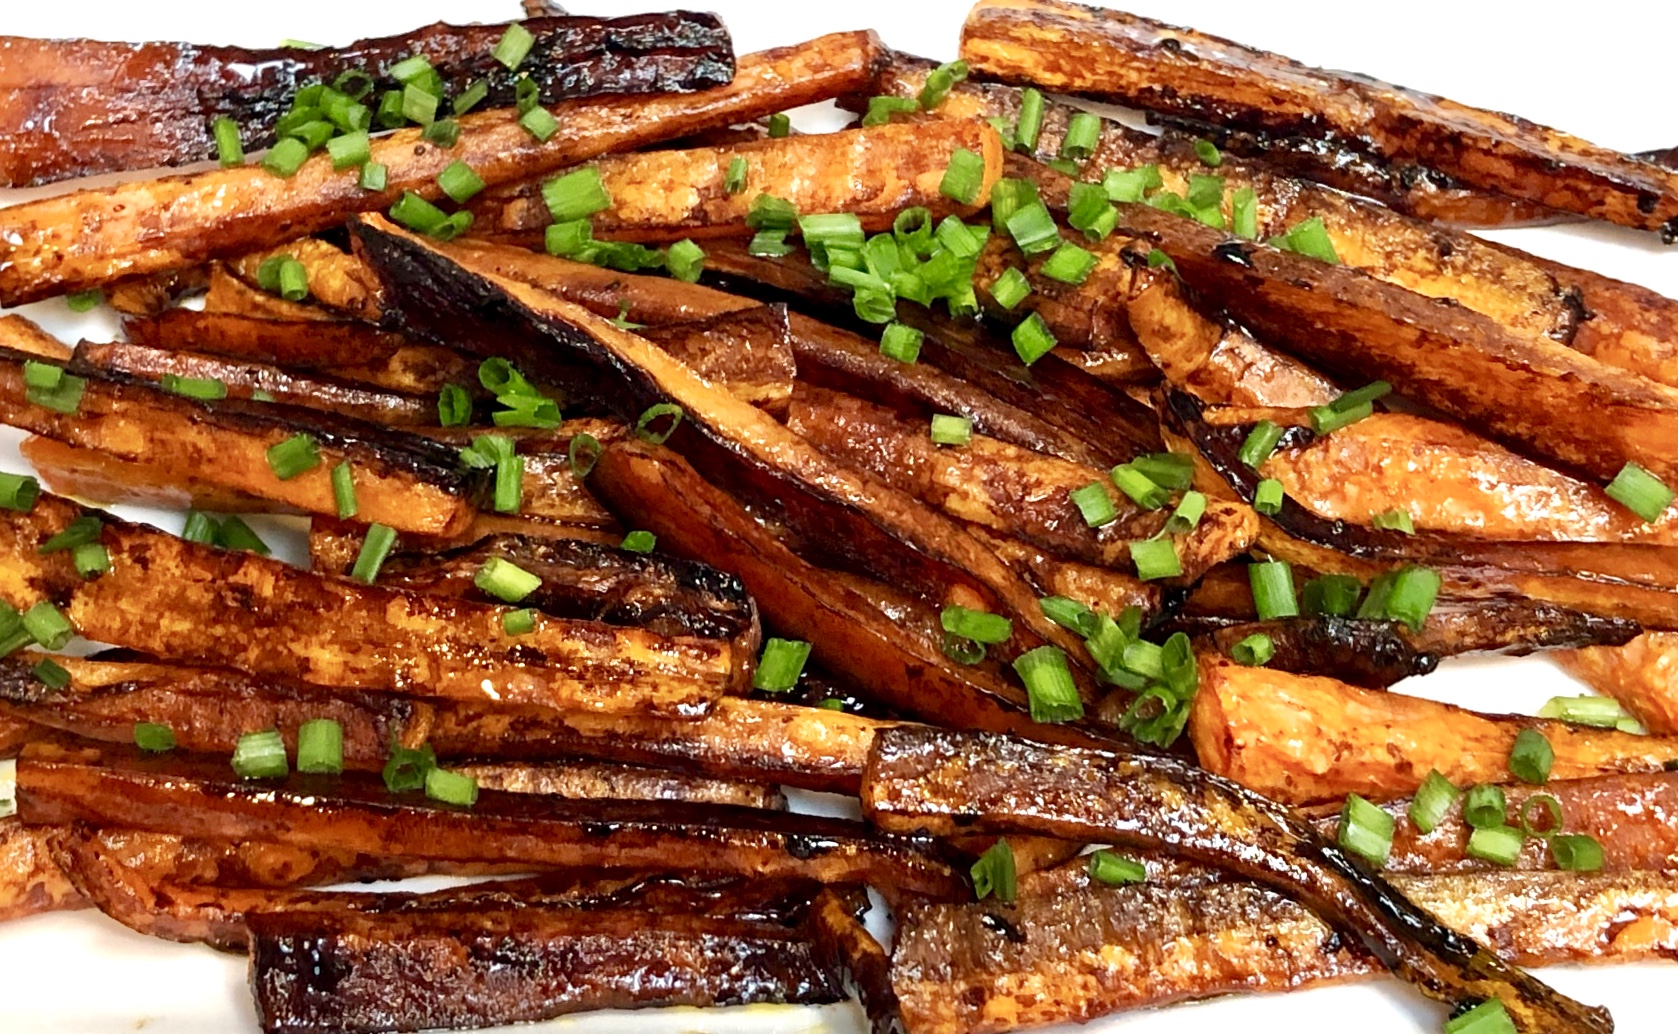
Roasted Carrots with Balsamic Vinegar Glaze and Chives

fullsizeoutput_89bf.jpeg

Carrots are always on my menu for Rosh Hashanah dinner. 

This recipe, the one I'm serving this year, is so easy. And you can set it up ahead -- peel and cut the carrots 2-3 days before you have to cook them, and store them in a plastic bag in the fridge.

This dish will go with practically any main course you might serve for dinner. 


Roasted Carrots with Balsamic Vinegar and Chives

  • 1 pound carrots
  • 2 tablespoons olive oil
  • kosher salt to taste
  • pinch cayenne pepper
  • 2 tablespoons balsamic vinegar
  • 2 tablespoons chopped fresh chives

Preheat the oven to 425 degrees. Line a baking sheet with parchment paper. Peel the carrots and cut them lengthwise in half or quarters, depending on thickness. Place the carrots on the baking sheet. Pour the olive oil over the carrots and toss to coat them completely. Sprinkle with kosher salt and a pinch of cayenne. Roast the carrots, stirring occasionally, for 10 minutes. Pour the Balsamic vinegar over the carrots, toss and bake for another 8-10 minutes or until they are tender. Sprinkle with chives and serve. 

Makes 4 servings