kosher

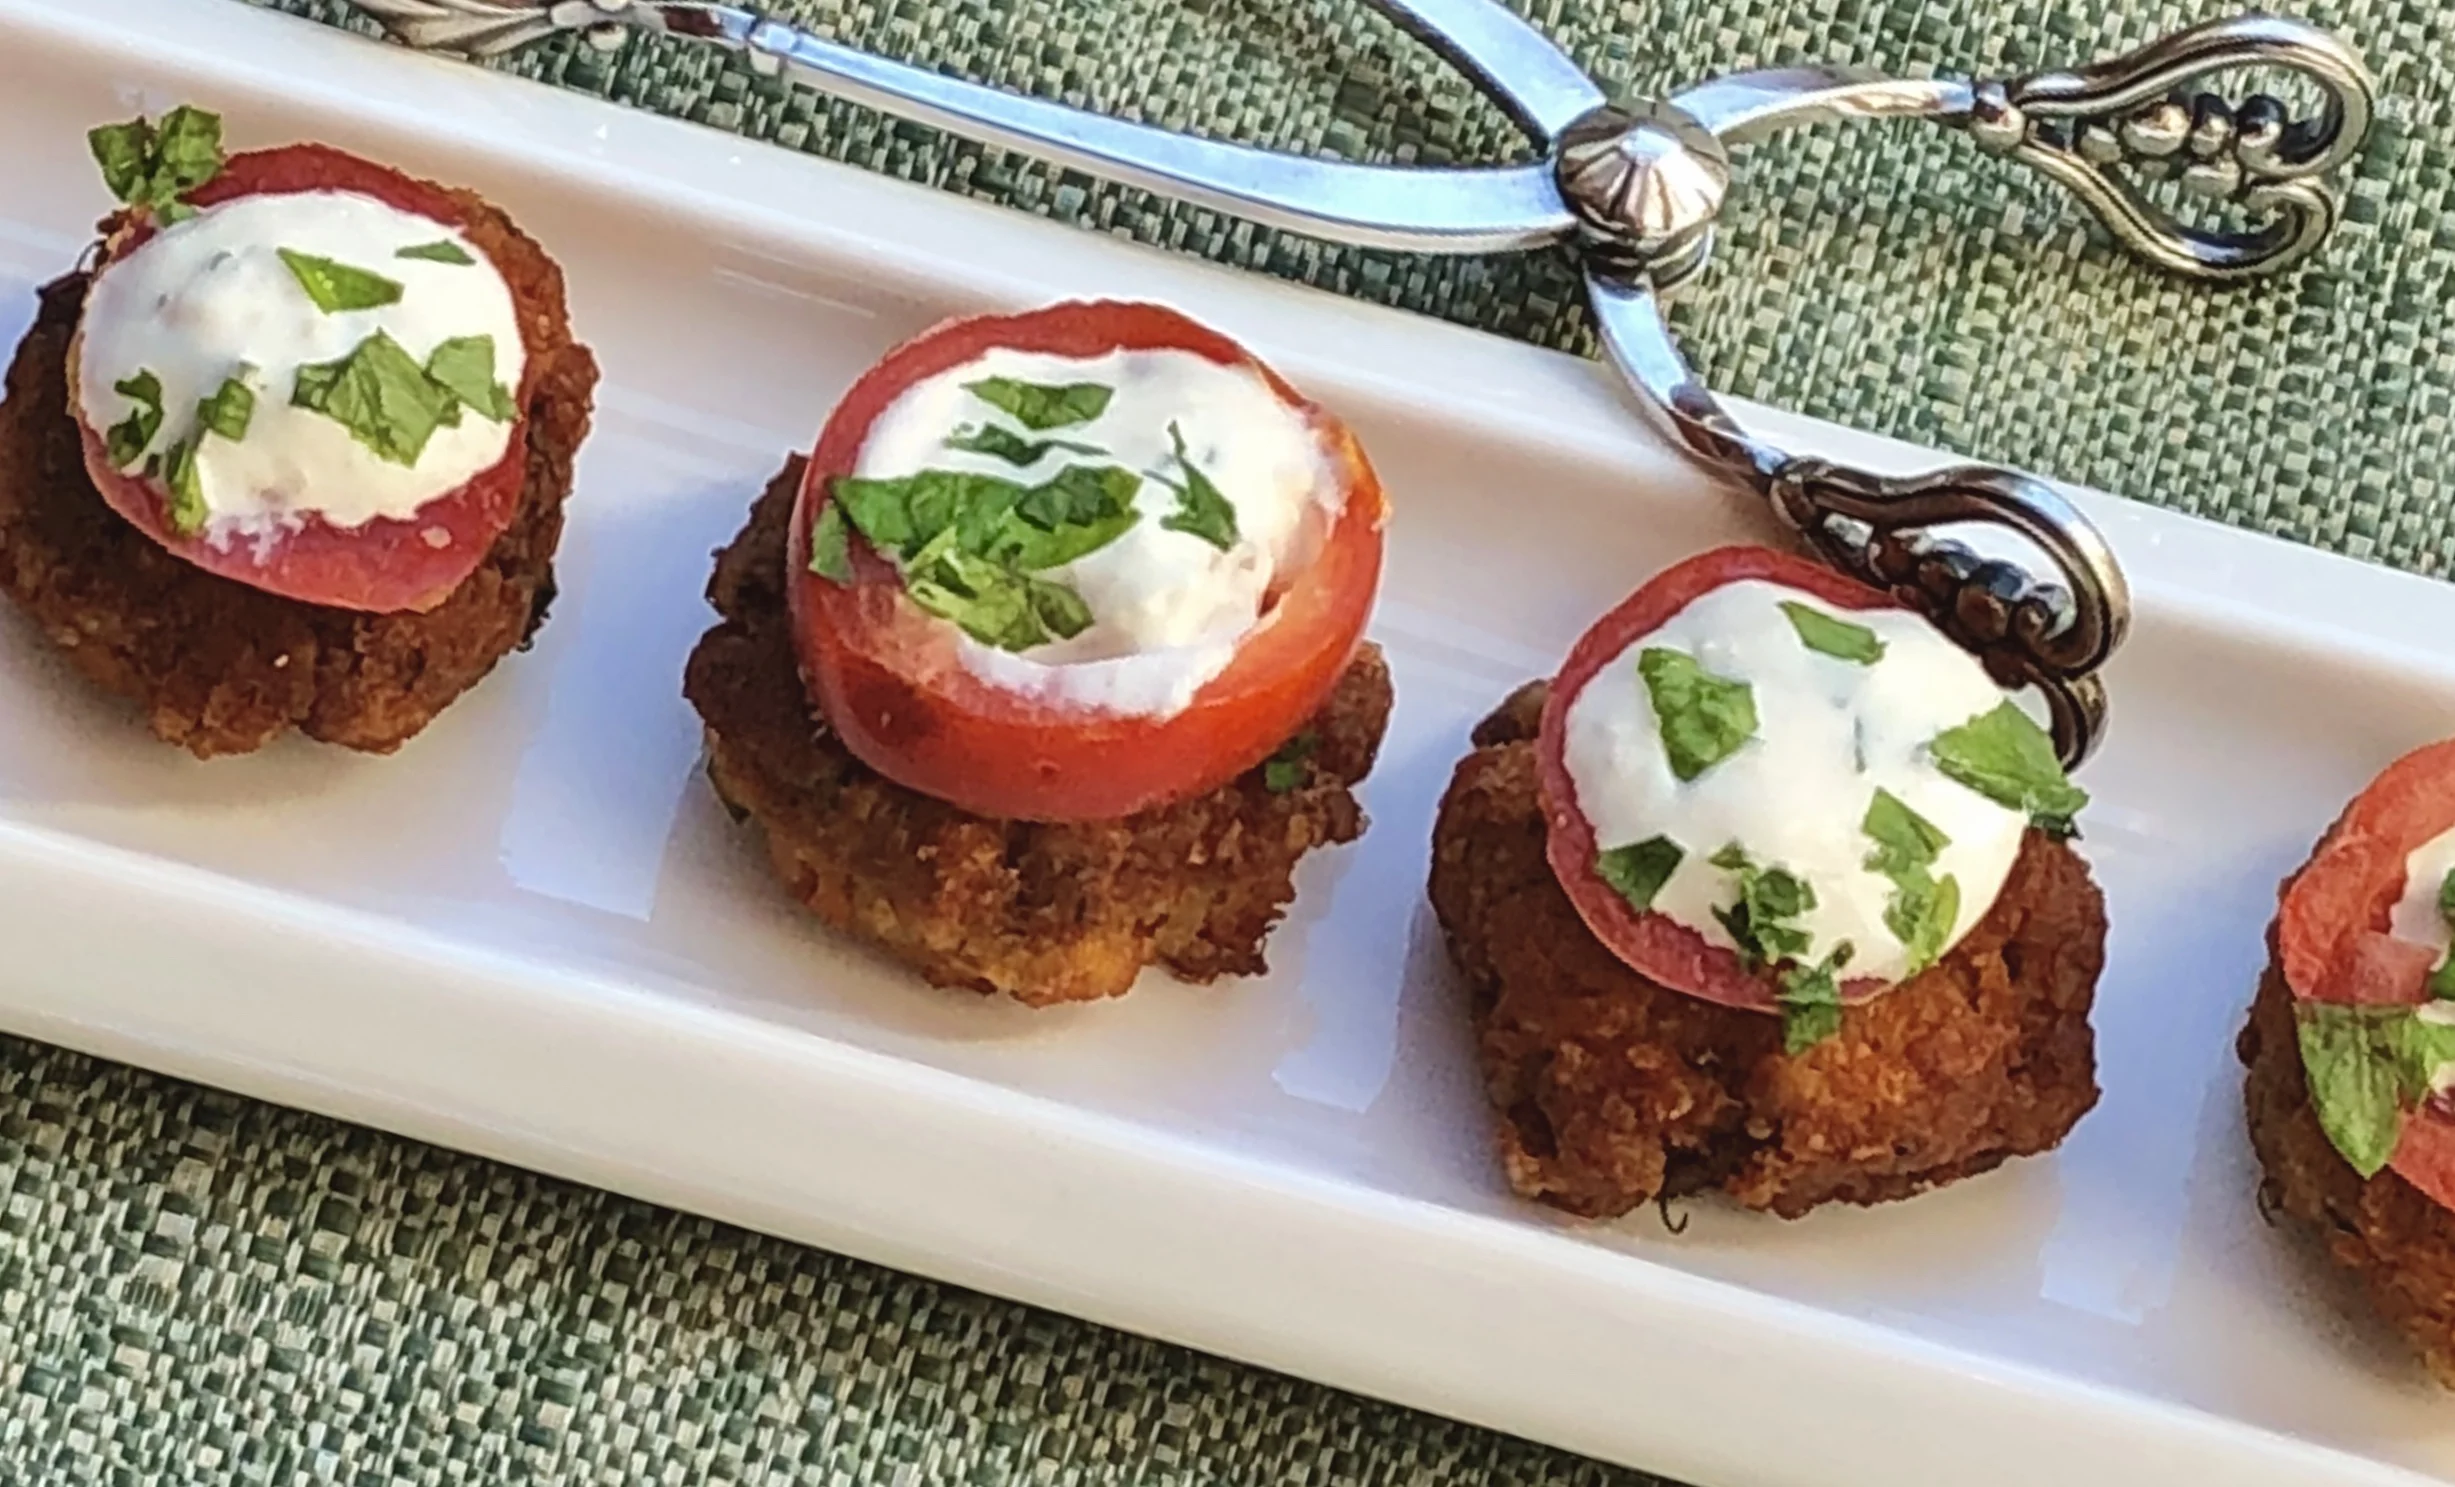
Handmade Potato Chips with Smoked Salmon Tartare

image.jpg

Potato latkes for Hanukkah? Of course!

But homemade potato chips also satisfy the holiday requirement of crispy potato.

And SO MUCH EASIER! And HEALTHIER. Because the chips in my recipe are baked, not fried (you could fry them if you wish though). They are so crispy they crunch as if they were fried.

And of course a homemade potato chip topped with smoked salmon tartare is perfect for my New Year’s celebration.

If you’ve never tasted homemade potato chips you have missed something spectacular in life. Do try this soon, with or without the salmon. You could serve them plain or with sour cream or applesauce, just like latkes. If you want to get fancy, make a dip by mixing some chopped fresh herbs into creme fraiche or mascarpone cheese.

Potato Chips with Smoked Salmon Tartare 

  • One large Russet baking potato

  • Vegetable oil

  • salt

  • 1/4 pound smoked salmon pieces

  • 2 tablespoons finely chopped red onion

  • 1-2 tablespoons chopped fresh dill

  • a few drops of olive oil

  • few drops of lemon juice

  • cream cheese, dairy sour cream, crème fraiche or mascarpone cheese, optional

Preheat the oven to 425 degrees. Peel the potato and slice 1/8-inch thick slices. Wipe the slices with paper towels. Brush the slices on both sides with vegetable oil. Sprinkle lightly with salt. Place on a cookie sheet and bake for 9 minutes. Turn the slices over and bake for another 8-9 minutes or until golden brown. Remove from the oven and set aside. Chop the smoked salmon. Add the red onion and dill and mix thoroughly. Sprinkle in a few drops of olive oil and lemon juice and mix. For a dairy hors d'oeuvre, spread the chips with cream cheese, sour cream, crème fraiche or mascarpone cheese. Top with some of the salmon mixture. For a parve hors d'oeuvre, place the salmon mixture directly on the potato chips

Makes 16-24

Mini Salmon Latkes

fullsizeoutput_9bea.jpeg
fullsizeoutput_8536.jpeg

I’m thinking ahead to Hanukkah and the New Year’s Eve weekend. For the first, of course latkes! For New Year’s? Hors d’oeuvre.

Here’s a recipe that works for either or both.

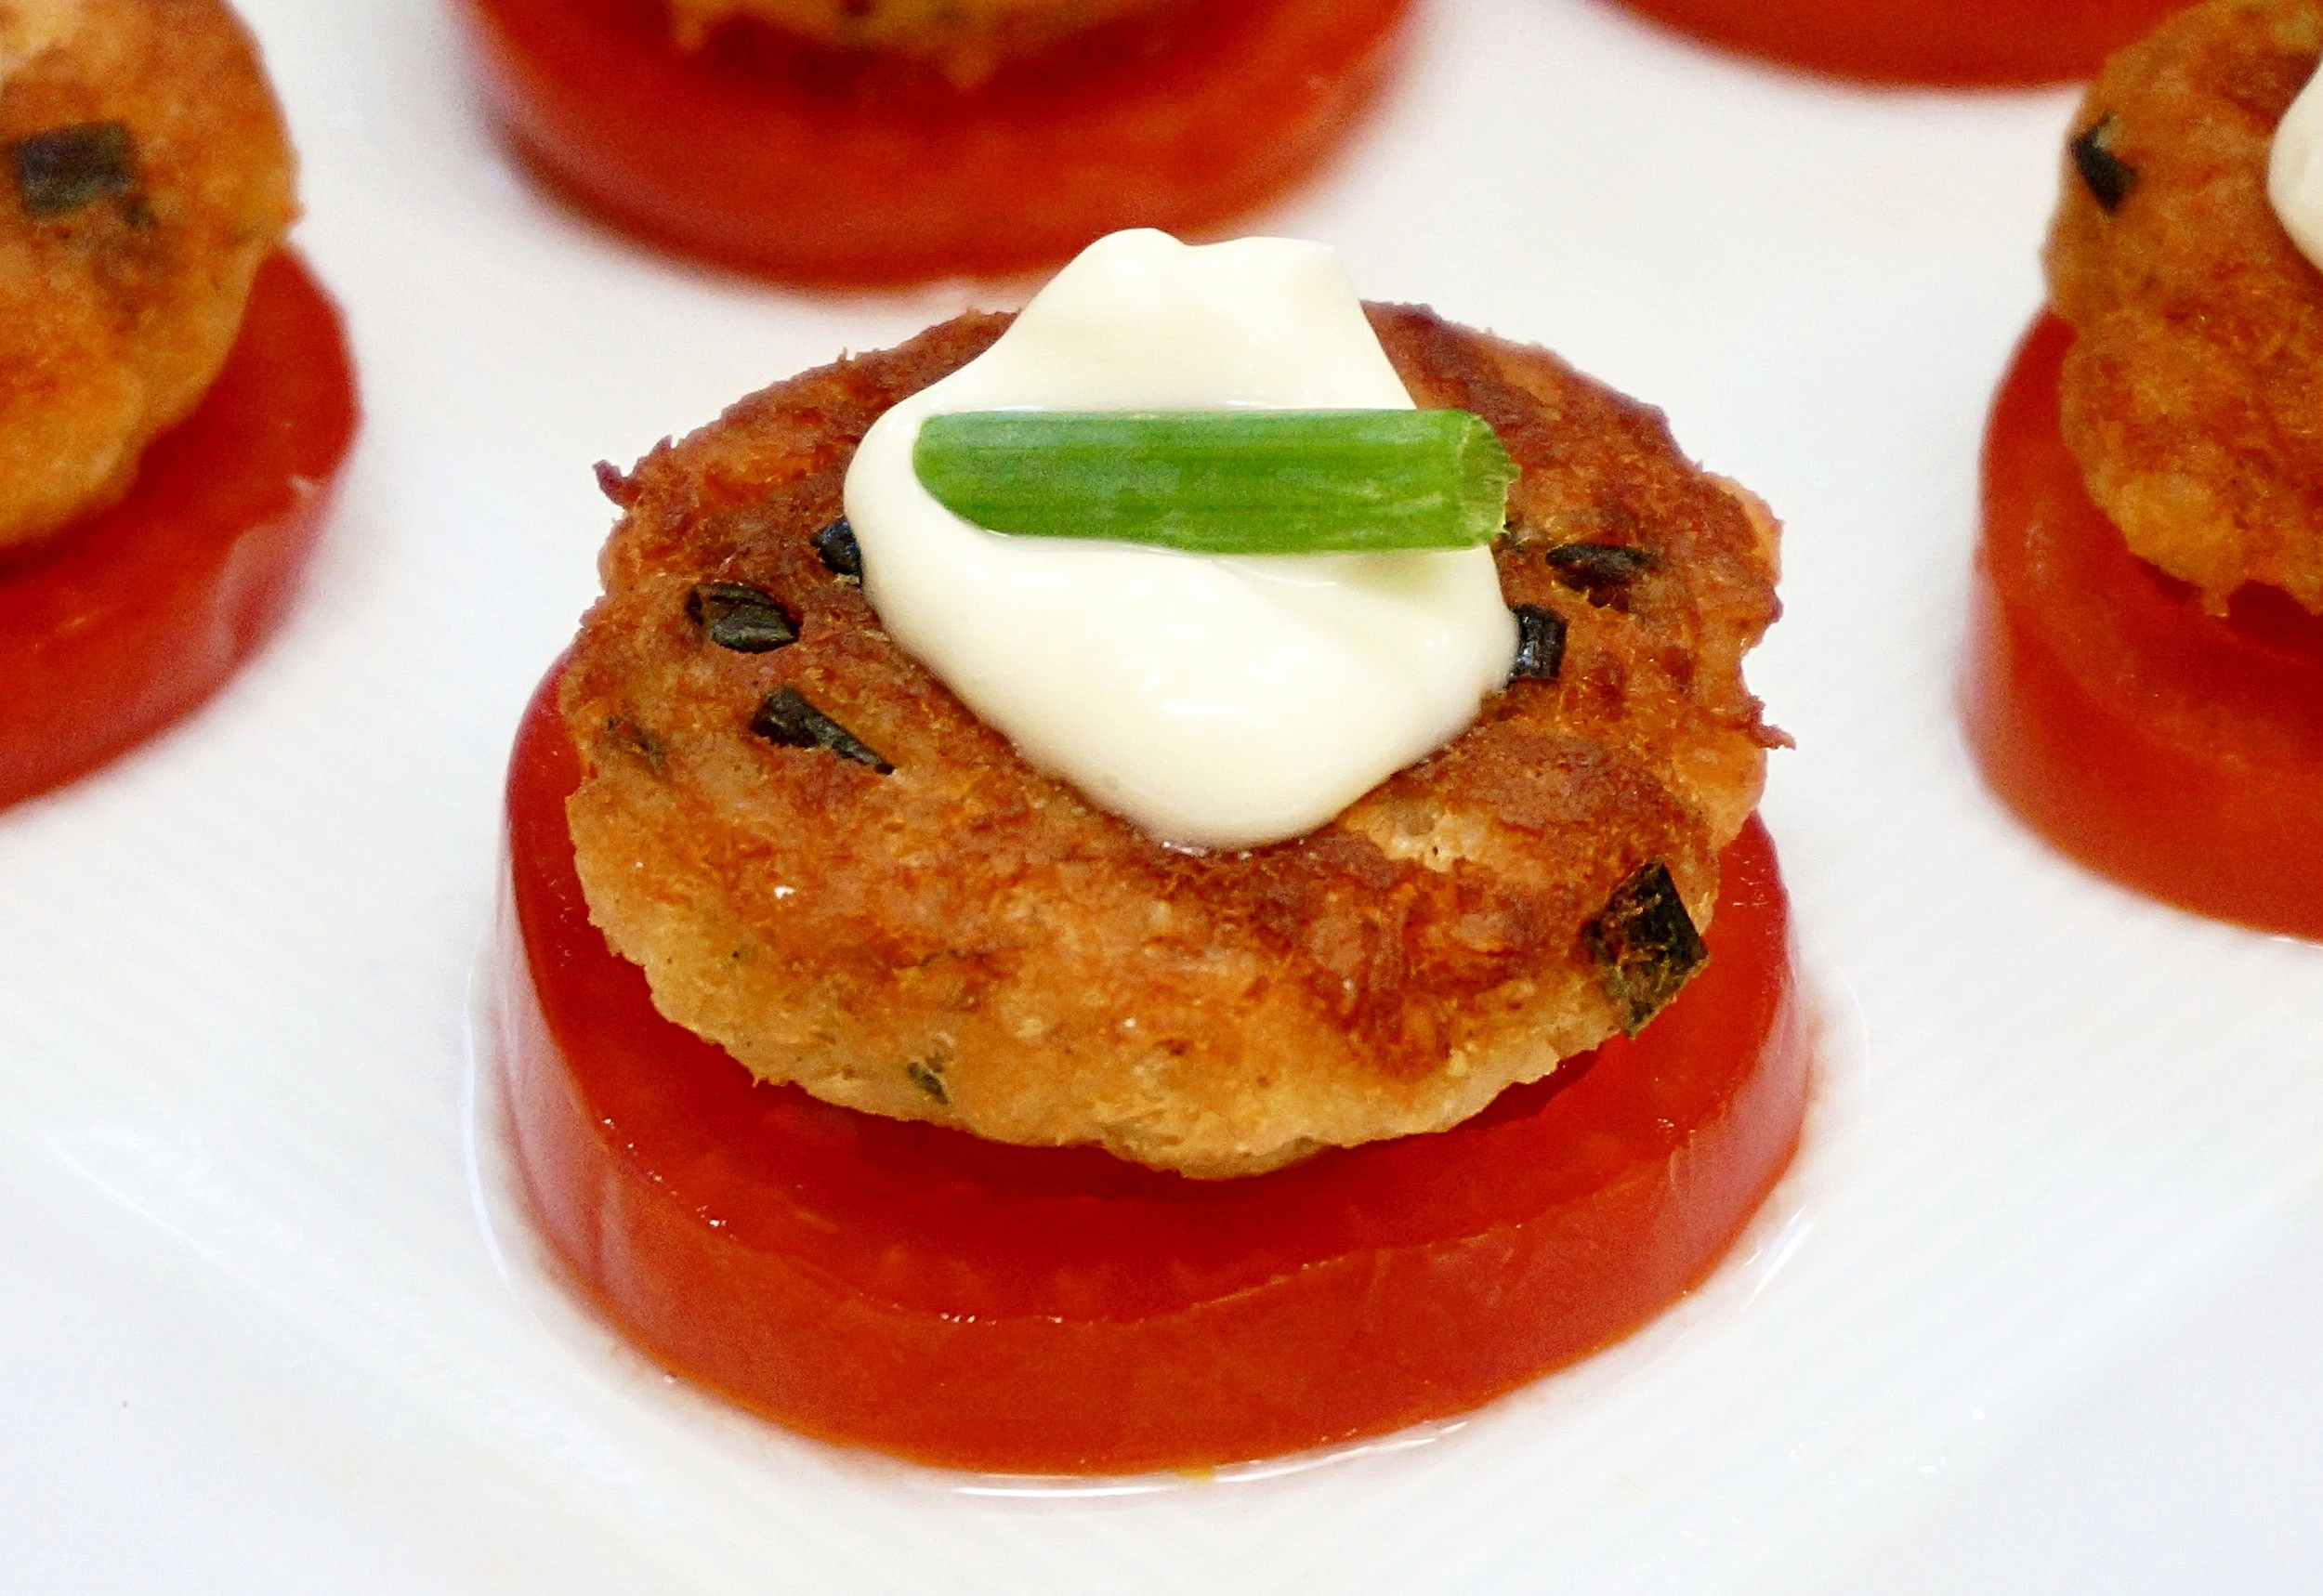
Salmon latkes in mini form. Fried right? So perfect for Hanukkah. Make them small enough and put them on some sort of base and you’ve got a super morsel for cocktail hour.

You can put the latkes on crackers or toasted bread, but I like using small tomatoes (campari tomatoes in the photo) as a base because it makes the hors d’oeuvre colorful. They are less crunchy but much juicier.

The latkes are freezable. Isn’t that nice?!

Mini Salmon Latkes

  • 2 cups mashed cooked salmon

  • 2 large eggs

  • 1/2 cup matzo meal

  • 2 tablespoons chopped chives

  • vegetable oil

  • 12 campari tomatoes (approximately) (or other small tomatoes)

  • 3 tablespoons mayonnaise

  • chives or fresh dill for garnish

In a bowl, mix the salmon, eggs, matzo meal and chives until well combined. Heat about 1/8-inch vegetable oil in a saute pan over medium heat. Shape the salmon mixture into 36 small disks. Fry, a few at a time, for 2-3 minutes per side or until crispy. Drain on paper towels. Before serving, slice the tomatoes about 1/2-inch thick. Place the latkes on top of the tomato slices. Spoon a small amount of mayonnaise onto the tops. Sprinkle with chopped chives for garnish (or use a tiny leaf of fresh dill).

Makes 36

Stuffed Zucchini Boats

fullsizeoutput_ac92.jpeg

There’s no particular food associated with the holiday of Simchat Torah, which begins on Sunday night (October 20, 2019), but lots of people make food that resemble torah scrolls.

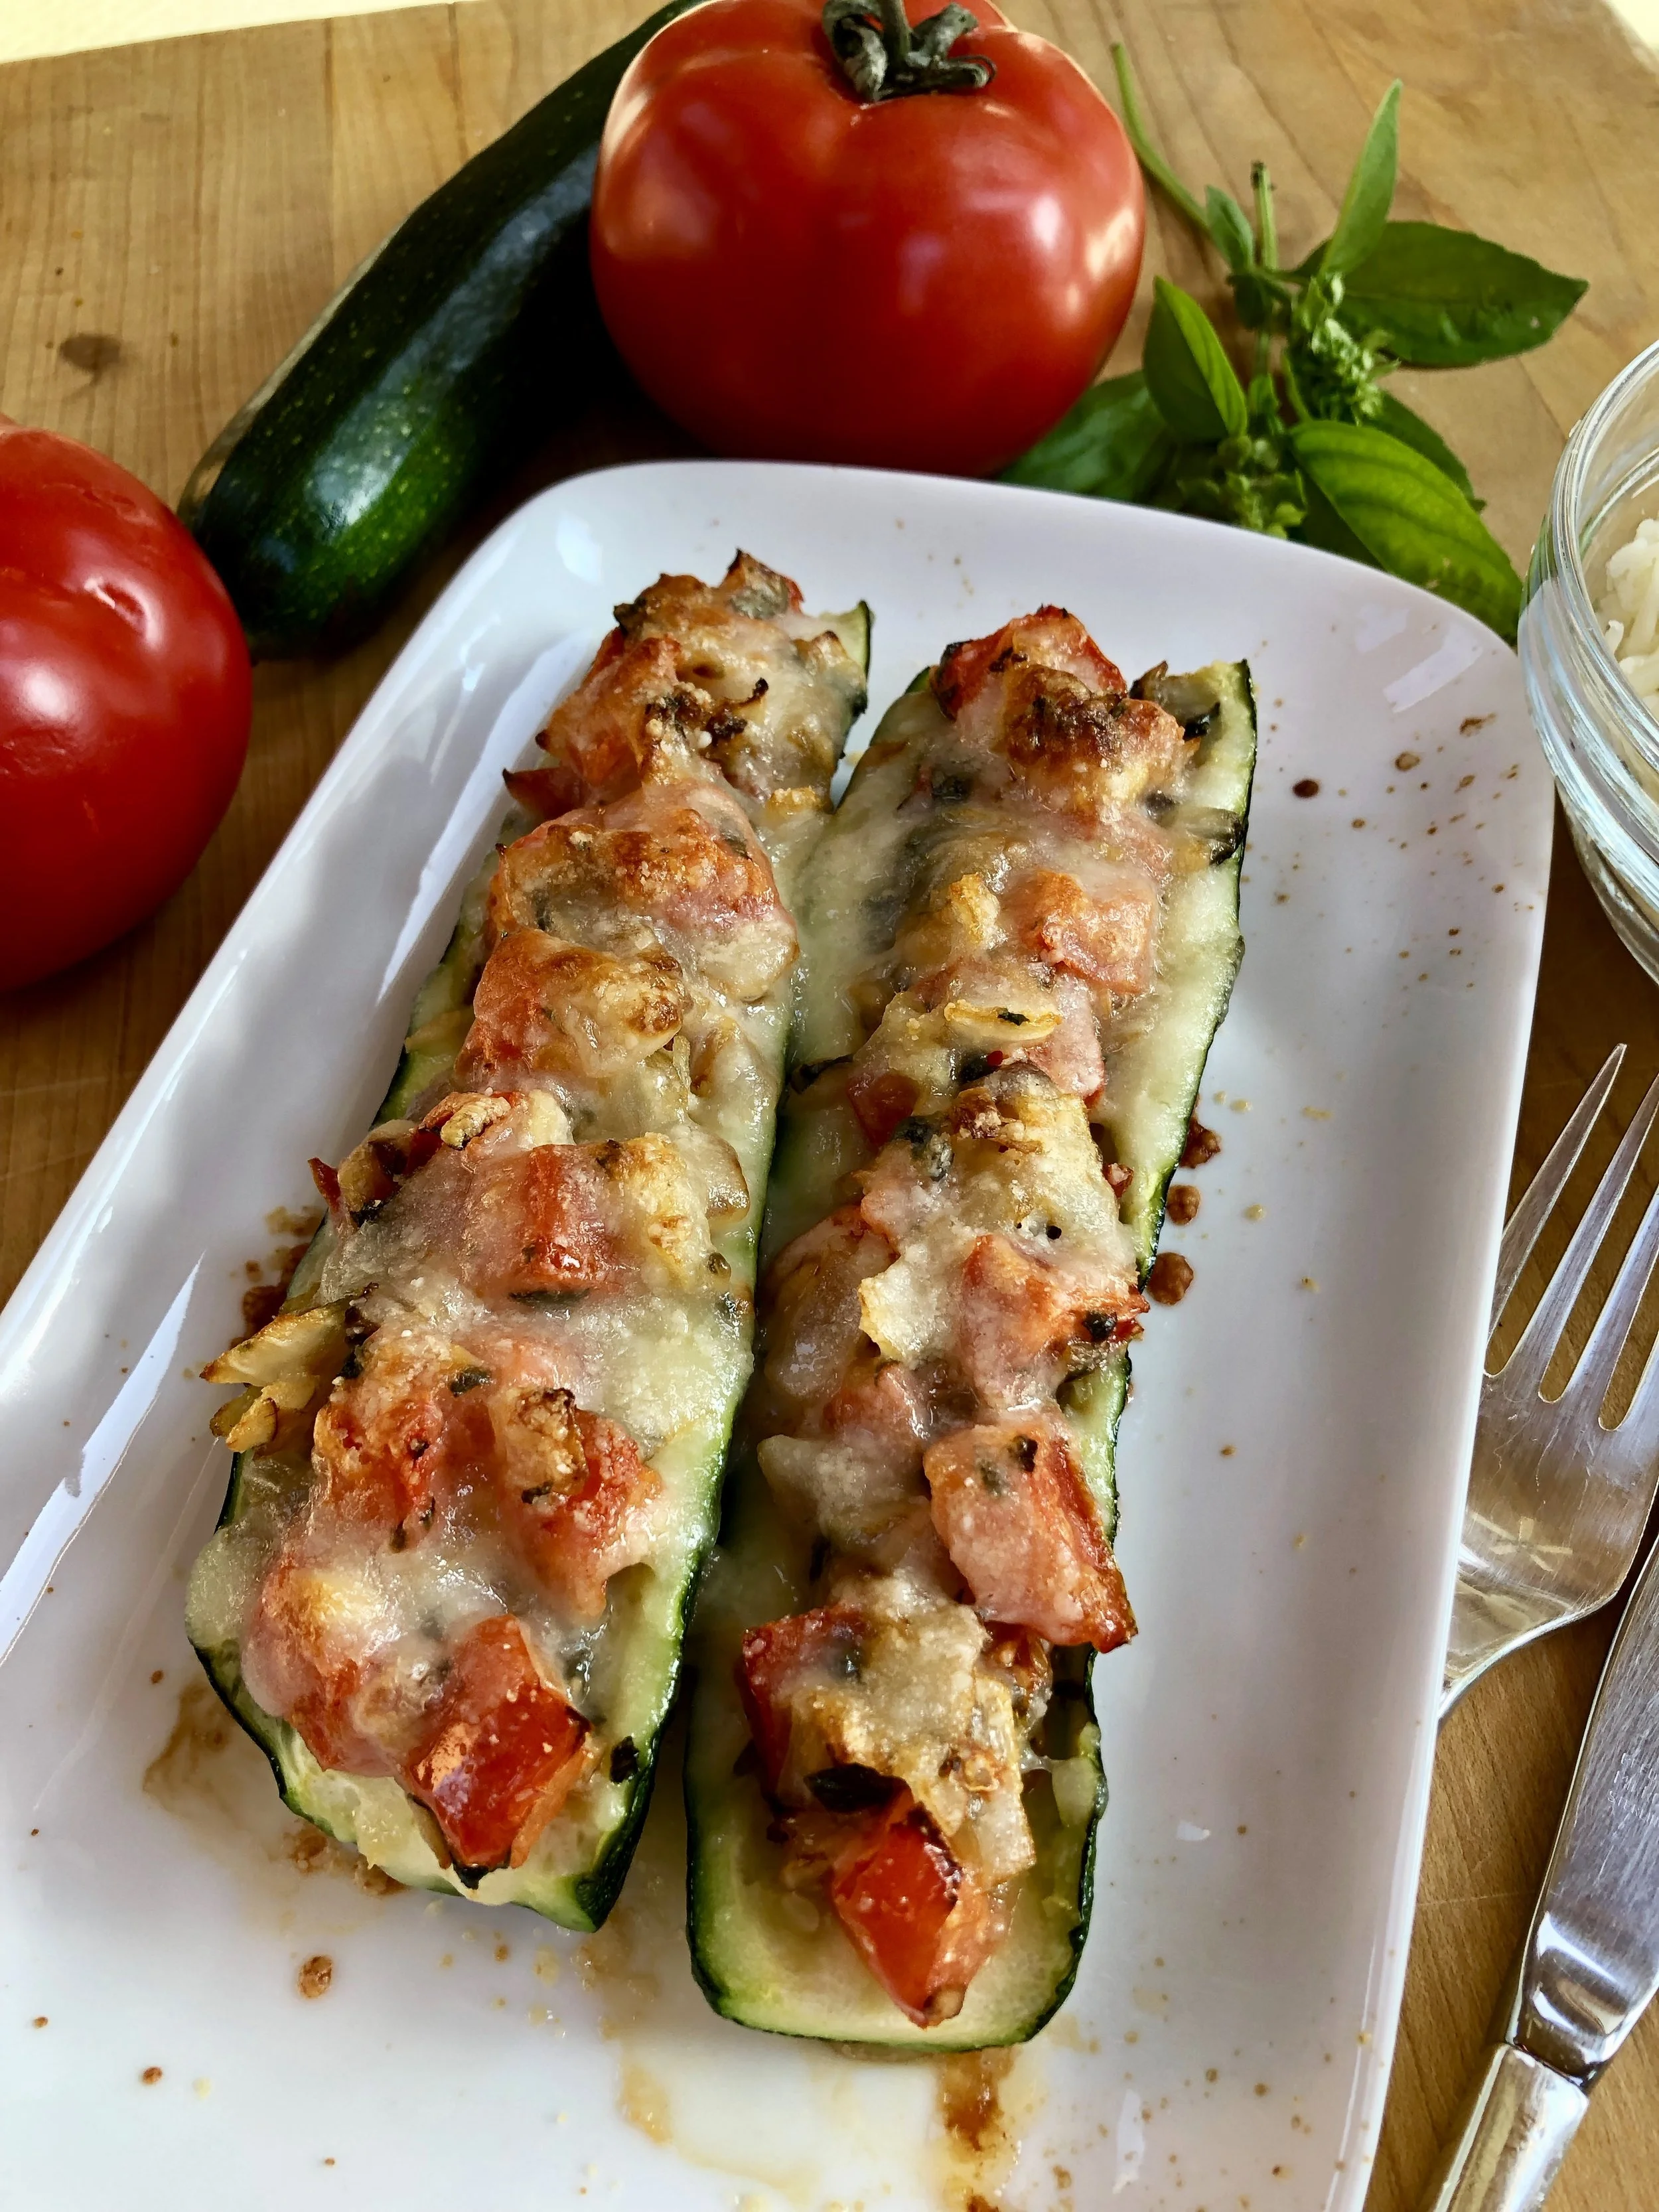
Stuffed cabbage is a classic. But when I used up the last of my home garden zucchini and stuffed it with tomatoes and cheese I thought these look somewhat like torah scrolls too!

So, for me: Stuffed Zucchini boats are the order of the day for the holiday (or any other time).

Stuffed Zucchini Boats 

  • 2 medium zucchini

  • 2 tablespoons olive oil

  • 1 medium onion, chopped

  • 1 large clove garlic, chopped

  • 2 tomatoes, chopped

  • 2 tablespoons chopped fresh basil

  • 6-8 tablespoons shredded mozzarella

  • 2 tablespoons grated Parmesan

Preheat the oven to 400 degrees. Cut the zucchini in half lengthwise. Scoop out the seeds and part of the flesh, leaving a wall of at least ¼-inch next to the skin. Coat the outside surface of the zucchinis with a film of olive oil. Place them in a baking dish and bake for 15-20 minutes, depending on size, or until barely tender (use the tip of a sharp knife to test tenderness). While the zucchini boats are baking, pour the remaining olive oil in a saute pan over medium heat. Add the onion and garlic and cook, stirring occasionally, for 2-3 minutes, to soften the vegetables slightly. Add the tomatoes and basil, stir and remove the pan from the heat to cool slightly. When the zucchini boats are ready, remove them from the oven and fill the cavities with the tomato mixture. Sprinkle the mozzarella cheese evenly over the filling. Sprinkle the Parmesan cheese evenly over the filling. Bake for 12-15 minutes or until the cheese has melted and is beginning to brown.     

 Makes 4 servings

Beet and Chickpea Salad

fullsizeoutput_867c.jpeg

I realize beets are available throughout the year. We are a beet-loving family, so I buy them all the time. Throughout the year.

And yet, I still associate beets with autumn. In my memory, September, October, November — those months are the real “season” for harvesting beets. In fact, I remember them as an integral part of the meals during Jewish holidays.

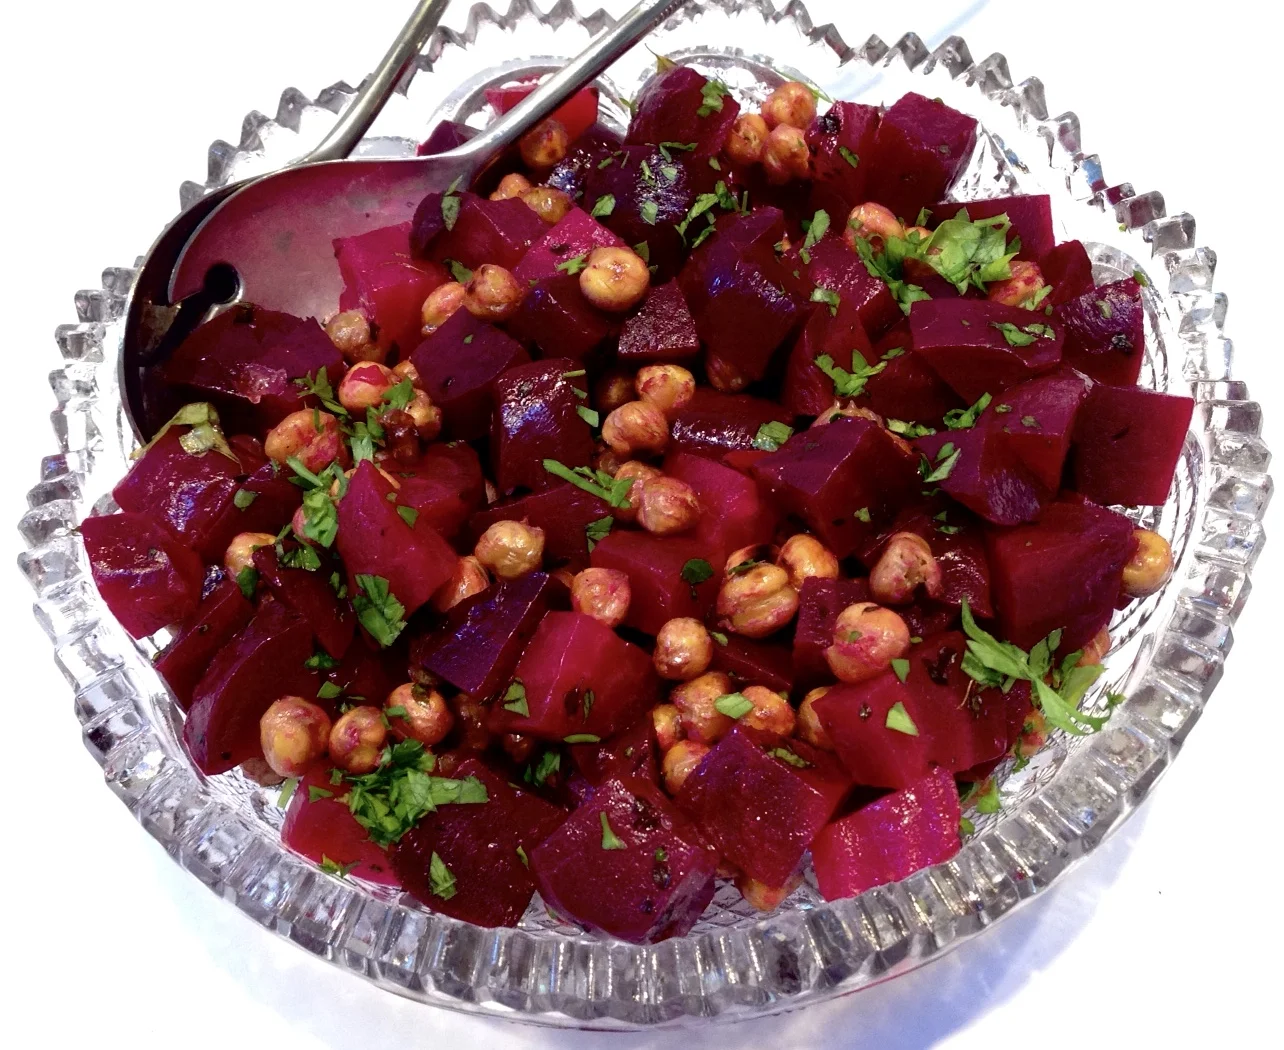
Sukkot, the “harvest holiday” is a good time to include beets on the menu. Look for beets with the greens still attached — they are from a current harvest. They are sweeter and tastier. Lovely however you cook them, including this salad, which you can make ahead. Serve it at room temperature.

Beet and Chickpea Salad

  • 4 large beets

  • 1 15-ounce can chickpeas, drained and rinsed

  • 1 tablespoon olive oil

  • 2 teaspoons fresh thyme leaves

  • sea salt

  • 3 tablespoons olive oil

  • 3 tablespoons white wine vinegar

  • 2-3 tablespoons chopped fresh parsley

  • salt and freshly ground black pepper to taste

Preheat the oven to 450 degrees. Trim the beets, cutting away the greens, if any, and discarding any hard, fibrous parts of the stem. Wash and drain the greens and use them for other purposes. Scrub the beets, wrap them in aluminum foil and roast for 50-60 minutes or until they are tender. Peel the beets when they are cool enough to handle. Cut the beets into bite size pieces and place in a bowl. While the beets are cooking, place the chickpeas on a foil-lined baking sheet. Pour the one tablespoon olive oil on top and shake the pan to coat all the chickpeas. Sprinkle with thyme and sea salt to taste. Shake the pan again. Roast for 20 minutes, shaking the pan every 5 minutes or so, or until golden brown and crispy. Add the roasted chickpeas to the beets. Pour the remaining olive oil over the vegetables and toss, then pour in the white wine vinegar and toss again. Sprinkle with parsley and salt and pepper to taste. Let rest for 10-15 minutes before serving.

Makes 8 servings


Honey Cake Muffins

fullsizeoutput_9422.jpeg

I make honey cake every year for Rosh Hashanah, using my Aunt Belle’s family-famous recipe.

Every once in a while I change the recipe — a different honey, an additional spice (or less seasoning), and so on, just to see if we like it better or I should just stick to the original. I’ve even adapted the recipe to make it with date honey.

They’re all delicious. I love honey cake and I look forward to it every year as a special holiday treat.

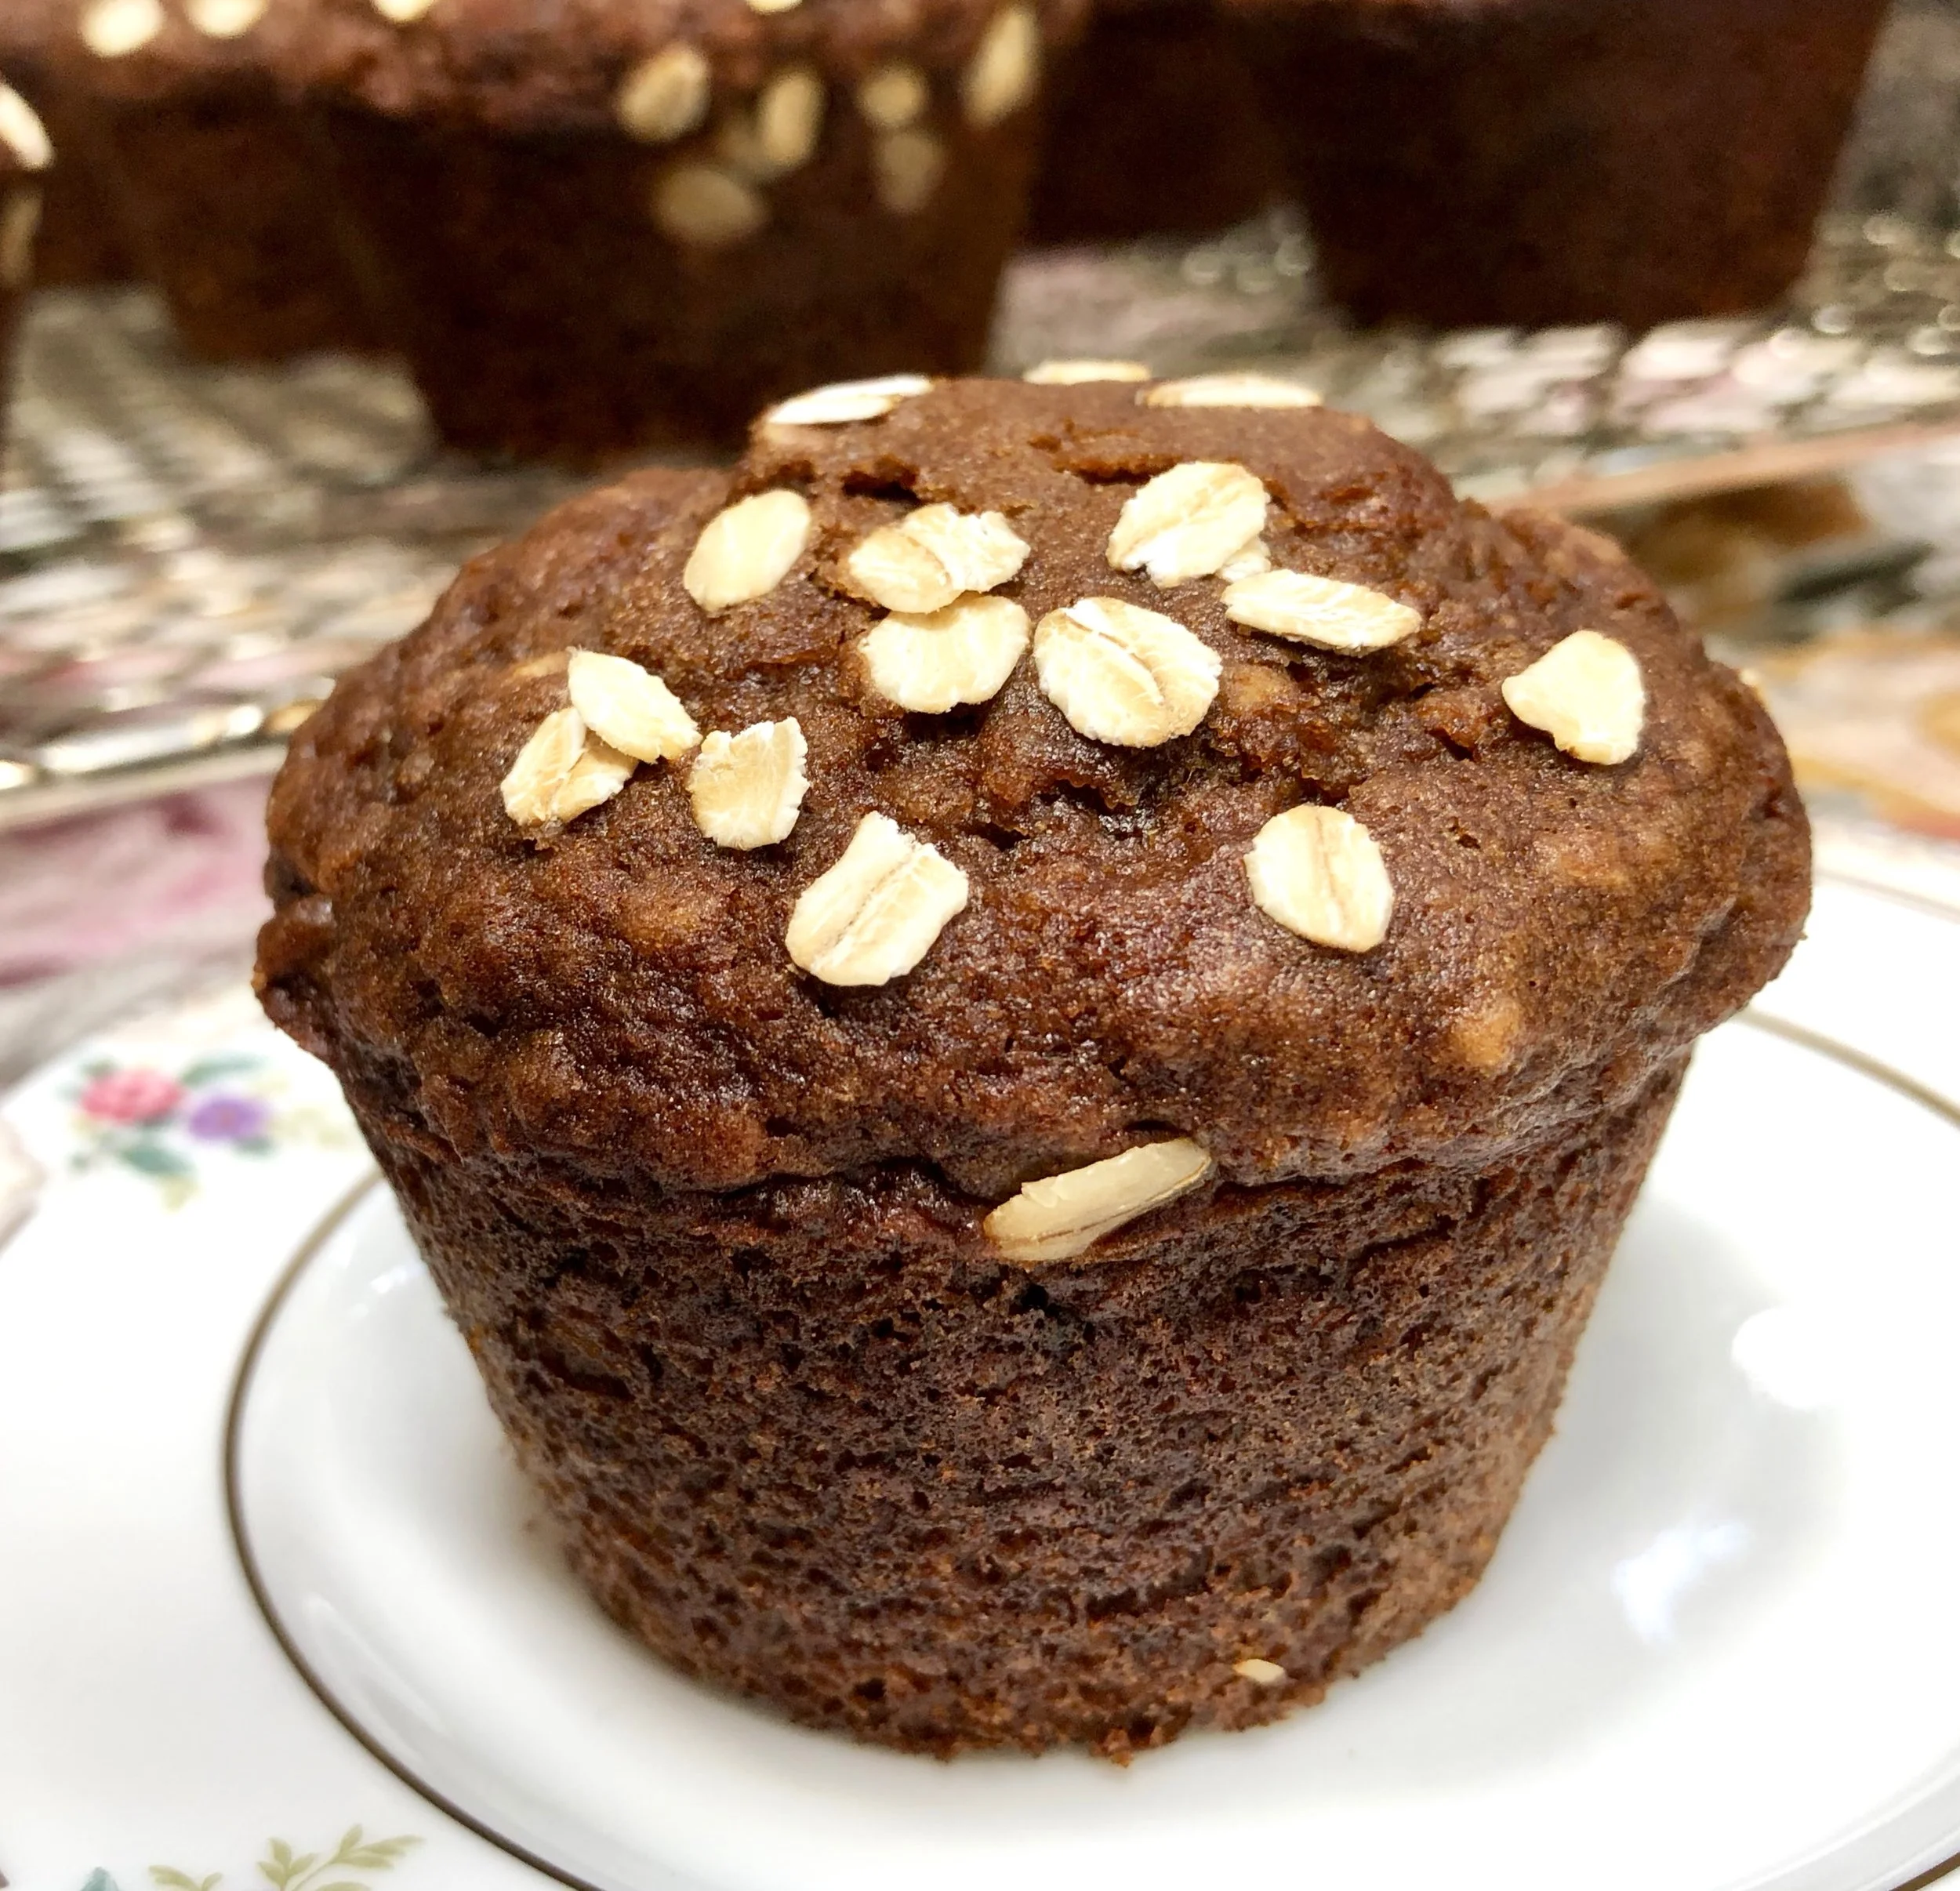
Last year I decided to make honey cake into muffins. So — breakfast or afternoon snack instead of for dessert. They are sweet — it is honey “cake” after all — but not as sweet as the recipe I use for dessert. The muffins are also mellowed a bit with oats.

During the year I made these muffins again, several times, using several different spice blends. The recipe below is the more traditional Rosh Hashanah flavor, but you could delete the cinnamon and nutmeg and use one teaspoon Hawaij spice instead. They’re a convenient riff on honey cake; freezable too.

Honey Cake Muffins

  • 1-1/3 cups all-purpose flour

  • 2/3 cup quick oats

  • 2 teaspoons baking powder

  • 1-1/2 teaspoons baking soda

  • 1/2 teaspoon salt

  • 2 teaspoon grated fresh orange peel

  • 1/2 teaspoon cinnamon

  • 1/2 teaspoon grated nutmeg

  • 3/4 cup honey

  • 1/2 cup cold coffee

  • 6 tablespoons vegetable oil

  • 2 large eggs

  • old fashioned oats, optional (or use chopped nuts)

Preheat the oven to 375 degrees. Grease 10 muffin tins. In a bowl, mix the flour, oats, baking powder, baking soda, salt, orange peel, cinnamon and nutmeg together until uniform in color. Heat the honey and coffee together over low heat briefly, so that they are easy to blend with a whisk. Add the vegetable oil and eggs and whisk the ingredients until they are uniform in color. Stir in the flour mixture and mix until thoroughly combined. Spoon the batter into the greased muffin tins. Top, if desired, with old fashioned oats or chopped nuts. Bake for about 18 minutes or until a cake tester inserted into the center comes out clean.

Makes 10


Chick Pea and Carrot Salad

DSC08424.jpg

Of course, of course we will be slicing apples and dipping them in honey on Rosh Hashanah. (which begins at sunset on September 29th).

But chickpeas are on the menu too. In his Encyclopedia of Jewish Food, the late rabbi and food authority Gil Marks wrote that “chickpeas are a traditional Rosh Hashanah food, a symbol of fertility, abundance and a wish for a well-rounded year to come.”

I usually make chickpeas into hummus, but sometimes I serve them whole, as a snack, roasted, the way my mother made them when I was growing up – a recipe called nahit. She coated the chickpeas with vegetable oil, sprinkled them with salt and paprika and baked them until crispy.

I changed her recipe somewhat -- I use olive oil, kosher salt and fresh thyme, or sometimes za’atar, as seasonings. Nahit is a delicious snack and a healthy one too: chickpeas are a good source of protein, minerals (including calcium) and fiber.

For this coming holiday though I’ll be making a chickpea and carrot salad to serve with dinner. Carrots are another symbolic ingredient of the holiday, so this recipe is a double-up of special ingredients of festive food for the holiday table. It’s a dish that can be made in advance, which makes it a good choice at such a busy time. And it is colorful too, fit for any celebration, including Break-the-Fast. 

Chick Pea and Carrot Salad

  • 1 15-ounce can chickpeas

  • 4 medium carrots, sliced thin

  • 1/2 chopped red onion

  • 1/4 cup chopped fresh parsley

  • 1/4 cup chopped fresh mint

  • 1 teaspoon ground cumin

  • 1/8 teaspoon cayenne pepper

  • 1/4 cup olive oil

  • 3 tablespoons lemon juice

  • salt to taste

Rinse the chickpeas under cold running water; let drain and place in a bowl. Add the carrots, onion, parsley, mint, cumin and cayenne pepper and toss to distribute the ingredients evenly. Pour in the olive oil and lemon juice. Toss to coat the ingredients evenly. Taste for seasoning and add salt to taste.

Makes 6 servings

Zucchini Bread

fullsizeoutput_acf2.jpeg

When we were first married, Ed promised me 50 years. That was in 1969. We were young and 50 years seemed like a REALLY REALLY long time.

Grandparent stuff.

But here we are. A few months short of 50.

Wasn’t it yesterday that I fit into that long white dress?

We wanted to celebrate with two other couples, all close friends, who are also at 50.

But we didn’t want to have a big party. Not even an intimate dinner party for six. Although those are lovely, it seemed like the same-old, same-old. 50 years deserved something special.

So we decided to have a 150th Anniversary Afternoon Tea.

It was festive, fun and celebratory.

We started with champagne and tea sandwiches.

Then: scones, clotted cream and jams.

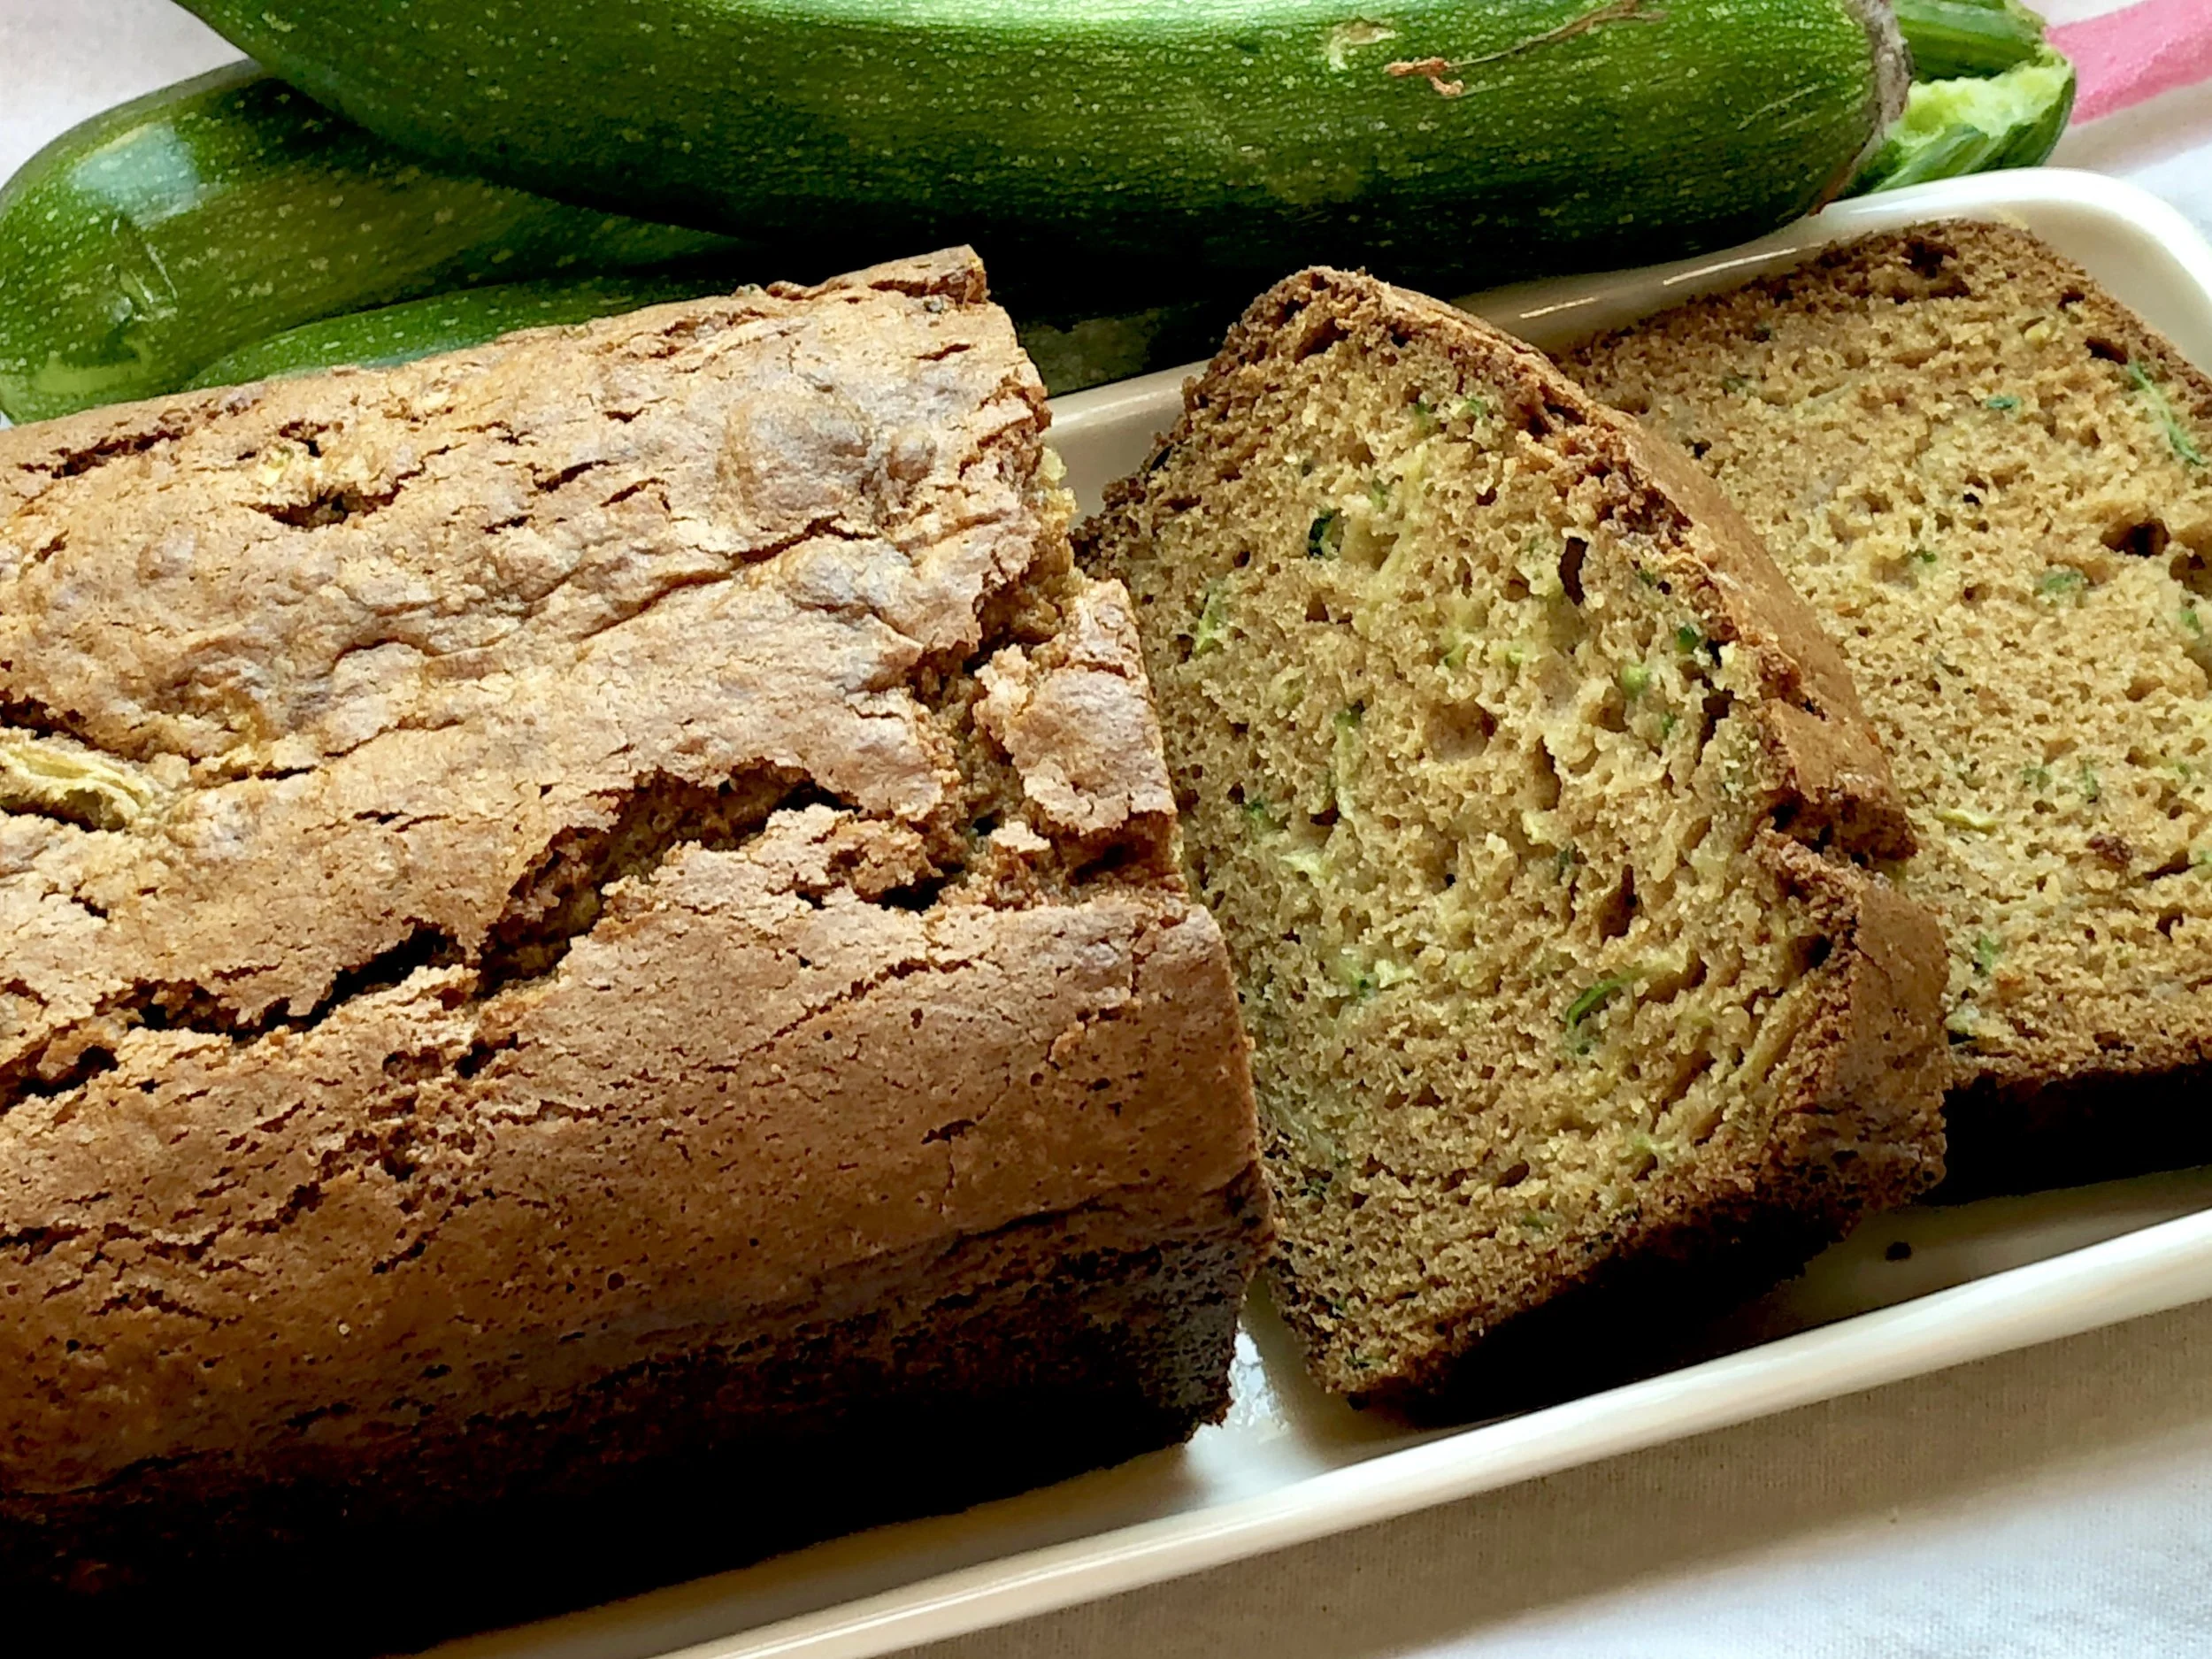
Finally, dessert: several kinds of cookies, Lemon Buttermilk Cake, Pumpkin Spice Cake and this: Zucchini Bread, (made with zucchinis from my garden!).

Just us 6. It was a good day.

We all talked about how amazing it is at how quickly 50 years go by.

Zucchini Bread

  • 2 cups all-purpose flour

  • 1/2 teaspoon cinnamon

  • 1/2 teaspoon nutmeg

  • 1-1/2 teaspoons baking soda

  • 3/4 teaspoon baking powder

  • 3/4 teaspoon salt

  • 3/4 cup brown sugar

  • 1/2 cup sugar

  • 2 large eggs

  • 1/2 cup applesauce

  • 1/4 cup vegetable oil

  • 1 teaspoon vanilla extract

  • 2 cups grated fresh zucchini

Preheat the oven to 350 degrees. Lightly grease a 9”x5”x3” loaf pan. Place the flour, cinnamon, nutmeg, baking soda, baking powder and salt in a bowl and whisk the ingredients until they are evenly distributed. Place the brown sugar, sugar, eggs, applesauce and vanilla extract in the bowl of an electric mixer (or use a hand mixer) and beat at medium speed for 2-3 minutes, until thoroughly blended. Add the flour mixture and stir just until blended. Fold in the zucchini. Spoon the batter into the prepared pan. Bake for 50-60 minutes or until golden brown and a cake tester inserted into the center comes out clean. Cool in the pan on a wire rack for 15 minutes. Invert the muffins onto the rack to cool completely.

Makes one loaf

Gluten-Free Peach Crisp

fullsizeoutput_945d.jpeg

Some summers the peaches are glorious.

And then there’s this year. I haven’t had an excellent peach or nectarine yet.

I bought a bunch a few times and they tasted ok, but not really flavorful. Some were cottony and mealy.

I used the cottony/mealy ones to make sauce — like applesauce only made with peaches (with a bit of cinnamon and a squirt of lemon juice). It was very good. We ate some and I used the rest for quickbread.

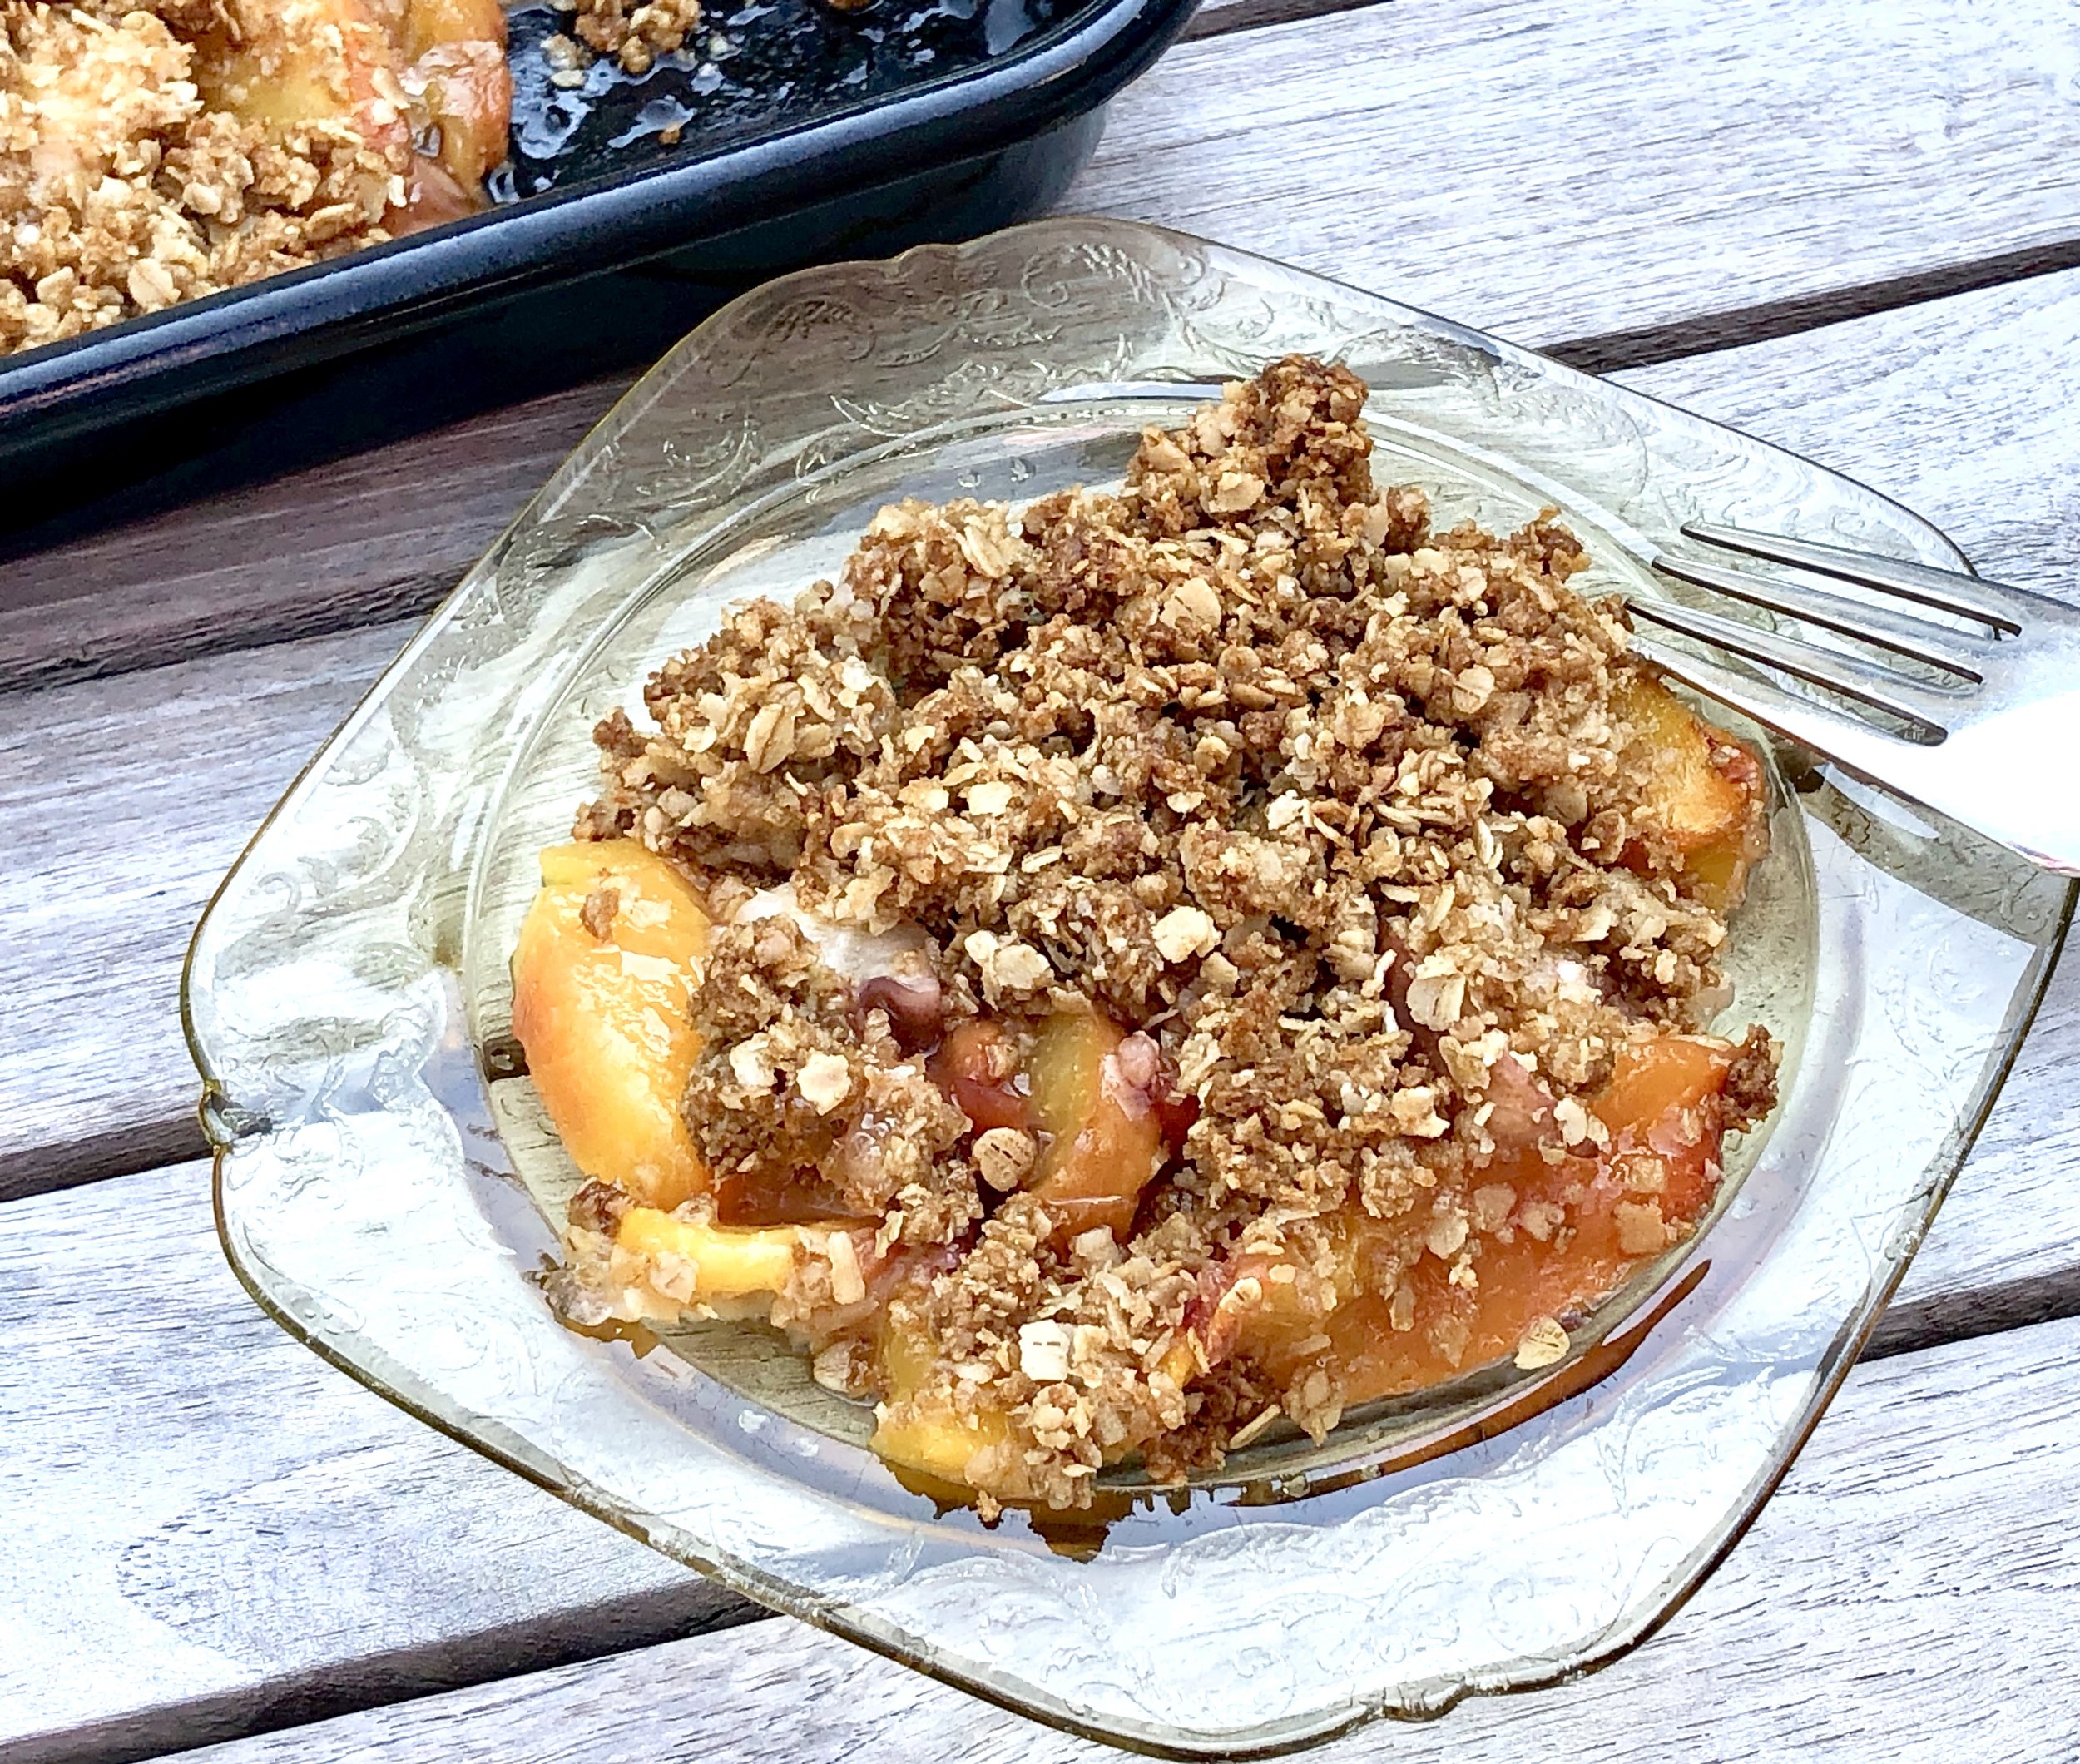
I used the sort-of-tasty ones for this peach crisp. This was perfect. Baking — plus some other stuff — brought out the best of the fruit.

And look how easy this dessert is!

Plus, it’s gluten-free, in case you need…

Gluten-Free Peach Crisp

Filling:

  • 6 ripe medium peaches

  • 2 tablespoons sugar

  • 2 tablespoons minute tapioca

  • 1 tablespoon lemon juice

Crust:

  • 1-1/2 cups quick cooking oats

  • 2/3 cup brown sugar

  • 1 teaspoon ground cinnamon

  • 1/4 teaspoon salt

  • 6 tablespoons butter (margarine or solid coconut oil), cut into chunks

To make the filling: Lightly butter a baking dish. Preheat the oven to 400 degrees. Slice the peaches and place the pieces in the baking dish. Add the sugar, tapioca and lemon juice, toss the ingredients and let rest for 15-20 minutes. 

To make the crust: Mix the oats, brown sugar, cinnamon and salt in a bowl. Add the butter and work it into the dry ingredients until the mixture is crumbly. Place on top of the fruit. Bake for 30-35 minutes or until the crust is golden brown.

Makes 6 servings


Blue Salad (with green): Berries and Cheese

I love blueberries and I love blue cheese, so I figured they might go together well.

They did!

In this light, refreshing summer salad.

Nice for a full lunch — add a crust of bread. Or as a first course for dinner.

I bought the blueberries and the cheese. But the greens? Right from my garden! What a joy!

Blue Salad (with green)

  • 1 head leaf lettuce or 6 cups mixed greens

  • 1 cup blueberries

  • 1 cup crumbled blue cheese

  • 3 tablespoons chopped chives or scallion tops

  • 1/3 cup olive oil (or use avocado oil)

  • 3-4 tablespoons Balsamic vinegar

  • 1/4 cup chopped toasted almonds, optional

Tear the lettuce into smaller pieces and place them in a salad bowl. Add the blueberries, cheese and chives and toss the ingredients. Pour in the olive oil and toss the ingredients again. Add 3 tablespoons of the Balsamic vinegar, toss and taste, add more Balsamic vinegar to taste. Serve and garnish with the toasted almonds if desired.

Makes 4-6 servings

Vegetable Salad

fullsizeoutput_a6ee.jpeg

Light, refreshing food. That’s what we want during the summer.

Also, easy to make. And as quick as possible.

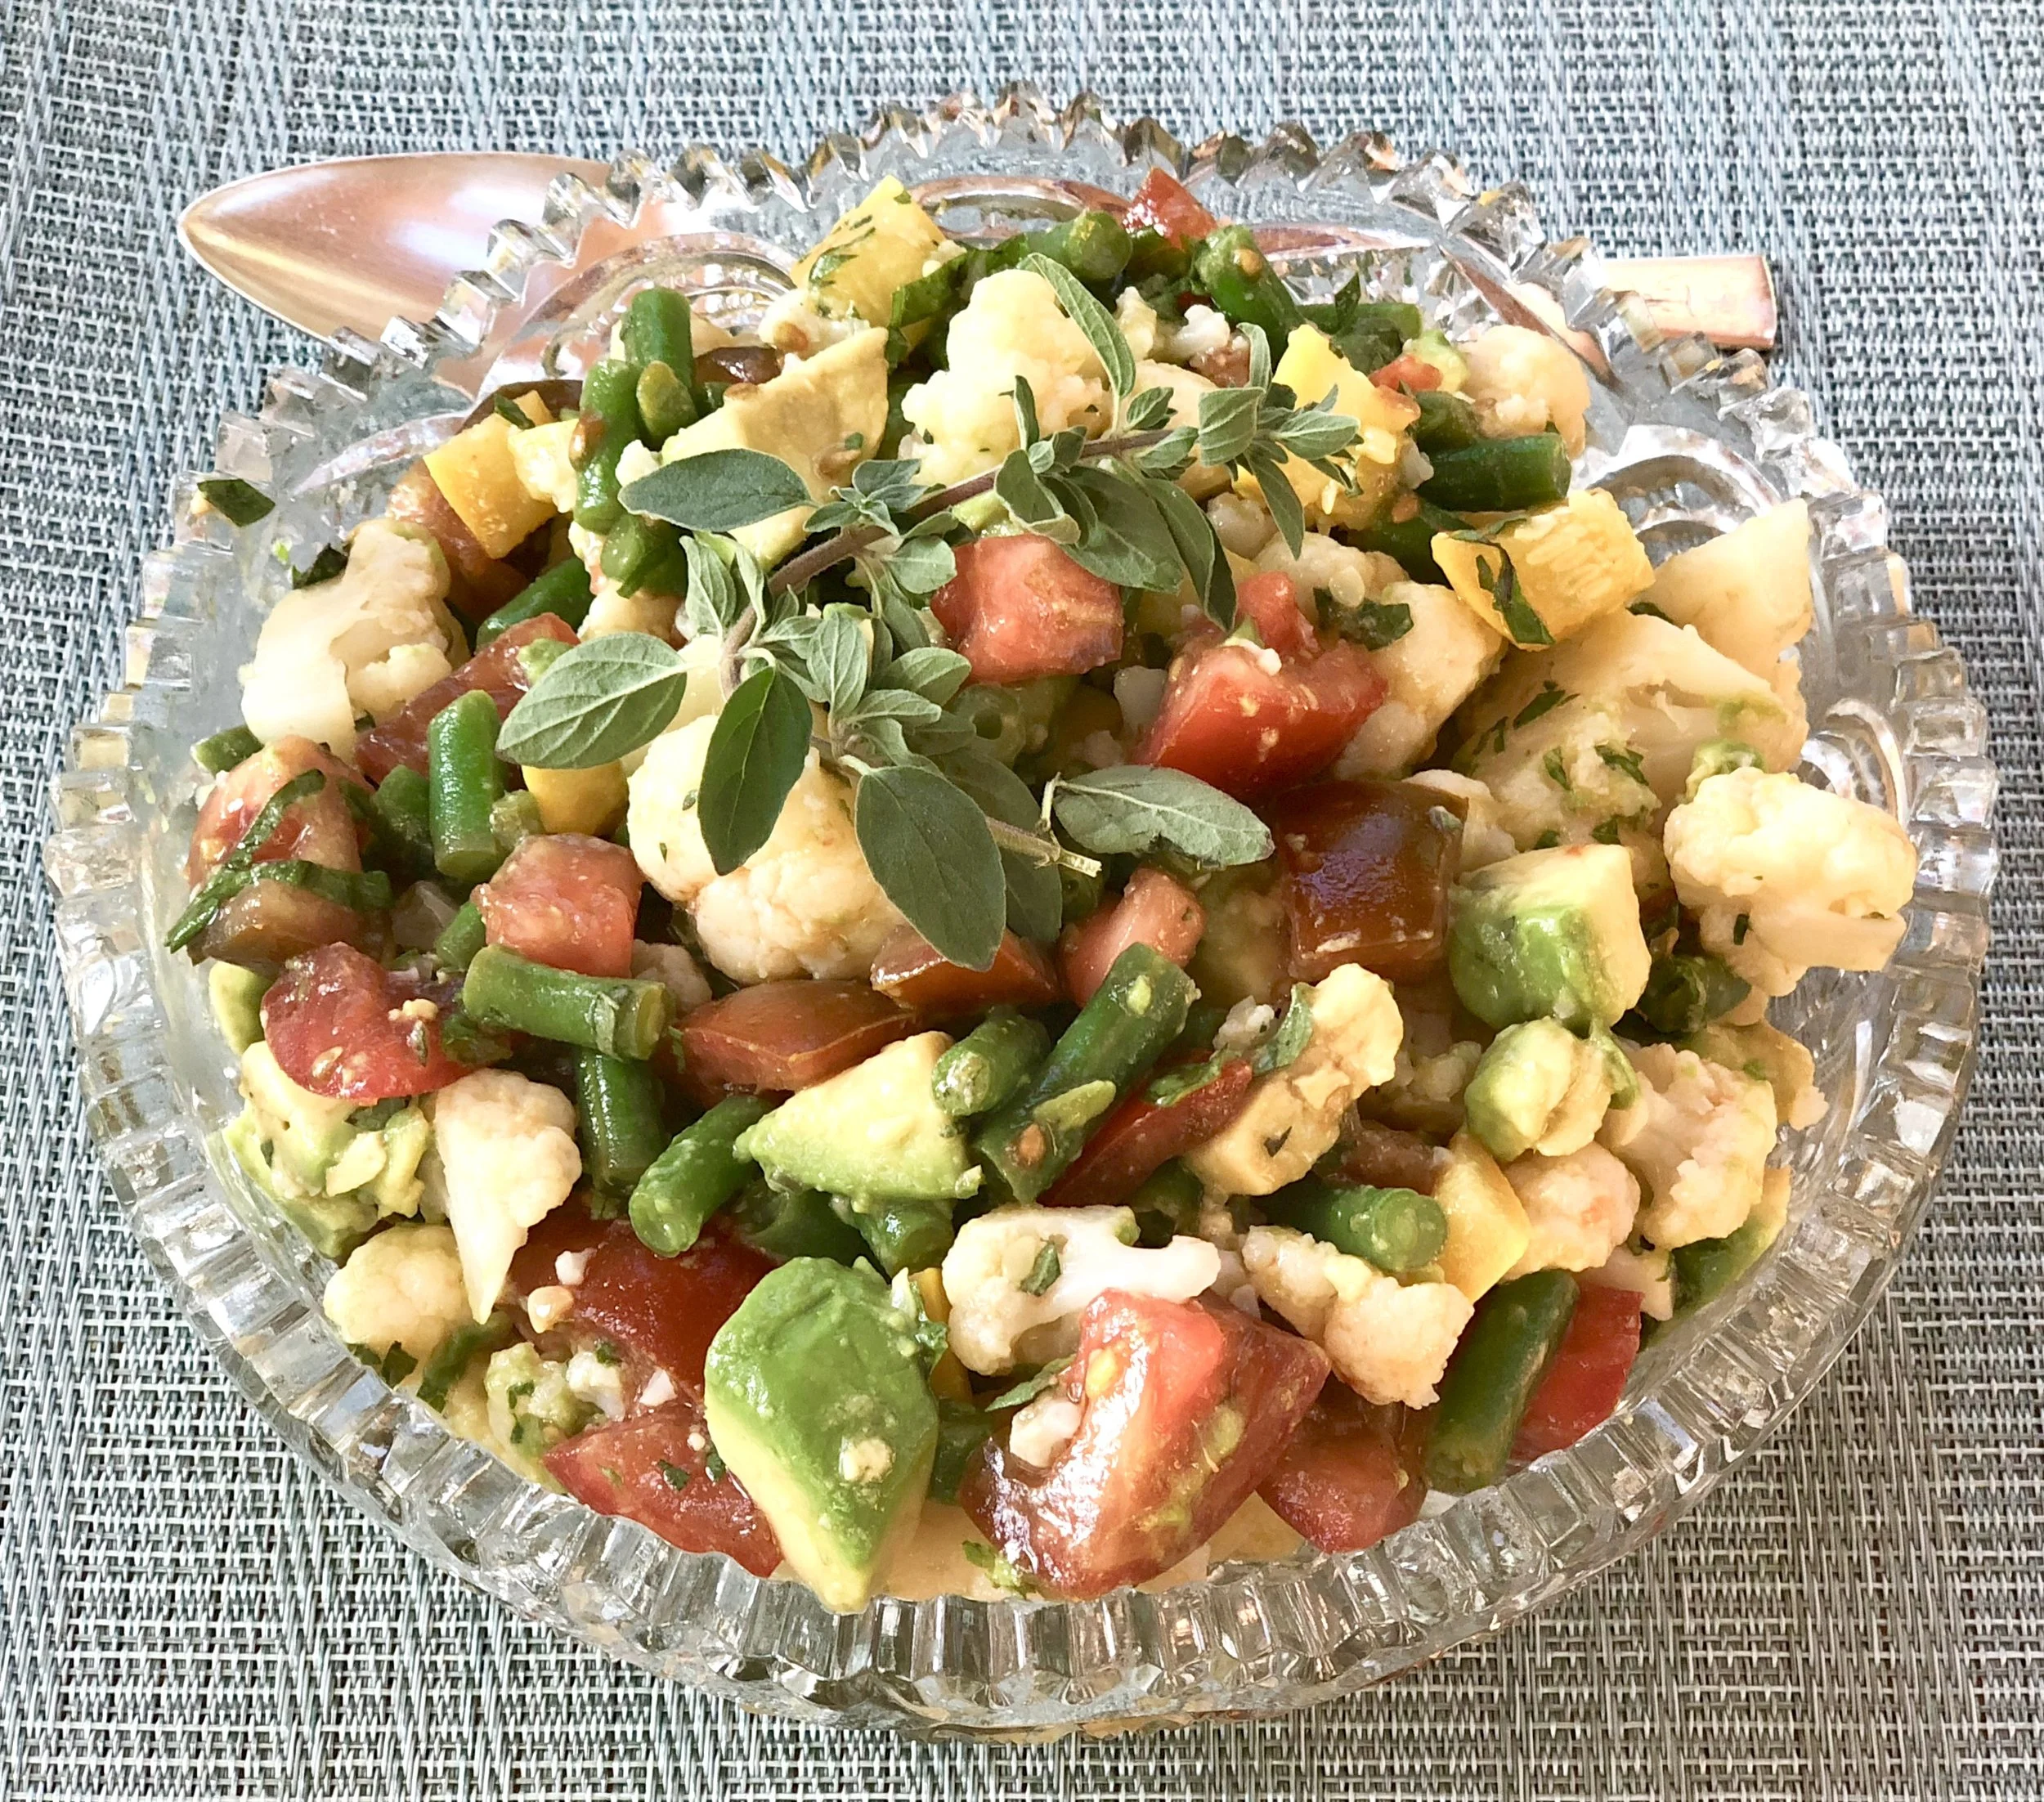
I made this vegetable salad using leftovers from the veggies we had over a couple of meals. Added some fresh tomatoes, an avocado and some herbs. Not only did I get to use up stuff from the fridge, the dish took less than 10 minutes to make.

It’s a side dish. But you can add some tofu, cheese or hard-cooked eggs and make it into a main course (or add leftover fish, meat or poultry).

Add crusty bread and it’s a sandwich filling.

Mix it into cooked penne or ziti and it becomes pasta primavera.

Use whatever vegetables you have in proportions suggested. There’s no magic here, no actual recipe that will fail if you don’t have one of the ingredients.

Vegetable Salad

  • 3 cups cooked cut up cauliflower

  • 1 cup cooked, cut up green beans

  • 1 cup cooked cut up yellow squash

  • 3-4 cut up small tomatoes

  • 1 avocado, cut into small chunks

  • 3 tablespoons chopped fresh basil

  • 2 teaspoons chopped fresh oregano

  • 2 tablespoons olive oil

  • 2-3 tablespoons fresh lemon juice (or use white wine vinegar)

  • salt and freshly ground black pepper to taste

Place the cauliflower, green beans, yellow squash, tomatoes, avocado, basil and oregano in a bowl and toss the ingredients to distribute them evenly. Pour the olive oil over the vegetables and toss again. Pour 2 tablespoons of the lemon juice over the vegetables and toss again. Taste for seasoning and add more lemon juice and salt and pepper to taste.

Makes 4-6 servings