dessert

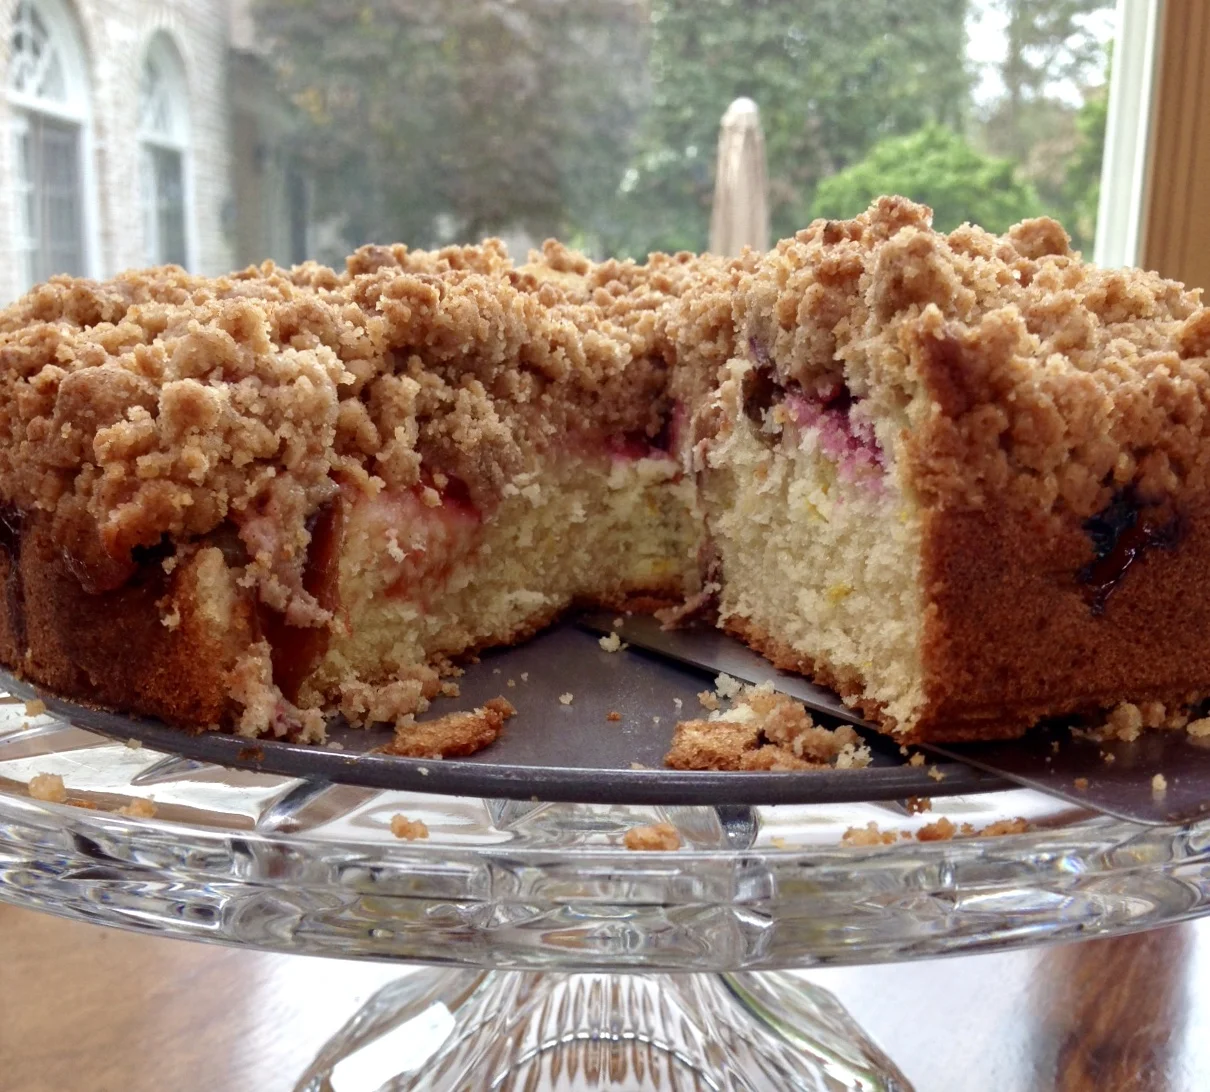
Plum Streusel Cake

fullsizeoutput_95ea.jpeg

Even though it happens every year, somehow I am always sort of surprised that the Jewish holidays come in such a jumble. We celebrate one holiday on top of another and are busier than ever, observing and celebrating.

Not to mention — LOTS of food. 

I don't want to even count the calories.

And there's still Sukkot to come. 

This year I didn't make my usual Plum Torte for Rosh Hashanah. I needed a change of some of my menu items.

But I still can't resist those once a year Italian-style prune plums (President/Empress plums), so I decided to use them for this Plum Streusel Cake. It turned out to be one of my favorites during the holiday.

If you are still looking for a fabulous dessert for Sukkot -- try this one. Btw, you can make this with any variety of plum. But plum season is almost over, so do take advantage while you can.


Plum Streusel Cake

Streusel:

  • 1/4 pound unsalted butter

  • 1/4 cup granulated sugar

  • 1/4 cup packed brown sugar

  • 1-1/4 cups all-purpose flour

  • 1 teaspoon ground cinnamon

  • 1/8 teaspoon ground nutmeg

Melt the butter and set it aside to cool. Place the sugar, brown sugar, flour, cinnamon and nutmeg in a bowl and mix until well blended. Pour in the butter and blend it in. Let stand for 4-5 minutes, then crumble the mixture using your fingers. Set aside.

Cake:

  • 1/2 cup butter, melted and cooled

  • 2 cups all-purpose flour

  • 1/2 cup sugar

  • 1 tablespoon baking powder

  • 1/2 teaspoon baking soda

  • 1 teaspoon salt

  • 1 teaspoon freshly grated lemon peel

  • 2 large eggs

  • 1 cup milk

  • 6-8 Empress plums, sliced, pit removed (President plums, 10-12 Italian prune plums)

Preheat the oven to 350 degrees. Make the streusel and set it aside. Lightly grease a 9-inch springform pan. Melt the butter and set it aside to cool. Combine the flour, sugar, baking powder, baking soda, salt and lemon peel in the bowl of an electric mixer. In another bowl, combine the eggs, milk and melted butter. Pour the liquid ingredients into the dry ones and stir only to combine: do not overbeat. Turn the batter into the prepared cake pan. Top with the plum slices. Cover with the streusel. Bake for about 45 minutes or until a cake tester inserted into the center comes out clean. Let cool in the pan for 15 minutes. Remove the outer ring from the pan and let the cake cool completely.

Makes one cake serving 8
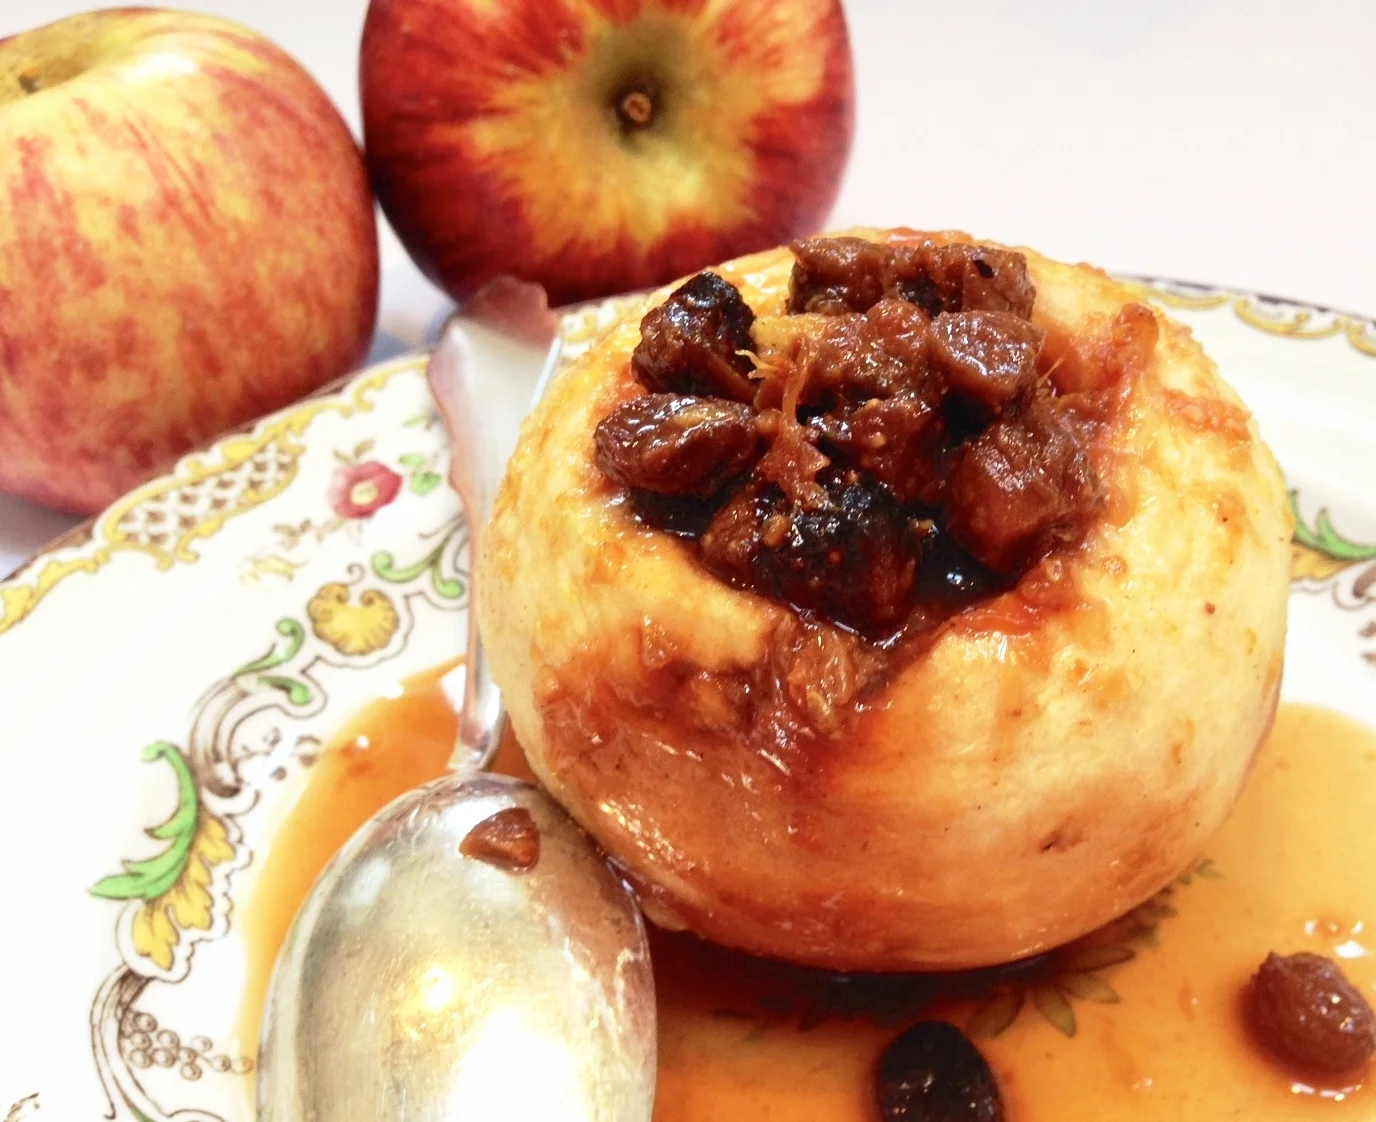
Baked Apples with Date Honey

fullsizeoutput_86c8.jpeg

If you've never tried date honey, you've been missing something delicious in your life. I've been using it for years in all sorts of dishes from Rosh Hashanah Honey Cake to the Thanksgiving sweet potatoes.

It isn't bee honey. Date honey (known as Silan) is a syrup made from dates. It's thick and sweet like honey, but bee honey has more hints of spice, nuts or flowers, date honey is richer and more mellow.

I have tried several brands and like Date Lady* because of its smooth texture. Last summer, at the Fancy Food show I tasted the company's new California Date Syrup and absolutely loved it. The California syrup has a buttery taste, while the classic middle eastern variety is more molasses-y. Both are wonderful but I preferred the California syrup for delicate dishes such as baked apples and the bolder syrup for breads, cakes and muffins.

The California syrup works perfectly for baked apples, one of our traditional Rosh Hashanah desserts.

*I was not paid for this post. I just happen to love this product.

Baked Apples with Date Honey

  • 4 baking apples
  • 1/4 cup raisins
  • 1/4 cup diced dried figs
  • 2 teaspoons grated fresh orange peel
  • 1/4 teaspoon ground cinnamon
  • 1/8 teaspoon freshly grated nutmeg
  • 1/4 cup date honey
  • 1/2 cup orange juice
  • 1/2 cup water
  • 2 tablespoons sugar, optional

Preheat the oven to 375 degrees. Wash the apples and remove the core with an apple corer or small knife, leaving about 1/2" on the bottom.  Peel the apples halfway down from the top and place them in a baking dish. Mix the raisins, dates, orange peel, cinnamon, nutmeg and date honey. Stuff this mixture into the apple hollows. Mix the juice and water (plus extra sugar if desired) and pour over the apples. Bake for 45 minutes, basting occasionally with the pan juices, or until the apples are tender. Serve warm or at room temperature.

Makes 4 servings


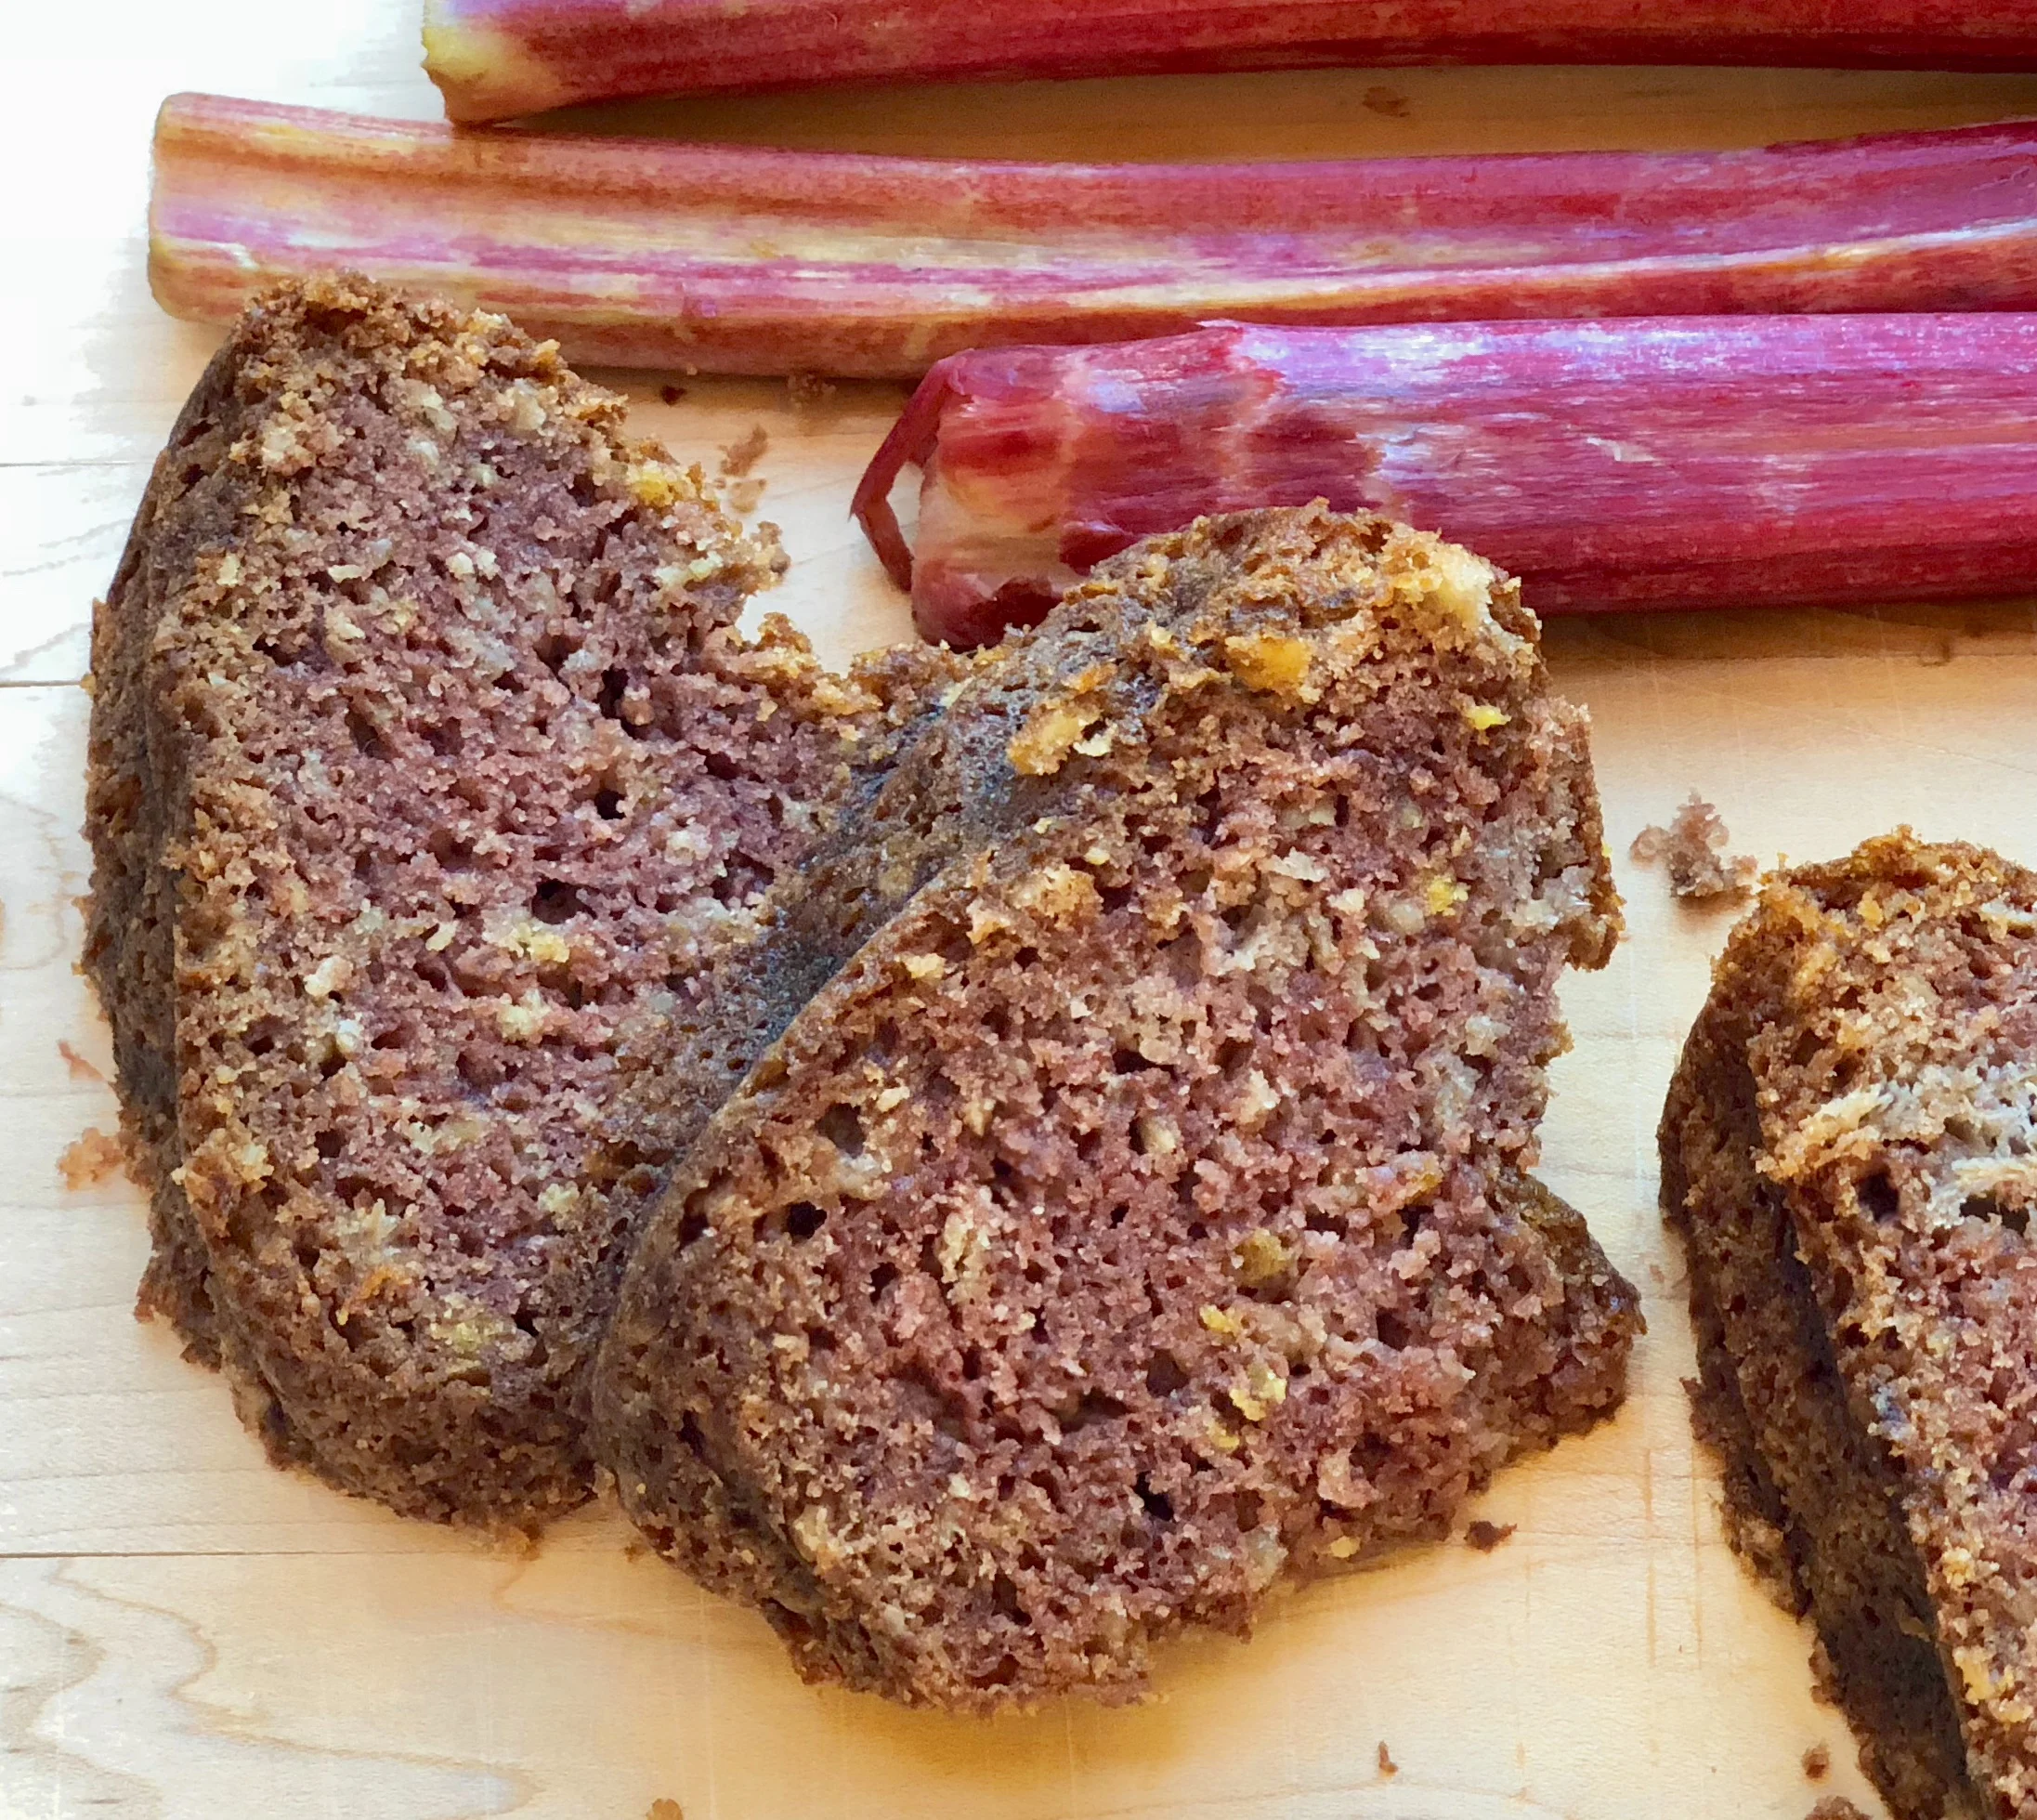
Rhubarb Oat Bread

fullsizeoutput_93cc.jpeg

You know how, when you have company for dinner and you make a lot of food, you sometimes forget to serve one (or more) of the dishes you cooked?

I did that recently. I made stewed rhubarb because my brother was coming to my house for dinner and it's one of his favorite things to eat.

Not only did I forget to serve it, I forgot about it in the fridge for a couple of days.

It was still good, of course, and we ate some, but there was some left over too.

So I made banana bread but used the stewed rhubarb instead of mashed bananas. (Also added some lemon peel which I thought would work nicely with rhubarb.)

Voila! This is sometimes how good recipes are born. It was well-loved.

And if you don't have stewed rhubarb, you could use applesauce or mashed banana.


Rhubarb Oat Bread

  • 2 cups all-purpose flour
  • 1/2 cup quick cooking oats
  • 2 teaspoons baking soda
  • 1 teaspoon salt
  • 1-1/2 teaspoons grated fresh lemon peel
  • 1/2 cup coconut oil
  • 1/2 cup vegetable shortening
  • 1-1/3 cups sugar
  • 1-1/3 cups stewed rhubarb
  • 4 large eggs

Preheat the oven to 350 degrees. Grease and flour a 10-inch (8-cup) bundt pan. Mix the flour, oats, baking soda, salt and lemon peel together in a bowl. Set aside. In the bowl of an electric mixer beat the coconut oil, vegetable shortening and sugar at medium speed until well blended, about one minute. Add the rhubarb and blend it in thoroughly. Add the eggs and beat the ingredients well. Add the flour mixture and beat until batter is well blended. Pour the batter into the prepared pan and bake for 55-60 minutes or until a cake tester inserted into the center comes out clean. Remove from the oven and let cool in the pan for 10 minutes. Remove to a cake rack to cool completely.

Makes one bread, serving 12-16


Peach (or Nectarine) Galette

fullsizeoutput_9319.jpeg

At the end of every September I buy a bushel of Rhode Island Greening apples and bake at least a dozen pies over the course of a few days. It's a ritual for me, as constant as making mujadarah for my annual break-the-fast or makfrying latkes on Hanukkah.

But right now, it's the height of stone-fruit season and I bought so many peaches and nectarines! Way too many to have just as a snack. So of course I could make pies.

But I don't feel like baking pies.

I might make a crisp or two. Or maybe some chutney or barbecue sauce. Maybe make a roasted dessert or soaked fruit for weekend company.

Or maybe a pie-like but much easier galette. Yep, that's it! 

Nectarine or Peach Galette

  • 2 cups all-purpose flour
  • 1 tablespoon sugar
  • 1/2 teaspoon salt
  • 1 teaspoon grated lemon peel
  • 8 tablespoons butter, cut into chunks
  • 2 tablespoons cold vegetable shortening
  • 6 tablespoons milk
  • 4 cups sliced nectarines or peeled peaches
  • 6 tablespoons plus 2 teaspoons sugar
  • pinch of salt
  • 2 tablespoons lemon juice
  • 3 tablespoons all-purpose flour

For the crust: mix the flour, sugar, salt and lemon peel together in a bowl or food processor. Add the butter and shortening and cut the fat into the flour mixture with your hands or a pastry blender or by processing on pulse until the mixture looks like coarse crumbs. Add 5 tablespoons milk and mix to form a soft dough. Flatten the dough into a disk, wrap and let rest in the refrigerator for at least one hour. Preheat the oven to 400 degrees. Line a large baking sheet with parchment paper. Roll the dough on a lightly floured board into a circle about 14-inches in diameter (about 1/8-inch thick) and transfer the circle to the prepared baking sheet.

For the filling: slice the fruit into a large bowl. Add 6 tablespoons of the sugar, salt, lemon juice and flour and toss the ingredients to completely coat the fruit. Place the fruit on top of the dough circle, leaving a border of about 1-1/2-inches. Fold the dough over the fruit but not completely; leave a circle of fruit showing, about 7-8-inches. Pleat the dough to give it a rustic look. Brush the dough with the remaining tablespoon milk. Sprinkle with the remaining 2 teaspoons sugar. Bake for 35-40 minutes or until the crust is golden brown. Let cool for at least 15 minutes. Best when served warm.

Makes 8 servings

Sweet Soaked Summer Fruit

fullsizeoutput_92ad.jpeg

A few years ago I learned how to make khoshaf, a Muslim (primarily Egyptian) version of compote -- what my grandma called "kumput," (which she made by cooking dried prunes and apricots with sugar, lemon and cinnamon). Kumput was delicious, but sometimes a bit mushy.

Khoshaf isn't cooked -- you pour simmering, seasoned, sweet syrup over the dried fruit and let it macerate for a while. The fruit becomes tender but never gets soggy.

The khoshaf was such a success that I never went back to "kumput."

So, I figured that the soaking/macerating method would work on fresh fruit too.

I was right.

This simple dish -- cut up fruit steeped in a seasoned, sweetened syrup -- is the perfect ending to a meal on a hot summer day, especially when you want a dairy-free dessert. Of course you could always top the fruit with ice cream or whipped cream. But sorbet would be fine too.

I like it plain, as-is, with a small amount of boiled-down, thickened syrup.


SOAKED SUMMER FRUIT

  • 2 pounds stone fruit (peaches, nectarines, plums, apricots), approximately
  • 3 cups water
  • 1/4 cup honey
  • 1 vanilla bean, broken
  • 2 orange slices, about 1/4-inch thick
  • 4-5 slices crystallized ginger

Cut the fruit in half and remove the pits. Cut the fruit into bite-size chunks and place in a dish deep enough to hold the pieces plus liquid. In a saucepan, combine the water, honey, vanilla bean, orange slices and crystallized ginger and bring to a boil over high heat. Reduce the heat to a simmer and cook for 15 minutes. Pour the contents of the saucepan through a strainer over the fruit. Let soak for at least 2 hours. Serve as-is or strain the fluids, boil the fluids for 6-8 minutes or until thickened, and pour over the fruit (or let cool first).

Makes 8 servings


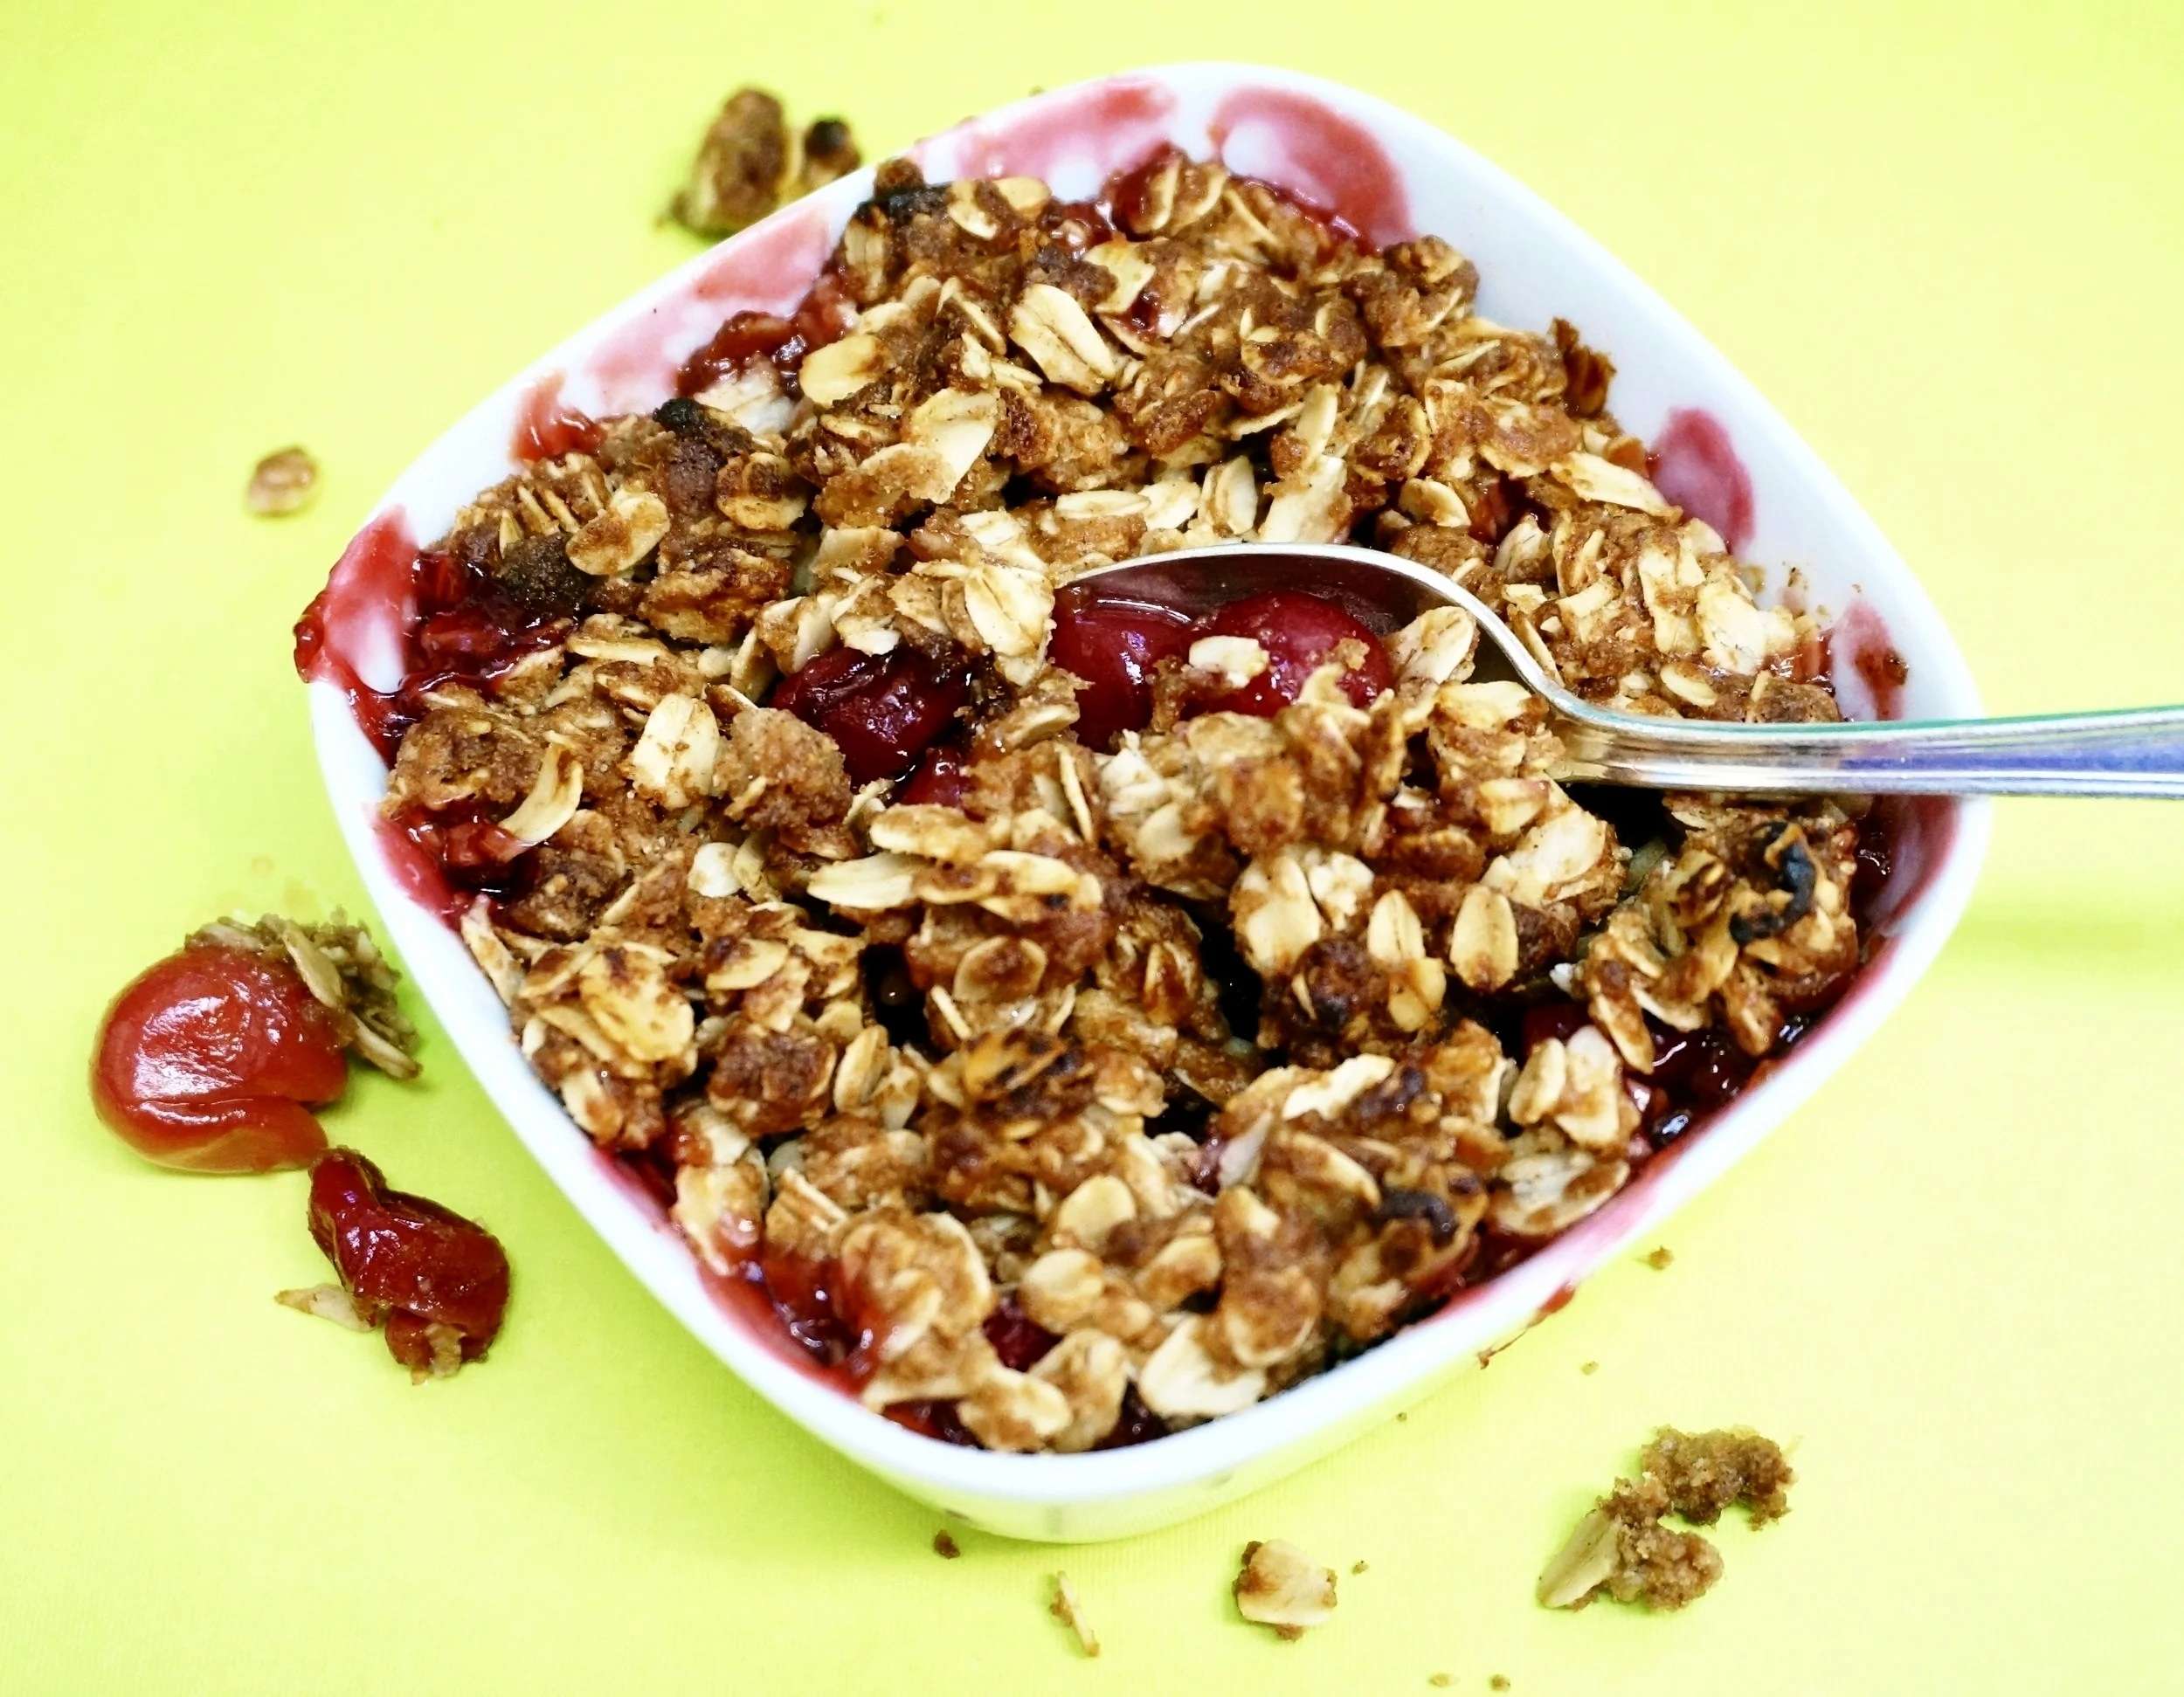
Sour Cherry Crisp

fullsizeoutput_84f8.jpeg

Recently my daughter Gillian brought me some fresh sour cherries. Cherries that are intended for baking, not eating out of hand.

I love sour cherries. In fact I like most foods that are sour -- anything that provides that satisfying pucker in my mouth. 

Mostly, I like sour cherry pie, but I didn't have enough fruit.

Also, I don't have a cherry pitter.

Thanks to some instruction at The Spruce, I learned how to remove the cherry stones using a pastry tube tip, so I decided to make two individual Sour Cherry Crisps.

Notice that the amount of sugar I use is less than what you'll see in most recipes. The point of sour cherries -- for me -- is that they are supposed to be sour, merely mellowed by sugar, not overwhelmed by it. But, by all means, if you like your desserts more on the sweet side, you can add more.

Sour Cherry Crisp

  • 5 cups pitted sour cherries
  • 1/3 cup sugar
  • 1 teaspoon cornstarch
  • 1-1/2 cups old fashioned oats
  • 1/2 cup all-purpose flour
  • 1/2 cup brown sugar
  • 1 teaspoon cinnamon
  • 1/2 teaspoon salt
  • 1/2 cup melted unsalted butter

Preheat the oven to 375 degrees. Place the cherries, sugar and cornstarch in a bowl and mix to coat the cherries completely. Spoon the cherries into 4 baking ramekins (or a small baking dish). In a bowl, mix the oats, all-purpose flour, brown sugar, cinnamon and salt until the ingredients are evenly distributed. Pour in the butter and mix to coat the dry ingredients. Spoon equal amounts of the oat mixture on top of the cherries. Bake for 28-30 minutes or until the top is crispy and golden brown.

Makes 4 servings


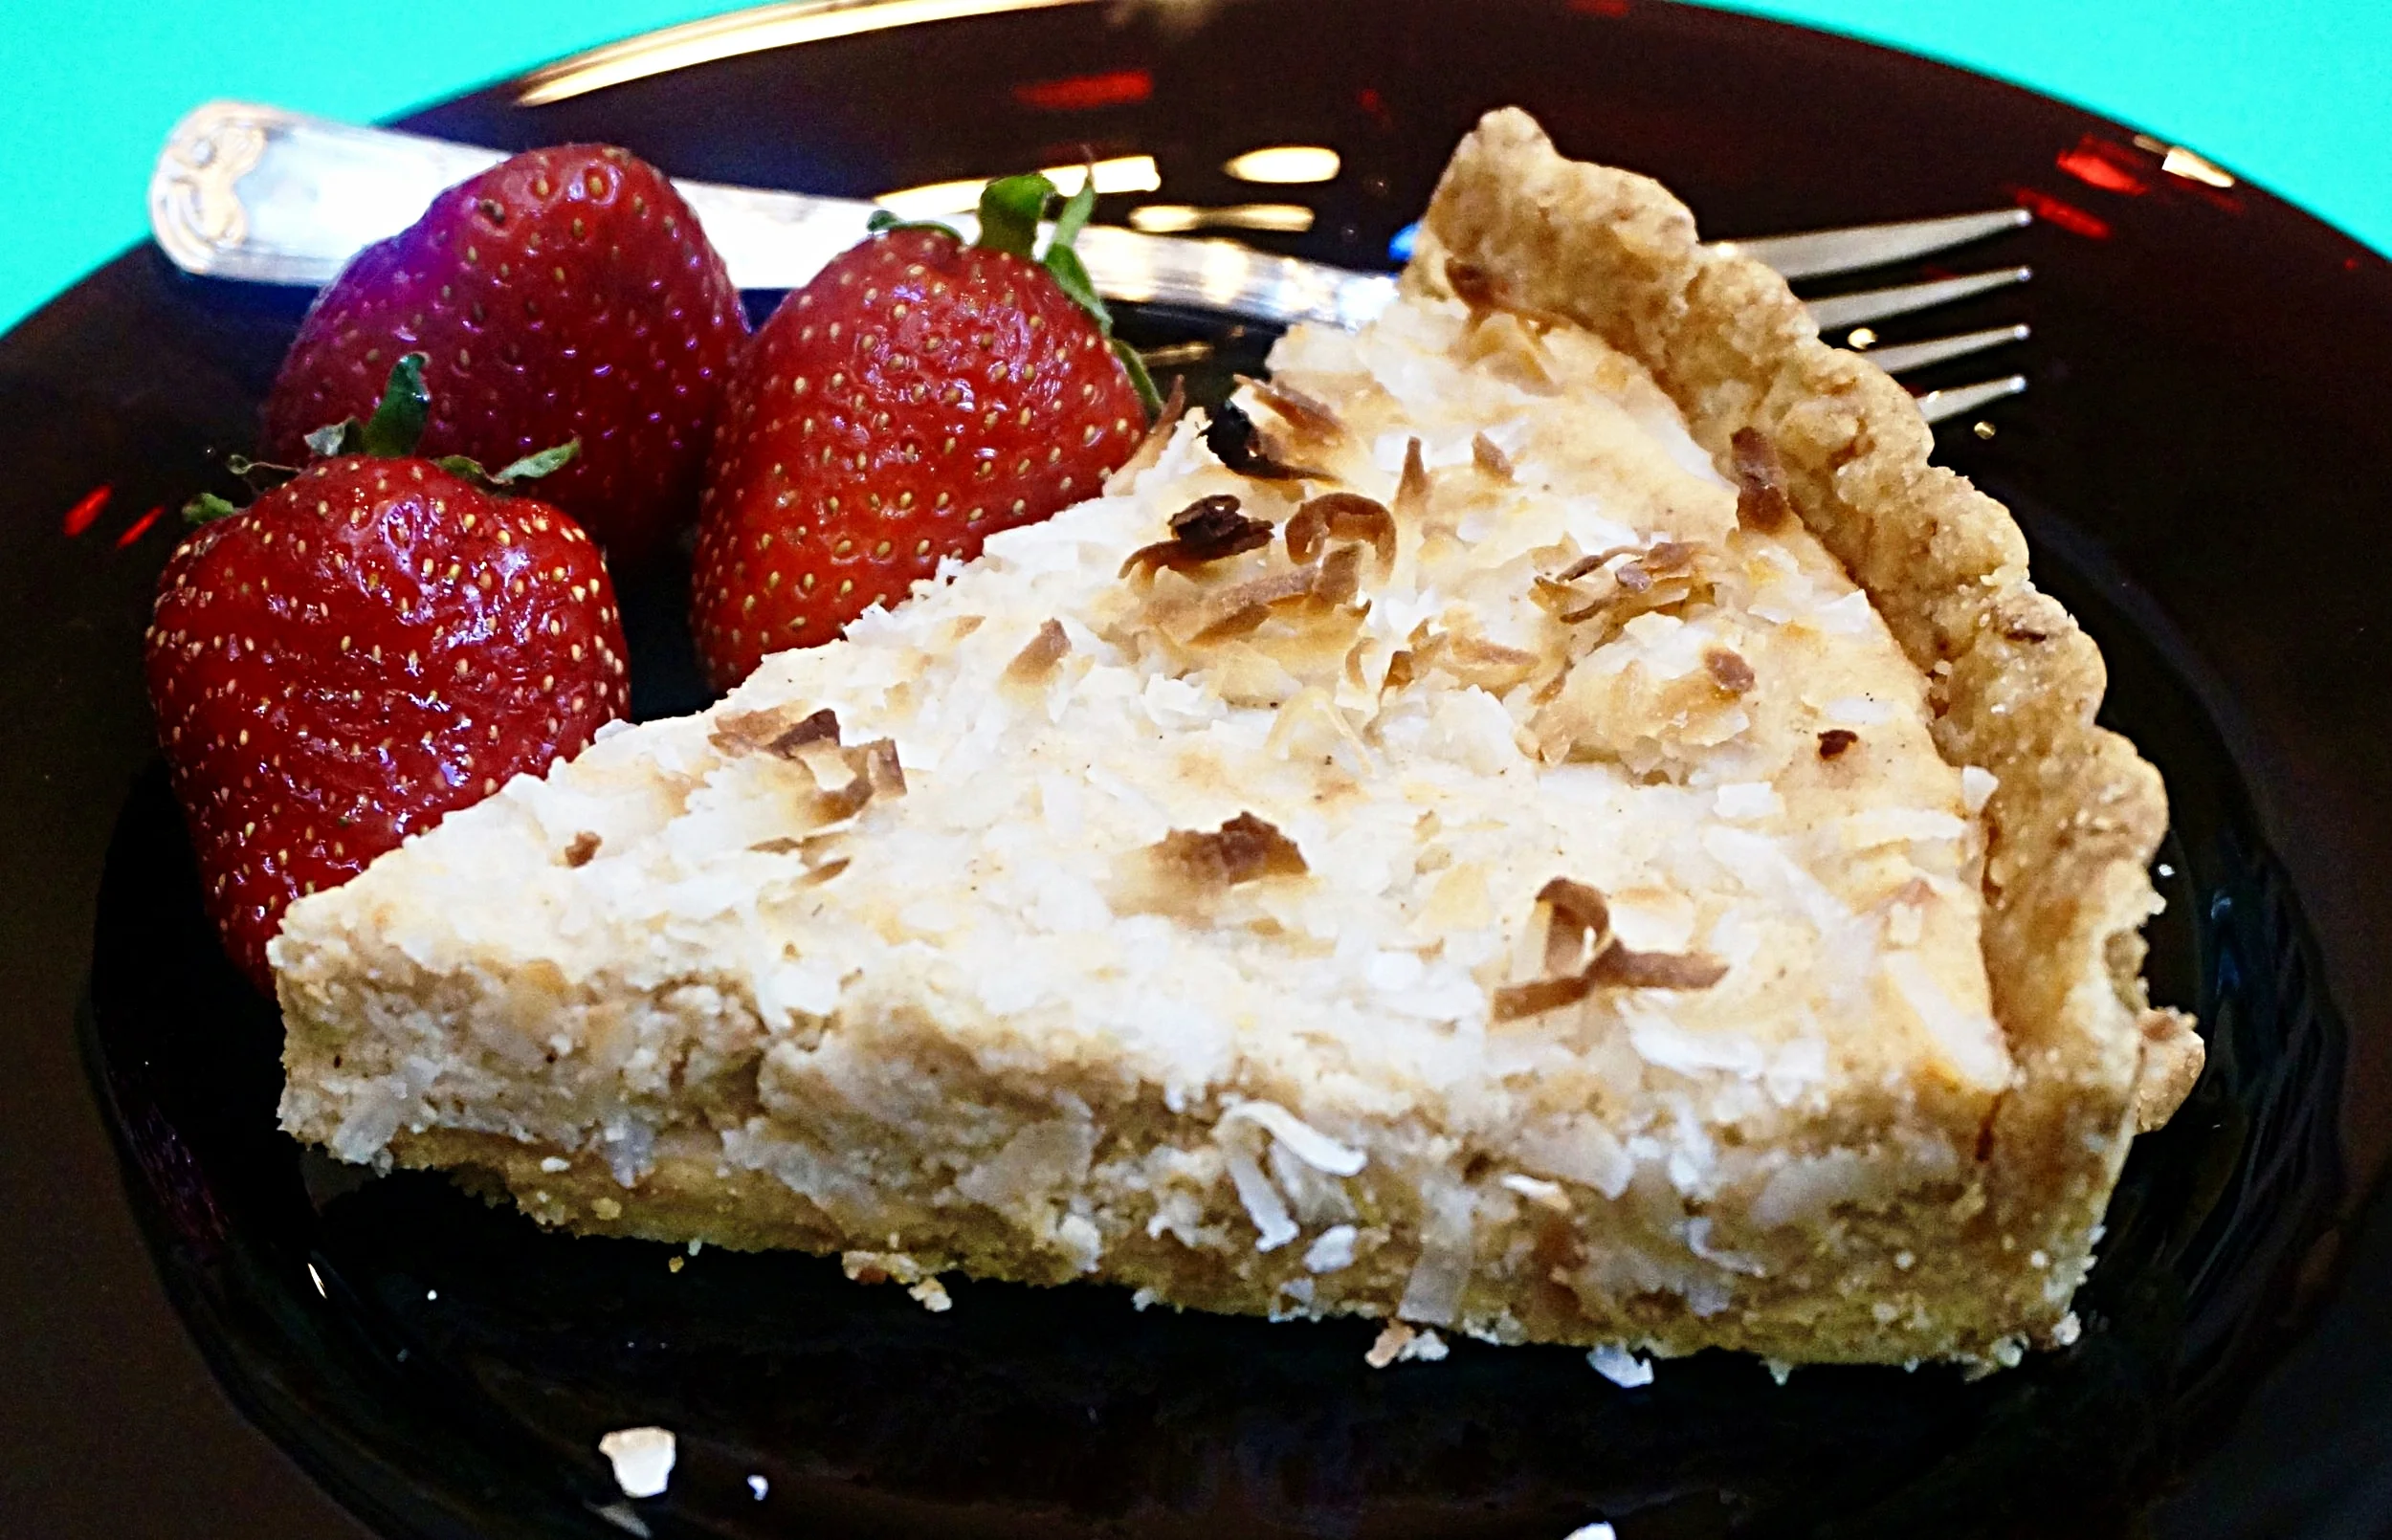
Ricotta Tart with Lemon and Coconut

fullsizeoutput_8674.jpeg

Cheesecake? Wonderful! 

But how about cheese pie? Tart?

For Shavuot.

Or anytime at all!

This recipe started with a nut streusel top but I needed something nut-free, so substituted shredded coconut. You can change that to chopped almonds if you prefer.

You need to start ahead on this one so that the cheese can drain and become dry-ish. This gives the filling a tender texture and also helps assure the crust won't get too soggy too soon.

Ricotta Tart

For the filling:

  • 1 pound ricotta cheese
  • 2 large eggs
  • 1/2 cup honey
  • 1 tablespoon finely grated lemon or orange peel
  • 1/2 teaspoon ground cinnamon
  • 1/2 cup shredded coconut

For the crust:

  • 1-1/4 cups all-purpose flour
  • 1 tablespoon sugar
  • 1/4 teaspoon salt
  • 2 teaspoons finely grated lemon or orange peel
  • 1/4 pound butter, melted

To make the filling:

Place the ricotta cheese in a strainer set over a bowl and refrigerate for at least 8 hours, to drain as much liquid as possible from the cheese. Pace the drained cheese in a food processor bowl. Add the eggs, honey, citrus peel and cinnamon and process until the ingredients are well blended and smooth. Set aside while you make the crust.

To make the crust:

Place the flour in a bowl. Mix in the sugar, salt and citrus peel. Pour in the melted butter and mix the ingredients to form a soft dough. Press the dough onto the bottom and sides of a 9-inch tart pan. Refrigerate for at least 30 minutes. Prick the dough with the tines of a fork. Preheat the oven to 400 degrees. Line the dough with aluminum foil and weight it down with pie weights. Bake for 10 minutes. Remove the aluminum foil and weights, turn the oven heat down to 375 degrees and bake the crust for another 12-15 minutes or until golden brown. Spoon the filling in baked crust and sprinkle the coconut over top. Bake for about 25 minutes or until crispy looking and the center is set. Serve slightly chilled or at room temperature.

Makes 8 servings

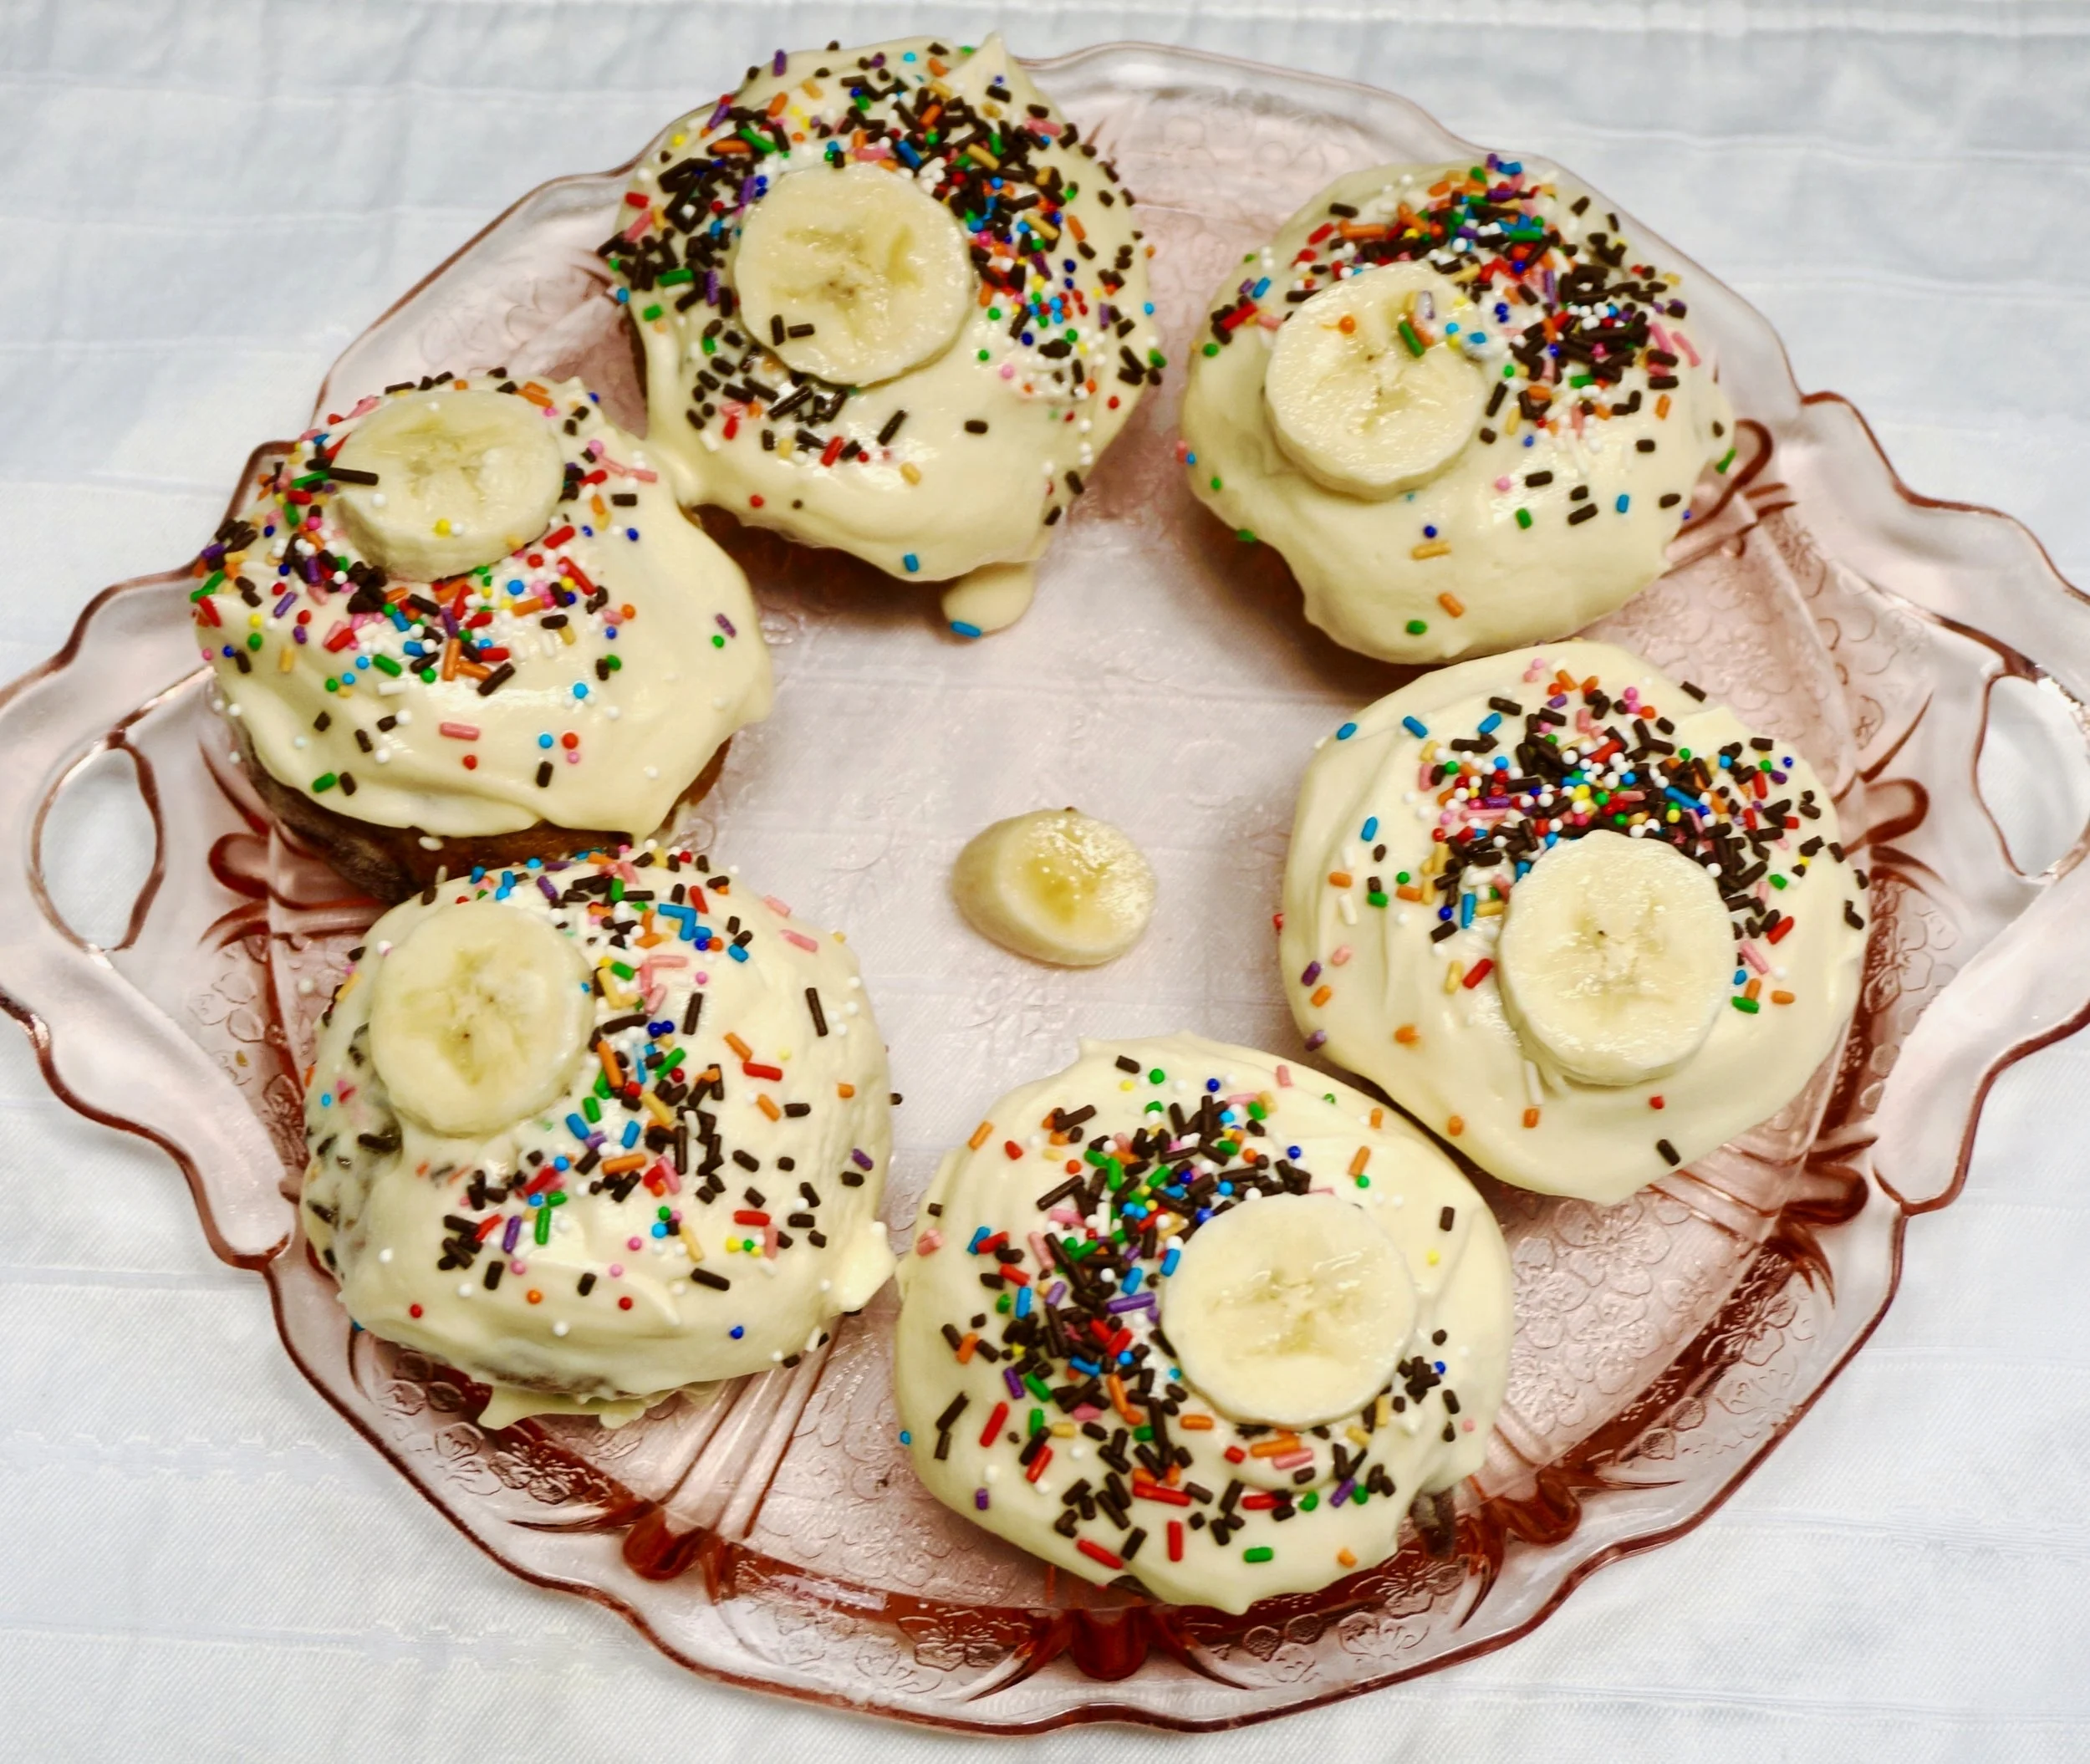
Banana Applesauce Cupcakes

fullsizeoutput_82d2.jpeg

One of the greatest pleasures in life is cooking with children.

Children are enthusiastic, creative and joyful abut anything they've cooked or baked.

These cupcakes are a melange of my grandchildren's ideas about what to make for dessert. It had to be dairy free. We had a few bananas and some leftover applesauce that we wanted to use.

The cupcakes were yummy. Even the adults thought so.

Decorations, including the one lone banana slice in the center, by the kids, of course, .


Banana Applesauce cupcakes

  • 2 cups all-purpose flour
  • 1 teaspoon baking soda
  • 1/2 teaspoon baking powder
  • 1/2 teaspoon salt
  • 1 teaspoon cinnamon
  • 1 cup sugar
  • 1/4 cup vegetable oil
  • 1/4 cup applesauce
  • 2 large eggs
  • 3 very ripe bananas, mashed
  • 1/4 cup apple juice
  • 1 teaspoon vanilla extract

Preheat the oven to 350 degrees. Lightly grease 12 muffin tins. In a small bowl, combine the flour, baking soda, baking powder, salt and cinnamon and whisk the ingredients to blend them thoroughly. Place the sugar, vegetable oil and applesauce in the bowl of an electric mixer. Beat the ingredients at medium speed for 3-4 minutes or until well blended. Add the eggs and beat them in. Add the bananas, apple juice and vanilla extract and beat at medium speed for about 2 minutes or until well blended. Spoon equal quantities of batter into the muffin tins. Bake for about 20 minutes or until a cake tester inserted into the center comes out clean. 

Makes 12

frosting

  • 1 cup margarine, shortening or mix of coconut oil and margarine 
  • 1-1/2 cups confectioners' sugar
  • 1 teaspoon vanilla extract
  • apple juice as necessary

Place the margarine, confectioners' sugar and vanilla extract in a bowl (or use an electric mixer) and beat with a hand mixer at medium speed for 2-3 minutes or until well blended and creamy. If the mixture seems too thick to spread as frosting, mix in a teaspoon or two of apple juice.

Makes enough for 12 cupcakes


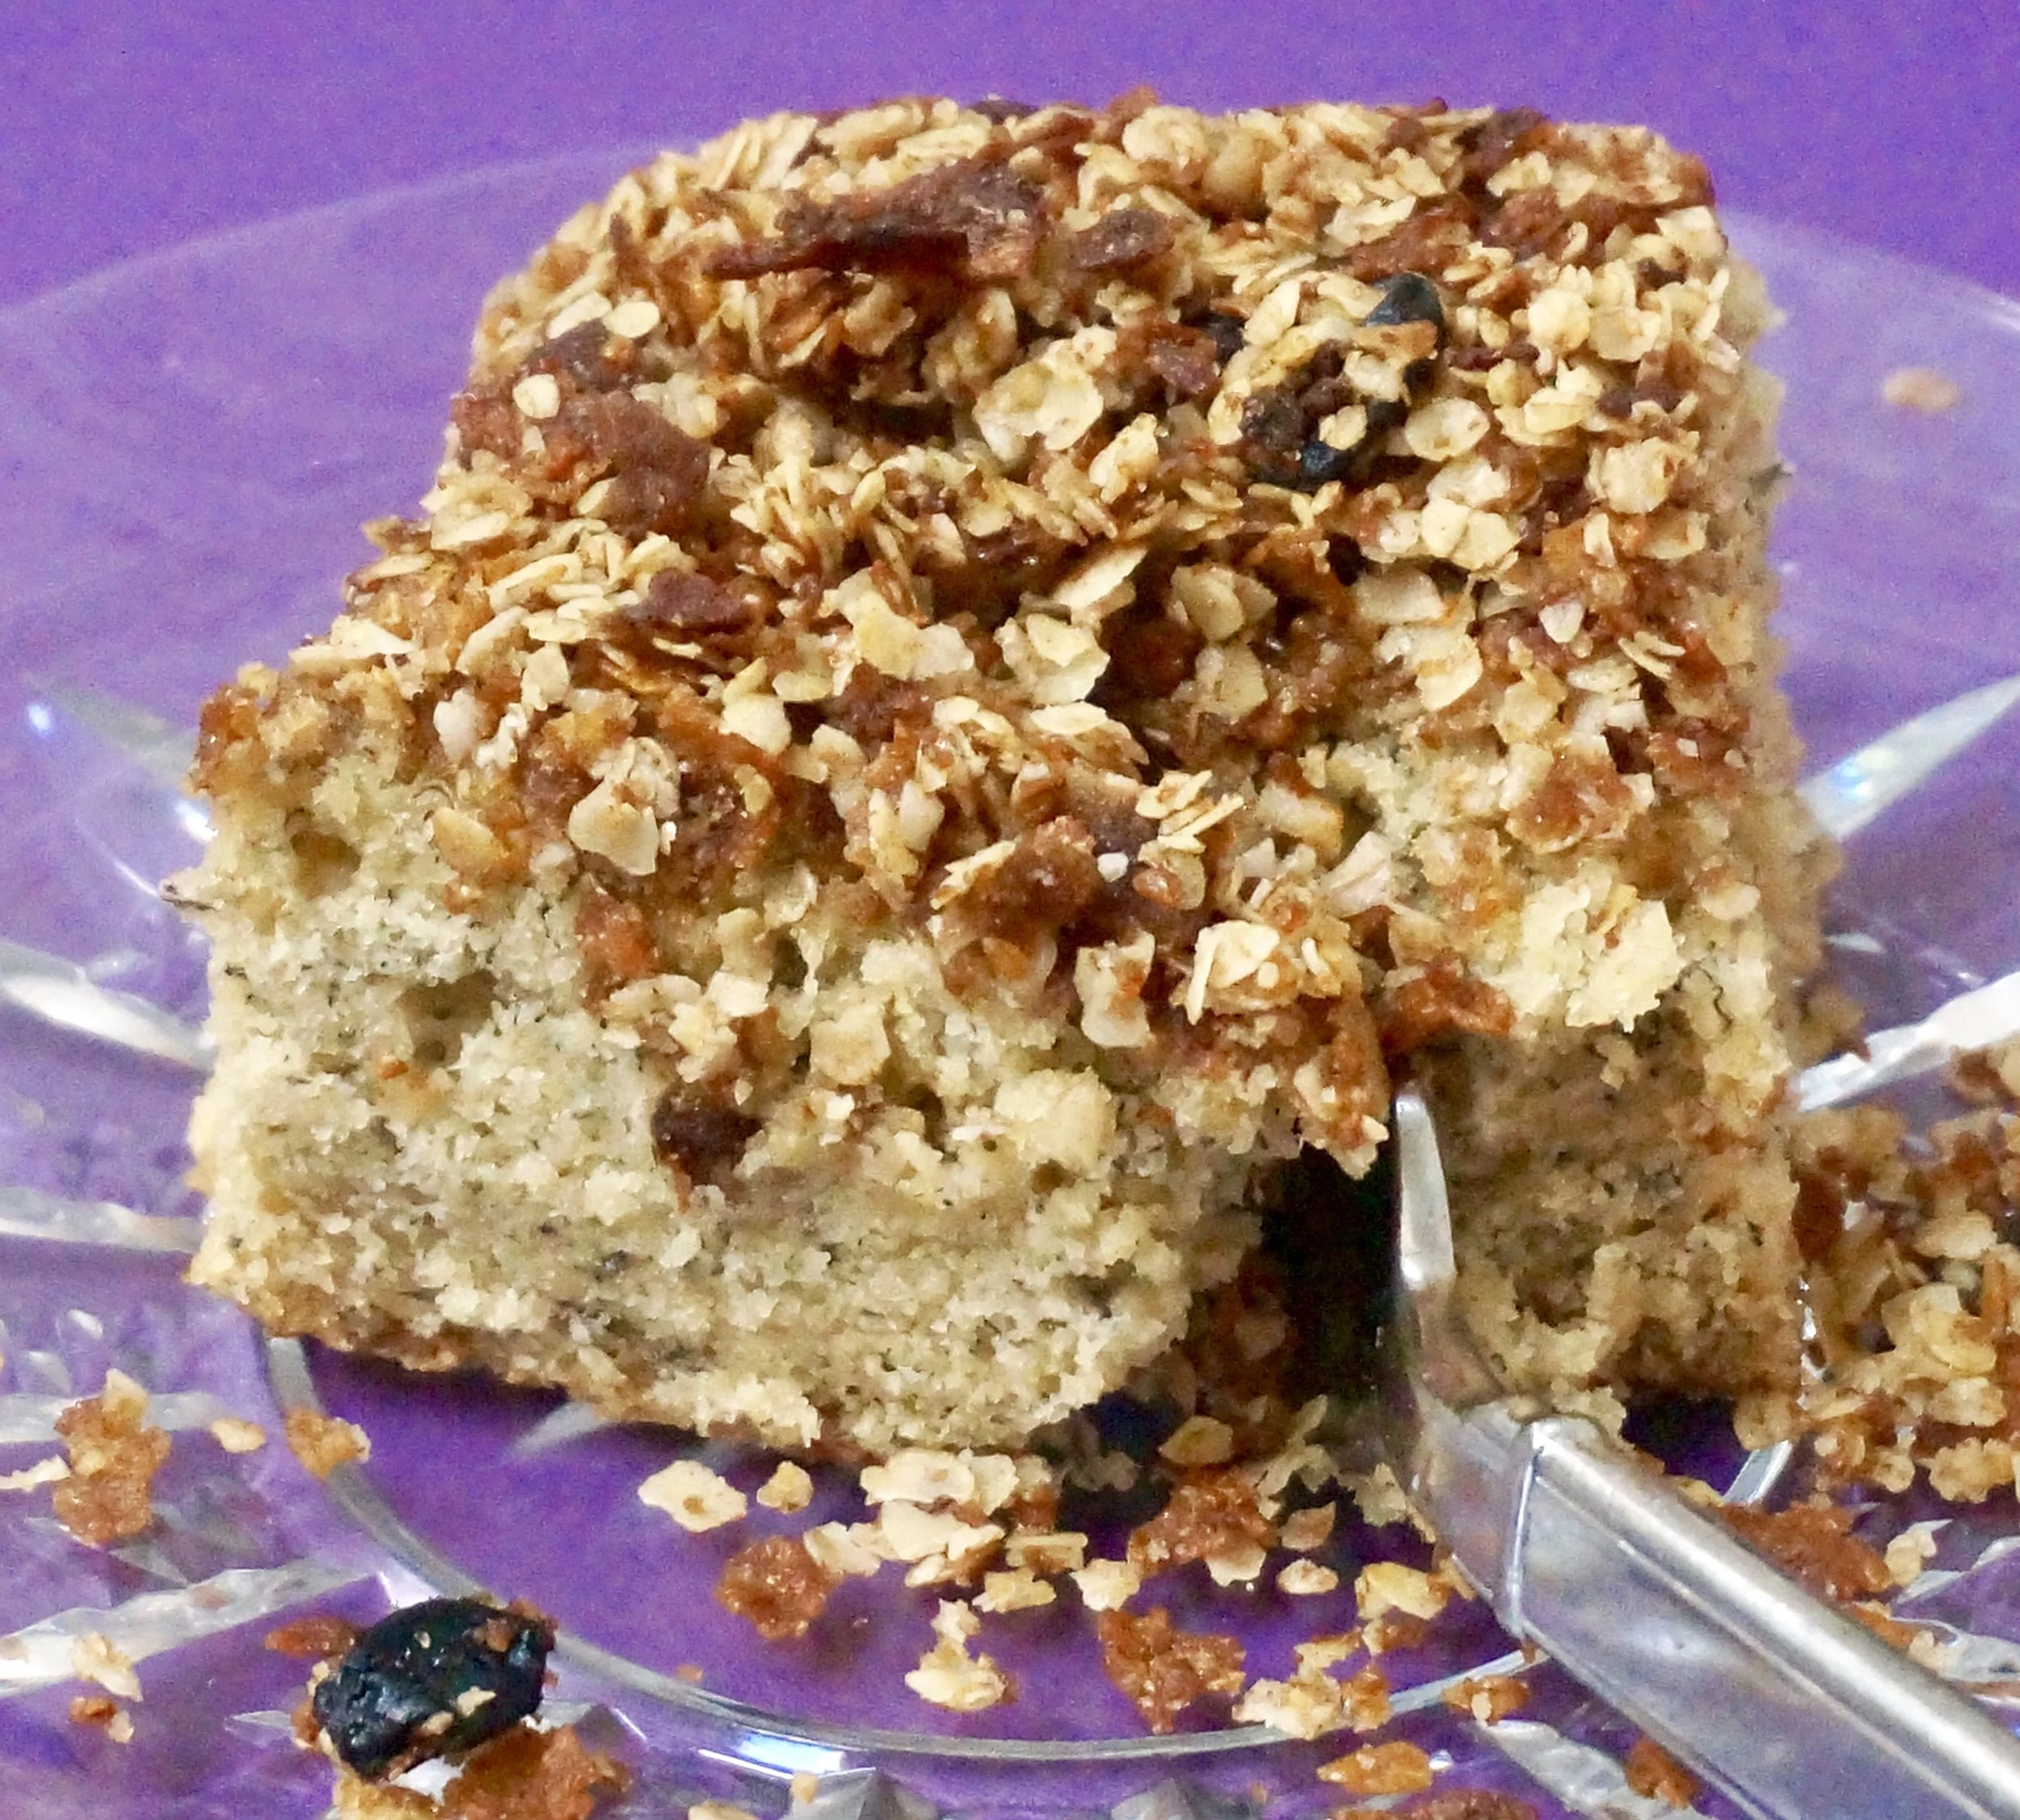
Banana Crunch Cake

fullsizeoutput_89cd.jpeg

I am always amazed at the amount of fruit that I buy -- and that is consumed -- when my children and grandkids come. Quarts of berries of all kinds. Mangoes, pineapples, grapes and kiwi fruit. In season, also stone fruit such as peaches, fresh apricots, plums and so on.

Plus oranges, clementines, grapefruit.

Apples of course.

And bananas. Lots of bananas.

Usually I am left with nothing, which is why I am always amazed, just at the sheer quantity of what has been eaten.

And I am not complaining at the lack of leftovers! Eating fruit is a good thing. Glad my family is good with that.

IF and when I have leftover bananas I use them for banana bread or cake. I have so many different recipes it's difficult to choose one or another, so I often come up with something new.

Like this. The crunchy crust gets it one step beyond homey, making this suitable for company.


Banana Crunch Cake

Crust:

  • 1 cup crushed raisin bran or similar flakes
  • 1 cup quick oats
  • 1/4 cup brown sugar
  • 1 teaspoon cinnamon
  • 6 tablespoons liquid coconut oil (or use melted butter)

Combine the cereal, oats, brown sugar and cinnamon in a bowl. Pour in the coconut oil and mix until the dry ingredients are thoroughly coated. Set aside. 

Cake:

  • 1-2/3 cups all-purpose flour
  • 1 teaspoon salt
  • 1 teaspoon baking powder
  • 1/2 teaspoon baking soda
  • 1/2 cup vegetable shortening
  • 1 cup sugar
  • 2 large eggs
  • 3 mashed bananas
  • 1/4 cup water
  • 1 teaspoon lemon juice
  • 1 teaspoon vanilla extract

Preheat the oven to 350 degrees. Lightly grease a 9-inch square baking pan. Make the crust and set it aside. Mix the flour, salt, baking powder and baking soda together in a small bowl. In the bowl of an electric mixer, beat the vegetable shortening and sugar together at medium speed for 2-3 minutes or until creamy and well blended. Add the eggs and bananas and beat the ingredients for another 2-3 minutes or until thoroughly blended. Mix the water and lemon juice together. Add the flour mixture alternating with the lemon-water and blend in ingredients thoroughly. Stir in the vanilla extract. Spoon the batter into the prepared pan. Cover the top evenly with the crust mixture. Bake for 22-25 minutes or until a cake tester inserted into the center comes out clean.

Makes 12-16 servings


Irish Coffee Ice Cream

My husband told me this was the best ice cream he has ever eaten.

That's all I'm saying, except Happy St. Patrick's Day.


Irish Coffee Ice Cream

  • 1 cup coffee beans
  • 2 cups half and half
  • 1 cup sugar
  • 1/8 teaspoon salt
  • 4 egg yolks
  • 1 cup heavy cream
  • 1/4 cup Irish whiskey

Place the coffee beans in a paper or plastic bag and gently tap with a rolling pin or meat mallet to break the beans coarsely. Not all of the beans need to be broken. Place the beans in a saucepan and pour in the half and half. Turn the heat to medium-high and bring the mixture to a boil. Remove the pan from the heat and let steep for at least one hour. Strain the liquid, discard the beans and set the liquid aside. In the bowl of an electric mixer, beat the sugar, salt and egg yolks together at medium speed for 4-5 minutes or until thick and pale. Pour in the strained, steeped cream. Beat the ingredients, starting at low speed and gradually to medium speed, for 3-4 minutes or until the mixture is well blended and a uniform color. Pour the mixture into the saucepan. Cook over medium heat, stirring frequently, for 8-10 minutes or until the mixture has thickened enough to coat the back of a spoon. Stir in the heavy cream. Place the mixture in the refrigerator to cool completely. Freeze in an ice cream maker until almost completely frozen. Pour in the Irish whiskey. Continue churning in the ice cream maker until the mixture has the consistency of soft-serve ice cream. Spoon into a container and freeze until firm.

Makes about 5 cups