pastry

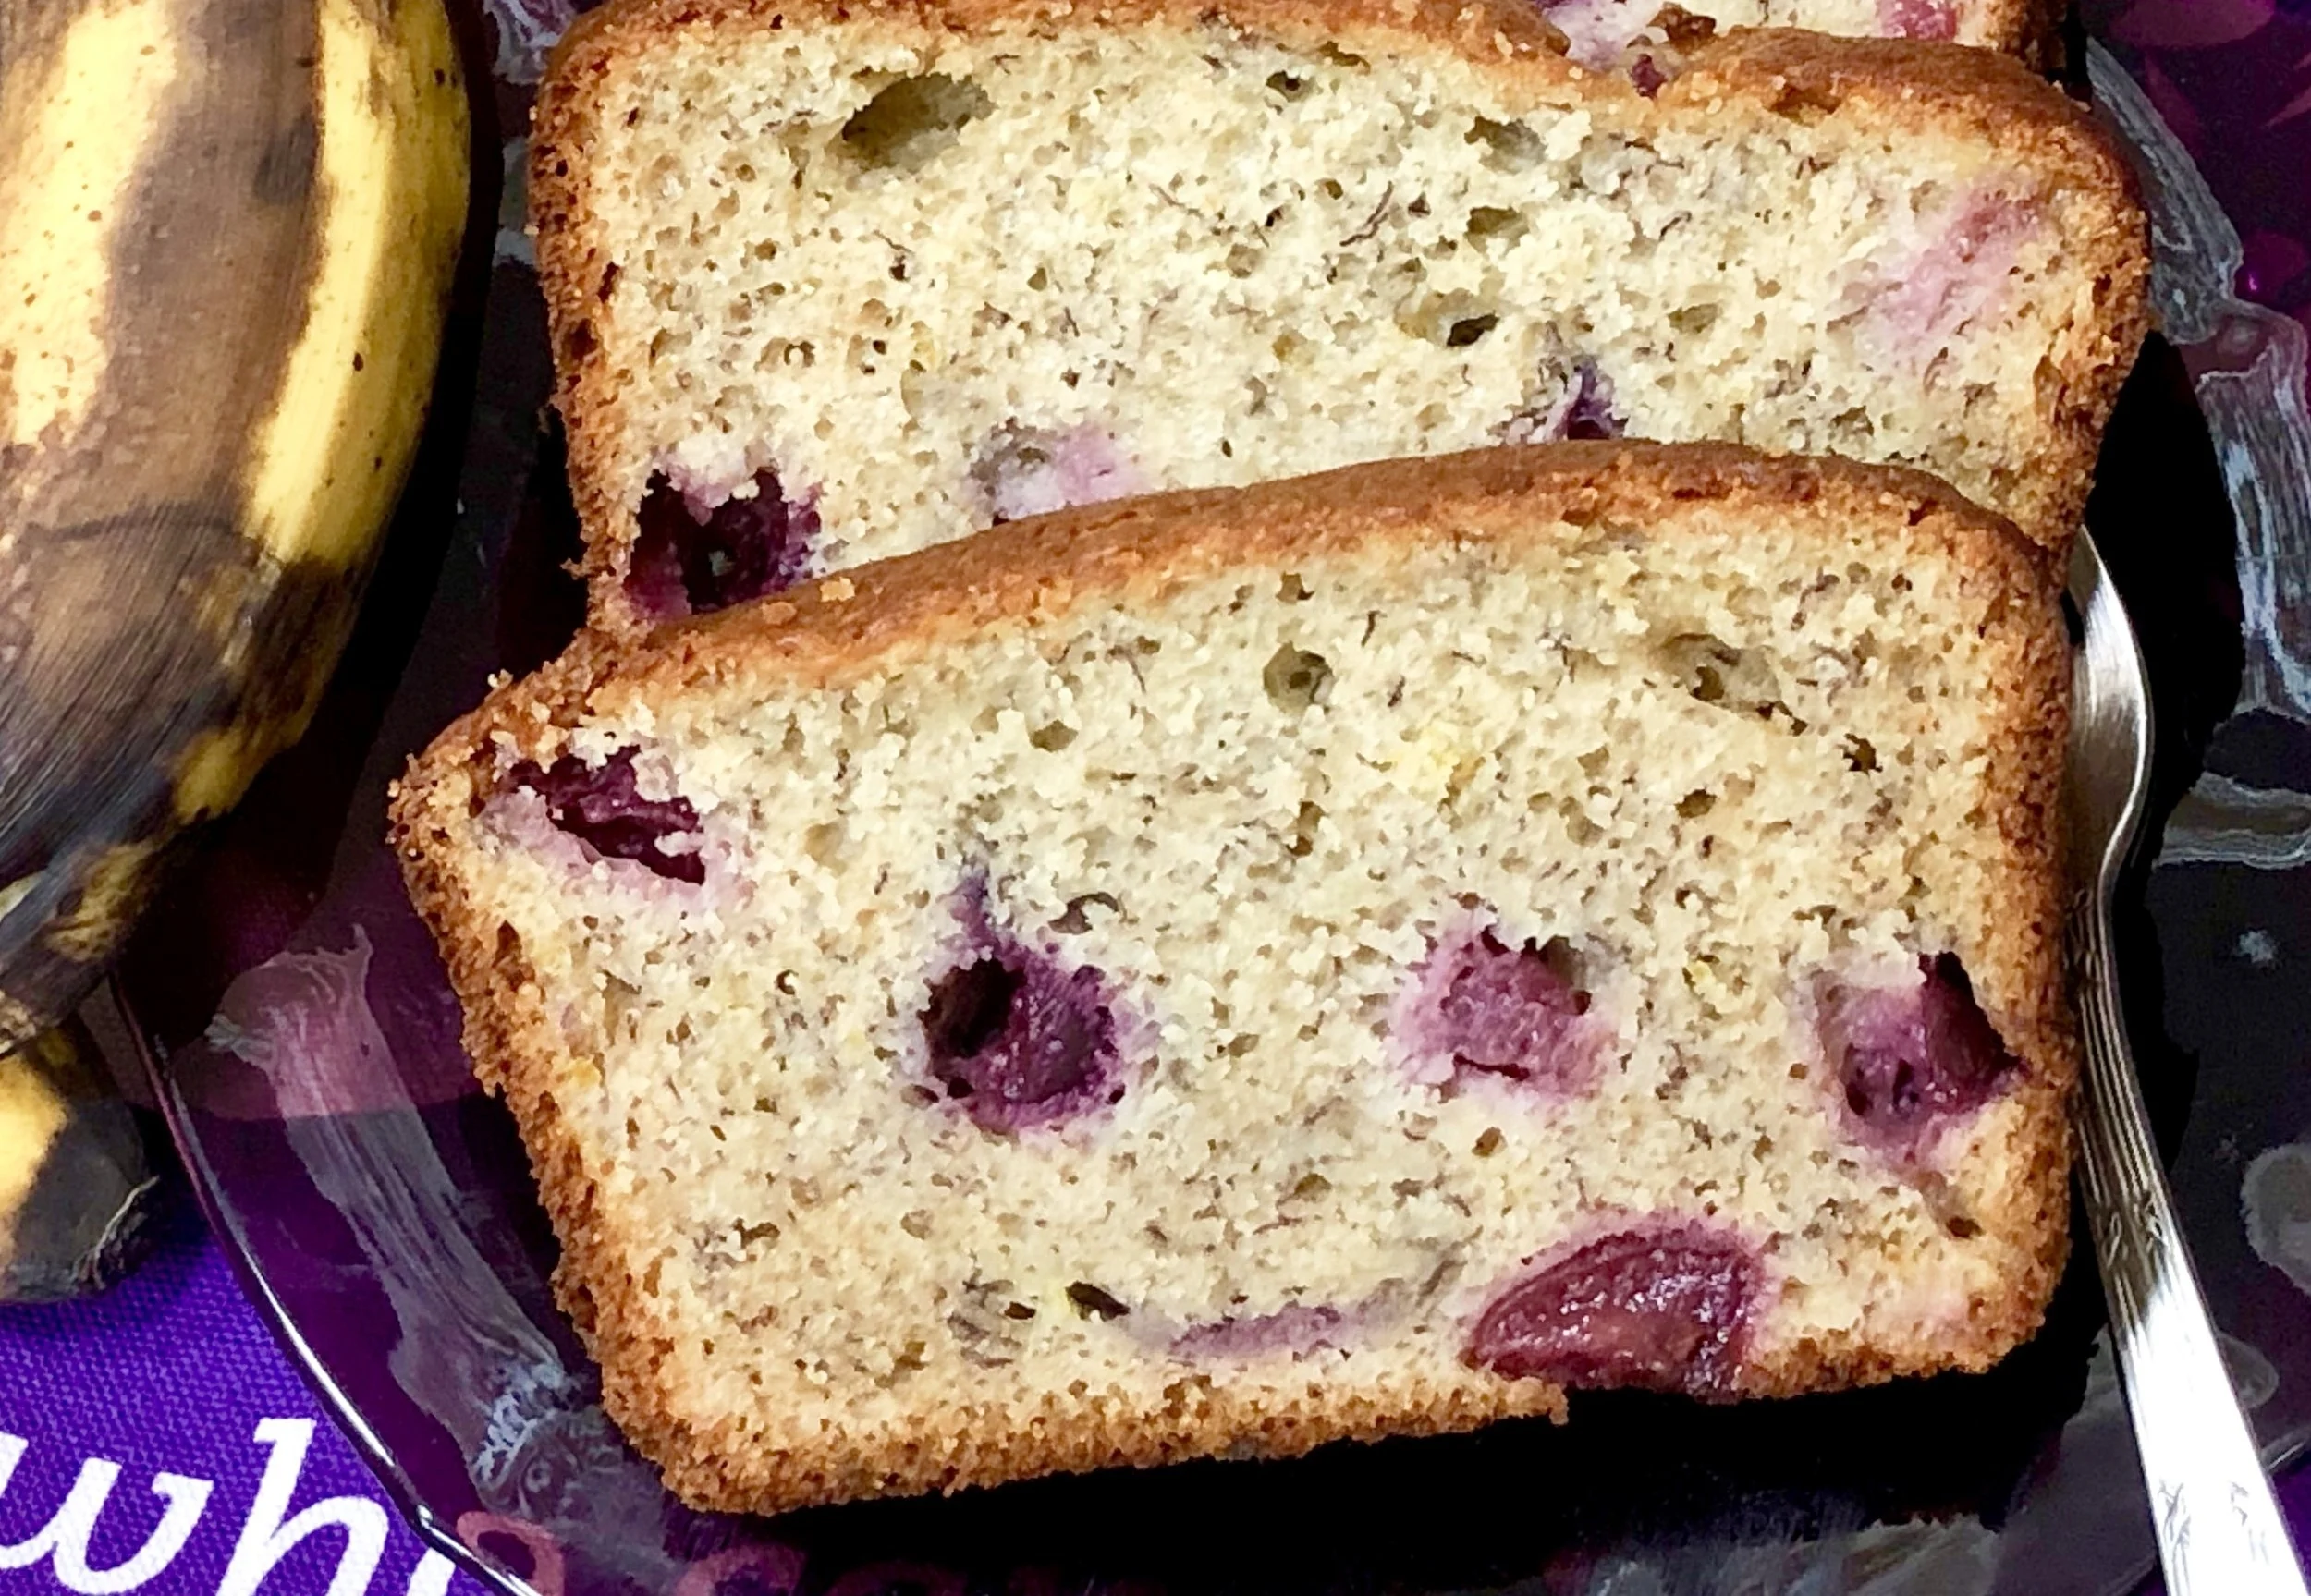
Banana Bread with Cherries

fullsizeoutput_9095.jpeg

This summer's cherries have been especially delicious. I've been buying (and eating) tons of them.

So, when I had to think of what to do with the usual leftover bananas, I decided to use some in a new version of Banana Bread. I also added some orange (peel and juice) -- just a hint to bring out the best in both of the fruits.

Pitting cherries can be a real drag. But there's an easy way to do it and you don't even have to buy a cherry pitter. Look here.

Banana BREAD with cherries

  • 2 cups all-purpose flour
  • 1 teaspoon grated fresh orange peel
  • 1 teaspoon baking soda
  • 1/2 teaspoon baking powder
  • 1/2 teaspoon salt
  • 1 cup sugar
  • 1/2 cup vegetable oil
  • 2 large eggs
  • 3 medium very ripe bananas
  • 1/3 cup orange juice 
  • 1 teaspoon vanilla extract
  • 1 cup cut up fresh cherries

Preheat the oven to 350 degrees. Grease a 9”x5”x3” loaf pan. Mix the flour, orange peel, baking soda, baking powder and salt in a bowl and set it aside. Beat the sugar and vegetable oil with a handheld or electric mixer set at medium speed for 2-3 minutes or until the mixture is well blended. Add the eggs one at a time, beating after each addition. Mash the bananas and add them to the sugar mixture. Beat thoroughly until the ingredients are well blended. Add the flour mixture and beat for 1-2 minutes to blend the ingredients thoroughly. Stir in the juice and vanilla extract. Fold in the cherries. Pour the batter into the prepared pan. Bake for about 1 hour or until a cake tester inserted into the center comes out clean. Cool the bread in the pan 15 minutes. Remove the bread from the pan and let it cool on a cake rack.

 Makes one bread serving 10-12

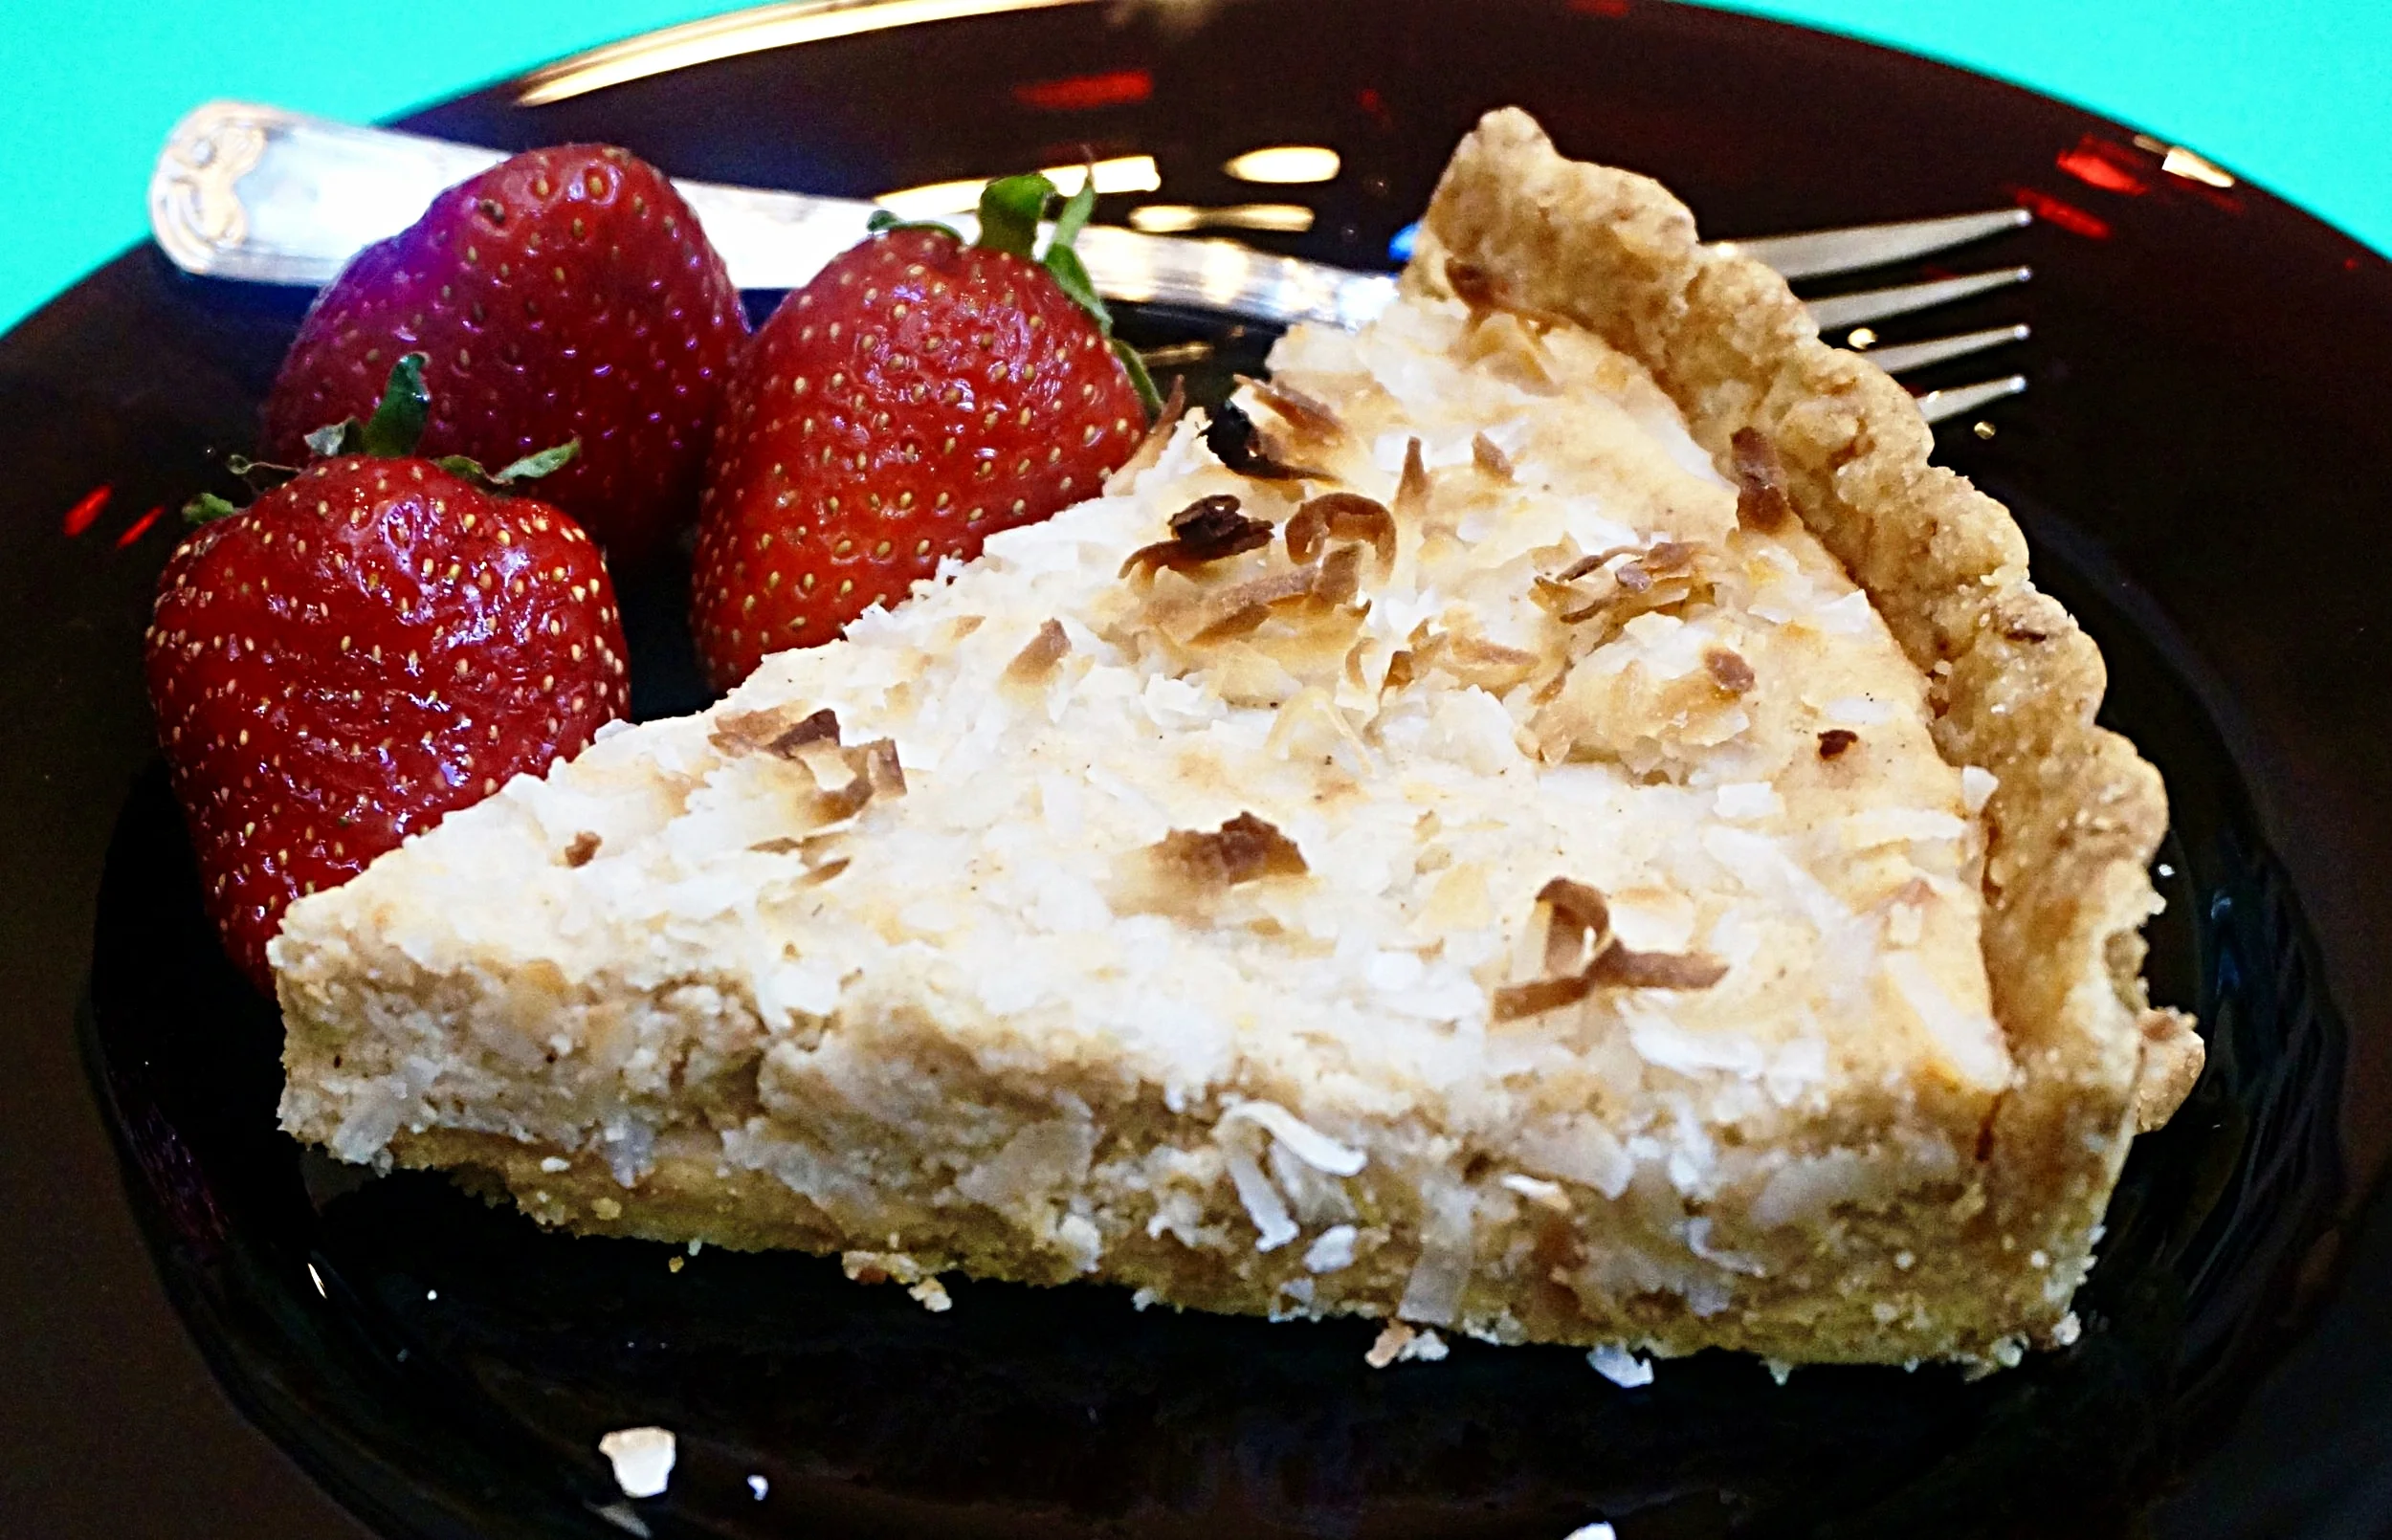
Ricotta Tart with Lemon and Coconut

fullsizeoutput_8674.jpeg

Cheesecake? Wonderful! 

But how about cheese pie? Tart?

For Shavuot.

Or anytime at all!

This recipe started with a nut streusel top but I needed something nut-free, so substituted shredded coconut. You can change that to chopped almonds if you prefer.

You need to start ahead on this one so that the cheese can drain and become dry-ish. This gives the filling a tender texture and also helps assure the crust won't get too soggy too soon.

Ricotta Tart

For the filling:

  • 1 pound ricotta cheese
  • 2 large eggs
  • 1/2 cup honey
  • 1 tablespoon finely grated lemon or orange peel
  • 1/2 teaspoon ground cinnamon
  • 1/2 cup shredded coconut

For the crust:

  • 1-1/4 cups all-purpose flour
  • 1 tablespoon sugar
  • 1/4 teaspoon salt
  • 2 teaspoons finely grated lemon or orange peel
  • 1/4 pound butter, melted

To make the filling:

Place the ricotta cheese in a strainer set over a bowl and refrigerate for at least 8 hours, to drain as much liquid as possible from the cheese. Pace the drained cheese in a food processor bowl. Add the eggs, honey, citrus peel and cinnamon and process until the ingredients are well blended and smooth. Set aside while you make the crust.

To make the crust:

Place the flour in a bowl. Mix in the sugar, salt and citrus peel. Pour in the melted butter and mix the ingredients to form a soft dough. Press the dough onto the bottom and sides of a 9-inch tart pan. Refrigerate for at least 30 minutes. Prick the dough with the tines of a fork. Preheat the oven to 400 degrees. Line the dough with aluminum foil and weight it down with pie weights. Bake for 10 minutes. Remove the aluminum foil and weights, turn the oven heat down to 375 degrees and bake the crust for another 12-15 minutes or until golden brown. Spoon the filling in baked crust and sprinkle the coconut over top. Bake for about 25 minutes or until crispy looking and the center is set. Serve slightly chilled or at room temperature.

Makes 8 servings

Valentine's Day Chocolate Fudge Brownies

fullsizeoutput_84cd.jpeg

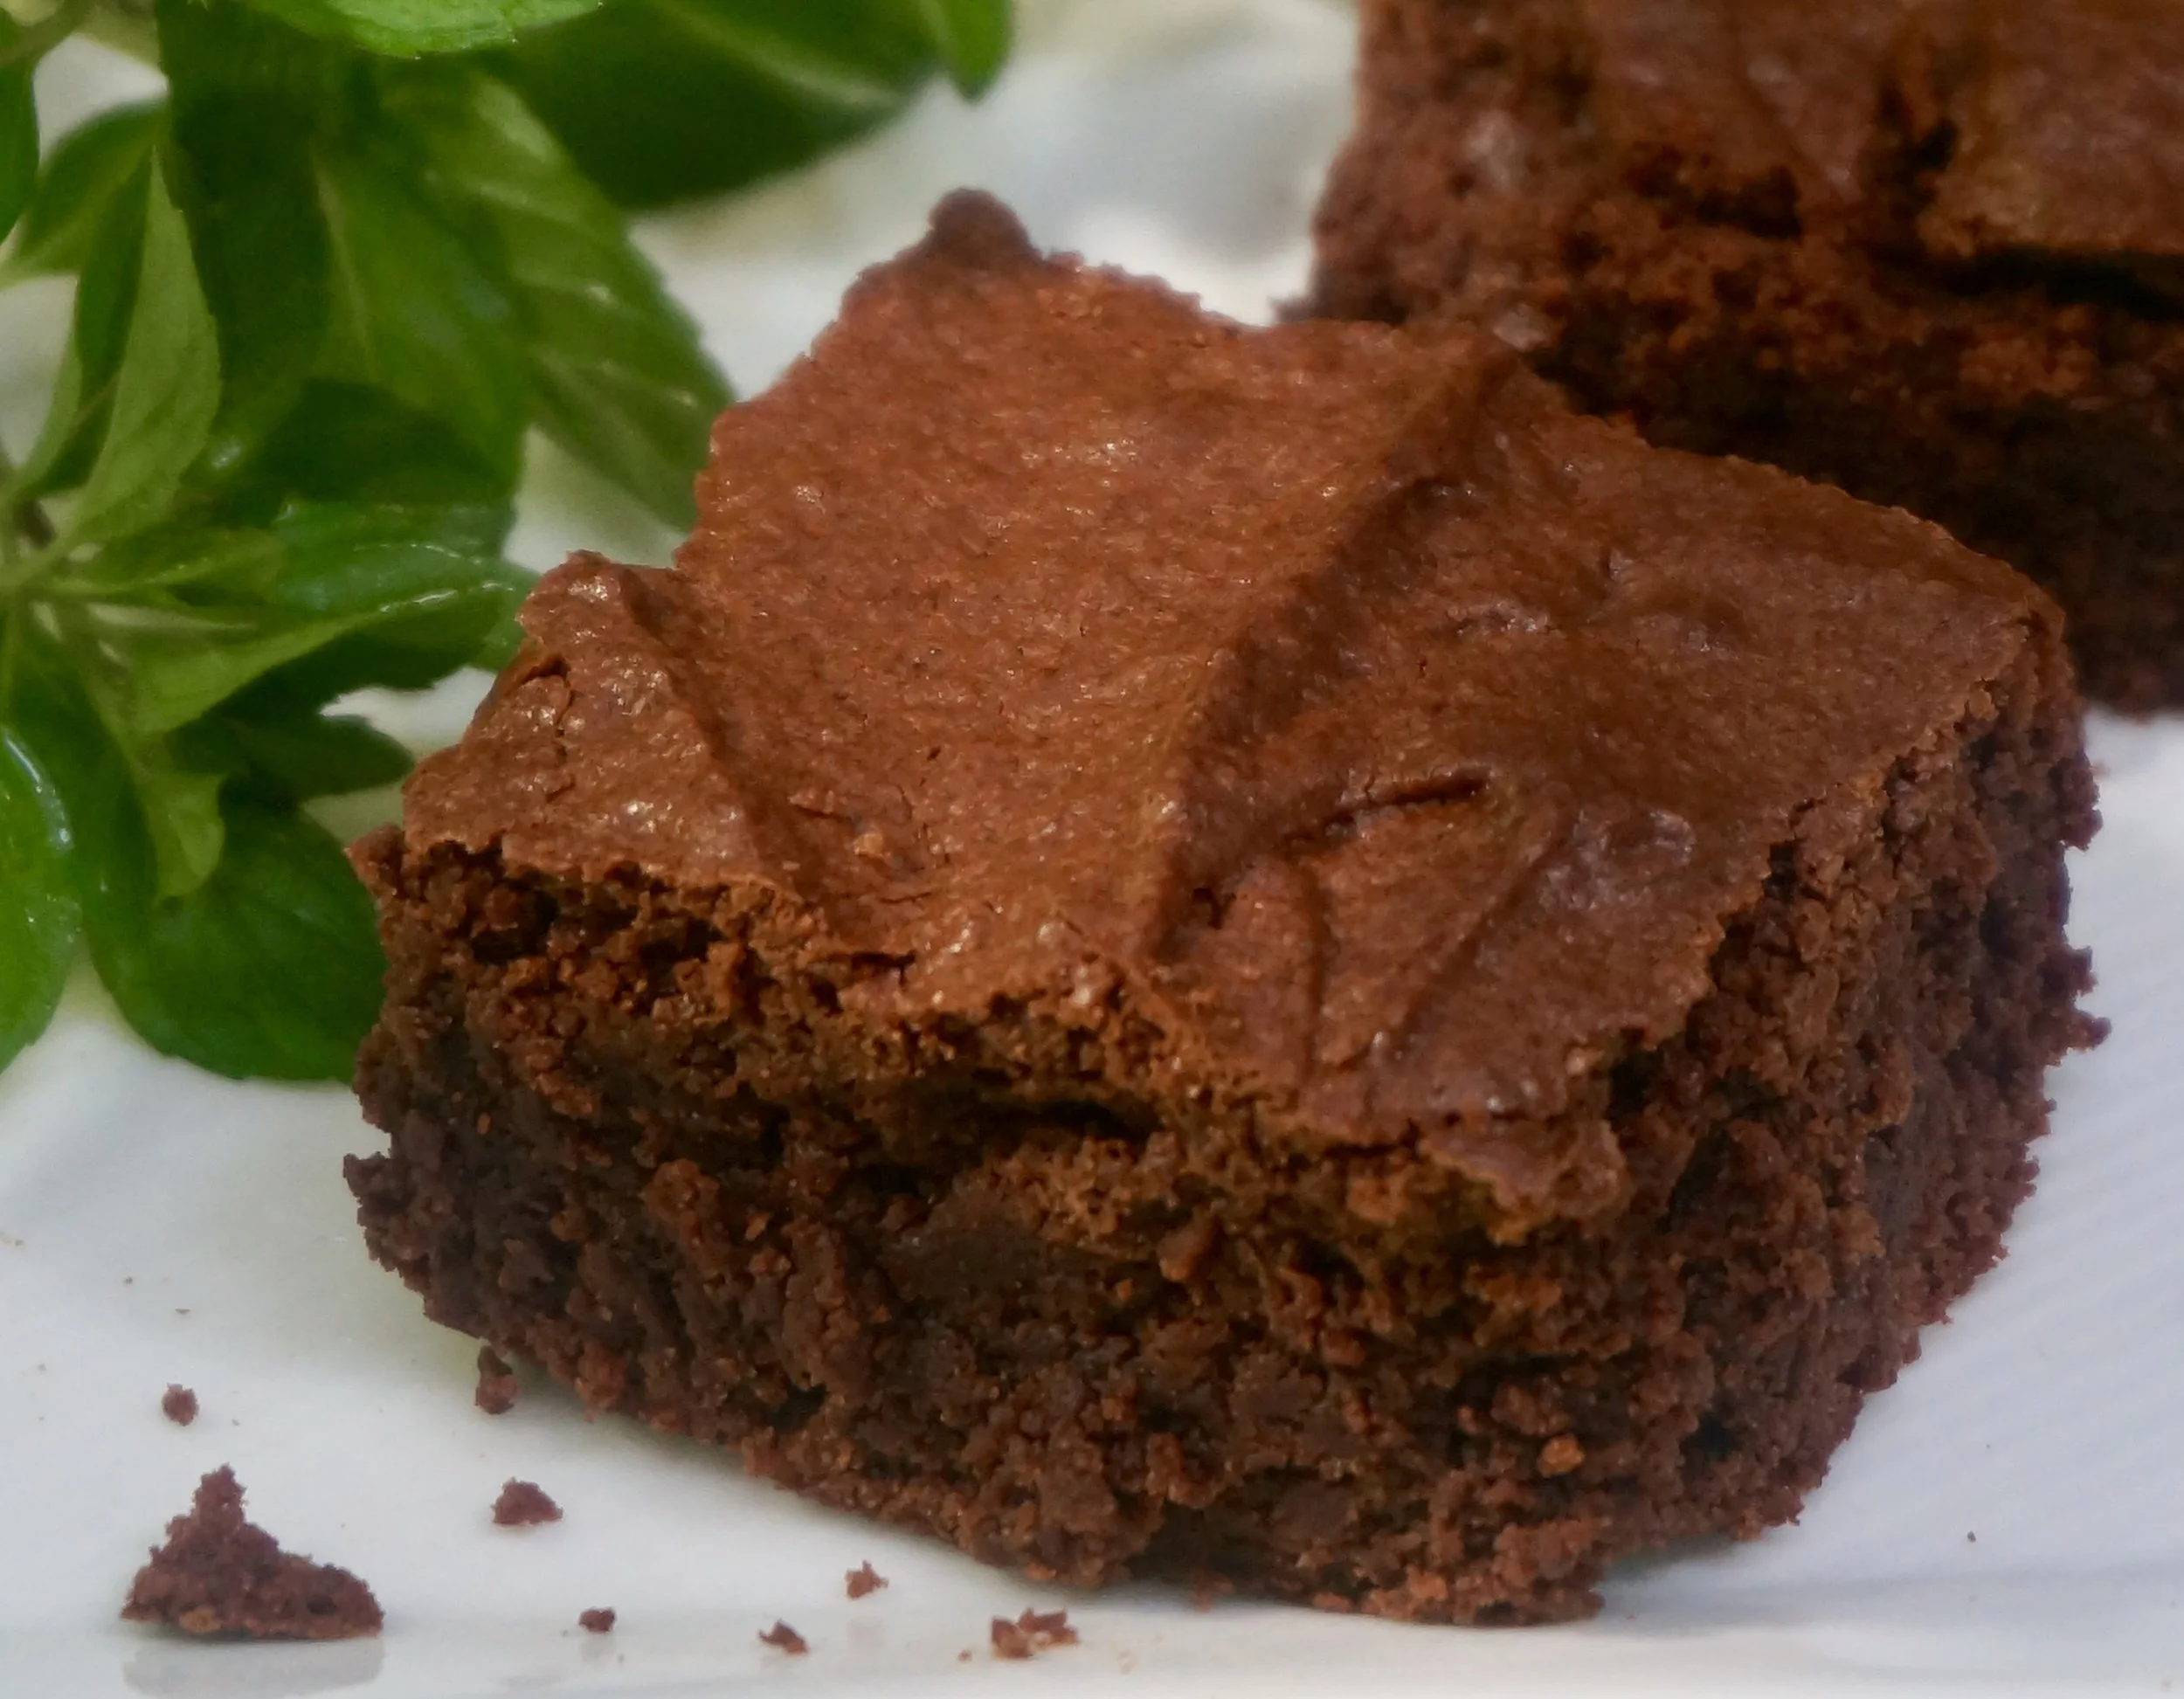
I have told my husband not to buy me chocolate candy for Valentine's Day.

Sure, I love the thought, not to mention the taste (he knows how much I love buttercrunch!!!!!!).

But really, I need to NOT EAT candy for a variety of reasons including the number I see on the scale when I weigh myself each morning.

For Valentine's Day I am going to make brownies, which will be sufficient for the two of us to celebrate with a piece or two, then give the rest away to a friend of mine who loves sweets.

Then it will all be gone, we will have had a delicious, but calorie-limited Valentine's Day and that will be that until the next occasion.


Valentine's Day Chocolate Fudge BROWNIES

  • 3 ounces unsweetened chocolate
  • 1/3 cup butter
  • 2 large eggs
  • 1 cup sugar
  • 3/4 cup plus 2 tablespoons all-purpose flour
  • 3/4 teaspoon baking powder
  • 1/2 teaspoon salt
  • 1 teaspoon vanilla extract
  • 1/2 cup chopped nuts, optional

Preheat the oven to 350 degrees. Lightly grease an 8" square baking pan.  Melt the chocolate and butter together in the top part of a double boiler set over barely simmering water. When the ingredients have melted, blend them thoroughly and remove the pan from the heat. Combine the eggs and sugar in a large bowl and beat them 2-3 minutes or until the mixture is thick and pale. Mix the flour, baking powder and salt in a bowl and stir this mixture into the chocolate mixture. Stir in the vanilla extract and nuts, if used. Spoon the batter into the prepared pan. Bake for 30 minutes. Cool the brownies in the pan. Cut them into 16 squares.

Makes 16

Cream Puff Swans on the Lake

_DSC1118.jpg
IMG_4392.jpg

I love that my grandchildren love to cook and absolutely love that they like a challenge. My eldest makes perfectly shaped butter cookies; the next eldest recently cooked a vegetarian rice and beans dinner for her siblings. One of them once helped me bake a flourless chocolate roll for Passover.

Recently, my 9-year old grand daughter said she was bored and wanted to cook something really delicious, very pretty and also "hard." 

Be still my heart!

What better choice than cream puffs made into the shape of swans?!

I have taught baking classes on this particular recipe and have seen fully committed grown ups nervous about getting it right.

But off we went into the kitchen.

There are two really difficult challenges to making swan shape cream puffs. The first thing is mixing the eggs into the butter-flour dough, which is very stiff and therefore not easy to incorporate the liquidy eggs. Fortunately, this kid is athletic, with the kind of strong arms that come with spending hours doing chin-ups and stuff at the playground.

No problem! Stiff dough/eggs, perfectly mixed and blended. Check!

The second hard part is piping out small slivers of dough for the necks. There were lots of not-so-good ones (we just ate these as snacks after they were baked) but she did manage to create enough for us to use in the final product.

After that it was easy: we made some vanilla pudding but I told her that some other time you could also fill the swan bodies with whipped cream, sorbet or ice cream.

She said it would be really nice for the swans to have something to swim on.

Remember that old piano piece, Swans on the Lake? The music that so many of us learned as children taking our first year or so of piano lessons?

Well of course, there had to be a lake. We melted some chocolate. So easy. So lovely to look at when we put the swans down on each serving plate.

Wouldn't this be a beautiful finale to a lovely dinner for New Year's or someone's birthday or other special occasion?


SWAN PUFFS

  • 1 cup all purpose flour
  • 3/4 teaspoon salt
  • 3/4 teaspoon sugar
  • 1 cup water
  • 1/4 pound unsalted butter, cut into chunks
  • 4 large eggs
  • whipped cream, ice cream, sorbet or vanilla pudding
  • melted chocolate or chocolate sauce


Preheat the oven to 425 degrees. Cover two baking sheets with parchment paper. Whisk the flour, salt and sugar together in a bowl and set aside. Heat the water and butter in a medium size saucepan. Bring the mixture to a boil over medium heat. When the water comes to a boil, raise the heat and add the flour mixture, all at once. Stir vigorously with a wooden spoon until the mixture is blended and begins to come away from the sides of the pan. Remove the pan from the heat and let it cool for 2-3 minutes. Add the eggs, one at a time, blending well after each addition. Spoon 12-18 mounds of the dough onto one of the baking sheets, shaping them into ovals with your fingers, and leaving some space between each oval for the dough to spread. Place the sheet in the oven and bake for 18-20 minutes. Reduce the heat to 375 degrees and bake for another 12-18 minutes or until puffed and golden. Remove from the oven and let cool. 

To make the necks, preheat the oven to 400 degrees. Spoon some of the dough into a pastry bag fitted with a narrow-holed tip. Pipe the dough into "S" shapes about 2-inches long onto the second baking sheet. Bake the necks for about 15 minutes or until golden brown. 

To assemble: Split the swan puffs in half lengthwise using a serrated knife. Cut the top portion in half lengthwise to use as wings. Spoon some whipped cream, ice cream, sorbet or pudding into the swan bottoms. Arrange the split top wings on top of the filling. Spoon some melted chocolate or chocolate sauce onto dessert plates. Place the filled swan bottoms on top of the chocolate. Insert the necks into the front. If desired, use a toothpick to dip into some meted chocolate and make a dot as an eye on the top of the neck.

Makes 12-18


Herb and Cheese Gougeres (Choux Puffs)

Gougeres are the easiest and also the hardest hors d’oeuvre to cook.I say that because they are easy to make once you get the knack. But I admit, they’re a little tricky for first-timers, so you need a few pointers. Which I am going to give you here…

Gougeres are the easiest and also the hardest hors d’oeuvre to cook.

I say that because they are easy to make once you get the knack. But I admit, they’re a little tricky for first-timers, so you need a few pointers. Which I am going to give you here.

Then once you make them a couple of times you can practically do it in your sleep.

Also, gougeres are extremely useful. I serve them plain, heated to a crisp. But sometimes I serve them at room temperature, cut open and stuffed with all sorts of fillings from plain old egg salad to toasted nuts with cheese or smoked salmon tartare.

And sometimes I fill them with things like mushroom ragout or ratatouille and serve them hot.

Of course, if you make the gougere dough without the herbs and cheese they are …. profiteroles. Which you can fill with ice cream!

Or you can make bigger ones and fill them with ice cream, whipped cream or custard, the way my mother did, and call them Cream Puffs.

It’s all the same dough. The method is the same, so once you get the knack you have this extraordinarily versatile recipe.

I always have gougeres in my freezer. Just in case company comes. Like my daughter Meredith, who loves them and always heats up a few for herself when she’s here.

Or for dinner company or weekend guests, which I am having this weekend.

Or to celebrate Bastille Day, tomorrow, because, well, this is a French recipe. Called choux.


Herb and Cheese Gougeres (Choux Puffs)

1 cup minus 2 tablespoons water

1/4 pound unsalted butter, cut into chunks

1 cup all purpose flour, sifted

3/4 teaspoon salt

4 large eggs

1-1/2 tablespoons chopped fresh mixed herbs, or 1-1/2 teaspoons dried

1/2 cup grated Parmesan or Gruyere cheese

pinch cayenne pepper

egg glaze: 1 large egg mixed with 2 teaspoons water, optional

Preheat the oven to 425 degrees. Cook the water and butter in a saucepan over medium heat. When the butter has melted, add the flour and salt all at once. Stir vigorously with a wooden spoon until the mixture is well blended and begins to come away from the sides of the pan. Remove pan from the heat and let the mixture cool for 2-3 minutes. Beat in the eggs one at a time, blending well after each addition.* Add the herbs, cheese and cayenne pepper and blend them in thoroughly. 

Butter and flour a baking sheet. Drop 3/4 to 1-inch mounds of dough from a teaspoon onto the sheet. Leave space between the mounds for the puffs to rise. For a shiny surface on the puffs, lightly brush the tops of the mounds with some of the egg wash. Bake for 18-20 minutes or until the puffs are lightly brown and crispy. Lower the heat to 300 degrees and bake for another 5-6 minutes. Turn off the heat but leave the puffs in the oven for 3-4 minutes. Serve hot or at room temperature. Or cut them open and fill them. Makes about 60

*Incorporating the eggs is what most people find difficult. Be sure to add them one at a time. Use a sturdy wooden spoon to help you. The mixture will be sticky and at first you think it will never come together, but keep mixing and you’ll see that it does come together. After each egg is incorporated the mixture becomes softer and pastier and stickier. That’s the way it’s supposed to be.

Lily Vail's Apple Pie; Sibling Rivalry, part 1

fullsizeoutput_97f0.jpeg

Sibling Rivalry, Part I

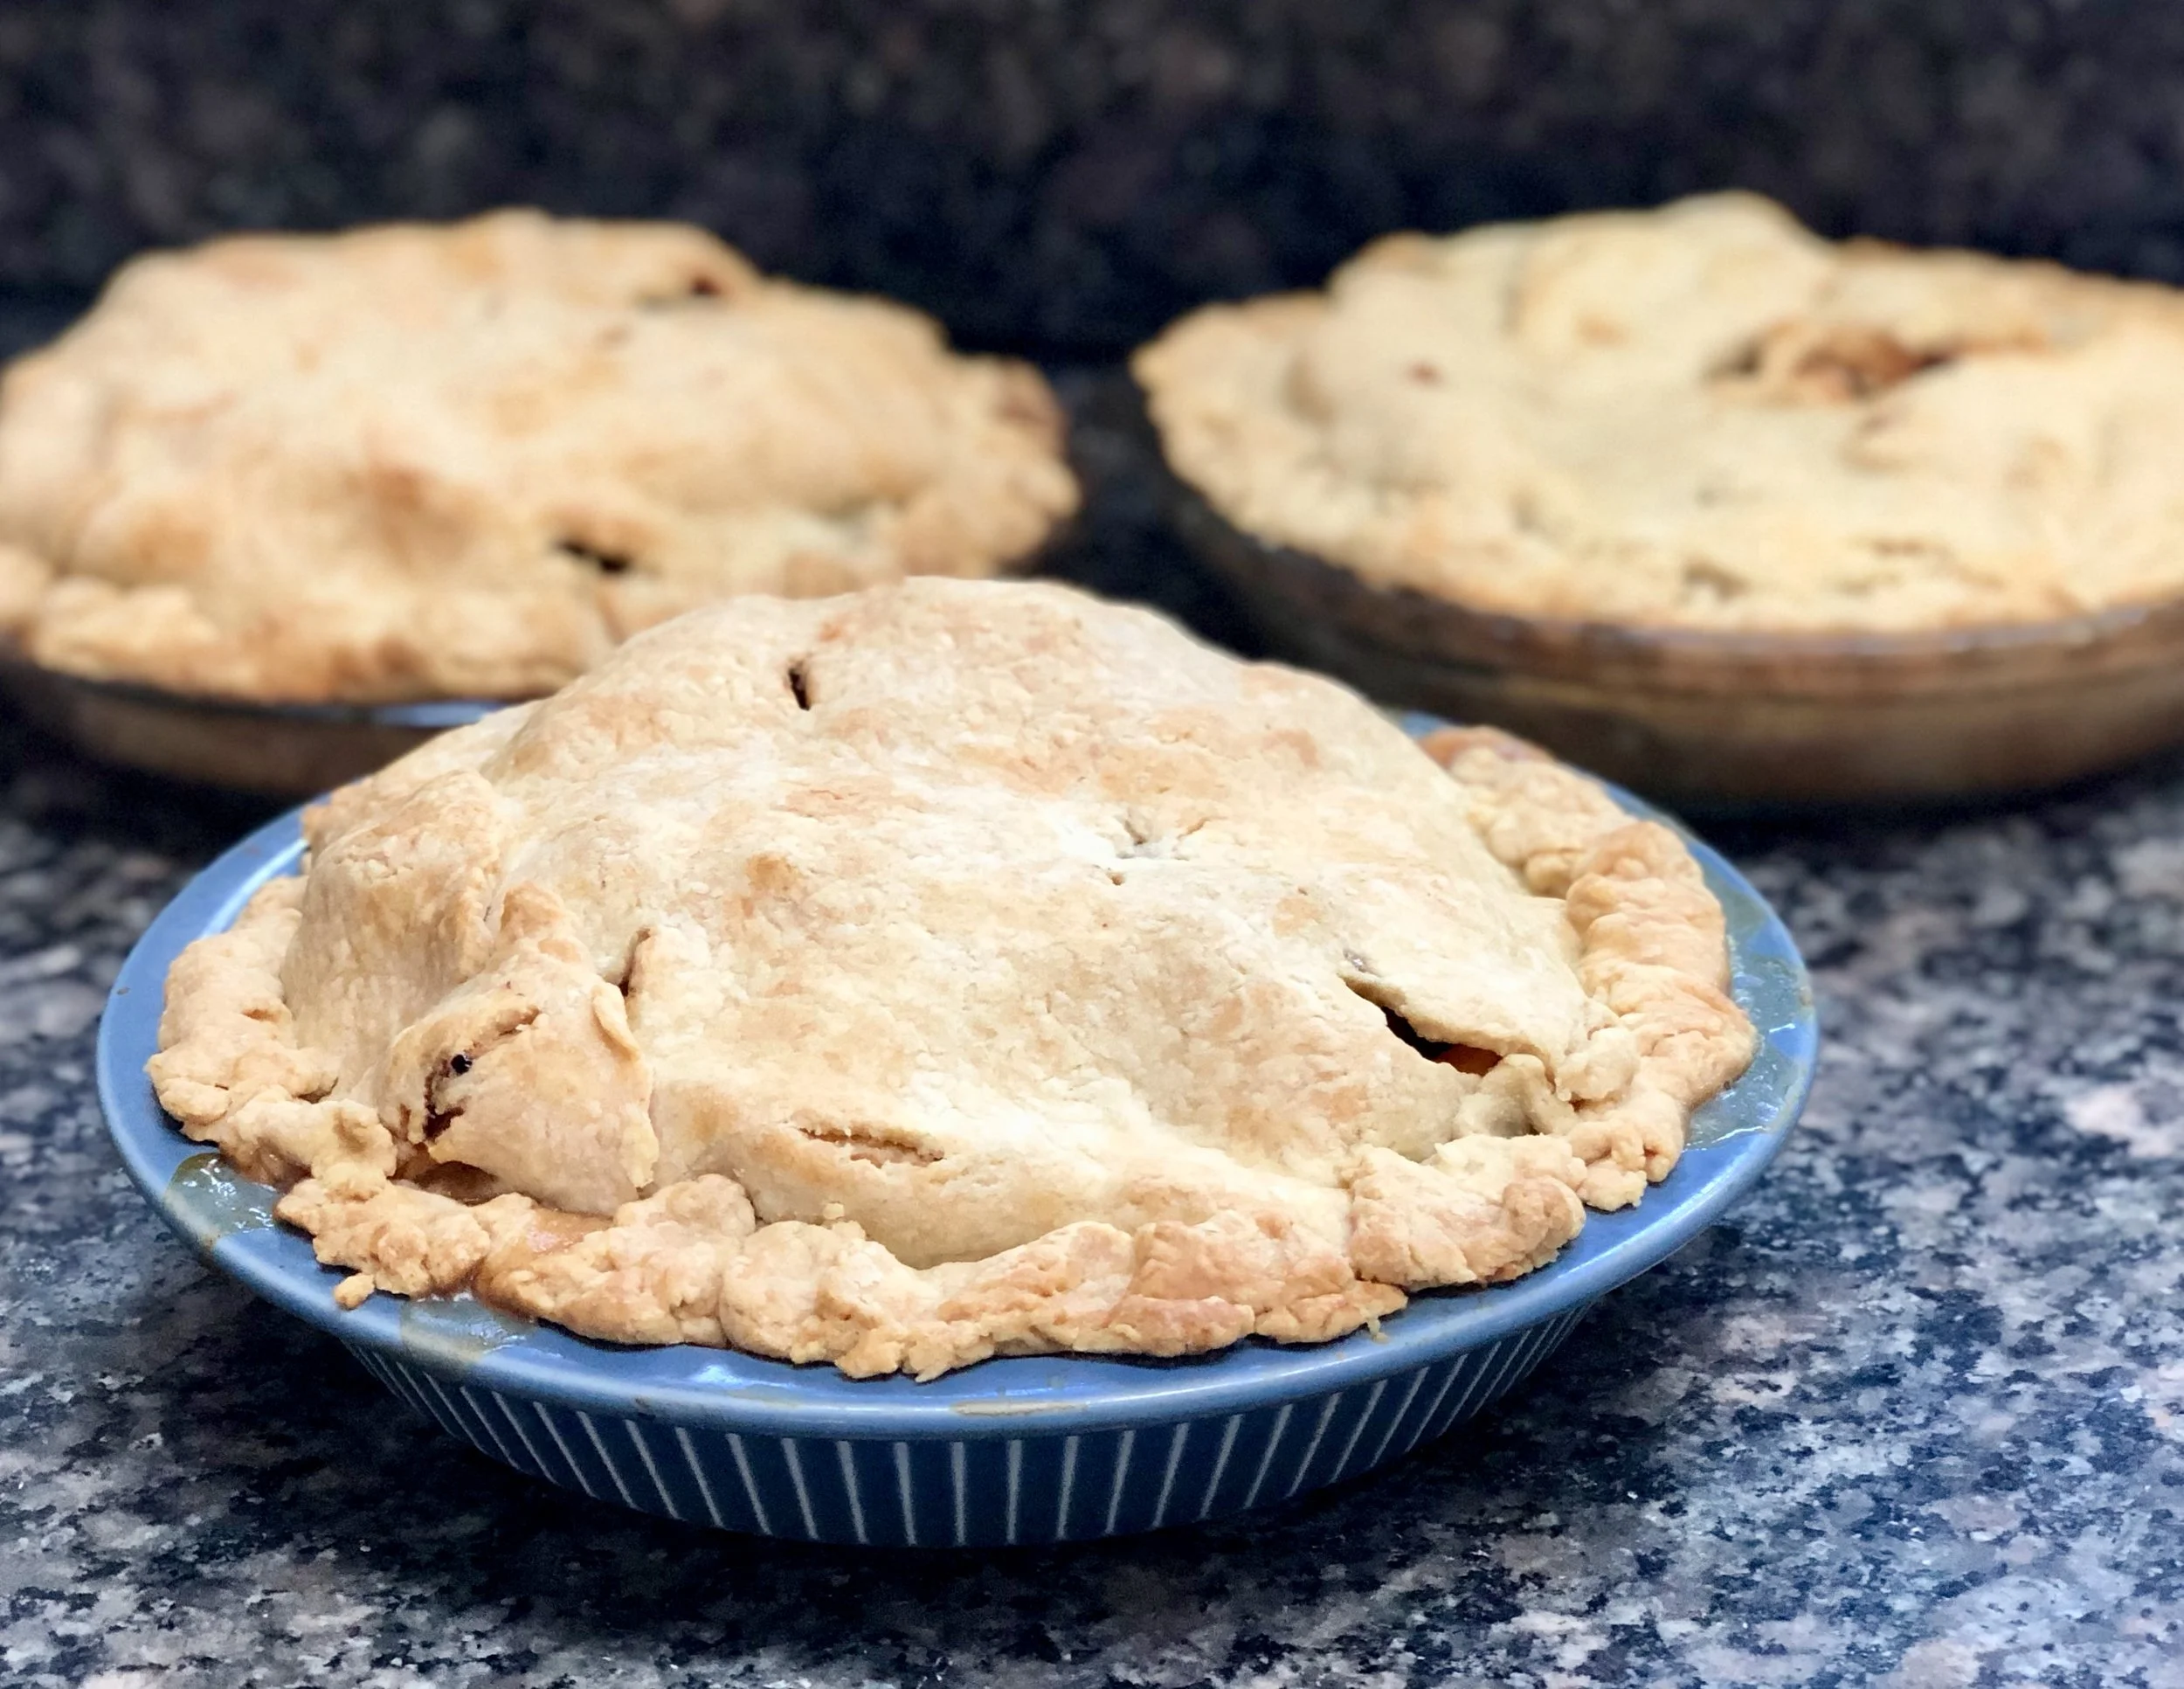
I timed last year’s apple pies perfectly. Every September I call Blue Jay Orchards in Bethel, Connecticut and order a bushel of Rhode Island Greening apples. They are one of the only orchards that I know who still grows this stupendously wonderful apple variety that is the absolutely best apple for pie no matter what anyone else, even the most expert of experts in the food business, says.

I make 12 apple pies every year and then, as the months go by, eat them down when company or my eldest grand child (who eats almost nothing but likes my apple pie) comes.

So now I have one pie left, which we will have this week because I just called Blue Jay and put in my order for this year.

When I called them last week they weren’t sure they would have the apples this year because of all the rain and hurricanes, especially Hurricane Irene. Ohmyohmyohmy, that sounded like terrible news at the time and I actually began to think about other apples I could bake into a pie.

But they told me to call back in a day or so and sure enough, when I did they told me that they have some! So I am in luck.

I never did decide on what apples I would have used.

Anyway, my Mom made apple pie every year too. Her sister, my Aunt Beck, made apple cake. And, you know, sisters will be sisters. They loved each other lots but they had this kind of apple-baking rivalry come September, when the new apples came out. They each not-so-secretly let everyone in the family know that the pie or cake was much better than the cake or pie.

And so it went. I liked both, but, being daughter to the pie baker, I learned to bake the pie.

My mother was the one who clued me into the Rhode Island Greening apples. And she showed me how to make the dough and how to cut the butter and shortening into the flour so the crust would be crumbly and how not to add too much liquid because that makes the dough rubbery. She also taught me how to roll the dough gently, so it would be tender. “Don’t murder the dough!,” she used to caution.

Her apple pies were the best of the best and I use her recipe, so, well, I don’t want to brag but —- everyone says mine are the best of the best.

Here’s the recipe., You might not be able to find Rhode Island Greening apples. So you’re on your own here. If you use a sweeter apple, cut back on the sugar.

Apple Pie

crust:

  • 2-1/2 cups all-purpose flour

  • 1 teaspoon sugar

  • 3/4 teaspoon salt

  • 1 teaspoon grated fresh lemon peel, optional

  • 1/2 cup cold butter

  • 1/3 cup cold vegetable shortening

  • 4-6 tablespoons cold milk, juice, water or melted ice cream

  • apple filling

  • 1 tablespoon butter

To make the crust: Combine the flour, sugar, salt, and lemon peel, if used, in a large bowl. Cut the butter and shortening into chunks and add the chunks to the flour mixture. Work the fat into the flour mixture until the ingredients resemble crumbs (use your hands, a pastry blender or the pulse feature of a food processor). Add the liquid, using only enough to gather pastry into a soft ball of dough (start with 4 tablespoons). Cut the dough in half and flatten each half to make a disk shape. Wrap the dough in plastic wrap and let it stand at least 30 minutes.

Preheat the oven to 350 degrees. Lightly flour a pastry board or clean work surface. With a rolling pin, roll one half of the dough on the floured surface into a circle about 1/8-inch thick, making sure the circle is larger than the pie pan by about 1 inch. Place the dough in a 9” or 10” pie pan. Pour the apple filling into the pastry-lined pan. Cut the butter into small pieces and place on top of the filling. Roll out the remaining dough and place it over the filling. Gently press the bottom and top crusts together along the flared edge of the pie pan. For a fluted rim, press your thumb and index finger against the outside of the rim, or crimp it with the tines of a fork or the blunt side of a knife. Cut steam vents in the top crust with the tip of a sharp knife or the tines of a fork. Bake the pie for 50-60 minutes or until golden brown.

Apple Filling:

  • 3 pounds pie apples (Rhode Island Greenings, Granny Smith, Gravenstein, Northern Spy, Golden Delicious, Idared, Stayman, Winesap, Baldwin, Jonagold, Braeburn

  • 1/2 cup sugar, approximately

  • 2 tablespoons lemon juice

  • 3/4 teaspoon ground cinnamon

  • 2 tablespoons all-purpose flour

Peel and core the apples then cut them into slices. Place the slices in a bowl. Add the sugar, lemon juice, cinnamon and flour and toss the ingredients to coat the apple slices evenly.
Pareve Irish Soda Bread

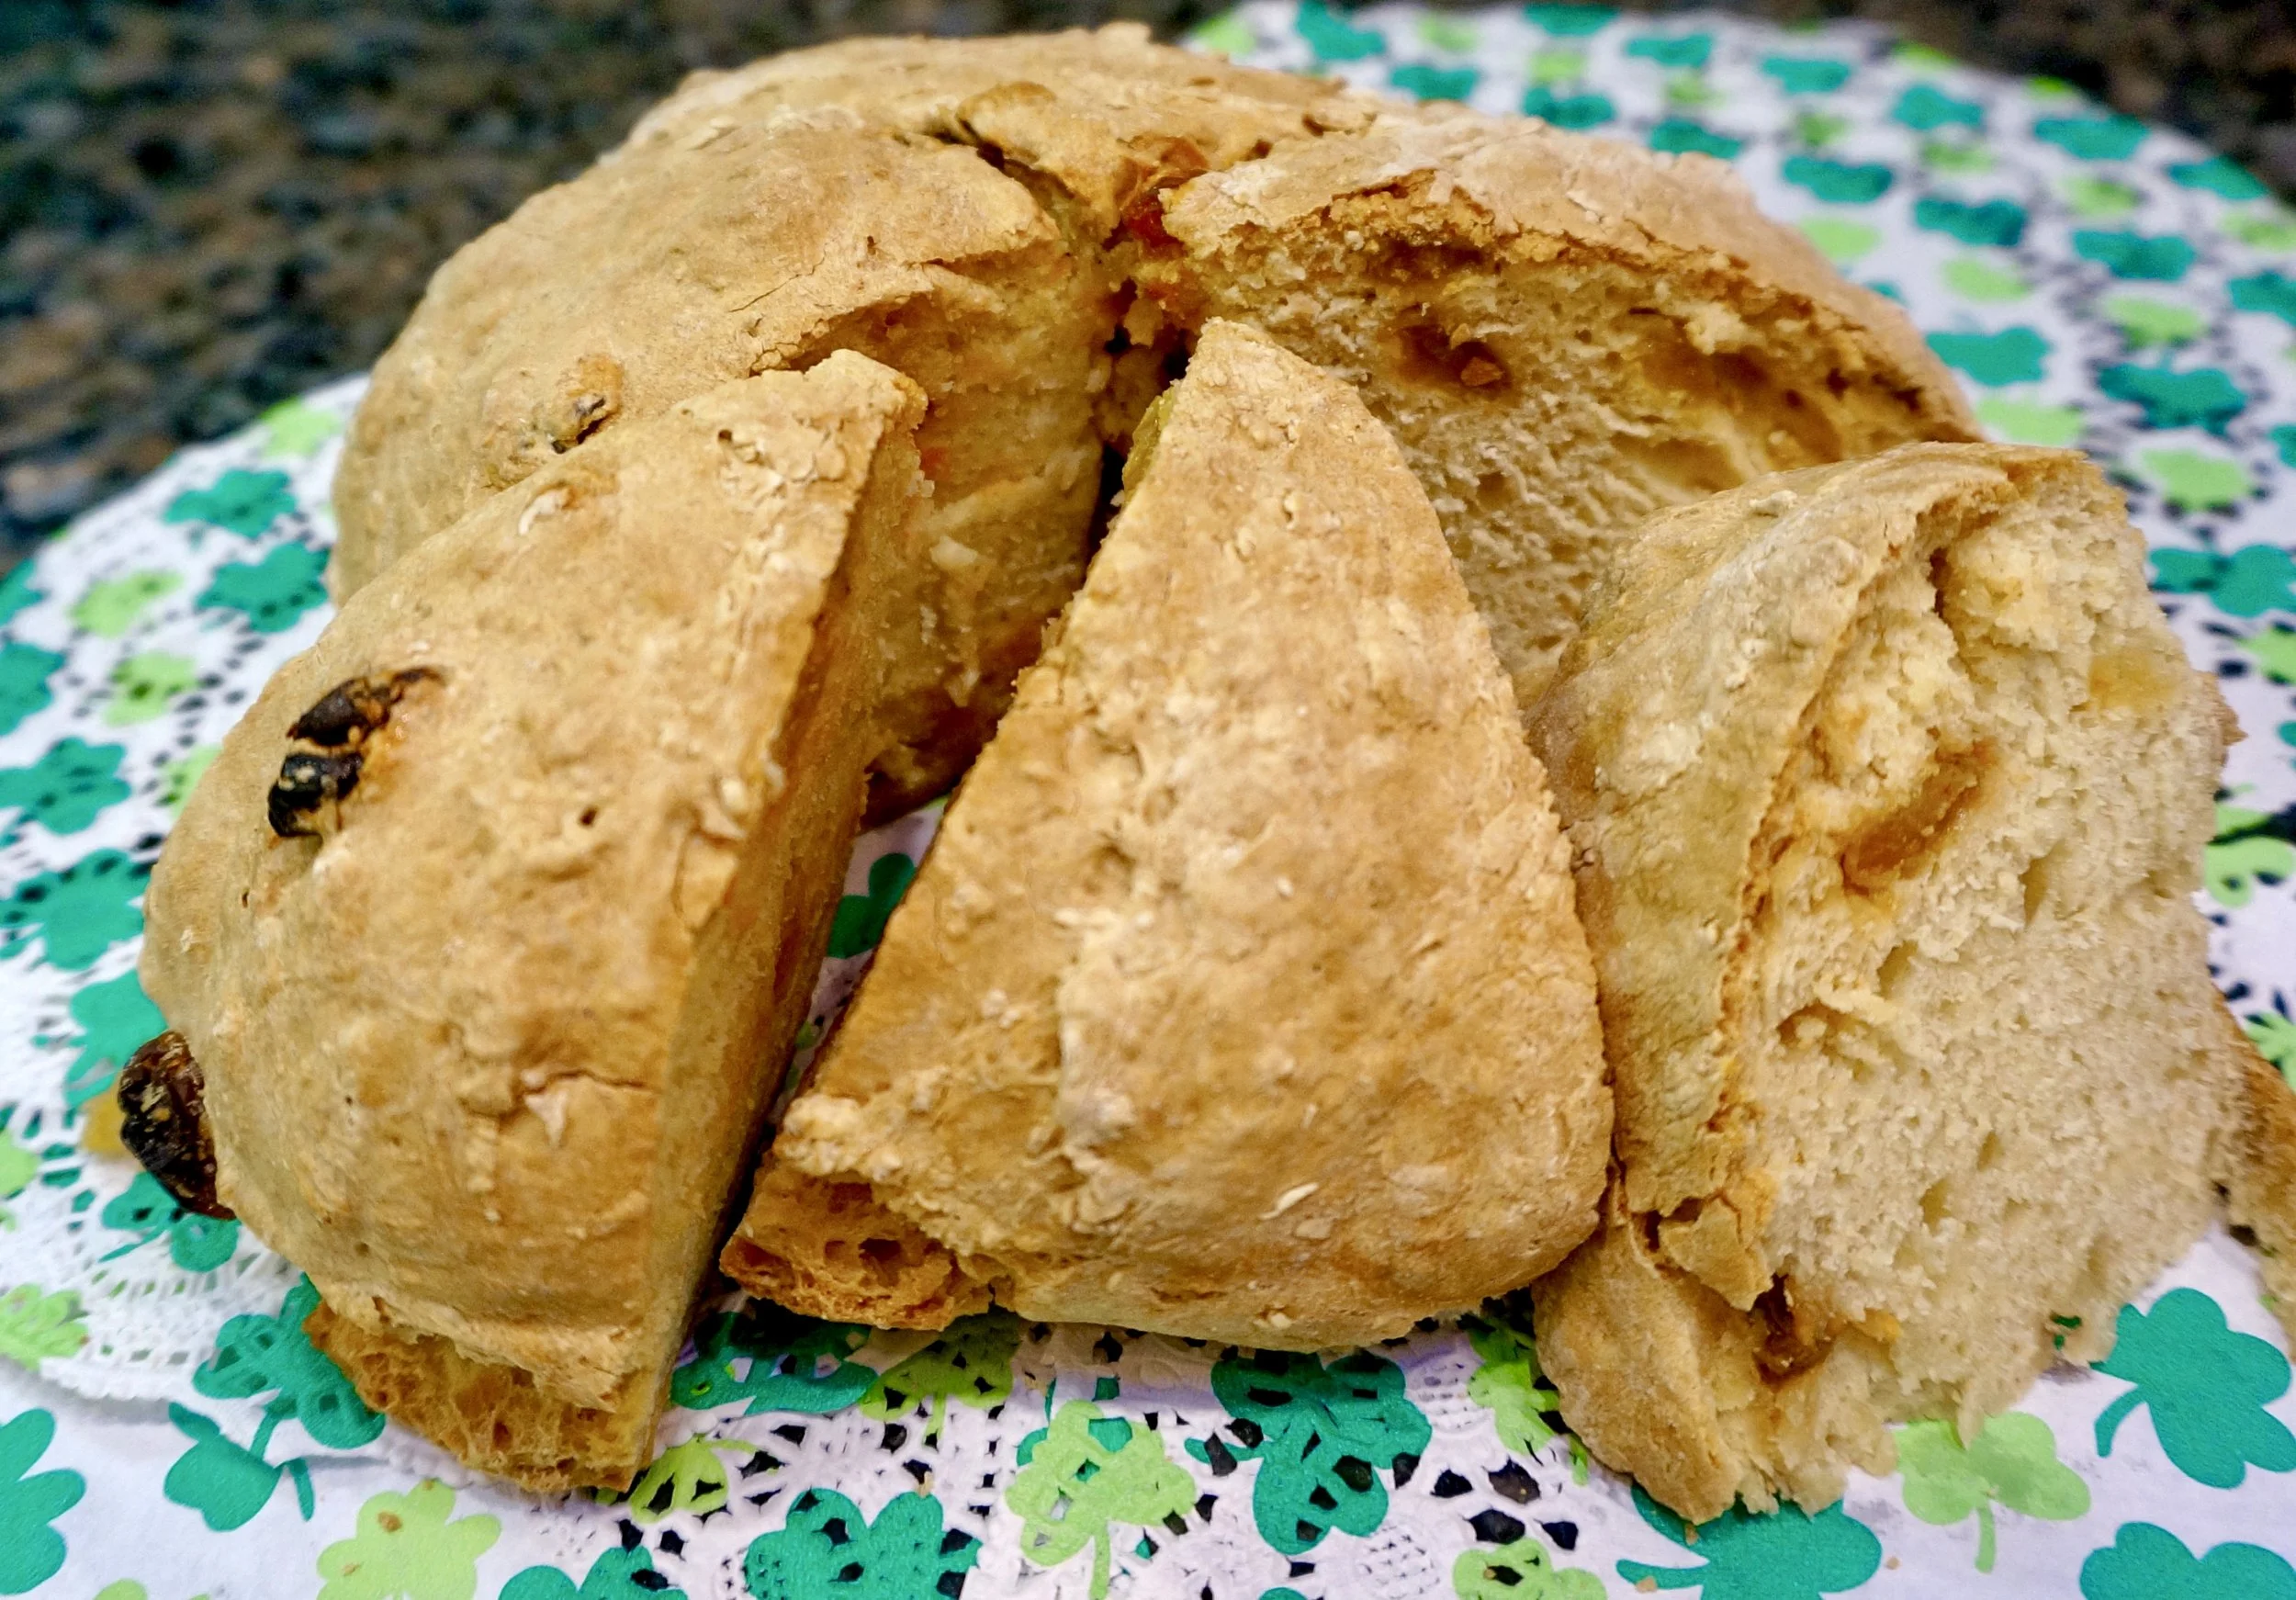
I don’t know why I wait for St. Patrick’s Day to make and eat Irish Soda Bread. It’s a really nice treat for breakfast together with my usual yogurt. It isn’t sweet and it has a compelling, moist, dense texture that makes you feel as if you aren’t going to be hungry again in an hour but also isn’t heavy at all. 

And yet I never think to make it until now.

Silly. This is too good for once-a-year.

Here’s a pareve version, which you can use if you’re kosher and want to have some delicious bread with corned beef and cabbage (or any other meat). It tastes just like the dairy version, made with buttermilk (there’s a note on how to substitute just below the recipe).

Irish Soda Bread (pareve version)

  • 3-1/2 cups all-purpose flour

  • 1 tablespoon brown sugar

  • 3/4 teaspoon salt

  • 1 teaspoon baking soda

  • 1-1/2 cups water

  • 1 tablespoon cider vinegar

  • 1/2 cup raisins

  • 1 teaspoon caraway seeds, optional

Preheat the oven to 350 degrees. Lightly grease a baking sheet. Combine the flour, brown sugar, salt and baking soda in a bowl. Mix the water and cider vinegar together and pour over the flour mixture. Mix the ingredients until you can form a soft dough. Work in the raisins and caraway seeds, if used. Sprinkle some flour on a work surface and knead the dough 18-20 times. Shape the dough into a ball, then flatten the ball slightly. Cut a small X on top with the tip of a sharp knife. Place the dough on the baking sheet. Bake for 40-45 minutes or until golden brown. Makes one

NOTE: For a more traditional, dairy version use 1-1/2 cups buttermilk in place of the water and cider vinegar

One Bowl Chocolate Cake with Fudge Frosting

image.jpg

Today is National Chocolate Cake Day. And also a snow day for a lot of us (we got at least another 14-inch dump of snow over the night and into the morning). I have to say, I resent a nighttime snow fall because I like watching the flakes come down. It’s so soft and quiet and makes me feel cozy and safe inside. When I woke up this morning it was all over, but for the plowing.

But I digress. It is National Chocolate Cake Day. A good day all around to make a dark, luscious, tender cake to enjoy while also maybe taking a snow day. It’s a good dessert for Valentine’s Day too. Or anytime really.

Here’s a cake I’ve been making ever since I was 12 years old, when I baked this for my own Bat Mitzvah celebration. I’ve tried dozens of different chocolate cake recipes over the years and haven’t found one I like better. And it’s easy to make too.

So, until I find a better cake, here’s my recipe for:

One Bowl Chocolate Cake with Fudge Frosting

  • 2 cups cake flour

  • 1-1/2 cups sugar

  • 2/3 cup unsweetened cocoa

  • 1-1/2 teaspoons baking soda

  • 1 teaspoon salt

  • 1-1/2 cups buttermilk

  • 1/2 cup vegetable shortening

  • 2 large eggs

  • 1-1/2 teaspoons vanilla extract

Preheat the oven to 350 degrees. Lightly grease 2 9-inch cake pans. Sift the flour, sugar, cocoa, baking soda and salt together into the bowl of an electric mixer (or large bowl for use with a hand mixer). Add the buttermilk and shortening and beat the ingredients at medium speed for about 2 minutes, scraping down the sides of the bowl occasionally. Add the eggs and vanilla extract and beat the ingredients for another 2 minutes, scraping down the sides of the bowl occasionally. Pour the batter into the prepared pans. Bake for 30-35 minutes or until a cake tester inserted into the center comes out clean. Let the cake layers cool in the pans for 10 minutes, then invert onto a cake rack to cool completely. Frost the layer and outside of the cake with the fudge frosting. Refrigerate leftovers.

Makes one 9-inch cake

Fudge Frosting

  • 12 ounces semisweet chocolate

  • 1 cup dairy sour cream

  • pinch of salt

  • 1 teaspoon vanilla extract

Melt the chocolate in the top part of a double boiler set over barely simmering water. When the chocolate has melted, remove the top pan from the bottom part of the double boiler. Add the sour cream, salt and vanilla extract to the chocolate and beat the ingredients vigorously with a whisk to blend them completely into a smooth frosting. Let cool for a few minutes, until it has a spreading consistency. Use between layers and for outside of the cake.