July 4th

Blueberry Crisp with Oat-Streusel Crust

fullsizeoutput_84ae.jpeg

Where I live (Connecticut), Memorial Day Weekend is the “official” start of outdoor grill/BBQ season. Sure, some people use their grills all year, even in the depth of winter. And some start around April. But the weather has been crummy, so — no grilling for me until this weekend.

I need a nice, summery dessert for after, right?

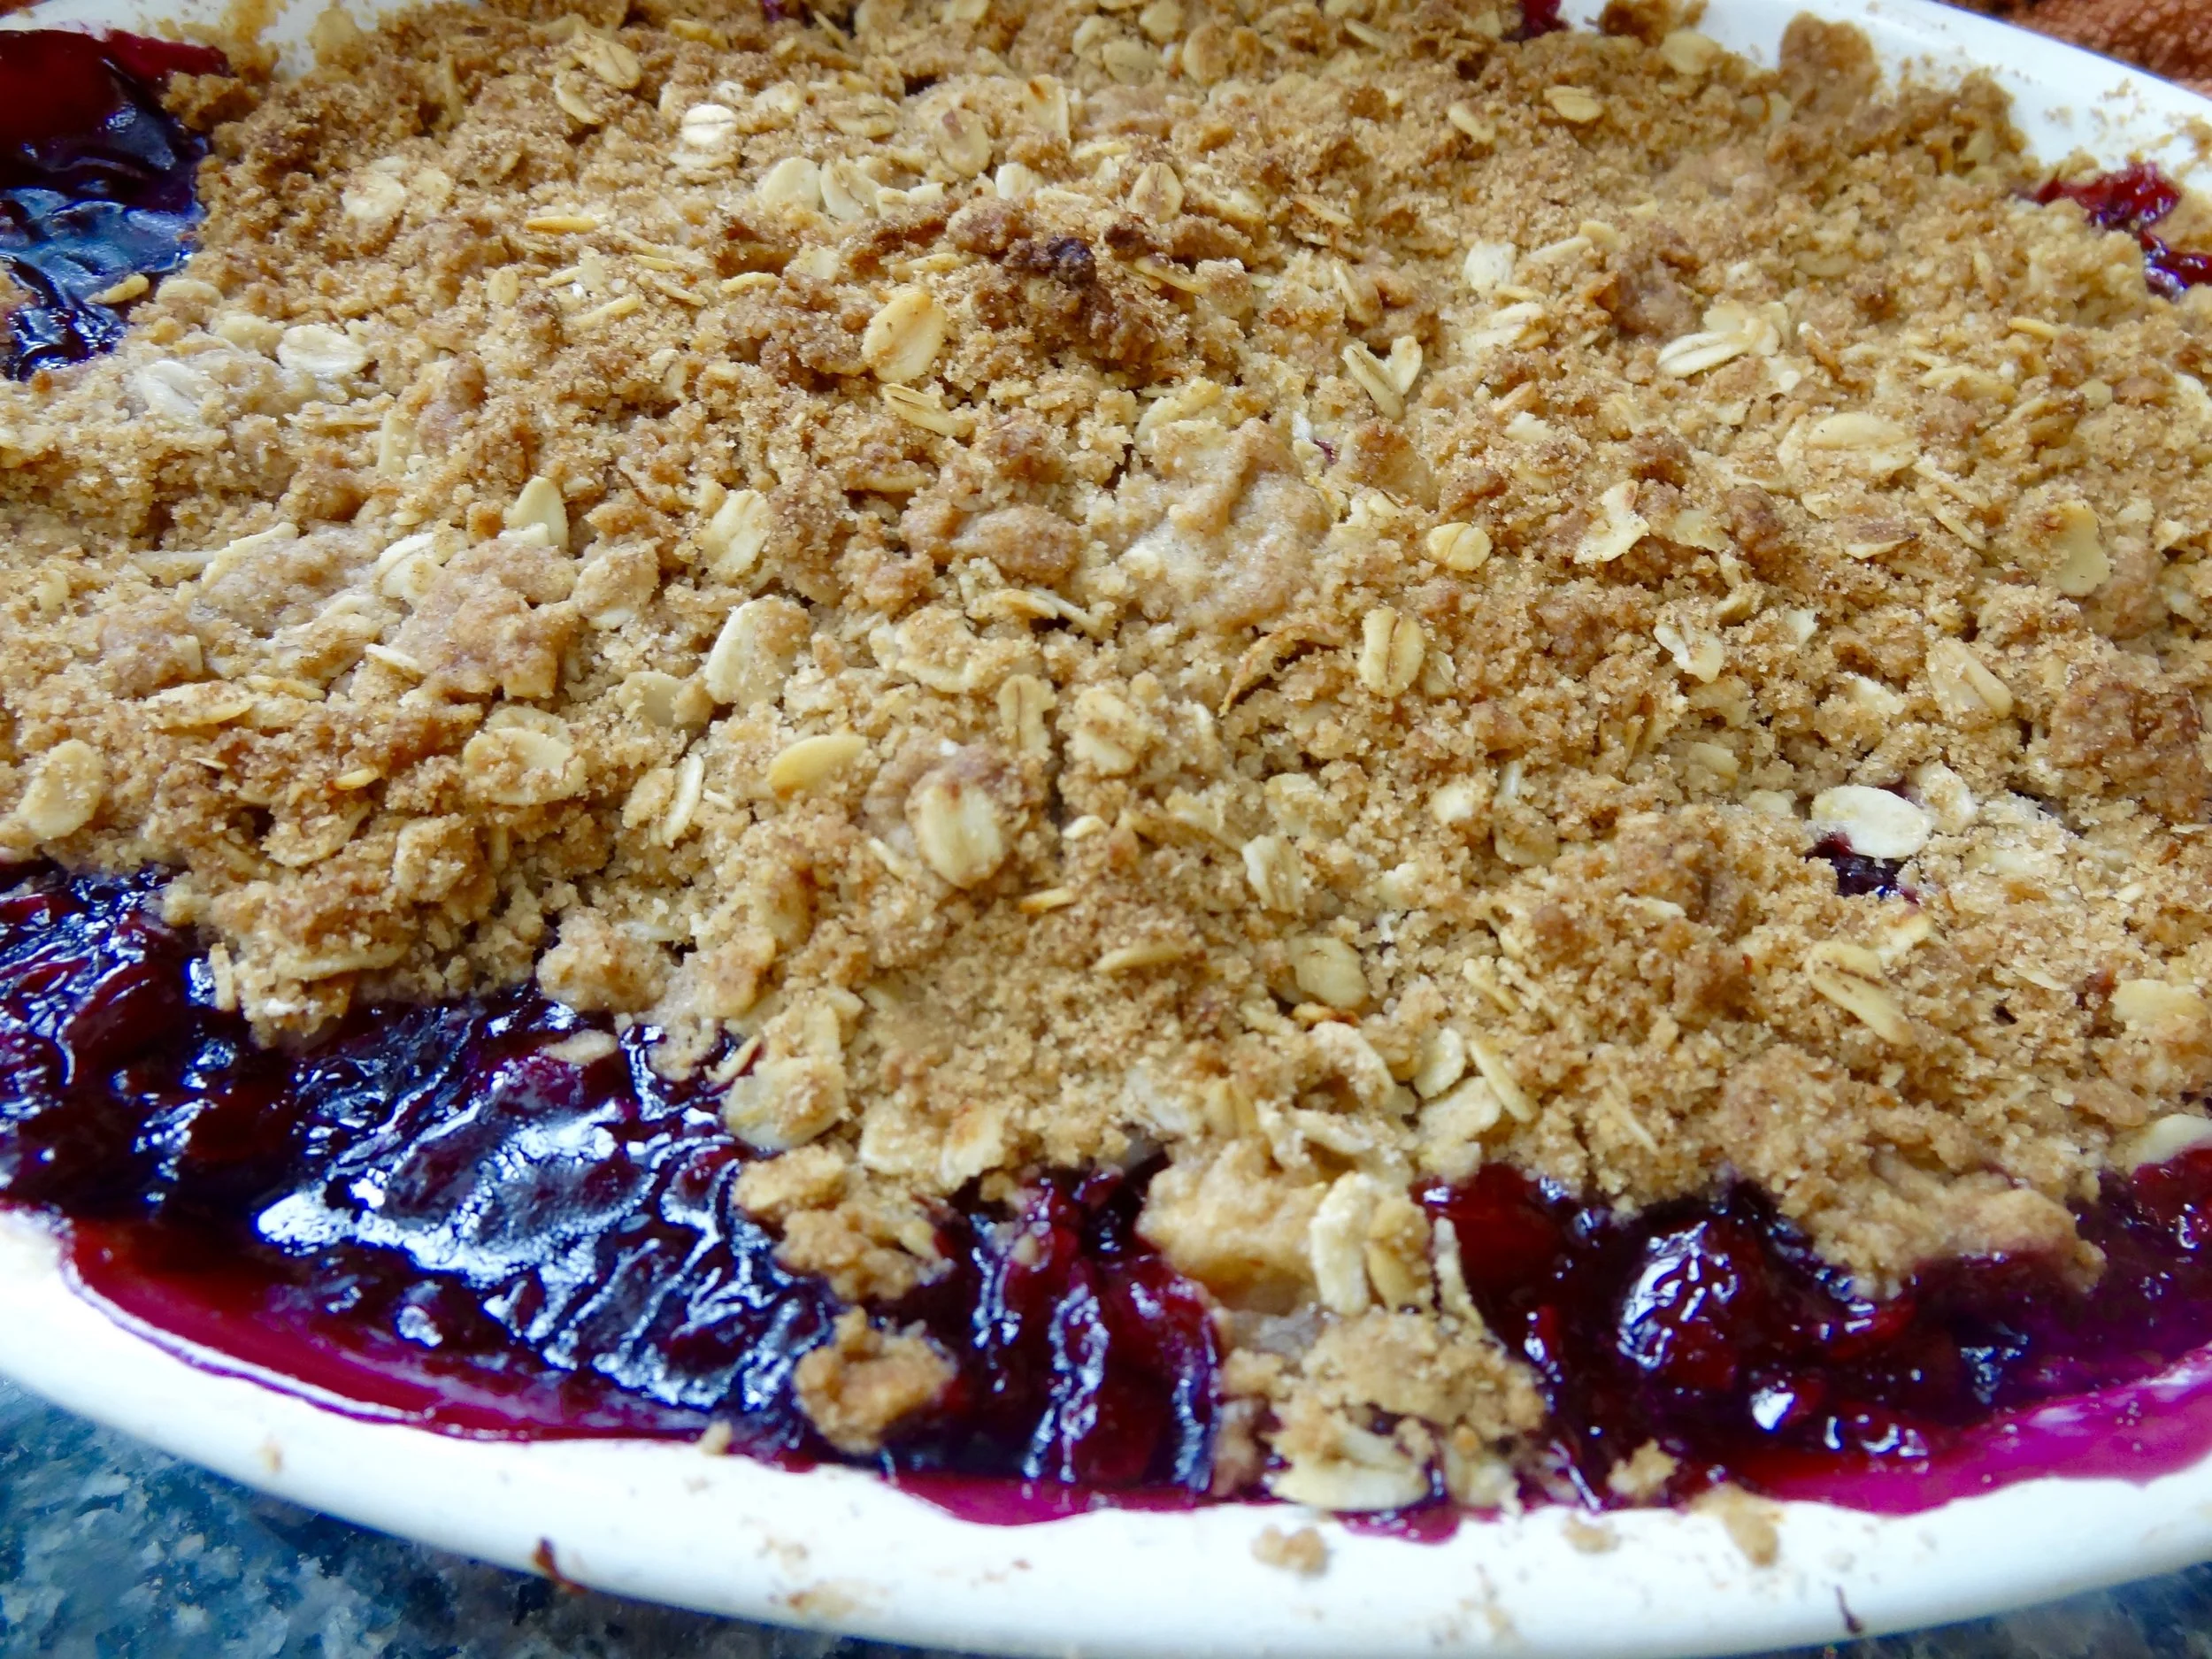
Here it is. Blueberry Crisp. Really simple and easy. Oaty, lightly sweet and with a gently crispy crust. You can make it dairy or parve. Goes well after anything you might have grilled for dinner. Good stuff for Father’s Day too. And July 4th.

Notice that there isn’t too much sugar in either the filling or the crust. Doesn’t need more.

Blueberry Crisp with Oat-Streusel Crust

Filling:

  • 4 cups fresh blueberries

  • 3 tablespoons sugar

  • 1 tablespoon lemon juice

  • 2 tablespoon all-purpose flour

Crust:

  • 1/3 cup all-purpose flour

  • 1/3 cup quick cooking or rolled oats

  • 3 tablespoons brown sugar

  • 1/4 teaspoon ground cinnamon

  • 1/4 teaspoon salt

  • 1/4 cup cold unsalted butter, vegetable shortening or margarine, cut into chunks

Preheat the oven to 350 degrees. Combine the blueberries, sugar, lemon juice and flour in a baking dish. Set aside. Place the flour, oats, brown sugar, cinnamon and salt in a bowl and mix ingredients to distribute them evenly. Add the butter and work it into the dry ingredients with fingertips or a pastry blender until the mixture looks like coarse meal (or pulse in a food processor). Place the oat mixture over the fruit. Bake for 30 minutes or until the crust is crispy and brown.

Makes 4-6 servings.


Sour Cherry Crisp

fullsizeoutput_84f8.jpeg

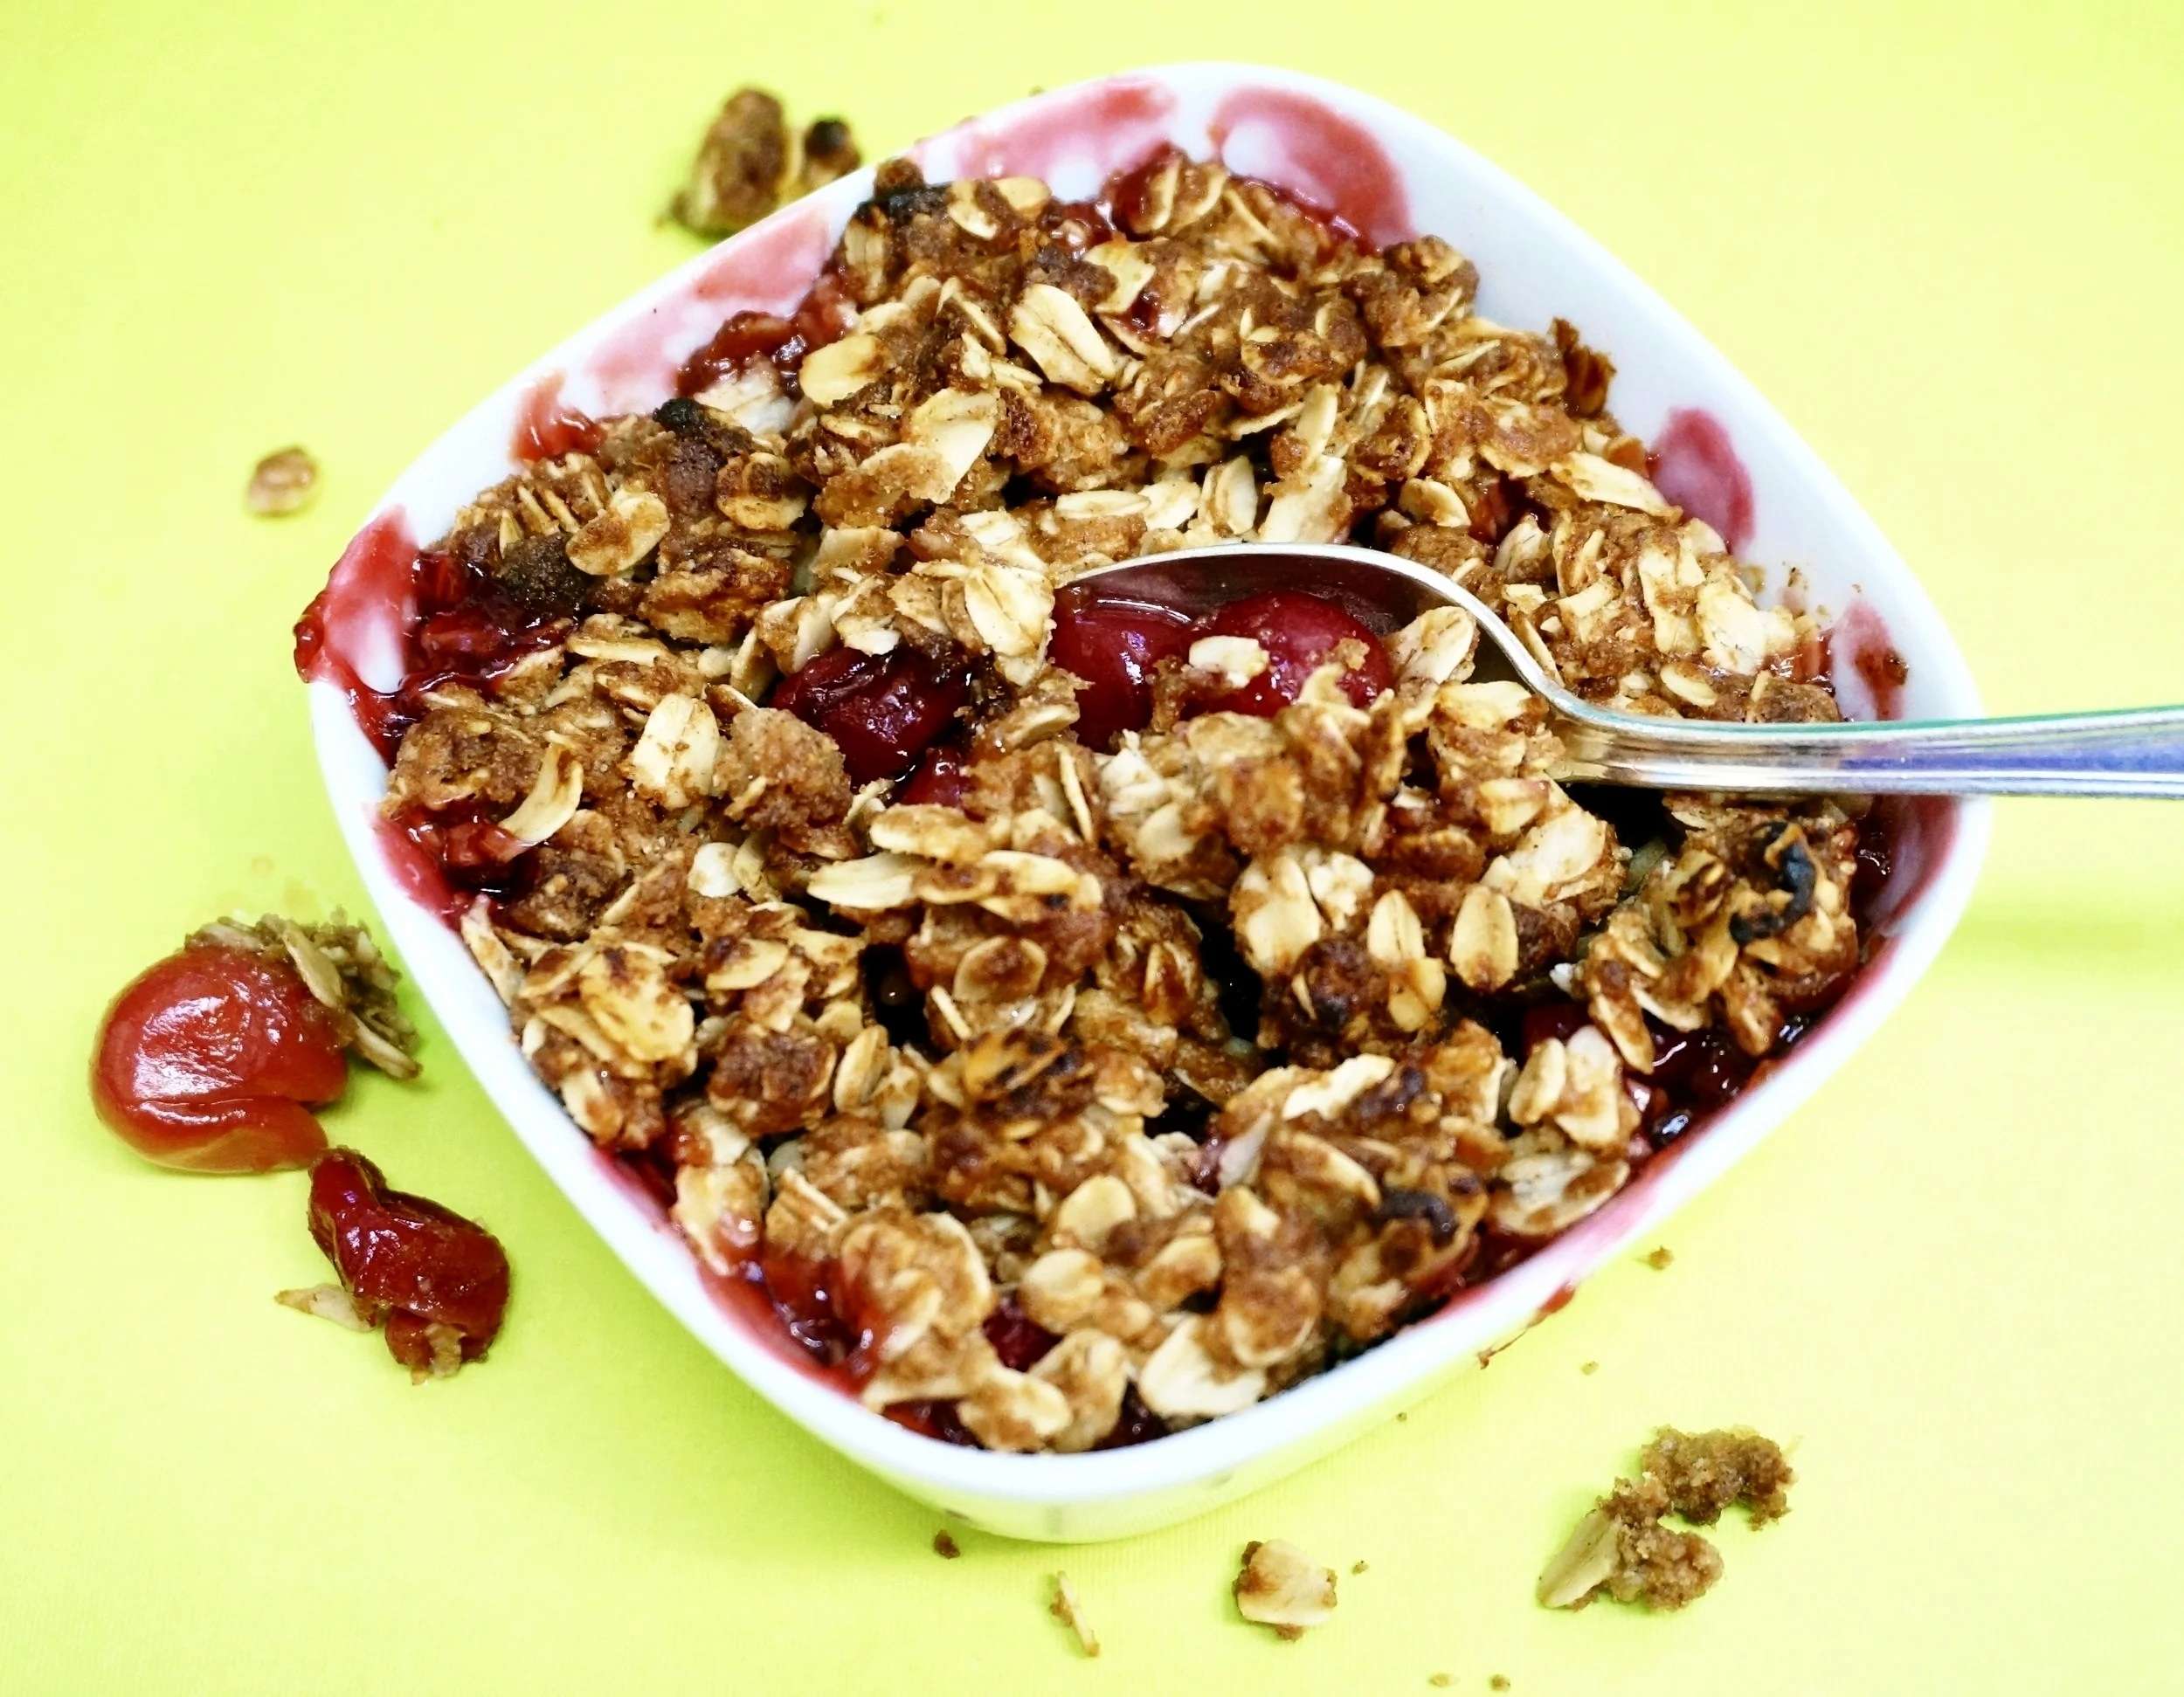
Recently my daughter Gillian brought me some fresh sour cherries. Cherries that are intended for baking, not eating out of hand.

I love sour cherries. In fact I like most foods that are sour -- anything that provides that satisfying pucker in my mouth. 

Mostly, I like sour cherry pie, but I didn't have enough fruit.

Also, I don't have a cherry pitter.

Thanks to some instruction at The Spruce, I learned how to remove the cherry stones using a pastry tube tip, so I decided to make two individual Sour Cherry Crisps.

Notice that the amount of sugar I use is less than what you'll see in most recipes. The point of sour cherries -- for me -- is that they are supposed to be sour, merely mellowed by sugar, not overwhelmed by it. But, by all means, if you like your desserts more on the sweet side, you can add more.

Sour Cherry Crisp

  • 5 cups pitted sour cherries
  • 1/3 cup sugar
  • 1 teaspoon cornstarch
  • 1-1/2 cups old fashioned oats
  • 1/2 cup all-purpose flour
  • 1/2 cup brown sugar
  • 1 teaspoon cinnamon
  • 1/2 teaspoon salt
  • 1/2 cup melted unsalted butter

Preheat the oven to 375 degrees. Place the cherries, sugar and cornstarch in a bowl and mix to coat the cherries completely. Spoon the cherries into 4 baking ramekins (or a small baking dish). In a bowl, mix the oats, all-purpose flour, brown sugar, cinnamon and salt until the ingredients are evenly distributed. Pour in the butter and mix to coat the dry ingredients. Spoon equal amounts of the oat mixture on top of the cherries. Bake for 28-30 minutes or until the top is crispy and golden brown.

Makes 4 servings


Baked Beans. Real American Food for the 4th.

fullsizeoutput_924f.jpeg

I was thinking about which "real American" foods to serve on July 4th. Not just the usual icons: burgers, apple pie, lemonade. I wanted something that represented the "mongrels" that we are: Americans may be tribal in some ways, but we are also an odd mix-and-blend of a zillion cultures.

And so is American food.

For example, some say that Baked Beans are originally from France -- some sort of easy version of cassoulet. But the countries where they eat baked beans the most are English speaking: England, Ireland, Canada and Australia.

And yet ... baked beans are also a favorite in Holland and Hong Kong.

And of course beans themselves are native to South America, so who knows?

The original Puritan colonists in New England made baked beans often and for the same reason as observant Jews make cholent -- the dish cooks slowly in a pot so there's no work to be done during the Sabbath. Baked beans have been popular ever since, and particularly so after the canned versions first came along at the turn of the 20th century. 

Green labelled Heinz Vegetarian baked beans were a standard item at my house when I was a kid.

So, baked beans it is.

I like making my own because when they're homemade I can season the beans the way I like, make them spicy or not, use more or less sugar (or sugar substitutes such as honey or maple syrup), make them vegetarian or with meat.

I recently had a couple of slices of flanken left over, so I decided to use them in a new recipe.

My husband usually likes my cooking and there are some dishes he thinks are so good he brags to people about them. Like my recipe for Carrot Soup with Harissa and Coconut.

These beans? He told me several times that they are among the best foods he has ever tasted. In fact, one night he only had baked beans (and a few of the chunks of flanken in them) for dinner. 

So, this recipe is a yes for July 4th.

Baked beans take time. But you can make them several days ahead. They last for a week in the fridge. If you don't have flanken you can use chuck, smoked turkey or some kind of sausage.


Baked Beans for the Fourth of July

  • 1 pound dried navy or great northern beans
  • water
  • 2 tablespoons vegetable oil
  • 6-8 ounces beef chuck or flanken , cut into chunks
  • 1 medium onion, sliced
  • 1/3 cup dark brown sugar
  • 1/3 cup honey
  • 1/3 cup ketchup
  • 1/2 teaspoon salt
  • 1 tablespoon powdered mustard

Place the beans in a large saucepan and cover them with water. Bring the water to a boil over high heat. Lower the heat and cook for 2 minutes. Remove the pan from the heat and let the beans soak for one hour. Drain the beans and return them to the pot. Cover the beans again with water and bring to a boil over high heat. Lower the heat and simmer for 45 minutes. (Alternatively, cover the beans with water and let them soak for at least 8 hours.) Drain the beans and place them in an oven-proof casserole. While the beans are cooking, heat the vegetable oil in a sauté pan over medium heat. Add the meat and cook for 5-6 minutes, turning the pieces occasionally, until they are browned. Remove the meat from the pan and add to the beans. Add the onion to the pan and cook for 2-3 minutes to soften. Add to the drained beans and meat. Place the brown sugar, honey, ketchup, salt and mustard in a bowl and mix thoroughly to blend the ingredients. Stir in 2-1/2 cups water. Pour the mixture over the beans and meat. Cover the casserole and put it in the oven. Set the temperature at 300 degrees and cook the beans at least 5 hours, or until they are tender.

Makes 8 servings

Strawberry Shortcake (Without the cake)

fullsizeoutput_8989.jpeg

The strawberries are fabulous right now -- the local ones anyway. They're sweet, juicy and fragrant. They're small to medium rather than gigantic -- like the year-round supermarket staples, which are dry, tasteless and smell like plastic. The strawberries you can buy now are the kind I remember strawberries from long ago, (especially the ones I picked right off the plants in my parents' garden).

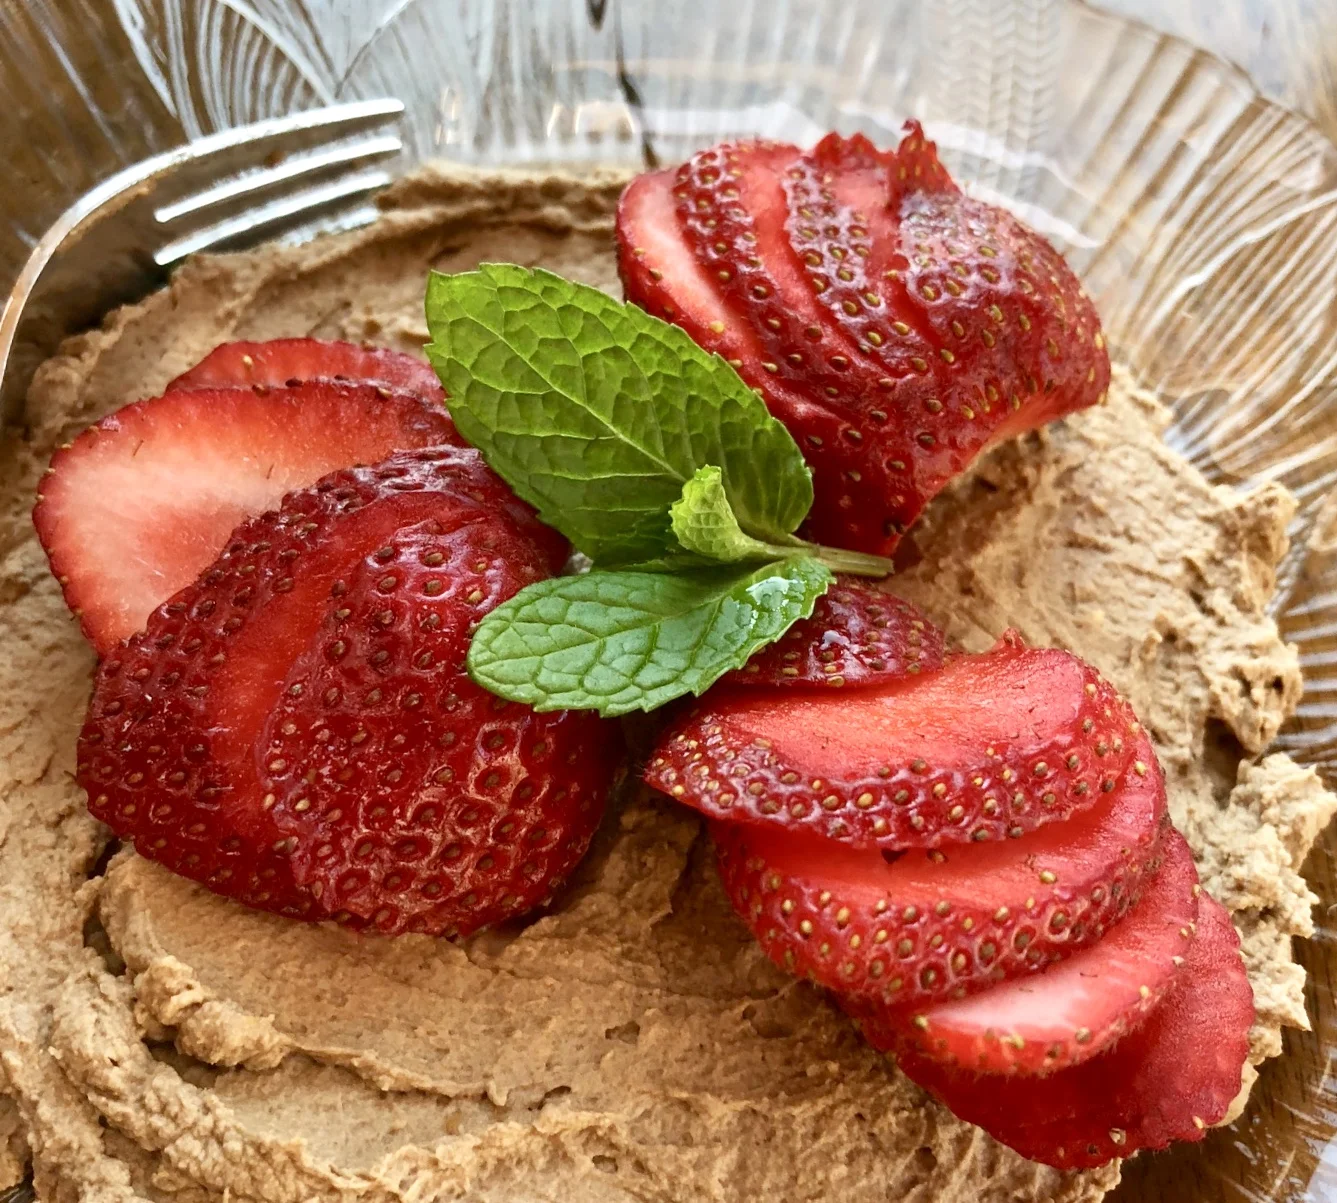
If you are lucky enough to get good, seasonal strawberries, try this recipe. I call it Strawberry Shortcake without Cake because the whipped cream mixture, which is made with mascarpone cheese, is thick, almost like a really moist cake, and yet it is sort of like whipped cream.

So easy too!

Remember this recipe next Passover. Or Valentine's Day. Or July 4th for that matter!

Make the cream part ahead and top it with berries just before you serve it. Lovely with coffee or tea and also an after dinner drink (brandy and so on).

Strawberry Shortcake without Cake

  • 1 pint strawberries
  • 1 cup whipping cream
  • 2/3 cup mascarpone cheese (or use whipped cream cheese)
  • 1 tablespoon sugar
  • 1 tablespoon grated fresh orange peel
  • 2 tablespoons Balsamic vinegar

Wash and dry the berries and remove the hulls. Make incisions into each berry as if to cut slices but do not slice through. Set aside. Whip the cream and mascarpone cheese with the sugar and orange peel until the mixture is thick. Fold in the Balsamic vinegar. Spoon equal amounts of the cheese mixture onto 4-6 dessert plates. Place sliced strawberries on top, gently moving the “almost” slices to fan them slightly.

Makes 4-6 servings


Grilled Baby Vidalias

fullsizeoutput_7d33.jpeg

During the summer my family likes grilled everything. 

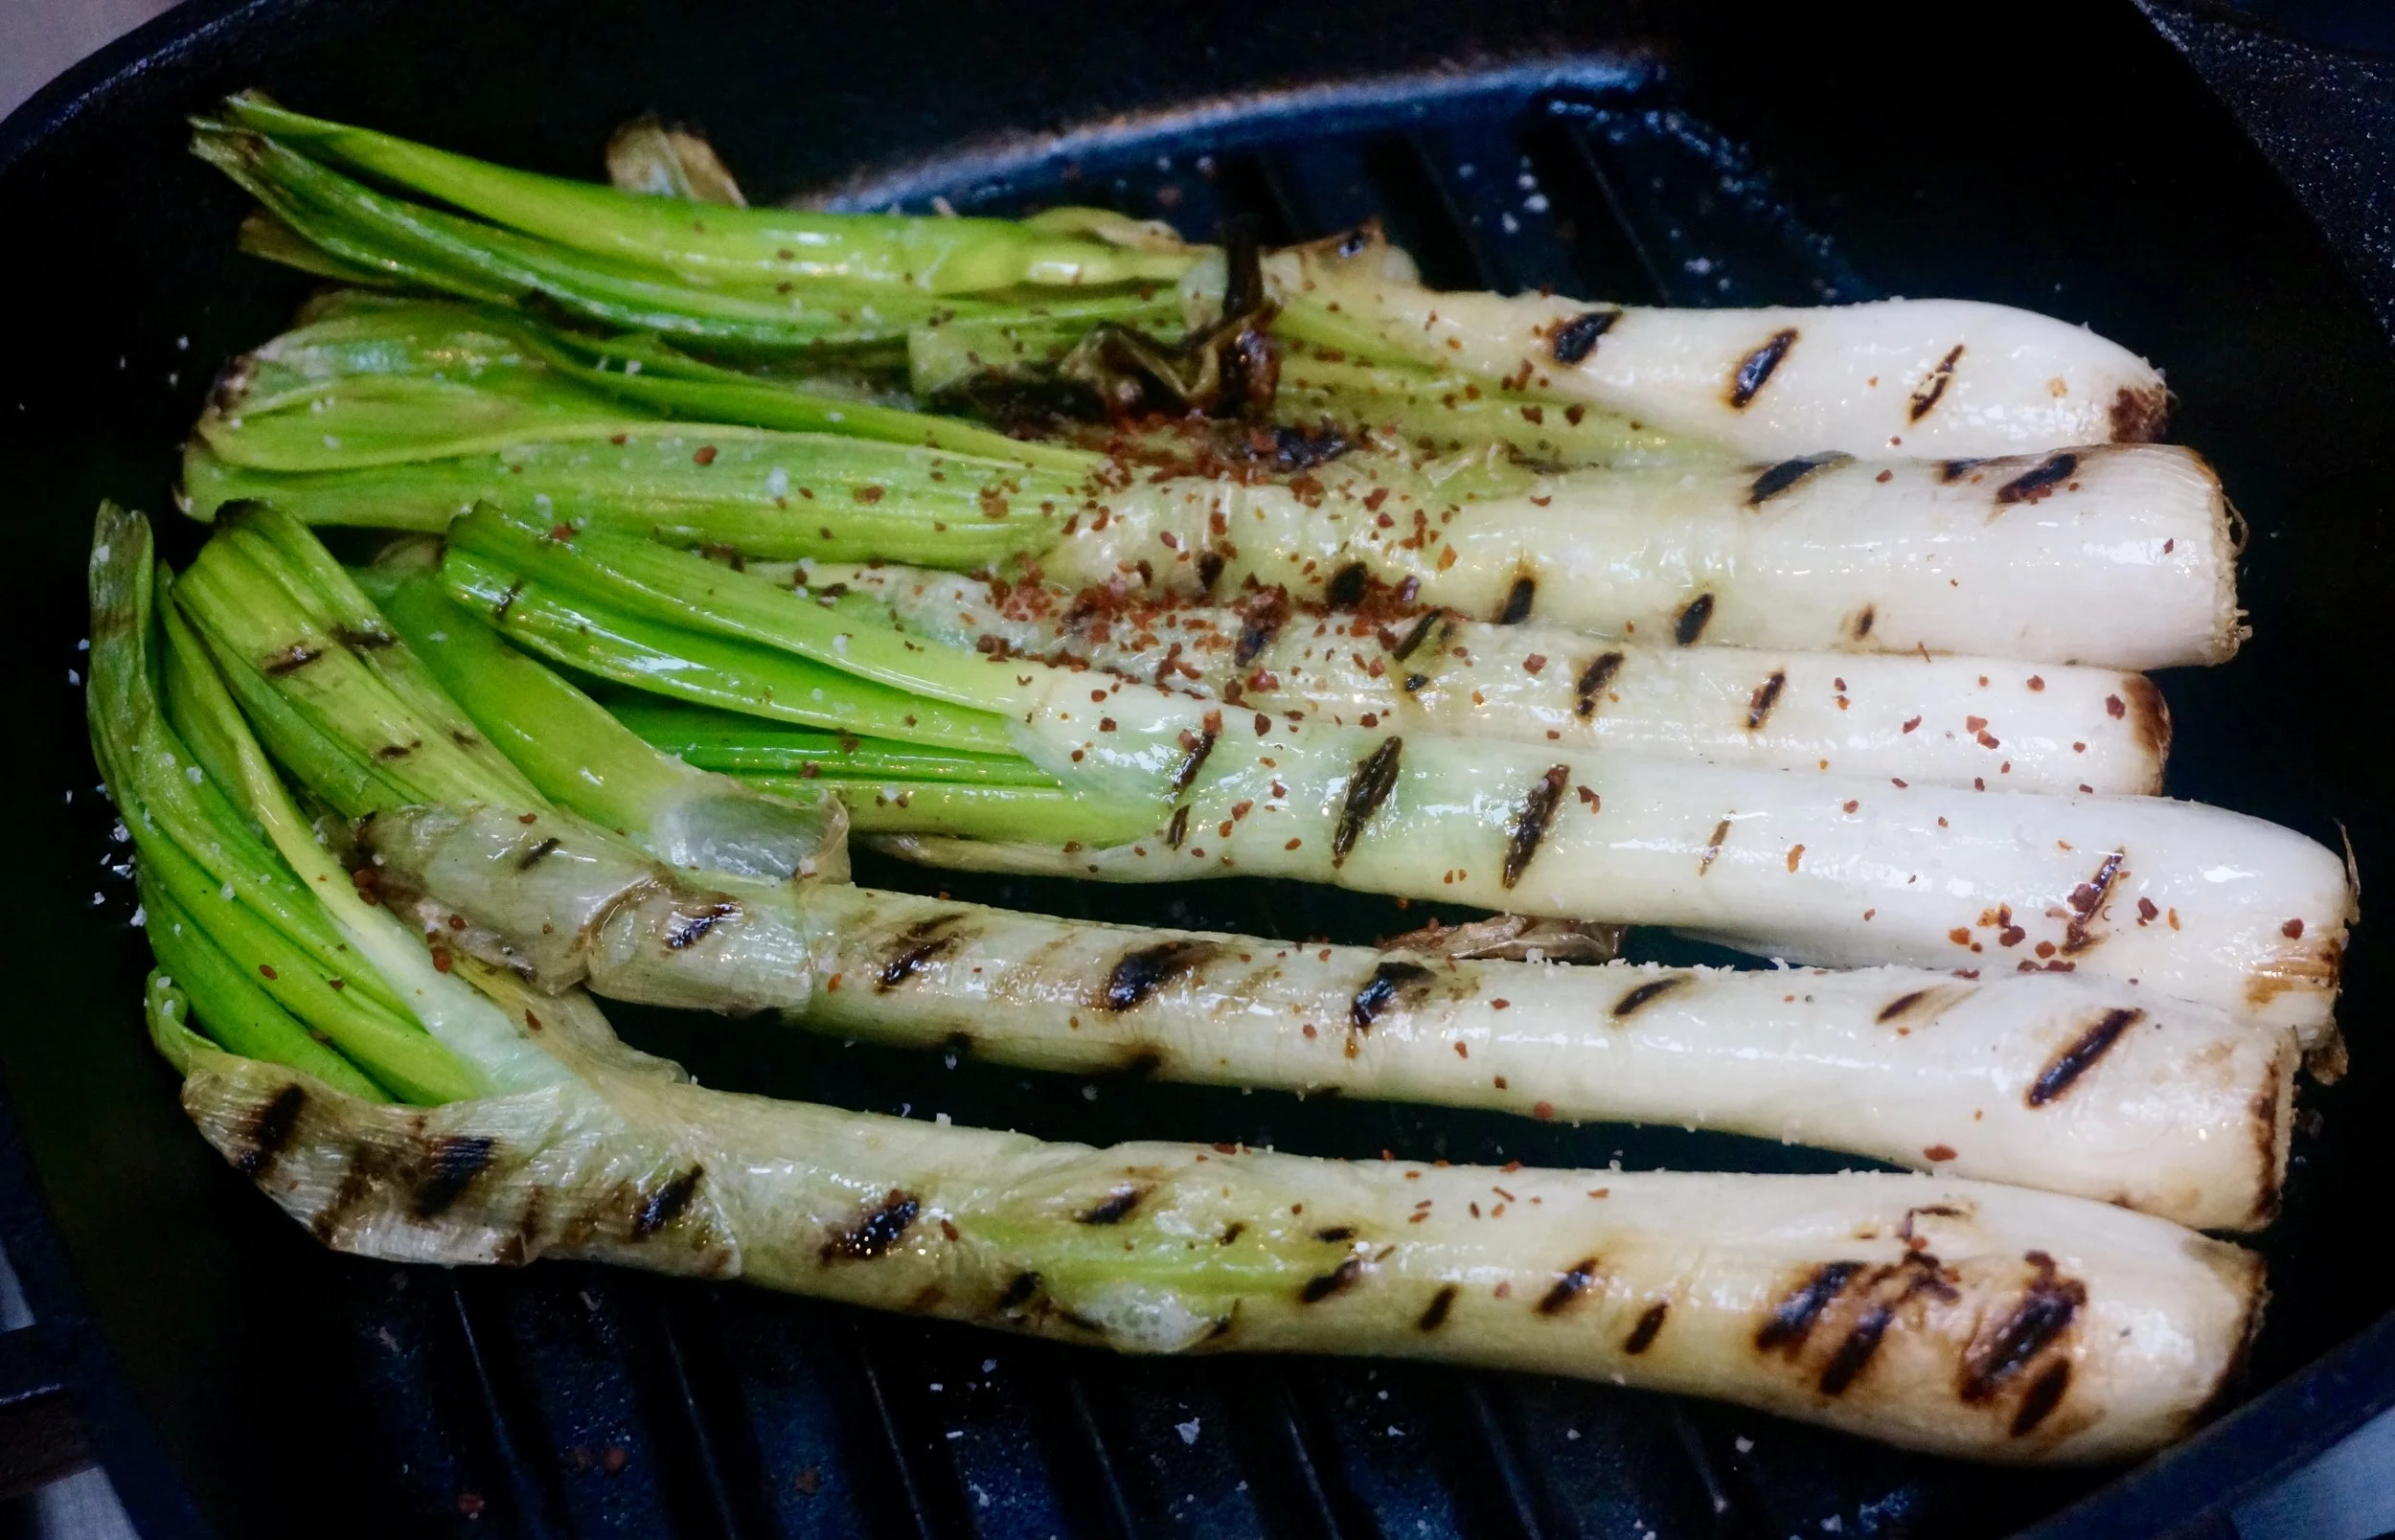
Like these gorgeous baby Vidalia onions. I bought some recently. They are a perfect side dish for whatever else I make for dinner (also on the grill). 

They are among the easiest side dishes I have ever prepared.

Just a few simple ingredients. You can do this with spring garlic, thick scallions too.

Whatever you're grilling for the 4th of July -- this goes with it.

Grilled Baby Vidalia Onions

  • 1 bunch of baby Vidalia onions (5-6), or use baby leeks or thick scallions
  • 1-1/2 tablespoons olive oil
  • 1 tablespoon lemon juice
  • 1/4 teaspoon Aleppo pepper
  • sea salt

Preheat and outdoor grill or grill pan to medium-high. Trim the onions but leave enough of the root intact so the leaves don't come apart. Rub the olive oil over the surface of the onions. Place the onions on the grill and cook for about 8 minutes, turning them occasionally to cook all sides. After the first turn, sprinkle the onions with the lemon juice and Aleppo pepper. When the onions are browned and tender, sprinkle with sea salt and serve.

Makes 4-6 servings


Potato Salad with Lemon-Oregano Vinaigrette

_DSC6159 (1).jpg

Some people say potato salad comes from German cuisine. Others tell you it is French. Or from some other European country.

But I think potato salad is actually thoroughly American.

Potatoes are a "new world" plant. Back in the 16th century, before Europeans ever knew there was even another continent, Spanish explorers sailed to what would later become the "Americas." They were looking for gold and plenty in the mythical kingdom of El Dorado. 

Surprise!

What they found were plenty of potatoes, and that was their real treasure.

They brought potatoes back to Europe, where it met with mixed reviews, especially because so many people thought potatoes were poisonous. Others refused to eat potatoes because they weren't mentioned in the bible. 

Fortunately potatoes are nourishing and easy to grow, so in the poorer European communities the people were obliged to eat them or starve. 

And so by the time Europeans settled in what would become the United States, potatoes were a staple part of the diet.

With all this in mind, I say again: potato salad is an American food, because -- it all started with the potato. And so it's the perfect side dish for a 4th of July picnic, barbecue or any other sort of get-together.

For my money -- potato salad is best when served at room temperature. Not hot, not cold. There are a zillion versions. Here's one:

Potato Salad with Lemon-Oregano Vinaigrette

  • 2-1/2 pounds small red potatoes        
  • lightly salted water
  • 1/4 cup olive oil
  • 1/4 cup fresh lemon juice
  • 2 scallions, finely chopped        
  • 1 tablespoon minced parsley
  • 1-1/2 tablespoons chopped fresh oregano (1-1/2 teaspoons dried) 
  • 3/4 teaspoon salt, or salt to taste
  • freshly ground black pepper to taste

Place the potatoes in a saucepan, cover with lightly salted water and bring to a boil over high heat. Lower the heat and simmer for 15-20 minutes or until tender. Drain under cold water and peel, if desired. Cut the potatoes into bite-size pieces and place in a large bowl. Pour in the olive oil and lemon juice and toss ingredients gently. Add the scallions, parsley, oregano, salt, and pepper. Toss gently. Let rest at least 1 hour before serving.

Makes 4-6 servings


Chicken Freekeh Salad with Mango, Dates and Pistachios

I’ve always loved the Fancy Food Show, not just because the eating is swell, but because I enjoy seeing what’s current in the food world and what manufacturers have come up with in the last year.Trying out something new is always an exciting prospec…

I’ve always loved the Fancy Food Show, not just because the eating is swell, but because I enjoy seeing what’s current in the food world and what manufacturers have come up with in the last year.

Trying out something new is always an exciting prospect as far as I am concerned.

And yet, for me, two of the show favorites this year were old timers that have become staples of my kitchen: freekeh and dried dates.

While freekeh is familiar at our house, I do realize that it isn’t exactly as well-known as most other grains. If you haven’t heard of it or haven’t tried it, I heartily recommend it. Freekeh is a whole grain that fills in for well-known starches such as white rice, noodles and potatoes, but is much lower on the glycemic index than those ingredients. It also has lots of fiber and protein and is a good source of calcium and iron.

It’s a variety of wheat, so it is NOT gluten-free.

There are several brands available in supermarkets and online; I tried some from Freekehlicious, which sells both whole and cracked freekeh. They sent me home with a sample of their soon-to-come freekeh pasta. (Haven’t tried it yet.)

Freekeh is nutty and toasty tasting. I love it plain and hot with a squirt of olive oil, and also cool, for salad, like the chicken salad recipe below (that includes freekeh, mango, nuts and a citrusy vinaigrette).

Dried dates are like candy— sweet, chewy and indulgent. I frequently snack on them late in the afternoon though sometimes I cut them up into my breakfast yogurt.

I have always bought Medjool dates, but at the Fancy Food Show I tried several other varieties, including safawi, saggae and sukkary at the Sahara Date Company booth. I’m convinced. If I see these in my supermarket, I’m going to be a buyer.

Because dates are so naturally sweet, they’re a good fit with tangy, citrusy and acidic ingredients. So they work harmoniously in this chicken salad too.          

Chicken Freekeh Salad with Mango, Dates and Pistachios  

  • 1 cup wholegrain freekeh (or use some other whole grain)

  • 1-3/4 cups water

  • 2 cups diced, cooked chicken

  • 1 cup chopped dates

  • 3/4 cup shelled pistachio nuts

  • 1/2 cup golden raisins

  • 1 ripe mango, peeled and diced

  • 4 chopped scallions

  • 1/4 cup minced fresh parsley, preferably flat leaf

  • 2 tablespoons chopped fresh mint

  • 6 tablespoons extra virgin olive oil

  • 3 tablespoons white wine vinegar

  • 3 tablespoon mango juice or orange juice   

  • 2 tablespoons lemon juice

  • Salt and freshly ground black pepper to taste

Place the freekeh and water in a saucepan over high heat. Bring the liquid to a boil, stir, cover the pan and lower the heat to a simmer. Cook for about 30-35 minutes or until the grains are tender but still somewhat firm and all the liquid has been absorbed. Remove from the heat and set aside to cool. Place the cooked freekeh in a bowl. Add the chicken, dates, pistachio nuts, raisins, mango, scallions, parsley and mint. Toss ingredients gently to distribute them evenly. Combine the olive oil, white wine vinegar, mango/orange juice and lemon juice and whisk vigorously. Pour the dressing over the salad. Toss the salad and season to taste with salt and pepper. Let rest for about 10-15 minutes before serving.

Makes 6 servings.

Bulgogi

This is not your grandmother’s flanken. But it is flanken, aka shortribs. And this meat can be tough and chewy, which is why grandma poached it in soup or in a slow-cooker with some good brown gravy or sweet and sour sauce.I loved grandma’s flanken.…

Bulgogi

This is not your grandmother’s flanken. But it is flanken, aka shortribs. And this meat can be tough and chewy, which is why grandma poached it in soup or in a slow-cooker with some good brown gravy or sweet and sour sauce.

I loved grandma’s flanken.

But, maybe because I don’t eat meat that often and yet think of myself as a devoted carnivore, I decided to put flanken and summer together using a grill.

So I made Bulgogi, a Korean dish in which the shortribs marinate in a soy-sesame oil based sauce before being grilled.

Yes, the meat is not as tender as other cuts, like rib. But much cheaper and, for meat lovers, gives quite a satisfying resilience. I served the Bulgogi with sauteed bok choy and steamed rice.

YUM.


Bulgogi

1/4 cup soy sauce
3 tablespoons sugar
2 tablespoons sake (or rice wine or sherry)
1 tablespoon vegetable oil
1 tablespoon sesame oil
3 scallions, minced
2 cloves garlic, minced
1 tablespoon toasted sesame seeds, finely crushed
1/2 to 1 teaspoon crushed red pepper
3 pounds flanken or boneless short rib
toasted sesame seeds for garnish, optional

Place the soy sauce, sugar, sake, vegetable oil, sesame oil, scallion, garlic, sesame seeds and crushed red pepper in a bowl and stir, making sure to dissolve the sugar. Place the beef in a non-reactive dish and turn the pieces to coat all sides. Let marinate in the refrigerator for at least one hour. Preheat the oven broiler or outdoor grill (or use a grill pan), skewer the meat and grill for 3-4 minutes per side or until crispy and done to your liking. Garnish with a small amount of toasted sesame seeds if desired.

Makes 4-6 servings

Strawberry-Rhubarb-Blackberry Pie

Is there any food more “American” than pie?Okay, maybe. Hot dogs, hamburgers and stuff. Cole Slaw. Potato salad. And lots of others.Actually, none of the ones I mentioned were “American” at the start. Hot dogs, burgers and potato salad are German fo…

Is there any food more “American” than pie?

Okay, maybe. Hot dogs, hamburgers and stuff. Cole Slaw. Potato salad. And lots of others.

Actually, none of the ones I mentioned were “American” at the start. Hot dogs, burgers and potato salad are German foods, Cole Slaw is Dutch and Pie began as British.

No matter. They’re American now, all terrific summer foods also. And all perfect for any Fourth of July celebration.

So, when our local Hadassah decided that our biweekly Tea (for cancer patients and their caregivers at Stamford Hospital) should have a Fourth of July theme, I decided to bake a pie to give. 

This one is red (sort of), white (beige crust/white sugar) and blue: a riff on Strawberry-Rhubarb Pie. It includes blackberries because I had some in the house and figured why not. You can leave out the blackberries and add more rhubarb and/or strawberries.

Also, I used orange peel as flavor, but you can switch to lemon peel. And I used orange juice for the crust. First because orange goes really well with berries and rhubarb and also, my mother, a consummate pie baker, always told me that the liquid you use to make pie dough can be just about anything. She frequently used juice for fruit pie (the juice depended on the pie). Juice not only gives the crust more flavor, it helps the dough bake into a lovely brown color crust too.

Strawberry-Rhubarb-Blackberry Pie

dough:

2-1/2 cups all-purpose flour

3/4 teaspoon salt

1 teaspoon grated orange peel

1/2 cup unsalted butter

1/3 cup chilled vegetable shortening

4-5 tablespoons orange juice

filling:

3 cups sliced (1/2-inch pieces) rhubarb, about one pound

2 cups strawberries cut in half

1 cup blackberries

2/3 cup sugar (or to taste)

1/4 teaspoon salt

5 tablespoons flour

1 teaspoon grated orange peel

1/4 teaspoon cinnamon

1 tablespoon butter


Combine the flour, salt and orange peel in a food processor. Add the butter and shortening in chunks and process on pulse about 24 times, until the mixture resembles coarse meal. Gradually add as much of the juice as is needed to make a soft, but not sticky dough. Cut the dough in half, flatten into disks and let the dough rest in the refrigerator for 30 minutes. Preheat oven to 375 degrees. Roll the dough into circles to fit a 9” pie pan. Place one circle inside the pie pan.

To make the filling, combine the rhubarb, strawberries, blackberries, sugar, salt, flour, orange peel and cinnamon. Add the filling to the pie pan. Cut the butter into chunks and place on top of the filling. Cut strips from the second dough circle and place them in a lattice design on top of the fruit. Seal the edges where the strips meet the bottom crust. Bake for 50-60 minutes or until golden brown.

Makes one 9-inch pie

Lily Vail's Apple Pie; Sibling Rivalry, part 1

fullsizeoutput_97f0.jpeg

Sibling Rivalry, Part I

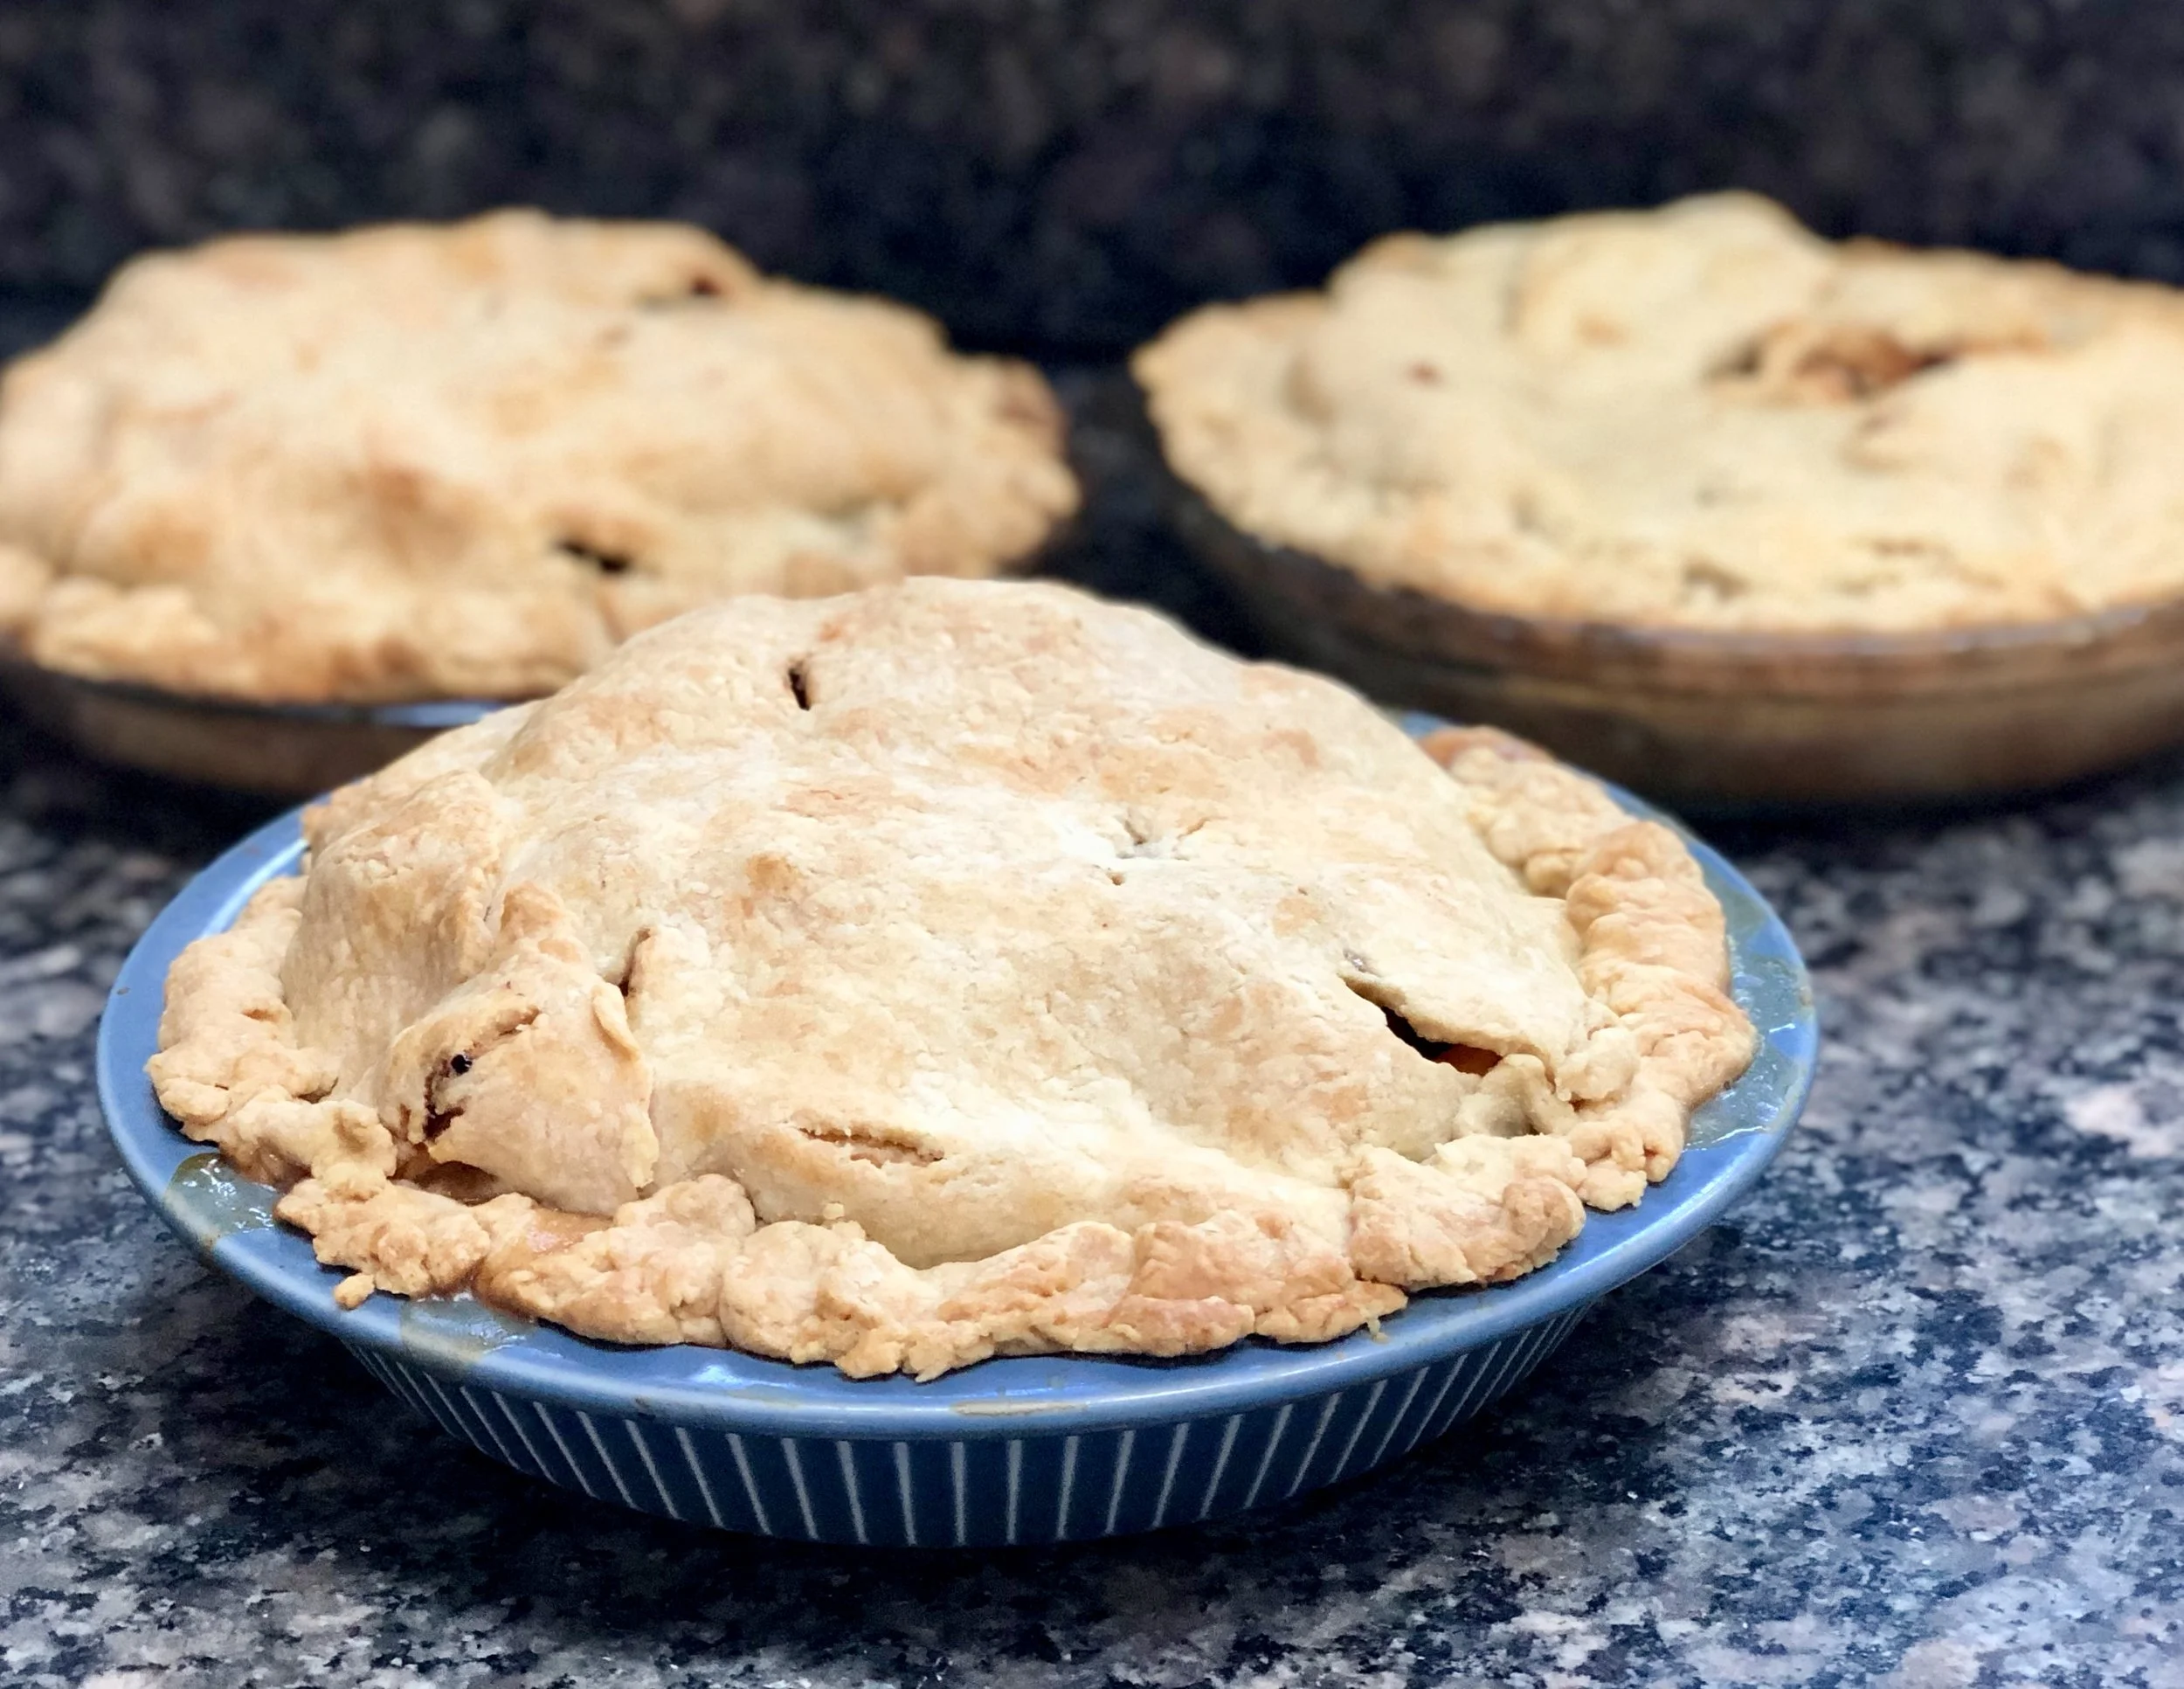
I timed last year’s apple pies perfectly. Every September I call Blue Jay Orchards in Bethel, Connecticut and order a bushel of Rhode Island Greening apples. They are one of the only orchards that I know who still grows this stupendously wonderful apple variety that is the absolutely best apple for pie no matter what anyone else, even the most expert of experts in the food business, says.

I make 12 apple pies every year and then, as the months go by, eat them down when company or my eldest grand child (who eats almost nothing but likes my apple pie) comes.

So now I have one pie left, which we will have this week because I just called Blue Jay and put in my order for this year.

When I called them last week they weren’t sure they would have the apples this year because of all the rain and hurricanes, especially Hurricane Irene. Ohmyohmyohmy, that sounded like terrible news at the time and I actually began to think about other apples I could bake into a pie.

But they told me to call back in a day or so and sure enough, when I did they told me that they have some! So I am in luck.

I never did decide on what apples I would have used.

Anyway, my Mom made apple pie every year too. Her sister, my Aunt Beck, made apple cake. And, you know, sisters will be sisters. They loved each other lots but they had this kind of apple-baking rivalry come September, when the new apples came out. They each not-so-secretly let everyone in the family know that the pie or cake was much better than the cake or pie.

And so it went. I liked both, but, being daughter to the pie baker, I learned to bake the pie.

My mother was the one who clued me into the Rhode Island Greening apples. And she showed me how to make the dough and how to cut the butter and shortening into the flour so the crust would be crumbly and how not to add too much liquid because that makes the dough rubbery. She also taught me how to roll the dough gently, so it would be tender. “Don’t murder the dough!,” she used to caution.

Her apple pies were the best of the best and I use her recipe, so, well, I don’t want to brag but —- everyone says mine are the best of the best.

Here’s the recipe., You might not be able to find Rhode Island Greening apples. So you’re on your own here. If you use a sweeter apple, cut back on the sugar.

Apple Pie

crust:

  • 2-1/2 cups all-purpose flour

  • 1 teaspoon sugar

  • 3/4 teaspoon salt

  • 1 teaspoon grated fresh lemon peel, optional

  • 1/2 cup cold butter

  • 1/3 cup cold vegetable shortening

  • 4-6 tablespoons cold milk, juice, water or melted ice cream

  • apple filling

  • 1 tablespoon butter

To make the crust: Combine the flour, sugar, salt, and lemon peel, if used, in a large bowl. Cut the butter and shortening into chunks and add the chunks to the flour mixture. Work the fat into the flour mixture until the ingredients resemble crumbs (use your hands, a pastry blender or the pulse feature of a food processor). Add the liquid, using only enough to gather pastry into a soft ball of dough (start with 4 tablespoons). Cut the dough in half and flatten each half to make a disk shape. Wrap the dough in plastic wrap and let it stand at least 30 minutes.

Preheat the oven to 350 degrees. Lightly flour a pastry board or clean work surface. With a rolling pin, roll one half of the dough on the floured surface into a circle about 1/8-inch thick, making sure the circle is larger than the pie pan by about 1 inch. Place the dough in a 9” or 10” pie pan. Pour the apple filling into the pastry-lined pan. Cut the butter into small pieces and place on top of the filling. Roll out the remaining dough and place it over the filling. Gently press the bottom and top crusts together along the flared edge of the pie pan. For a fluted rim, press your thumb and index finger against the outside of the rim, or crimp it with the tines of a fork or the blunt side of a knife. Cut steam vents in the top crust with the tip of a sharp knife or the tines of a fork. Bake the pie for 50-60 minutes or until golden brown.

Apple Filling:

  • 3 pounds pie apples (Rhode Island Greenings, Granny Smith, Gravenstein, Northern Spy, Golden Delicious, Idared, Stayman, Winesap, Baldwin, Jonagold, Braeburn

  • 1/2 cup sugar, approximately

  • 2 tablespoons lemon juice

  • 3/4 teaspoon ground cinnamon

  • 2 tablespoons all-purpose flour

Peel and core the apples then cut them into slices. Place the slices in a bowl. Add the sugar, lemon juice, cinnamon and flour and toss the ingredients to coat the apple slices evenly.