Chanuka

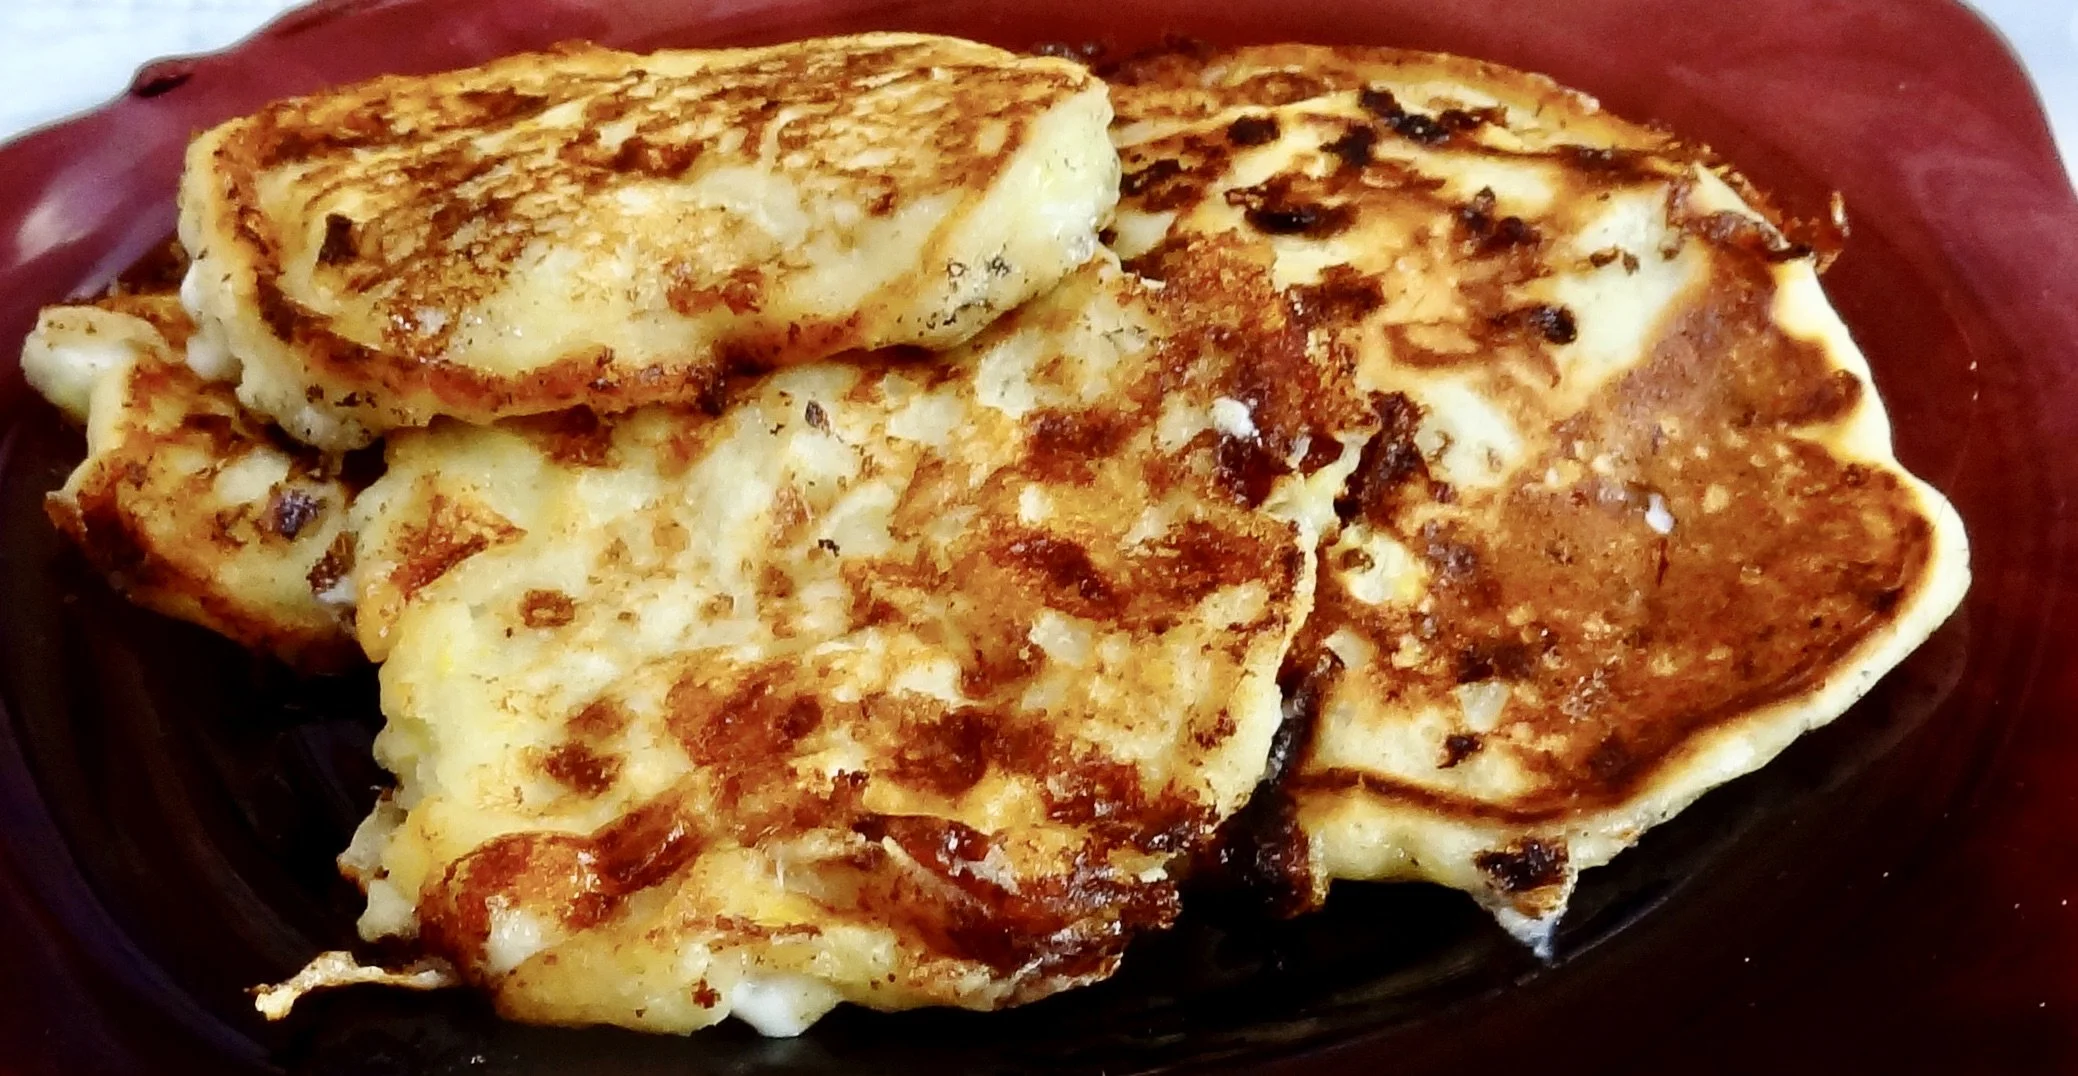
Savory Herb and Cheese Sufganiyot

_DSC0036.jpg

I've always been more of an hors d'oeuvre person than a dessert person. So, given the choice (if I HAD to choose) of franks-in-blankets or potato puffs versus chocolate cake, it would definitely be the franks-and-potatoes for me.

This does not mean I am immune to dessert and during Hanukkah I do love to get my fill of sufganiyot, especially the tiny fried choux puffs that I make with a bit of sugar and lemon. And also a jelly doughnut or two. Or three.

But, I am who I am, so this year I decided to make savory sufganiyot.

Can that really be a thing?

Anyway, it went over bigtime at my house. I had thought about serving them with a bourbon before dinner, but it got late and we were hungry so we actually ate these as a side dish with some roasted salmon and broccoli. 

Either way, for cocktails or with dinner.

We polished these off.


Herb and Cheese SufganIYot

  • 1 cup water
  • 1/4 pound unsalted butter, cut into chunks
  • 1 cup all-purpose flour, sifted
  • 1/2 teaspoon salt
  • 4 large eggs
  • 1-1/2 tablespoons chopped fresh mixed herbs, or 1-1/2 teaspoons dried
  • 1/2 cup grated Parmesan cheese
  • vegetable oil for frying

Place the water and butter in a saucepan and bring to a simmer over medium-high heat. When the butter has melted, add the flour and salt all at once. Stir vigorously with a wooden spoon until the mixture is well blended and begins to come away from the sides of the pan. Remove the pan from the heat and let cool for 2-3 minutes. Beat in the eggs one at a time, blending well after each addition. Mix in the herbs and cheese. 

Heat about 1-1/2-inches of vegetable oil in a large, deep frying pan over medium-high heat. When the oil is hot enough to make a tiny piece of dough sizzle, drop mounded teaspoons-worth of dough into the pan, cooking about 8 at a time. Move the puffs around using a wooden spoon, for about a minute or until the bottoms are golden brown. Turn the puffs over. Cook another half minute or until golden brown. Lift the puffs out with a large frying basket or other tool onto paper towels. Repeat with the rest of the puffs. When all the puffs have been fried, refry all of them for about one to 1-1/2 minutes, moving them around in the pan with a wooden spoon (alternately, you can fry the puffs, lift them out for 15-20 seconds and put them back in the pan for the second fry, then repeat with the rest).

 Makes about 60


Roasted Pears with Orange Maple Sauce

Somehow, even after after a heavy meal, most of us still find room for dessert. Me included! But I don't like feeling overstuffed, so I prefer something lighter, made with fruit, rather than a hunk of cake or pie.

I made these roasted pears recently -- the recipe is very easy and only has a few ingredients. It's a perfect finale to a Hanukkah meal, which tends to include lots of rich dairy foods and fried everything. You can make the pears a day ahead and stuff the hollows with whipped cream or ice cream, just before serving.

For us, the big Hanukkah meal is always a roasted goose with all the trimmings -- braised red cabbage, potato latkes -- the works! Roasted pears for dessert, for sure! Plain. Maybe with sorbet.

Roasted Pears with Orange-Maple Sauce

  • 3 large ripe Bartlett pears
  • half a lemon
  • 1/2 cup orange juice
  • 2 tablespoons maple syrup
  • 1-1/2 tablespoons coconut oil, melted
  • 1 teaspoon vanilla extract
  • ice cream, whipped cream or sorbet

Preheat the oven to 400 degrees. Peel the pears, cut them in half and remove the inner core and seeds. Rub the surface with the cut half of a lemon. Place the pear halves in a baking dish just large enough to hold them so they don’t tip over. Mix the juice, maple syrup, coconut oil and vanilla extract and spoon over the pears. Roast for about 25-30 minutes, basting occasionally with the pan juices, or until the pears are tender. Remove the pears and let them cool. Serve the pears with the pan juices and ice cream, whipped cream or sorbet if desired. (If the pan juices seem too thin, pour the liquid into a small saucepan, cook on high heat for a minute or so or until syrupy. Set aside to cool.)

Makes 6 servings


Meyer Lemon Yogurt Pie

When life gives you lemons, make lemonade, right? Or lemon pie, lemon bars, lemon vinaigrette. And so on.

That’s exactly what I did, years and years ago, when one of Ed’s business associates moved to California and mentioned the lemon trees in his backyard. He had so many lemons that he wanted to send us a box.

They were the strangest looking lemons I’d ever seen. Thin-skinned and vaguely orange. They also tasted sweeter than the standard, in fact, they tasted almost as if it were some kind of lemon mixed with an orange.

This was in the pre-Google search era. No one I knew had ever heard of a Meyer lemon.

In fact, Meyer lemons, which seem so familiar now, popped into popularity only about a decade ago. And when they started appearing in supermarkets during the winter I realized what I had in that box all those years before.

I had used those lemons in all the recipes I cooked that called for lemon juice and peel. It worked, though not perfectly. Meyer lemons are sweeter and they don’t have the tang and pop of a standard lemon, so they’re not ideal for recipes that need a lemony acidity.

On the other hand, because the flesh is sweeter than the more usual lemon, Meyer lemons are perfect for cookies and quick breads. I also slice them and use it as a bed for roasted fish. I make Meyer Lemon Chutney.

And this fabulous, rich, sweet and mildly tangy Meyer Lemon Yogurt Pie. 

Meyer Lemon Yogurt Pie

  • 1 fully baked pie crust or Graham Cracker crust
  • 1 cup sugar
  • 5 tablespoons cornstarch
  • 1/2 teaspoon salt
  • 1/2 cup cold water
  • 1/3 cup fresh Meyer lemon juice
  • 2 large eggs
  • 1-1/2 cups boiling water
  • 1-1/2 tablespoons butter
  • 2 tablespoons freshly grated Meyer lemon peel
  • 1 cup plain Greek style yogurt
  • whipped cream

Bake the crust or set it aside. Or, make a graham cracker crust (or use a store bought crust).* Combine the sugar, cornstarch, salt, cold water and Meyer lemon juice in a saucepan. Add the eggs and blend them in thoroughly using a whisk. Gradually add the boiling water and whisk the ingredients until the mixture is smooth. Place the saucepan over medium heat and bring the mixture to a boil. Continue to cook, whisking constantly, for one minute. Remove the pan from the heat and stir in the butter and Meyer lemon peel. Let the mixture rest for 15 minutes. Add the yogurt and whisk it in. Pour the mixture into the pie crust and chill in the refrigerator until cold, about 4 hours. Top with whipped cream and serve.

Makes one 9-inch pie

*to make a graham cracker crust: preheat the oven to 350 degrees. Combine 1-1/2 cups crushed graham crackers and 5 tablespoons melted butter. Mix until all the crumbs are coated. Press the mixture onto the bottom and sides of a 9-inch pie dish. Bake for 10 minutes. Remove from the oven and let cool.

Potato Latkes

What do you do when you have finished preparing potato latkes for a Hanukkah party and you’re sitting in your family room watching TV and your husband comes in with a handful of the latkes you just made and says “I’m taking a down payment on our Hanukkah party on Saturday night.”

And you’ve cleaned up the kitchen and everything and you thought you were done with latkes and the entire house smells from fried so you had to make a kitchen bouquet (1/4 cloves, 3 broken cinnamon sticks, tablespoon or so cardamom pods, orange peel, water) so that anyone who comes to the house even the next day (like the UPS delivery man or the guy who is coming to repair the oven) isn’t blasted with stale fried smell?

Why, you get up the next day and make more latkes. Otherwise there won’t be enough. Because I know what happens when people see potato latkes. You can’t eat just one.

And so I did.

These:

Potato Latkes

  • 4 large peeled baking potatoes

  • 1 large onion

  • 2 large eggs

  • 3 tablespoons potato starch

  • 1 teaspoon salt or to taste

  • freshly ground black pepper to taste

  • 1/2 teaspoon baking powder

  • vegetable oil for frying


Shred the potatoes and onion in a food processor. Squeeze out as much of the liquid as possible (I put portions of the shreds in a kitchen towel and squeeze until they are practically dry). Place the shreds in a bowl. Immediately mix the eggs in (this helps keep the potatoes from browning). Add the potato starch, salt, pepper and baking powder. Heat about 1/4” vegetable oil in a heavy pan over medium-high heat. Shape latkes by hand, squeezing liquid out if there is any, and place them in the hot oil, leaving space between each one so that they brown well and become crispy (if they are too close they will “steam” and become soggy). Press down on the latkes to keep them evenly shaped. Fry for 2-3 minutes per side or until the pancakes are golden brown and crispy. Drain on paper towels. Makes 12-15


Almond Crusted Winter Squash and Noodle Kugel

One of the tumblr blogs I follow asked readers what their favorite comfort food was.I thought about it for awhile because there are so many, I couldn’t make up my mind. Like challah and butter; baked, crispy-skinned Russet potato; app…

Almond Crusted Winter Squash and Noodle Kugel

One of the tumblr blogs I follow asked readers what their favorite comfort food was.

I thought about it for awhile because there are so many, I couldn’t make up my mind. Like challah and butter; baked, crispy-skinned Russet potato; apple piefried chicken wings. Snacks like potato chips and popcorn.

You’ll notice most of these are starch. Even the chicken dish I chose is wings and therefore mostly crunchy, flour-crusted skin.

And of course, there’s kugel: egg noodles, boiled until they’re tender, then crisped in the oven, either plain or with all sorts of stuff inside. Like this recipe for Almond Crusted Winter Squash and Noodle Kugel. 

What makes this kugel such a comfort?

Not just the soft noodles, but the sweet crunchy crust. You get to feel them both in your mouth at the same time, with one bite.

And there’s color too, because I’ve included white cottage cheese, dark red cranberries and orange winter squash, so when you cut a piece it looks pretty on a plate.

Notice please, that you can sort of cut down on some of the less healthy aspects by using Greek style, plain (non-fat) yogurt instead of dairy sour cream and non-fat cottage cheese instead of the full-fat kind.

Kugel is a year ‘round treat. But it’s usually a must for Hanukkah. Sure is for us.


Almond Crusted Winter Squash and Noodle Kugel

  • 5 tablespoons butter, melted

  • one pound medium egg noodles

  • 3 cups diced winter squash (such as butternut or acorn)

  • 1 cup dried cranberries

  • 2 cups cottage cheese (nonfat is fine)

  • 1-1/2 cups nonfat Greek style plain yogurt (or use dairy sour cream)

  • 6 large eggs, beaten

  • 1/3 cup sugar

  • 3/4 teaspoon cinnamon

  • 1/4 teaspoon salt

  • 1/2 cup chopped almonds

  • 2 tablespoons brown sugar

Preheat the oven to 375 degrees. Lightly grease a 9”x13” baking dish using some of the melted butter. Cook the noodles according to package directions, drain and place in a large bowl. Add the squash, cranberries, cottage cheese, yogurt and remaining melted butter and toss the ingredients to distribute them evenly. Beat the eggs, sugar and cinnamon together with a hand mixer at medium speed for about 3 minutes or until thickened. Fold into the noodle mixture. Place in the prepared baking dish. In a small bowl, mix the almonds and brown sugar. Sprinkle on top of the kugel. Bake for 35-40 minutes or until the top is crispy and brown. Makes 8-10 servings

Lemon Cottage Cheese Pancakes

Lemon Cottage Cheese Pancakes

Pancakes? Oh yes! Who doesn’t love them?

But who cooks them at your house?

My Dad was the pancake maker in ours. I can close my eyes now all these years later and still see my mother’s face as she surveyed the mess he made. Flour puffs here and there. Drops of grease from melted butter on the floor. Batter on the counter. A crusted pancake turner in the sink.

But wow, those were some great pancakes. Puffy, thick and soft with a bit of a crispy edge. Gobs of butter on top melting into the surface. Syrup of course.

No redeeming nutritional value, but oh, what a big deal for the Memory Box.

Pancakes are always welcome I think, any time of year and also for any meal, breakfast, lunch or dinner.

So I am going to make some for Hanukkah. A recipe from my book, Hip Kosher, for Lemon-Cottage Cheese pancakes. Almost everyone knows that it is traditional to eat fried foods during this holiday. Less well known is that cheese is traditional too. So I’ve combined fried plus cheese plus memory in these, light, fluffy pancakes. There’s some protein and they are vaguely sweet, with good flavor from the lemon, so syrup isn’t really needed. Fried? Yes, but just in a small amount of butter on a griddle, not a whole lot of deep-dry fat.

Lemon Cottage Cheese Pancakes (from Hip Kosher)

1-1/3 cups dry curd cottage cheese, pot cheese, or farmer cheese
3 large eggs
1 cup milk
1-1/2 tablespoons finely grated fresh lemon peel
1 cup all-purpose flour
2 tablespoons sugar
1 teaspoon baking powder
1/2 teaspoon salt
Butter for the griddle

Combine the cottage cheese, eggs, milk and lemon peel in a bowl. Add the flour, sugar, baking powder and salt and mix to combine ingredients. Heat a griddle over medium heat and add a small amount of butter. When the butter has melted and looks foamy, working in batches, pour about 1/4 cup batter onto the griddle for each pancake. Cook the pancakes for about 2 minutes per side, or until they are golden brown, adding more butter to the pan as necessary.

Makes 4 servings.

The Kugel to End all Kugels

This is the kugel to end all kugels.I mean it. I am a kugel-eating expert, if only because when I grew up my grandmother and mom made salty kugel stuffed with mushrooms and onions and it was only when I was grown, married and with kids that I had my…

This is the kugel to end all kugels.

I mean it. I am a kugel-eating expert, if only because when I grew up my grandmother and mom made salty kugel stuffed with mushrooms and onions and it was only when I was grown, married and with kids that I had my first taste of this. That taste was a transforming moment.

My friend Susan brought this dish to my annual Break-the-fast (she got the recipe from her friend Linda and I don’t know where Linda got it).

For years after that I have tasted more kugels than you could possibly imagine (including those hard, dried up things they sell in some supermarkets) always trying to surpass that moment of culinary discovery. 

I was even a judge once in a kugel contest.

I have made some wonderful kugels since then. But this is still my favorite. I always ask Susan to make an extra one so there will be leftovers. I pack pieces of it in my freezer so I can have a little treat whenever.

Don’t even think about the calories. Just enjoy.


Susan/Linda’s Sweet Noodle Kugel

      1 12-ounce package egg noodles

      1 8-ounce package cream cheese at room temperature

      1/4 pound unsalted butter at room temperature

      1 cup sugar

      2 cups dairy sour cream

      6 large eggs

      1 teaspoon cinnamon

      1 cup raisins, optional

      2 cups crushed frosted flakes or corn flakes

      4 tablespoons melted butter

Preheat the oven to 350 degrees. Cook the noodles in slightly salted water until al dente (not soft). Drain and set aside. In an electric mixer, beat the cream cheese and butter until thoroughly blended and softened. Beat in the sugar until well blended. Add the sour cream and blend thoroughly. Add the eggs one at a time, beating after each addition. Stir in the cinnamon and raisins, if used. Pour the mixture into the noodles and toss to coat them completely. Place in a baking dish. Combine the frosted flakes and melted butter and sprinkle on top of the noodles. Bake for about 40 minutes or until the top is crispy. 

Makes 8 servings  

Chocolate Truffles

DSC09699.jpg

Chocolate instead of broccoli to stay healthy?

No, not really. But in a recent study the results indicated that eating chocolate might cut a woman’s risk for stroke. Read about it here.

This is not the first time I’ve heard that chocolate is healthy (it has flavanoids, which have anti-oxidant properties, which in turn help lower LDL (bad) cholesterol).

But this is the one of the only times I’ve heard someone caution women not to over-interpret the results. Like, do not substitute chocolate for broccoli. And a cardiologist who was interviewed said that although chocolate may be good for you, maybe the study results would have been similar if they used apple skins or grapes.

I’ve always wondered about some of these studies. I wonder whether you can prove whatever you want depending on how you go about the study.

Well, I am no scientist, so I don’t know.

But I do remember, many years ago, when the information regarding dietary fat was still in its infancy and Nabisco came out with SnackWells, the so-called “healthy” cookies because they were lower fat. And people started eating SnackWells because they thought it was okay. And judging from the number of people I met (and watched at the supermarket) who ate boxes and boxes of those cookies, most didn’t seem to realize that it’s way too many calories and that it might be more harmful than if you ate a butter cookie or two.

So the broccoli warning makes sense.

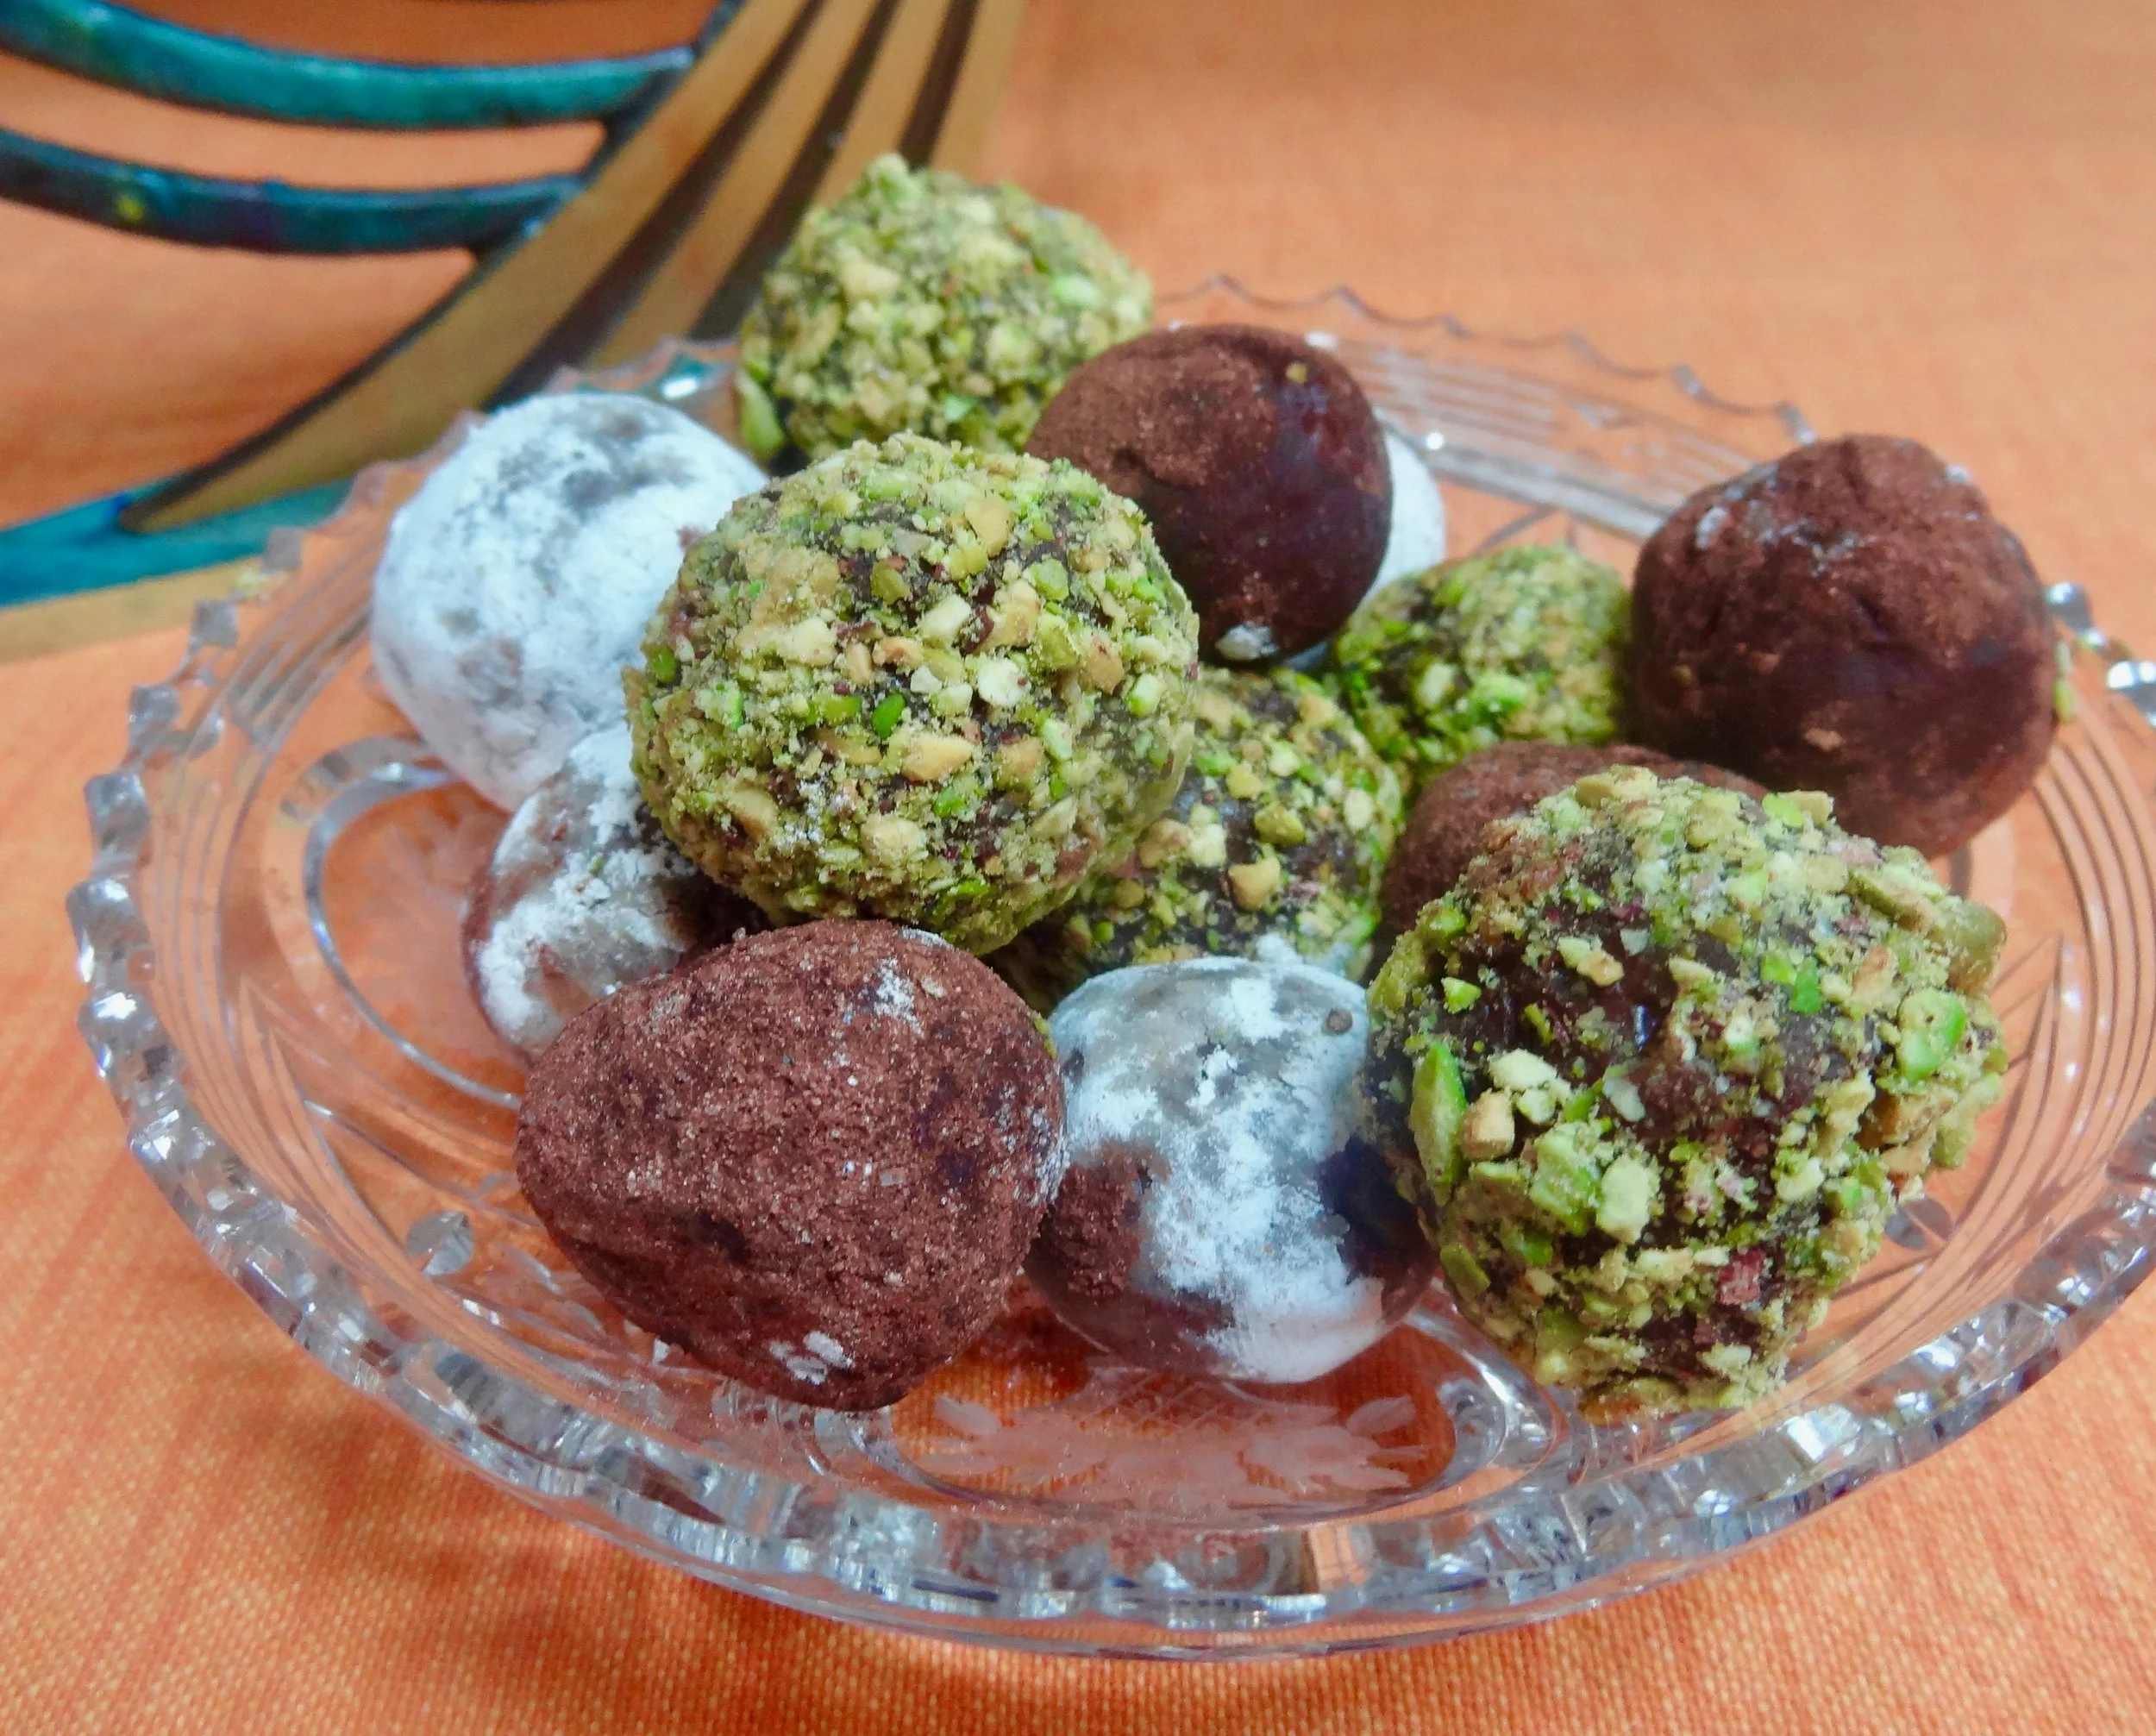
But if you want to eat something delicious and chocolate-y — for your health — try these truffles. They are amazingly easy to make and you can give them away as gifts so they’re good for the upcoming holiday season.

But don’t eat the whole batch at once.

Chocolate Truffles

  • 1/2 pound semisweet or bittersweet chocolate
  • 3/4 cup heavy cream
  • 4 teaspoons brandy or rum or 1 teaspoon vanilla extract
  • 5 tablespoons butter at room temperature
  • 1/2 cup unsweetened cocoa powder, sprinkles, toasted coconut, ground nuts, etc. (approximately)

Chop the chocolate in a food processor into small bits. Heat the cream over medium heat until it is hot and bubbles form around the edges of the pan. With the processor on, pour in the cream through the feed tube and process  until well blended (you may have to scrape the sides of the bowl once or twice). Refrigerate the mixture for 30 minutes. Add the brandy or rum and the softened butter and blend them in thoroughly. Spoon the mixture into a bowl and refrigerate for at least one hour or until the mixture has firmed enough to form a soft “dough.” Take small pieces of the dough and shape into small balls. Place the balls on waxed paper or aluminum foil on cookie sheets. Refrigerate until firm, at least 30 minutes. Roll the balls in cocoa, sprinkles, etc.

Makes about 3 dozen. 

Soggy Cheesecake Crust

static1.squarespace-1.jpg

Hi Leslie - sorry that your cheesecake crust comes out soggy. It may be that water leaks into the seams of the springform pan. You can line the bottom with tin foil (overhang it), then attach the side, then take the overhanging part and crumple it to try to seal all the edges. That may help.

On the other hand — it may be the recipe. It’s important to bake the crust for at least 10 minutes in a preheated 350 degree oven. Then let it cool. Then fill it.

Another trick you can try — add some ground nuts to the crumbs. Nuts always crisp up nicely and stay crispy better than crumbs do.

Another tip: bake the crust for 10 minutes, brush it with an egg wash (beat an egg with a small amount of water) and bake for another 3-4 minutes.

And another: let the crust cool, then layer on a thin layer of melted chocolate, jam, lemon curd or the like. This adds a flavor dimension of course, but it also helps keep the crust crispy.

After sitting in the fridge, even after all that, eventually cheesecake crust will become soggy just from the moisture in the cheese. But the tips above will help get you a better crust at least at the beginning.