back to school

Back to School? Maybe. But there’s always Milk and Cookies, right?

592CAF6A-ADE6-4D4F-96AB-9D0739F7EB94_1_201_a.jpeg

Back in the day, when I was a young girl, I walked home from school and before I did any homework or piano practice I had a snack. My Mother was a cookie baker so invariably, the snack was milk and cookies. We didn’t have little bags of chips or puffs or granola bars back then.

I remember one time my mother veered away from her usual Fannies, peanut butter cookies and kichels. That was the day I brought my friend Joseph Lieberman (no, not that Joseph Lieberman) home to do homework together. I was happy my Mom had baked something new because Joseph had been to the house several times and maybe he was bored with the same old stuff. I had asked her if, sometime, she could bake something else. And so she did.

She made sugar cookies.

They were a great success. She made them occasionally after that but usually went back to the old favorites.

I’ve made my Mom’s recipe a few times over the years. Depending on the time of year I cut them into different shapes with cookie cutters (Hearts for Valentine’s Day usually).

This isn’t my Mom’s recipe though. I fiddled with it because hers included butter and I wanted to make it non-dairy. Also, I just bought some new jars of date honey (silan) and wanted to use that instead of the regular honey. She also added citrus peel and I didn’t.

But it is more or less her recipe.

Whether or not our children actually go back to school this season, milk and cookies is always a good treat.

In addition, these cookies, with the traditional holiday dates and honey, are a delicious choice for Rosh Hashanah (whether you use old fashioned honey or silan).

Shanah Tovah.

Date Honey Sugar Cookies

  • 1/2 cup vegetable shortening

  • 1/2 cup solid coconut oil

  • 3/4 cup sugar

  • 1/4 cup date honey

  • 2 teaspoons vanilla extract

  • 1 large egg

  • 1 large egg yolk

  • 3 cups all-purpose flour

  • 2 teaspoons baking powder

  • 1-1/2 teaspoons cornstarch

  • 1/2 teaspoon salt

  • 1/2 teaspoon ground cinnamon

  • Confectioners’ sugar

Preheat the oven to 350 degrees. Line a cookie sheet with parchment paper. Combine the shortening, coconut oil, sugar, honey and vanilla extract and beat at medium speed for 3-4 minutes or until light and fluffy. Add the egg and egg yolk and beat at medium speed for 1-2 minutes or until well blended. In a separate bowl combine the flour, baking powder, cornstarch, salt and cinnamon. Add the dry ingredients to the honey mixture and beat at medium speed until a soft dough forms. Roll the dough on a floured surface to 1/8-inch thickness. Cut out shapes with 2-inch round or heart-shaped cookie cutters. Place the cookies prepared cookie sheet. Bake for about 12 minutes or until the edges are lightly brown. Let cool. Sprinkle with confectioners’ sugar.

Makes about 36

Easy Peasy Fuss-Free Blueberry Jam

Things are still blooming in my garden. And I'm not usually so lucky when it comes to my produce plantings, so I only planted tomatoes and herbs.

Next year: going to try berries. Strawberries and blueberries.

In the meantime it's store bought for me (including farmer's markets).

So the other day, when Fairway had a sale on blueberries (each dry pint for $1!!!!)I bought 5 (the limit). Even though I already had some fresh blueberries at home.

And then I had to use them.

I made blueberry cake, blueberry muffins and blueberry soup (so refreshing on a summer day!). And a blueberry crisp.

And also blueberry jam.

I like jam, but don't like fussing with sterilizing jars and putting the jars in one of those water-bath things. So I only make an amount that will be used within a couple of weeks and store it in my fridge. For example, for:

Here's the simple recipe:

Fuss-Free Blueberry Jam

  • 4 cups blueberries
  • 2 tablespoons orange juice
  • 2 teaspoons grated orange peel
  • 1 cup sugar

Place the blueberries, orange juice, orange peel and sugar in a large saucepan. Bring the ingredients to a boil over medium-high heat. Stir, reduce the heat to medium and cook for about 30 minutes, stirring occasionally and pressing down on the ingredients with a wooden spoon to crush the berries slightly. When the liquid has thickened to jam-like, remove the pan from the heat. Let cool and spoon into a jar. Store in the refrigerator.

Makes about 1-1/2 cups


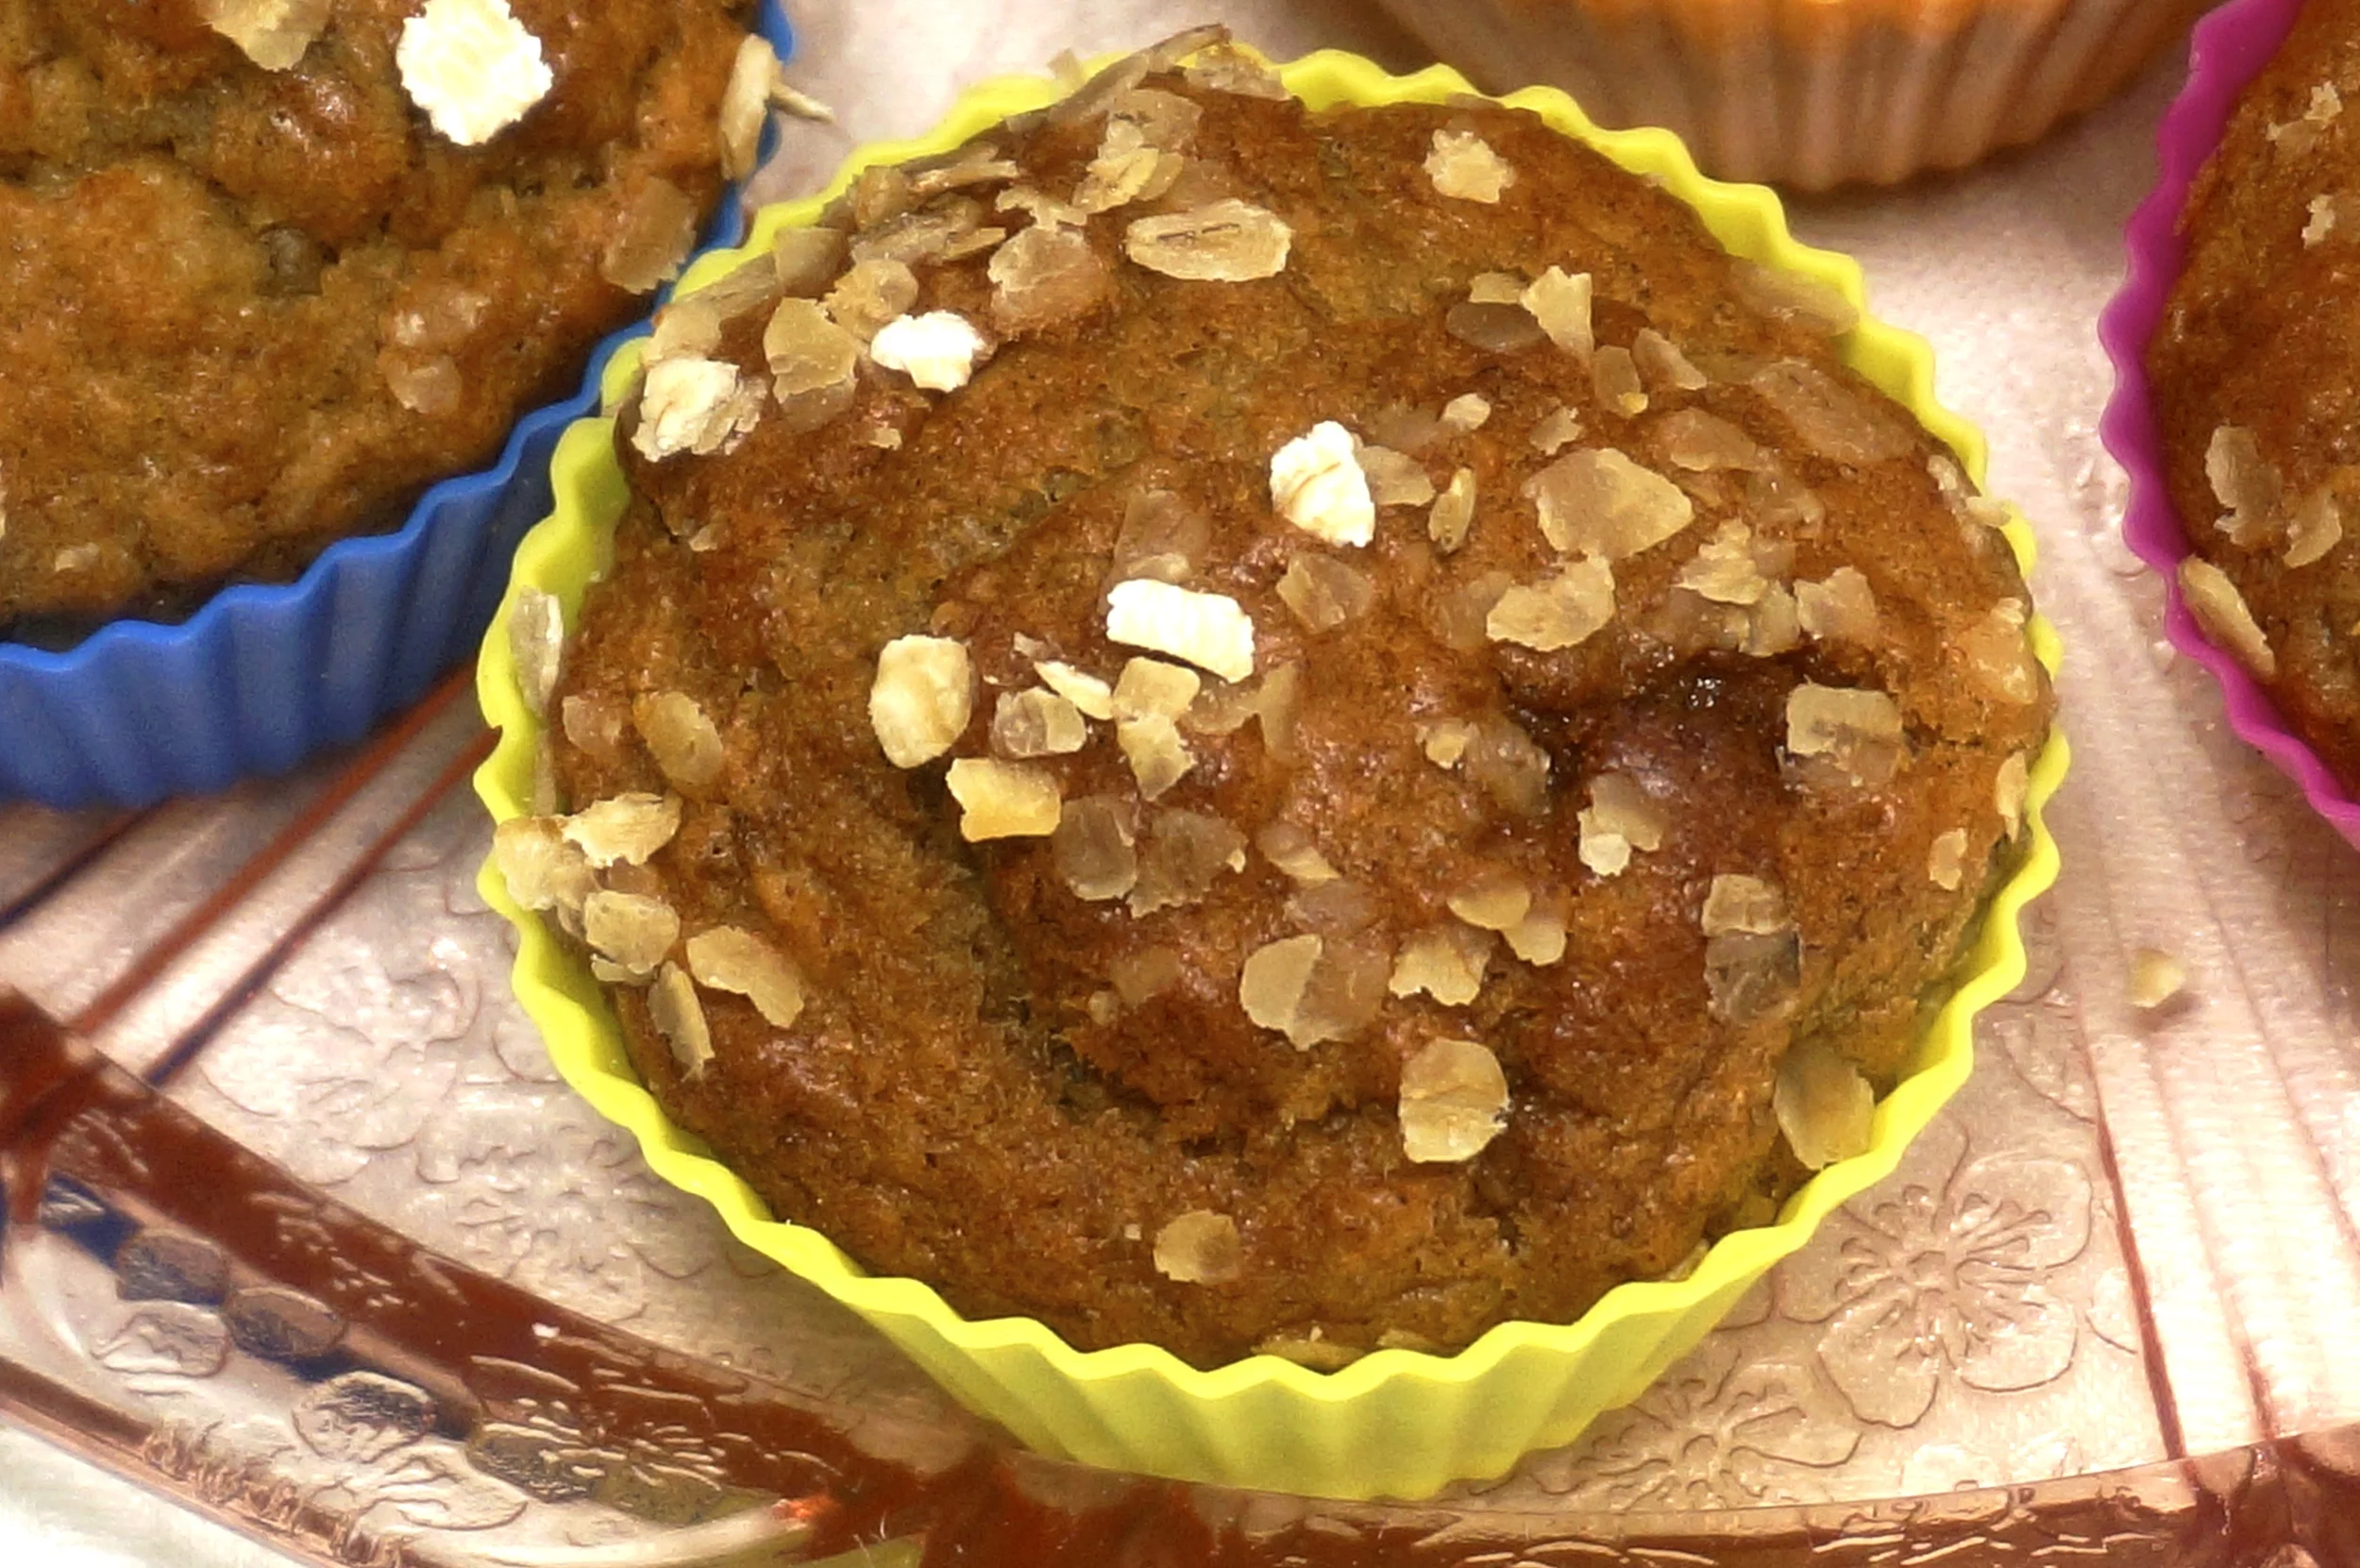
Oat Topped Banana Brown Sugar Muffins

Oat Topped Banana Brown Sugar Muffins

Oat Topped Banana Brown Sugar Muffins

Having company for the Labor Day weekend? 

Need a breakfast bread for the back-to-school crowd?

Brunch item?

These banana muffins will suit so many needs.

Oat-Topped Banana Brown Sugar Muffins

  • 1-1/4 cups all-purpose flour
  • 1/2 cup plus 2 tablespoons quick cooking oats
  • 1/4 cup brown sugar
  • 1-1/2 teaspoons baking powder
  • 3/4 teaspoon salt
  • 1/2 teaspoon baking soda
  • 1/2 teaspoon cinnamon
  • 2 small very ripe bananas, mashed
  • 1/2 cup plain yogurt
  • 2 large eggs
  • 1 teaspoon vanilla extract

Preheat the oven to 400 degrees. Grease 12 muffin tins. Mix the flour, 1/2 cup oats, brown sugar, baking powder, salt, baking soda and cinnamon together in a bowl. In a second bowl, mix the banana, yogurt, eggs and vanilla extract. Pour the liquid ingredients into the flour mixture and stir just to bend ingredients. Spoon equal amounts into the greased muffin tins. Sprinkle the tops evenly with the 2 tablespoons oats. Bake for 18-20 minutes or until a cake tester inserted into the center comes out clean.

Makes 12

Chicken Nuggets

I see Back to School signs all over the place and as a matter of fact, here in Connecticut, where there can be a lot of snow days in the winter, teachers are already back at work. The kids start on August 28th, before Labor Day. Just in case.
My kid…

I see Back to School signs all over the place and as a matter of fact, here in Connecticut, where there can be a lot of snow days in the winter, teachers are already back at work. The kids start on August 28th, before Labor Day. Just in case.

My kids are grown, so I no longer have any of the worries that come with going back to school. About the bus pickup or whether some child they don’t especially like is in their class or whether their new teacher is an ogre who gives too much homework.

Those were stressful days, those days before school when the inertia of summer keeps us wanting to stay in place at the beach or in the pool or just lazing around.

But we can’t of course. Life goes on. And I am now watching from the grandparent side of things. Hearing the very same things I heard in days gone by.

One of the issues that still remains? What to bring for lunch.

When it was my kids I heard “baloney stinks.” Grilled cheese is “disgusting” when it’s cold. Soup spills when I open the plastic container.

These days everyones’ kids have similar likes and dislikes and there are new considerations such as rules about peanut butter and tree nuts.

One food item I knew would always be a winner is chicken nuggets, which are good hot or cold. Plain or dipped in ketchup or hummus. Add a few carrot sticks, a piece of fruit and a small bag of snack and it’s done.

It’s still true today. Most kids like chicken nuggets.

So that was and still is a good back to school lunch choice. Plus they are easy to make and you can make a lot of them and freeze them for future lunches.

Btw, there’s now a handy little device to help folks who go through the lunch planning thing: a new iOS App that was created and designed to help parents and kids plan lunch together for a week at a time (it also creates a shopping list for all the items you need). It was designed —ahem — by my daughter Gillian. But it’s not just me bragging. It’s received rave reviews in The New York Times and in-the-know tastemakers like Tina Roth Eisenberg (Swiss-Miss.com), nutritionists and pediatricians have also heaped it with praise.

Take a look at Gillian’s website www.lalalunchbox.com to read more about it. There’s a huge list of foods available for kids to choose from, but you can also customize items depending on your child’s specific tastes and needs (like allergy issues). 

Meantime, here’s a recipe for Chicken Nuggets. Btw, these make great hors d’oeuvre for grownups.

Chicken Nuggets

one pound boneless and skinless chicken breasts

1 large egg 

1 cup panko

1 teaspoon salt

1/2 teaspoon paprika

1/2 teaspoon garlic powder

vegetable oil for frying

Cut the chicken into about 18-20 (2-3 bite) pieces and put them in a large bowl. Add the egg and mix until the chicken pieces are uniformly coated. In a bowl, mix the panko, salt, paprika and garlic powder together. Dredge the chicken pieces in the panko, pressing to coat all surfaces. If you have time, set aside on a cake rack for 20-30 minutes to air dry. Heat 1/4-inch vegetable oil in a large saute pan over medium heat. When the oil is hot enough to make a bread crumb sizzle, fry the nuggets a few at a time for about 2 minutes per side or until golden brown. Drain on paper towels. Do not crowd the pan when frying the chicken. Makes 18-20 pieces.