nut free

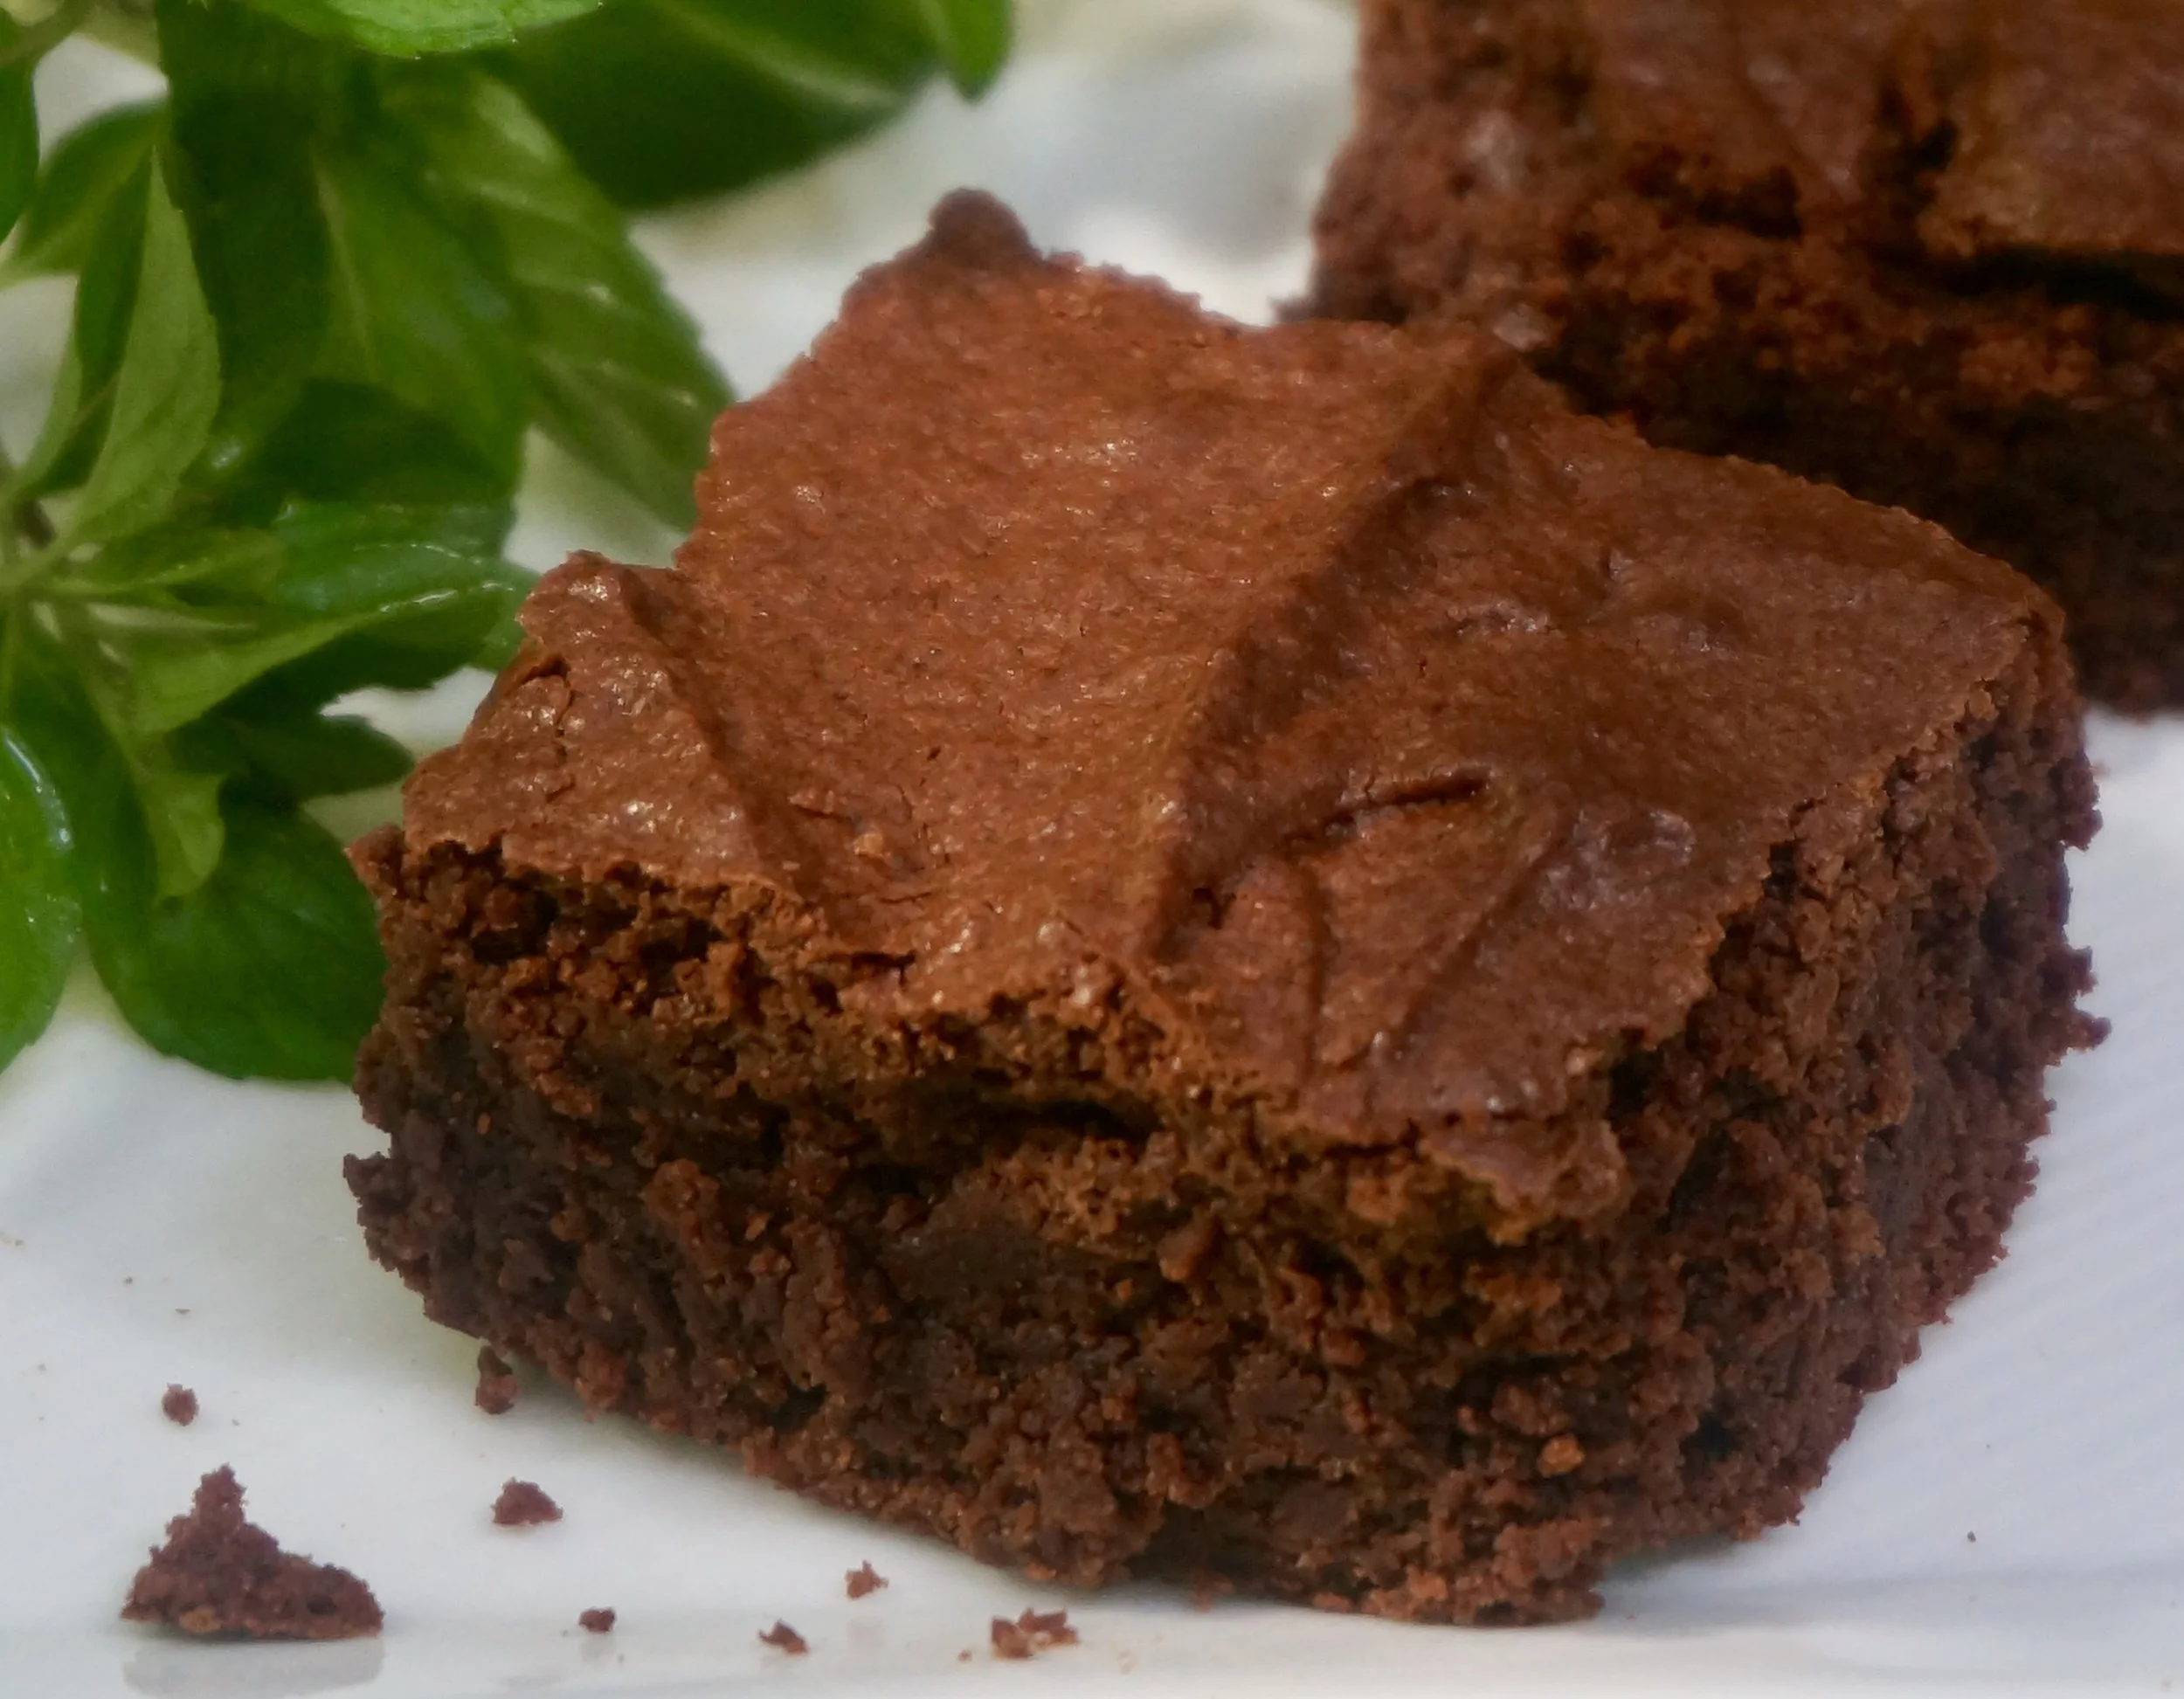
Valentine's Day Chocolate Fudge Brownies

fullsizeoutput_84cd.jpeg

I have told my husband not to buy me chocolate candy for Valentine's Day.

Sure, I love the thought, not to mention the taste (he knows how much I love buttercrunch!!!!!!).

But really, I need to NOT EAT candy for a variety of reasons including the number I see on the scale when I weigh myself each morning.

For Valentine's Day I am going to make brownies, which will be sufficient for the two of us to celebrate with a piece or two, then give the rest away to a friend of mine who loves sweets.

Then it will all be gone, we will have had a delicious, but calorie-limited Valentine's Day and that will be that until the next occasion.


Valentine's Day Chocolate Fudge BROWNIES

  • 3 ounces unsweetened chocolate
  • 1/3 cup butter
  • 2 large eggs
  • 1 cup sugar
  • 3/4 cup plus 2 tablespoons all-purpose flour
  • 3/4 teaspoon baking powder
  • 1/2 teaspoon salt
  • 1 teaspoon vanilla extract
  • 1/2 cup chopped nuts, optional

Preheat the oven to 350 degrees. Lightly grease an 8" square baking pan.  Melt the chocolate and butter together in the top part of a double boiler set over barely simmering water. When the ingredients have melted, blend them thoroughly and remove the pan from the heat. Combine the eggs and sugar in a large bowl and beat them 2-3 minutes or until the mixture is thick and pale. Mix the flour, baking powder and salt in a bowl and stir this mixture into the chocolate mixture. Stir in the vanilla extract and nuts, if used. Spoon the batter into the prepared pan. Bake for 30 minutes. Cool the brownies in the pan. Cut them into 16 squares.

Makes 16
Pumpkin Sour Cream Coffee Cake

I used to bake a fresh pumpkin when it was time to make the usual seasonal pumpkin pies and cakes. I'd buy one of those small, round, sweet "sugar" pumpkins, carve it up, sprinkle the pieces with salt and give it a roast until the flesh was tender.

It was all good. The house smelled like autumn, the pumpkin was nice and dry -- perfect for baked goods.

But.

I got busy. And sometimes I couldn't find the right variety of pumpkin.

So I switched to canned.

You know what? We didn't even notice the difference when it came to my favorite pumpkin coffee cake.

So, make it easy on yourself. Use canned pumpkin if you wish (but not pumpkin pie mix, which is pre-seasoned). Or fresh baked pumpkin of course, if you can find a good variety and have the time to roast it. 

Either way, this cake is rich and gently fragrant. It has a wonderful salty-sweet balance.

You can freeze it too.

Pumpkin Sour Cream Coffee Cake

STREUSEL TOPPING:

  • 1/3 cup old fashioned oats
  • 1/4 cup all-purpose flour
  • 1/4 cup brown sugar
  • 1/4 teaspoon salt
  • 3 tablespoons cold butter

cake:

  • 1/3 cup sugar
  • 1/4 cup butter
  • 1/2 cup mashed pumpkin (canned is fine; not pumpkin pie mix)
  • 1/3 cup sour cream
  • 1 large egg, beaten
  • 2 tablespoons freshly grated orange peel
  • 1-1/2 cups all-purpose flour
  • 1 tablespoon baking powder
  • 1/2 teaspoon baking soda
  • 1/4 teaspoon nutmeg
  • 1/4 teaspoon salt
  • 1/3 cup milk


Preheat the oven to 375 degrees. Lightly grease an 8" square cake pan. Make the streusel: place the oats, flour, brown sugar and salt in a bowl. Add the butter and work it into the dry ingredients with your fingers, a pastry blender or two knives until the mixture is crumbly. Set the streusel aside.

Make the cake batter: beat the sugar and butter together with a hand mixer or electric mixer set at medium speed for 1-2 minutes or until the mixture is smooth and creamy. Add the pumpkin, sour cream, egg and orange peel and beat the ingredients for 1-2 minutes or until they are smooth. Whisk together the flour, baking powder, baking soda, nutmeg and salt in a bowl. Add 1/2 of the dry ingredients to the butter mixture and beat the ingredients until they are blended. Add 1/2 of the milk and beat this in until it is well blended. Repeat this process again until all the flour and milk have been used up. Pour the batter into the prepared pan.

Sprinkle the streusel over the batter. Bake for 35-40 minutes or until a cake tester inserted into the middle of the cake comes out clean. Let the cake cool in the pan for 10 minutes then carefully invert the cake onto a cake rack, carefully flip it right side up. Let cool completely.

Makes one cake serving 8-10 people


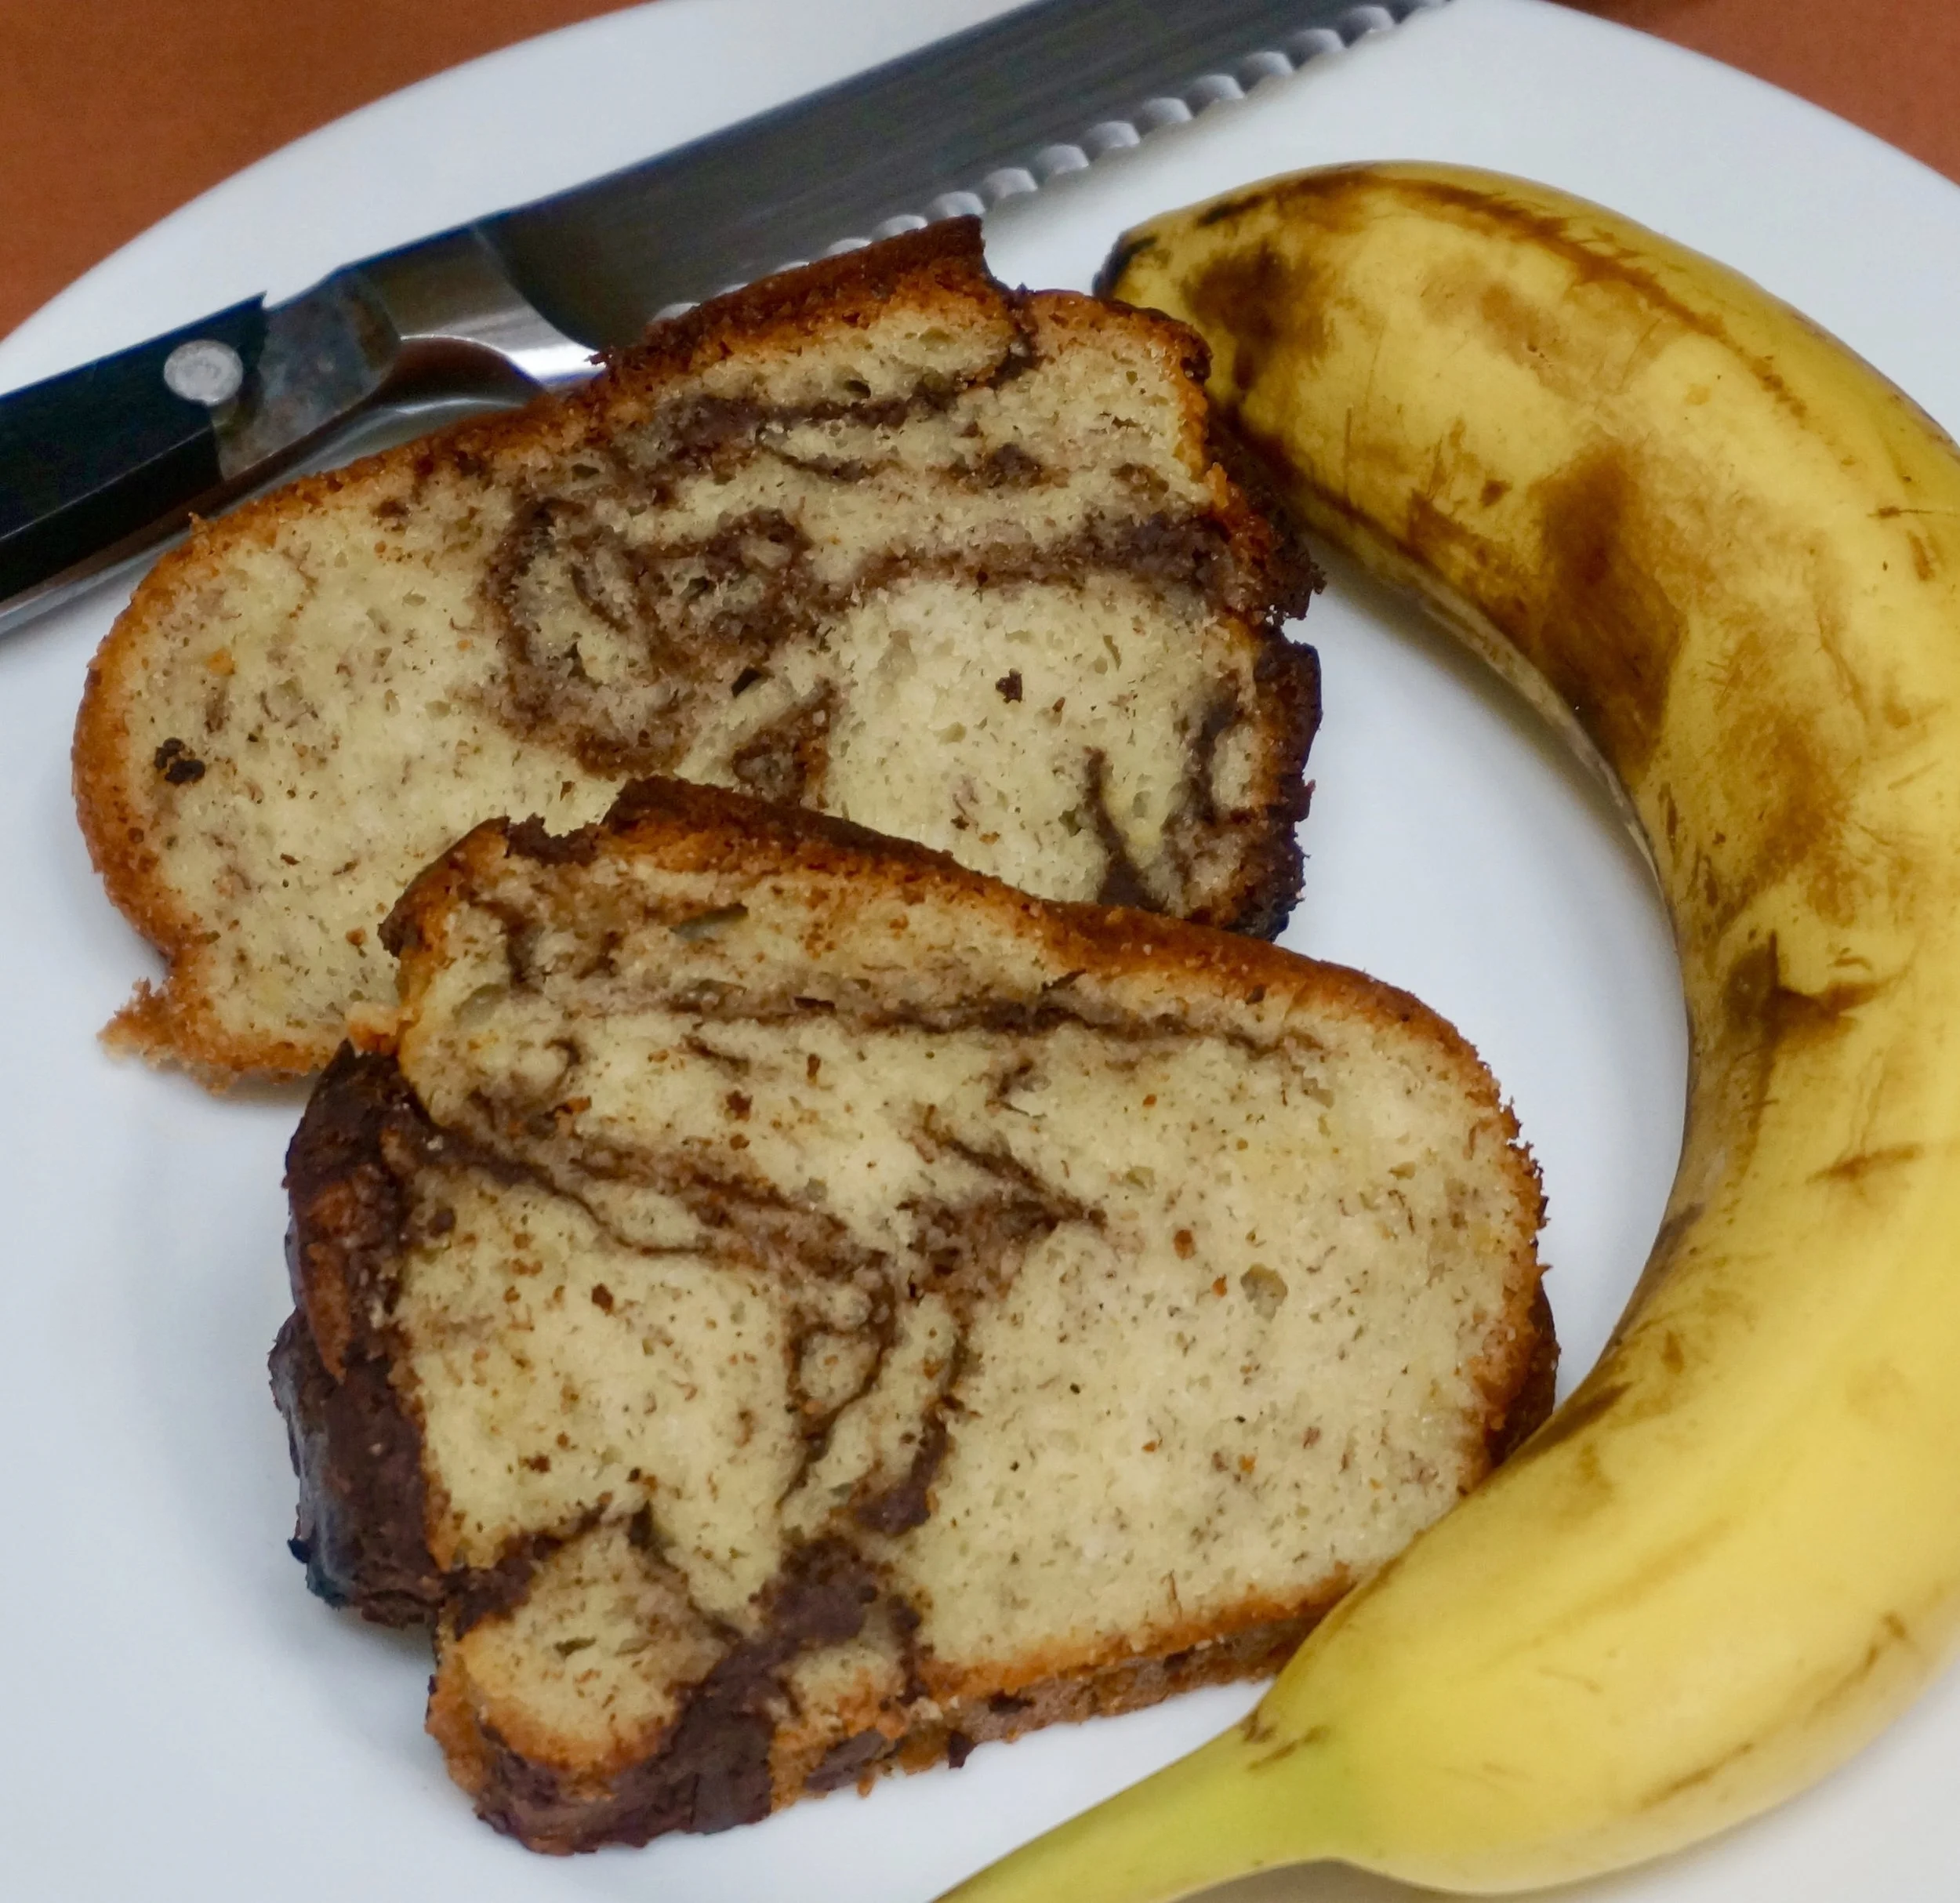
Banana Marble Cake

fullsizeoutput_828e.jpeg

Whenever my mother had leftover sour cream that was still safe to eat but had been hanging around the fridge for too long for it to taste fresh, she would use it to bake something. Like her marble cake. 

That cake was a simple wonder. Tender, vaguely sweet, with just enough melted chocolate swirling through the vanilla crumb. Rarely frosted, we ate it like coffee cake, just as is.

I've made that cake many times, and for the same reasons. Leftover sour cream (I also use leftover plain Greek yogurt when I have some). I've made it the original way and with coconut oil in place of shortening. 

Recently I had sour cream and yogurt leftover, the not exactly new kind.

I also had bananas left over. I always have bananas left over. I usually make banana bread with the leftover bananas.

So I took a cue from my mother and decided to bake marble cake. Using bananas.

So good.

Banana Marble Cake

  • 4 ounces semisweet chocolate
  • 2-1/2 cups all-purpose flour
  • 1 teaspoon salt
  • 2 teaspoons baking powder
  • 1/2 teaspoon baking soda
  • 1 cup sugar
  • 3 large eggs
  • 1 teaspoon vanilla extract
  • 1/2 cup vegetable oil
  • 4 very ripe medium bananas, mashed
  • 1 cup dairy sour cream or plain Greek yogurt 

Preheat the oven to 350 degrees. Grease and flour a (10-inch) 8-cup bundt pan. Melt the chocolate and set it aside. Mix the flour, salt, baking powder and baking soda together in a bowl and set aside. In the bowl of an electric mixer set at medium speed, beat the sugar and eggs for 2-3 minutes or until well blended. Add the vanilla extract and vegetable oil and beat for 1-2 minutes or until thoroughly blended. Add the bananas and sour cream and beat them in. Add the flour mixture and beat for 1-2 minutes or until the batter is well blended. Pour half the batter into the prepared pan. Pour in half the melted chocolate and swirl it into the batter using a knife or wooden spoon. Repeat with the remaining batter and melted chocolate. Bake for 50-60 minutes or until a cake tester inserted into the center comes out clean. Remove from the oven and let cool in the pan for 10 minutes. Remove to a cake rack to cool completely.

Makes one bread, serving 12-16


Winter Squash and Cranberry Muffins Perfect for Sleepovers

It's December already and I am still sorting through summer clothes and several newspaper articles from last March and April that I was going to read when I had more time.

Why am I always so far behind?

I should be posting about Hanukkah. But somehow I am more focused on New Year's weekend. Probably because I made some unbelievably delicious winter squash muffins recently.

That really isn't a non sequitur. I thought of these muffins because every year we celebrate the coming new year with my brother and sister-in-law and my cousins. The cousins sleep over for a few days. We watch a lot of movies. Watch a lot of British mystery tv (Morse, Endeavor, Foyle's War, etc.). We sit around and enjoy each other's company.

We used to drink a lot of wine but have slowed down over the years.

We used to eat much more too.

(You get older, you can't keep going quite the same way, the same amount, the same speed.)

Still, there are meals to consider.

Breakfasts are usually smoked fish, bagels and stuff like that. 

But every once in a while I like to break up the monotony and have at least one different something for breakfast.

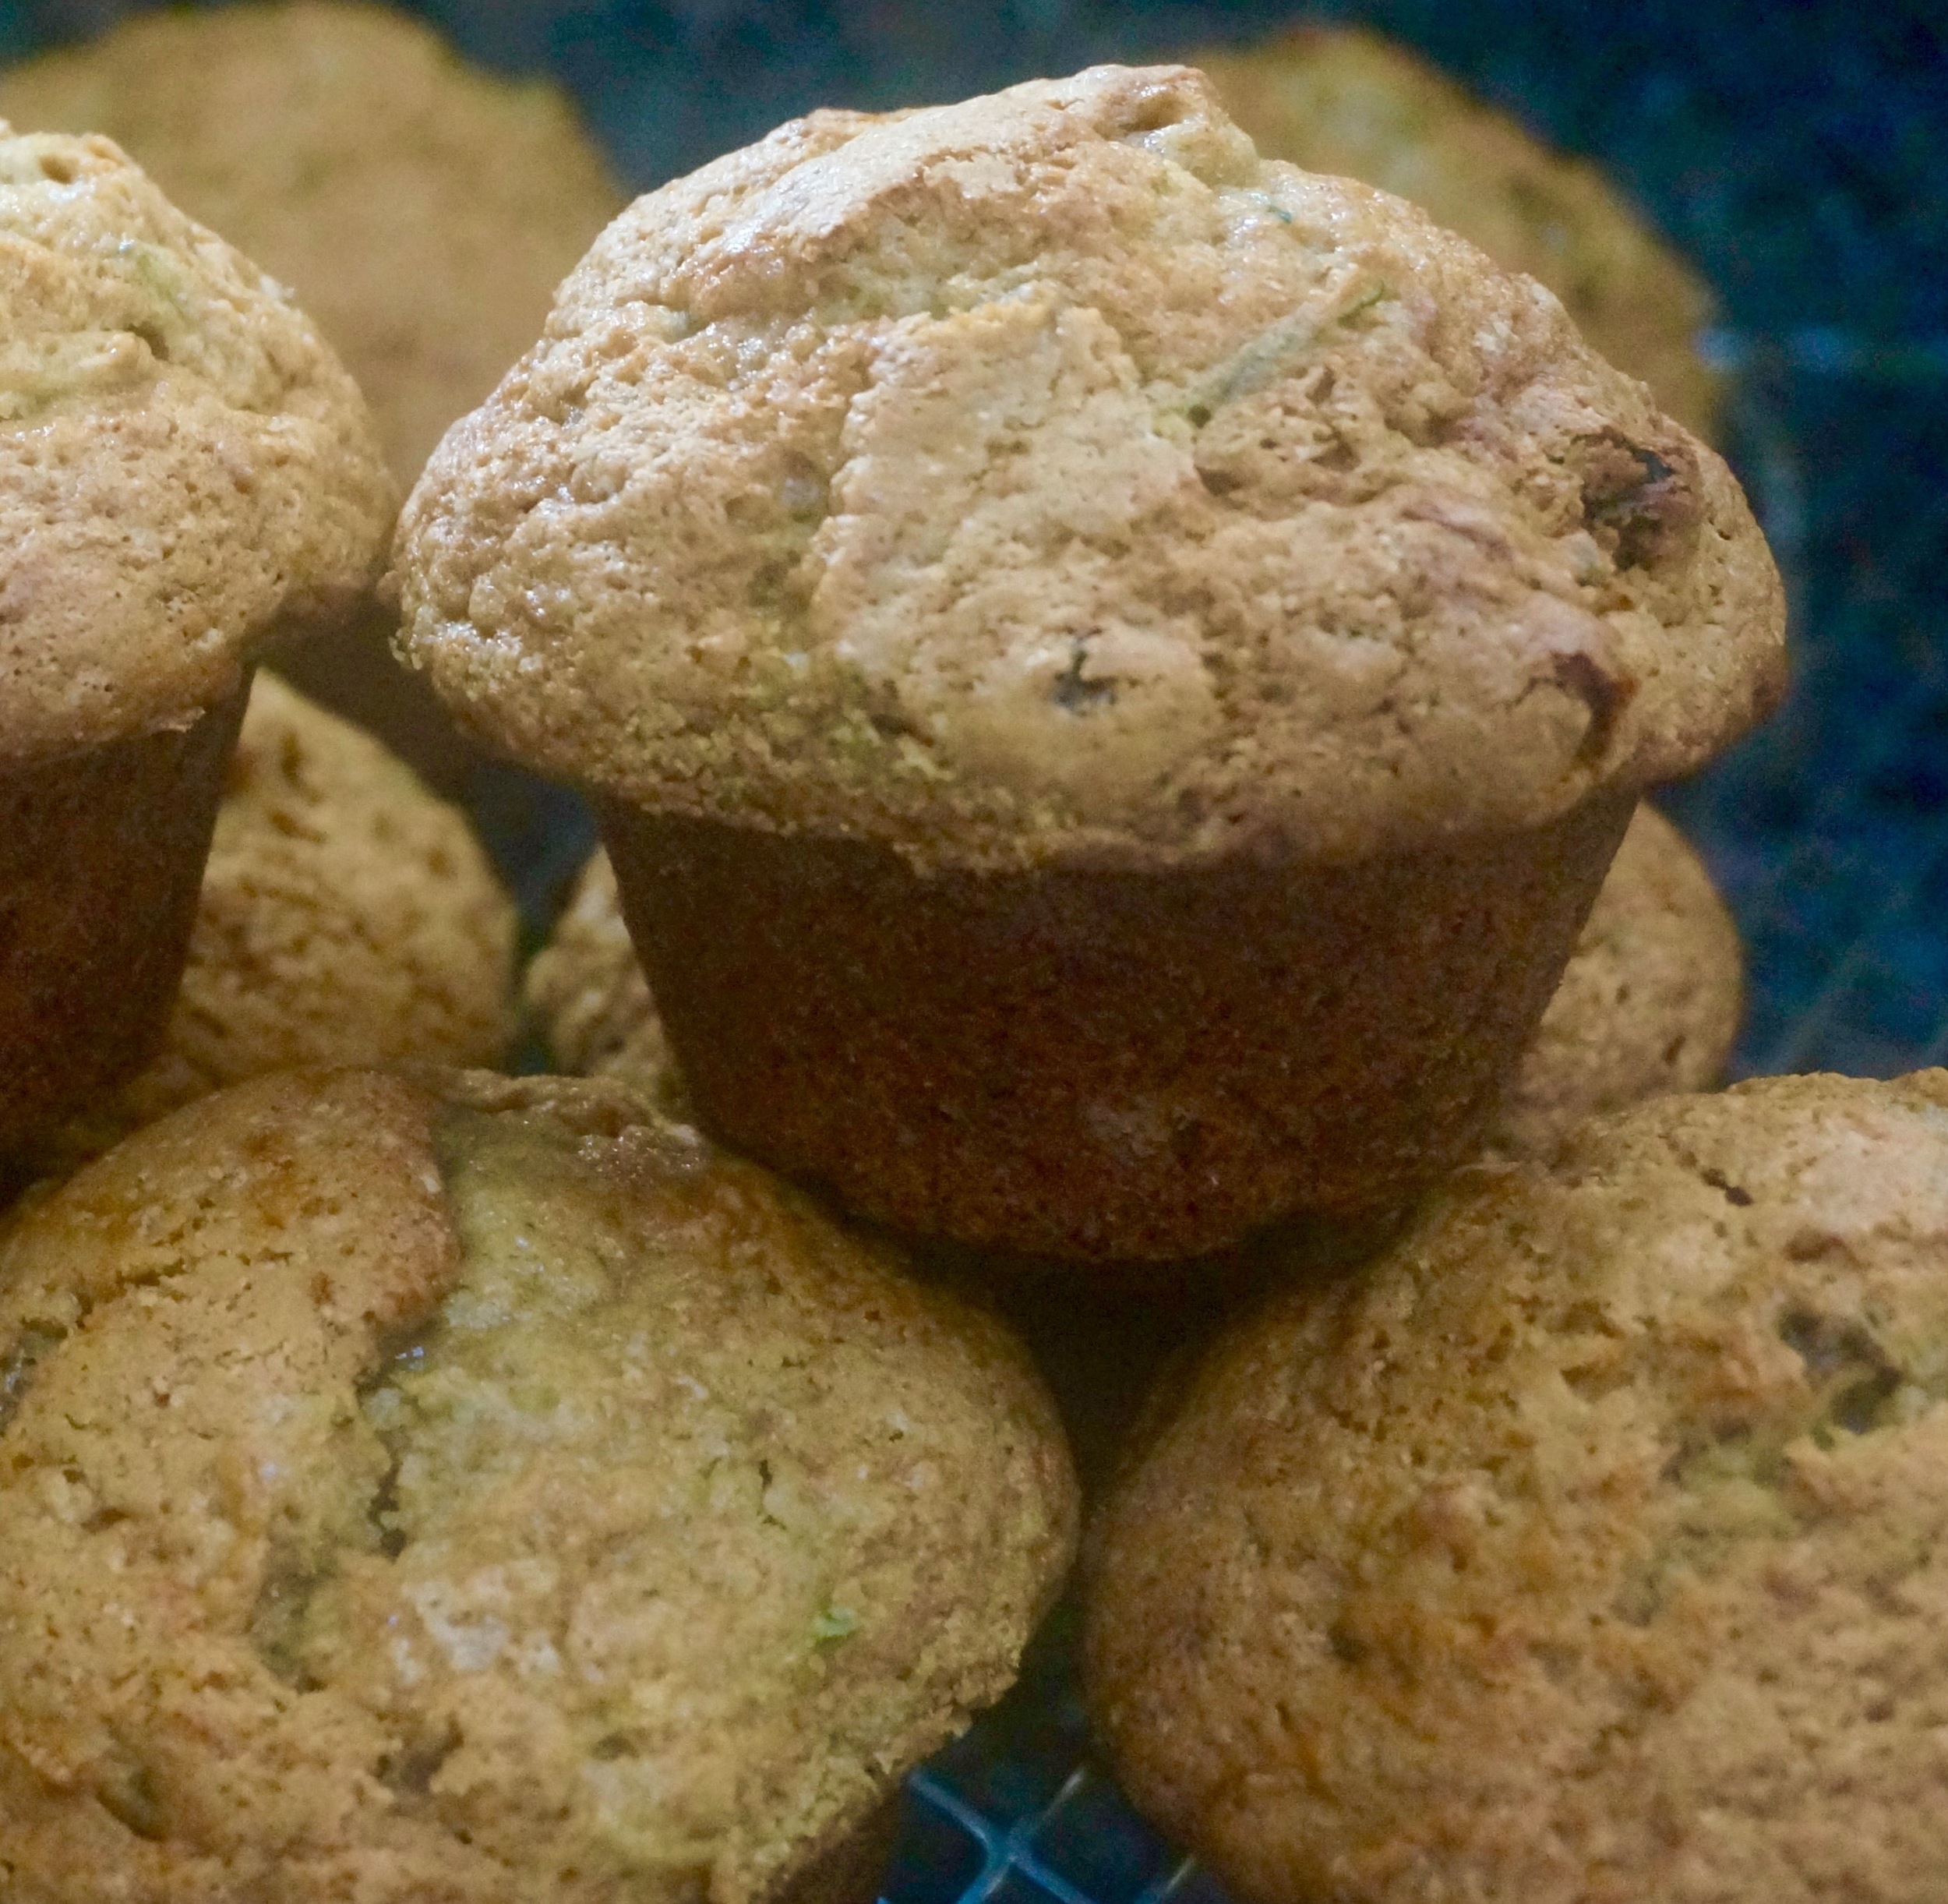
This year: those squash muffins I mentioned. I made a few batches recently and I can honestly say that they are the best muffins I ever ate. I've given some out as samples to my usual "tasters." Most of them also said they were the best muffins they ever ate. 

You'll see.

WINTER SQUASH-CRANBERRY MUFFINS

  • 1-3/4 cups all-purpose flour
  • 1 teaspoon baking soda
  • 1/2 teaspoon baking powder
  • 3/4 teaspoon salt
  • 3/4 teaspoon ground cinnamon
  • 1/2 teaspoon ground nutmeg
  • 1/4 teaspoon ground cloves
  • 1/4 teaspoon ground ginger
  • 2/3 cups sugar
  • 1/2 cup vegetable oil
  • 2 large eggs
  • 1/3 cup orange juice
  • 1 cup mashed cooked squash (or canned squash or pumpkin)
  • 3/4 cup fresh cranberries

Preheat oven to 400 degrees. Lightly grease 12 muffin tins. Combine the flour, baking soda, baking powder, salt, cinnamon, nutmeg, cloves and ginger and whisk the ingredients to distribute them evenly. Set aside. Beat the sugar and vegetable oil in the bowl of an electric mixer set at medium for a minute or so or until well combined. Add the eggs and beat them in. Add the orange juice and squash and blend them in thoroughly. Add the dry ingredients to the squash mixture and stir gently until just blended. Fold in the cranberries. Pour the mixture into the prepared tins. Bake for about 20 minutes or until a toothpick inserted into the centers comes out clean.

Makes 12 muffins


Carrot Spice and Honey Muffins

_DSC0119.jpg

I always make a few carrot dishes for Rosh Hashanah. It's tradition!

Most often it's soup, sometimes a side dish.

This year I baked carrot muffins. Big breakfast winner for everyone, especially the grandkids.

Freezable too, so you can have them on hand whenever you might have a need. Like Hallowe'en, Thanksgiving weekend.


Carrot Spice and Honey Muffins

  • 6 tablespoons unsalted butter
  • 2 cups all-purpose flour
  • 1-1/2 teaspoons baking powder
  • 1/2 teaspoon baking soda
  • 1/2 teaspoon salt
  • 1-1/2 teaspoons ground cinnamon
  • 1/2 teaspoon grated nutmeg
  • 1/4 teaspoon ground cloves
  • 2 large eggs
  • 1/2 cup firmly packed light brown sugar
  • 1 cup plain yogurt
  • 1/4 cup honey
  • 1 teaspoon vanilla extract
  • 2 cups shredded carrots
  • 1/2 cup golden raisins

Preheat the oven to 375 degrees. Lightly grease 12 muffin tins. Melt the butter and set it aside to cool. In a large bowl, whisk the flour, baking powder, baking soda, salt, cinnamon, nutmeg and cloves. Set aside. In another bowl, whisk the eggs, brown sugar, yogurt, honey, cooled butter and vanilla extract. Add the liquid mixture to the flour mixture and stir gently just until blended. Fold in the carrots and raisins. Spoon the batter into the prepared muffin tins. Bake for about 20 minutes or until a toothpick inserted into the center comes out clean and the muffins are golden brown. Let cool in the tins for 2-3 minutes, then remove the muffins to a rack to cool.

Makes 12  


Zucchini Muffins

_DSC9968.jpg

This summer I was finally able to grow tomatoes. I had lots of them and there are still more to come!

I feel as if I finally did it right because I have failed every year up to now.

It makes me confident about next year, and not just about tomatoes. I might try to grow peppers and string beans and all sorts of things.

Maybe even zucchini. Now's the time of year that several people I know are harvesting their zucchinis, and some are gigantic! I'd like to see those in my garden.

For now I have to rely on my neighbors' and friends' generosity!

Here's what I did with zucchini this week. These muffins are not too sweet so you can have them for breakfast as well as snack.


Zucchini Muffins

  • 3 cups all-purpose flour
  • 1 teaspoon cinnamon
  • 1/2 teaspoon nutmeg
  • 2 teaspoons baking soda
  • 1/2 teaspoon salt
  • 2/3 cup vegetable oil
  • 1 cup sugar
  • 1/2 cup brown sugar
  • 3 large eggs
  • 2 teaspoons vanilla extract
  • 3 cups grated fresh zucchini
  • 1 cup raisins, optional 

Preheat the oven to 375 degrees. Lightly grease 12 muffin tins. In a large bowl whisk the flour, cinnamon, nutmeg, baking soda and salt until thoroughly combined. In a separate bowl combine the vegetable oil, sugar, brown sugar, eggs, and vanilla extract and whisk until well blended. Add the liquid ingredients to the flour mixture and stir just until blended. Fold in the zucchini and optional raisins. Spoon the batter into the tins. Bake for about 20-25 minutes or until golden brown and a cake tester inserted into the center comes out clean. Cool in the pan on a wire rack for 5 minutes. Invert the muffins onto the rack to cool completely.

Makes 12


Banana Chocolate Cake

My grandson wanted to bake a cake with me. I think he actually liked the licking-out-the-bowl part the best and I actually was most thrilled that he came up with the idea about combining banana bread and chocolate cake.

I looked through my recipes for endless variations of banana bread. And chocolate cake. I fooled around with them, combining this and that from several of the recipes and came up with the one here. It's dairy-free, so his sister, my 3-1/2 year-old grand daughter, could eat some too. And we added some chocolate chips, just for good measure.

He did like the licking-out-the-bowl thing.

He also told me the cake was too dry. But I think that was because the temperature indicator on my oven has been cleaned so often for so many years that the numbers have disappeared and I can only estimate the proper cooking temperature. I do have an oven thermometer but that also needs "updating." so I don't know if the cake baked at exactly the right temperature.

Also, I forgot to set the timer.

Anyway, everyone else declared the cake delicious. Even my grandson said it was and would want it again when I finally decide what oven I want to get to replace the old one.

So here it is, the creation.

Banana Cocoa Chocolate Chip Cake

  • 1-3/4 cups flour
  • 3/4 cup unsweetened cocoa
  • 1 teaspoon salt
  • 2 teaspoons cinnamon
  • 2 teaspoons baking soda
  • 1 cup vegetable shortening
  • 1 cup sugar
  • 4 large very ripe bananas, mashed
  • 4 eggs, slightly beaten
  • 2 teaspoons vanilla extract
  • 1 cup chocolate chips

Preheat the oven to 350 degrees. Grease and flour a 10-inch (8-cup) bundt pan. Mix the flour, cocoa, salt, cinnamon and baking soda together in a bowl. In the bowl of an electric mixer beat the shortening and sugar at medium speed for 2-3 minutes or until well blended. Add the bananas and blend them in thoroughly. Add the eggs and vanilla extract and blend them in thoroughly. Add the flour mixture and beat until batter is well blended. Fold in the chocolate chips. Pour into the prepared pan and bake for 60-70 minutes or until a cake tester inserted into the center comes out clean. Remove from the oven and let cool in the pan for 10 minutes. Remove to a cake rack to cool completely.

Makes 16-18 servings


Classic Dairy Hamantaschen

You can't get through Purim without eating at least one hamantaschen.

It's tradition, and for me, a treat I look forward to every year. Hamantaschen are among my very favorite desserts.

Over the years I've tried dozens of different kinds from a variety of bakeries: the classics, filled with poppy seeds or with prune, apricot or raspberry lekvar, and in recent years some with more contemporary fillings including white chocolate and halvah and fig and rhubarb and so on.

The traditional fillings are the ones I love best. 

I usually buy hamantaschen at a place called The Bakery, in Plainview, New York. It's right across the street from my contact lens doctor, so in the past, whenever I had an appointment with him I'd go to the bakery and stuff my trunk with a dozen hamantaschen (also mandelbread, babka and a few other treats I can't get (as delicious) in Connecticut).

However, this year I had cataract surgery and don't wear contact lenses anymore! A good thing too because my contact lens doctor retired.

So am I going to drive all the way to Plainview, Long Island for hamantaschen when there is no other reason to go?

Well, I might.

But in the meantime I decided to make my own. I never made dessert hamantaschen before (I did make lamb-phyllo hamantaschen for a recipe contest though and won a jar of tahini from Soom Foods!).

Here's my dairy version of classic sweet hamantaschen. The dough is tender and vaguely flaky and very rich. The ones in the photo all got gobbled in a flash.

I will make more for sure. With classic prune and apricot lekvar filling.

Dairy Hamantschen

  • 2-1/4 cups all-purpose flour
  • 1/4 cup sugar
  • 1 teaspoon salt
  • 1 cup butter, cut into chunks
  • 8 ounces cream cheese, cut into chunks
  • 1 medium or large egg, beaten
  • lekvar (about one cup)

Place the flour, sugar and salt in the bowl of an electric mixer and mix briefly. Add the butter and cream cheese and mix on low-medium speed for a minute or so until the mixture is crumbly. Raise the speed to medium and continue to mix until a smooth dough has formed. Wrap the dough in plastic and refrigerate for at least 8 hours. Preheat the oven to 350 degrees. Using small chunks of dough at a time, roll the dough thin (about 1/8th-inch) and cut out circles with a 3-inch cookie cutter. Brush each circle lightly with the beaten egg. Place one slightly mounded teaspoon of lekvar in the middle of each circle. Bring up the sides to shape the circles into a triangle. Press the sides tightly to keep them from opening when they bake. Place the triangles on a lightly greased cookie sheet. Refrigerate for at least 30 minutes. Bake for about 30 minutes or until lightly browned.

Makes about 36

Cookies That Taste Like Home

I don't celebrate Christmas, but I do celebrate cookies. And cookies are a big part of the Christmas season. 

And so -- cookies.

When it comes to cookies, Lebkuchen is a seasonal special, with the magical fragrance of spices that make you feel warm and cozy when the weather's cold. I have tasted many many versions over the years, the best on a trip to Germany a few years ago.

So I tried my hand at baking some, a few recipes that were just okay. Then I baked these. My Hungarian friend Eva says they taste like "home." I took that as a win.

Happy holidays, whatever one you celebrate.

Lebkuchen Gingerbread Cookies

  • 3 cups minus 2 tablespoons all-purpose flour
  • 2 teaspoons grated fresh orange peel
  • 1 teaspoon ground cinnamon
  • 1 teaspoon ground ginger
  • 1/2 teaspoon ground cloves
  • 1/2 teaspoon ground allspice
  • 1/2 teaspoon grated nutmeg
  • 1/2 teaspoon baking soda
  • 1/2 teaspoon salt
  • 1/2 cup honey
  • 1/2 cup molasses
  • 3/4 cup brown sugar
  • 2 tablespoons coconut oil (or shortening or butter)
  • 1 tablespoon orange juice (or use lemon juice)
  • 1 large egg
  • all-purpose flour
  • candied ginger, dried cranberries, etc, optional

Combine the flour, orange peel, cinnamon, ginger, cloves, allspice, nutmeg, baking soda and salt in a large mixing bowl (or electric mixer bowl), whisk to distribute the ingredients evenly and set aside. Place the honey, molasses, brown sugar and coconut oil in a saucepan and cook over low-medium heat, stirring to blend the ingredients, until the coconut oil has melted and the liquid is smooth and evenly colored. Pour the liquid into the mixing bowl with the flour mixture. Add the orange juice and egg and mix ingredients thoroughly to make a smooth, evenly colored dough (about one minute at medium speed). The dough will be soft. Sprinkle the dough with some flour, wrap the dough or place it in a covered plastic container and refrigerate for at least 8 hours. Preheat the oven to 350 degrees. Lightly grease cookie sheets. Roll the dough (in portions) on a floured surface to a 1/4-inch thickness. Cut out shapes. Place the shapes on the prepared cookie sheets, leaving some space between the cookies. Garnish the center with optional ginger, etc., if desired. Bake for 10-12 minutes or until lightly golden. Remove the cookies from the oven and brush with icing while they are still warm.

Icing:

  • 1 cup sugar
  • 1/2 cup water
  • 1/4 cup confectioners sugar
  • 1/2 teaspoon vanilla extract

Prepare the icing while the cookies are baking. Place the sugar and water in a saucepan and cook, stirring to dissolve the sugar, for 1-2 minutes. Remove from the heat and whisk in the confectioners sugar and vanilla. Brush on the cookies while they are still warm.

Makes about 3-1/2 dozen 2-inch cookies


Pear and Ginger Crisp

I always buy bananas. They don't get eaten, so then I make a variety of banana breads.

Recently I have been buying pears. They don't get eaten, so I've been making sauce and baked pears and crisps.

What is this? Do Ed and I just not like fresh fruit?

I guess so, when, at night, I see that we are munching on popcorn and nuts instead.

But I keep trying. Meantime, the banana breads and the fruit crisps are very tasty. 

I just bought a lot of grapefruits. Let's see what happens.

Anyway, here's a recipe for a delightful pear crisp.


Pear and Ginger Crisp

filling:

  • 6 ripe pears
  • 2 tablespoons lemon juice
  • 1 teaspoon finely chopped or grated fresh ginger
  • 1/2 teaspoon ground cinnamon
  • 1/4 cup brown sugar
  • 2 tablespoons all-purpose flour
  • pinch of salt

crust:

  • 3/4 cup all-purpose flour
  • 1/4 cup old fashioned oats
  • 1/2 cup brown sugar
  • 1/4 teaspoon salt
  • 6 tablespoons butter, cold margarine or firm coconut oil


Preheat the oven to 400 degrees. 

To make the filling: peel, core and slice the pears and place them in a bowl. Add the lemon juice, ginger, cinnamon, brown sugar, flour and salt. Toss the ingredients gently and place in a baking dish. Set aside.

To make the crust: combine the flour, oats, brown sugar and salt in a bowl. Add the fat in chunks and work into the dry ingredients with hands or a pastry blender until the mixture resembles coarse meal. Scatter over the pear mixture. Bake for about 35 minutes or until the crust is golden brown. Let cool slightly before serving. Best if served warm.

 Makes 6-8 servings