dessert

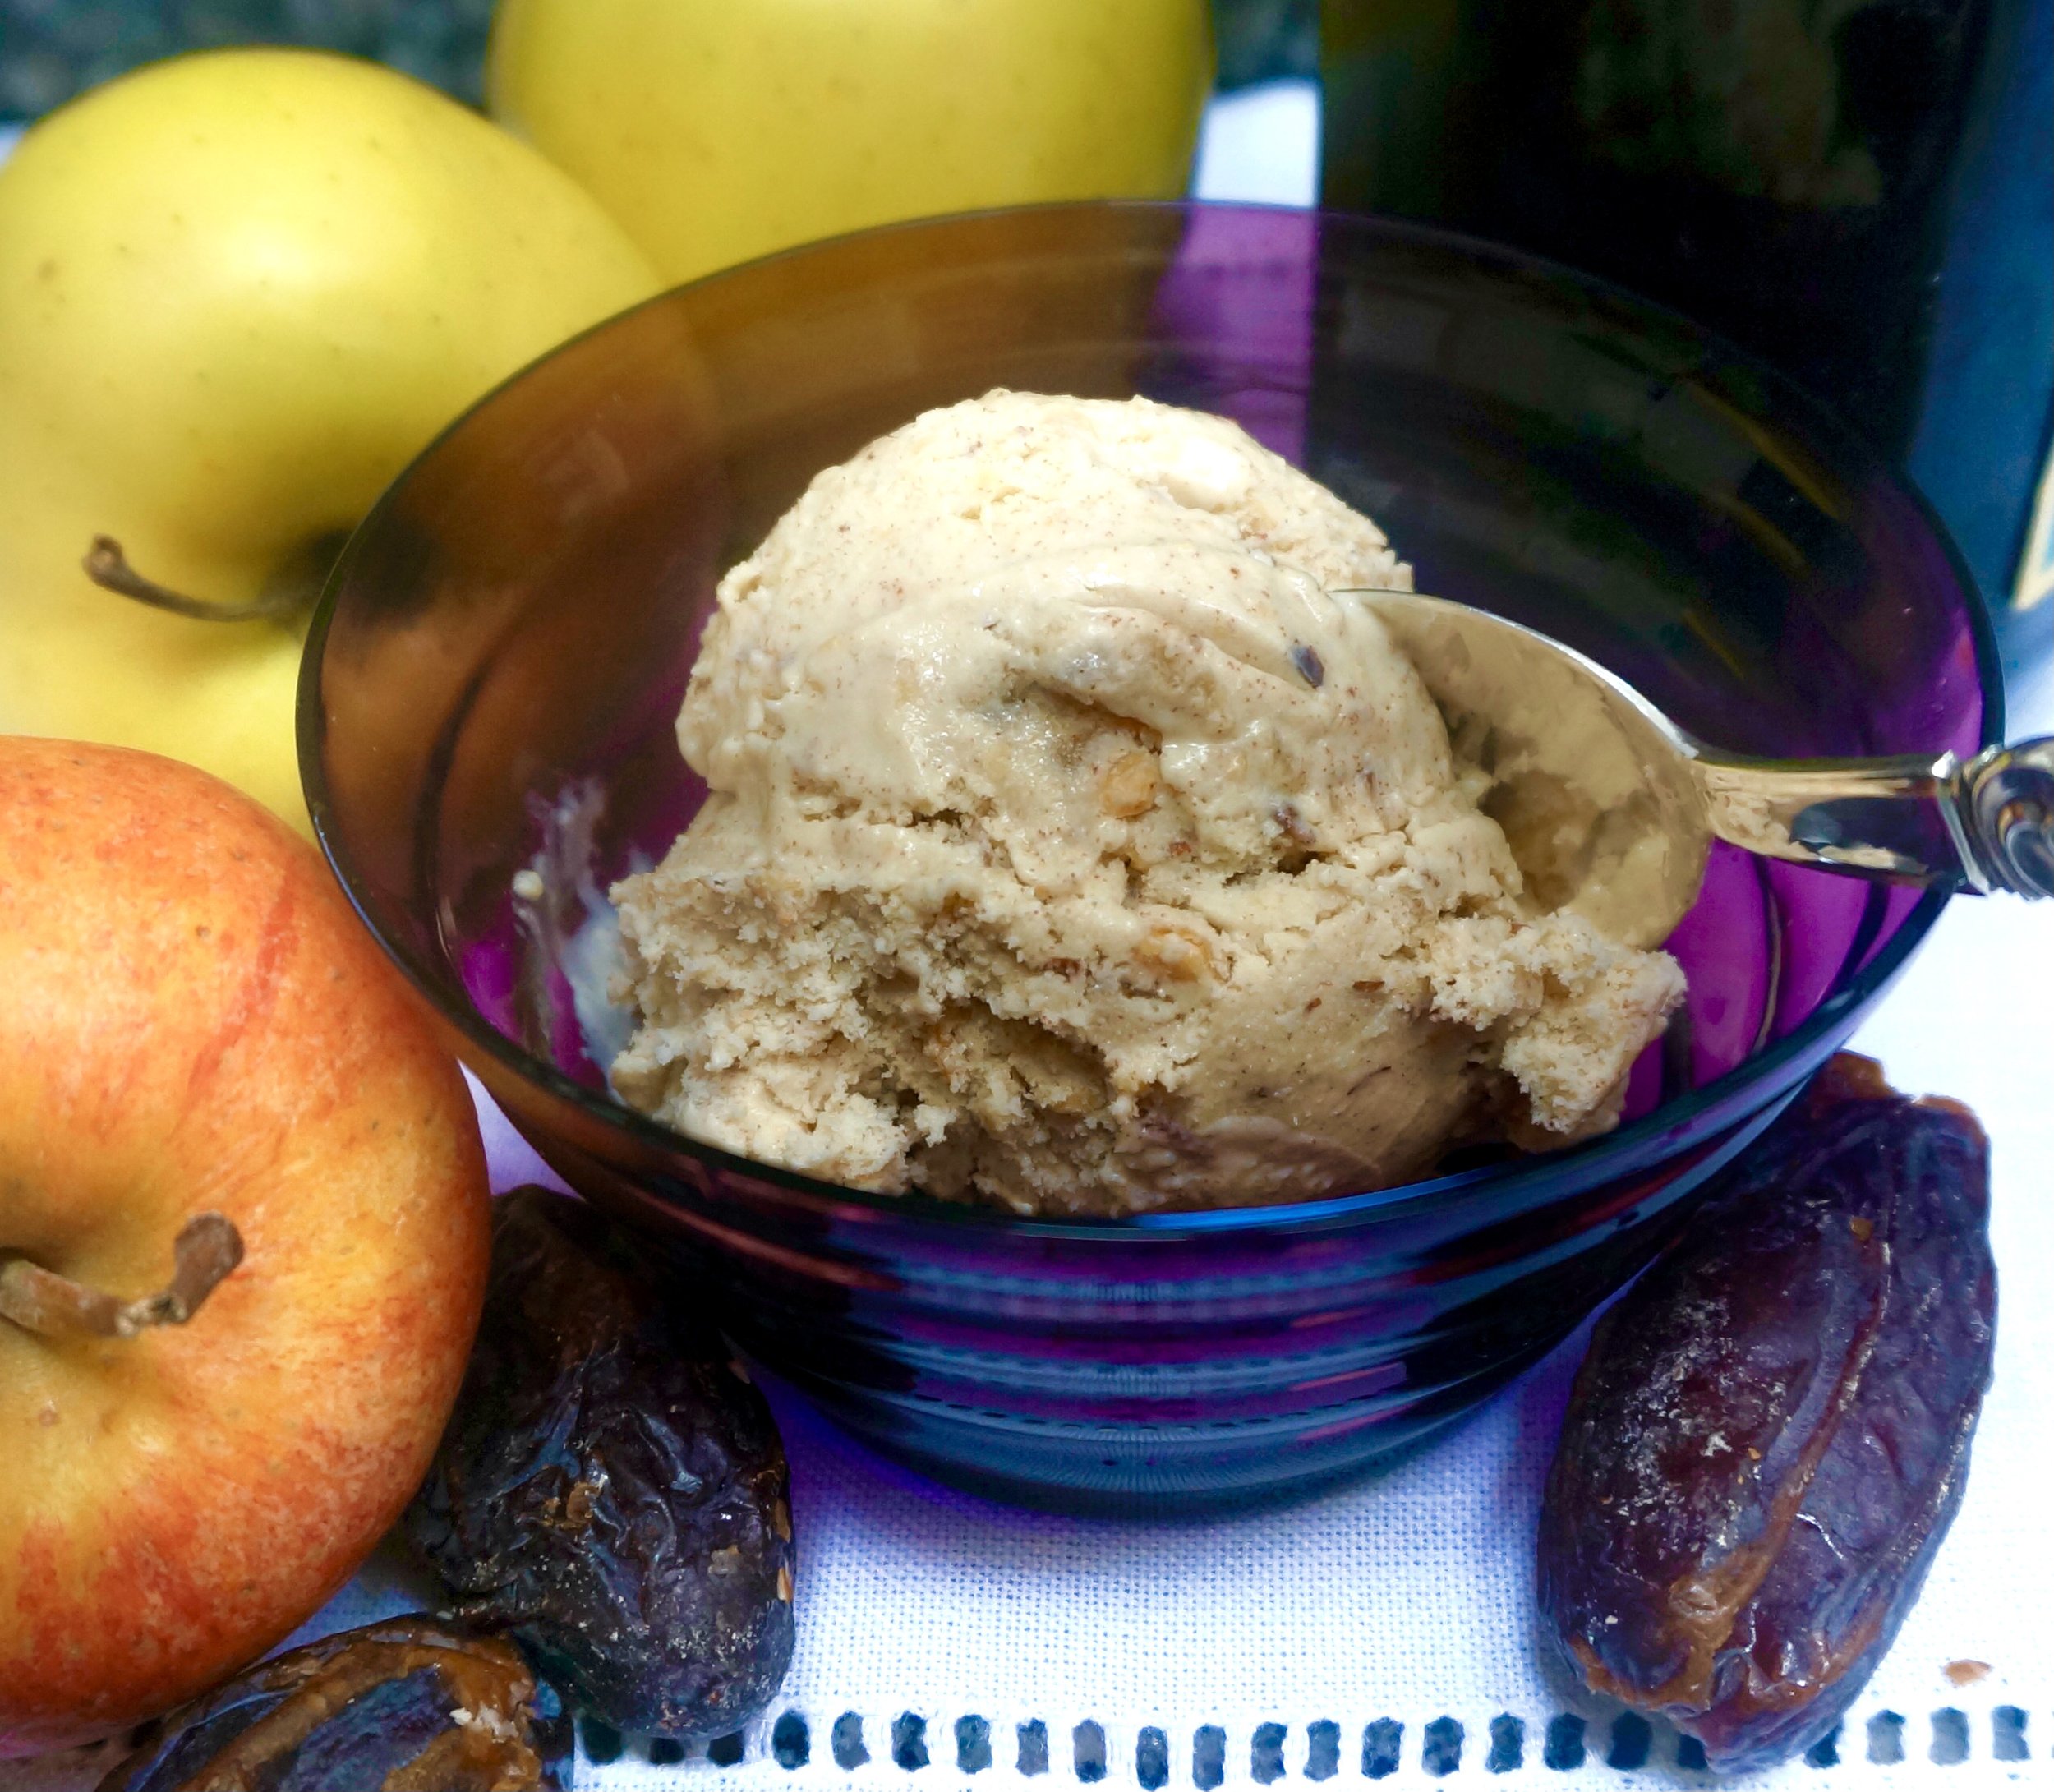
Charoset Ice Cream

Several years ago I created this recipe for charoset ice cream for an article in the Jewish Week Food & Wine (which, I am sad to say, no longer has a regular food/recipe column).

Back then (2015), Ben & Jerry’s had created a charoset flavored ice cream that was all the rage — but it was only available in Israel.

The mere mention of charoset ice cream piqued my interest. So I got to work and created my own version.

I have never tasted theirs. Don’t need to. This version is quite wonderfully delicious.

Charoset Ice Cream 

  • 1 tablespoon butter

  • 3 tablespoons brown sugar

  • 6 dates, preferably medjool, pitted and chopped

  • 2 small Golden Delicious or other sweet apples, peeled and chopped

  • 1/4 teaspoon cinnamon

  • 1/4 cup sweet Passover wine

  • 3 cups half and half, light cream or whipping cream

  • 1/2 cup sugar

  • 3 large egg yolks

  • 1/8 teaspoon salt

  • 1/3 cup chopped nuts, optional

Heat the butter in a saucepan over medium heat. When the butter has melted and looks foamy, add the brown sugar and mix it in. Add the dates and apples and stir the ingredients to distribute them evenly. Sprinkle in the cinnamon. Pour in the wine. Bring the liquid to a boil. Cover the pan, lower the heat and cook for 25-30 minutes or until the fruit is soft. Mash the fruit to make the mixture pasty and set it aside.  

While the fruit is cooking, heat 2 cups of the cream over medium heat until bubbles appear around the edges of the pan. In the bowl of an electric mixer, beat the sugar, the egg yolks and salt at medium speed for 3-5 minutes or until light and thick. Gradually add the heated cream and mix the ingredients completely. Return the mixture to the saucepan and cook over medium heat, stirring constantly, for 5-6 minutes or until thickened enough to coat the back of a spoon. Pour in the remaining cream and blend it in thoroughly. Stir in the fruit mixture. Refrigerate until cold (at least 45 minutes). Freeze in an ice cream freezer according to manufacturer’

Makes about 6 cups
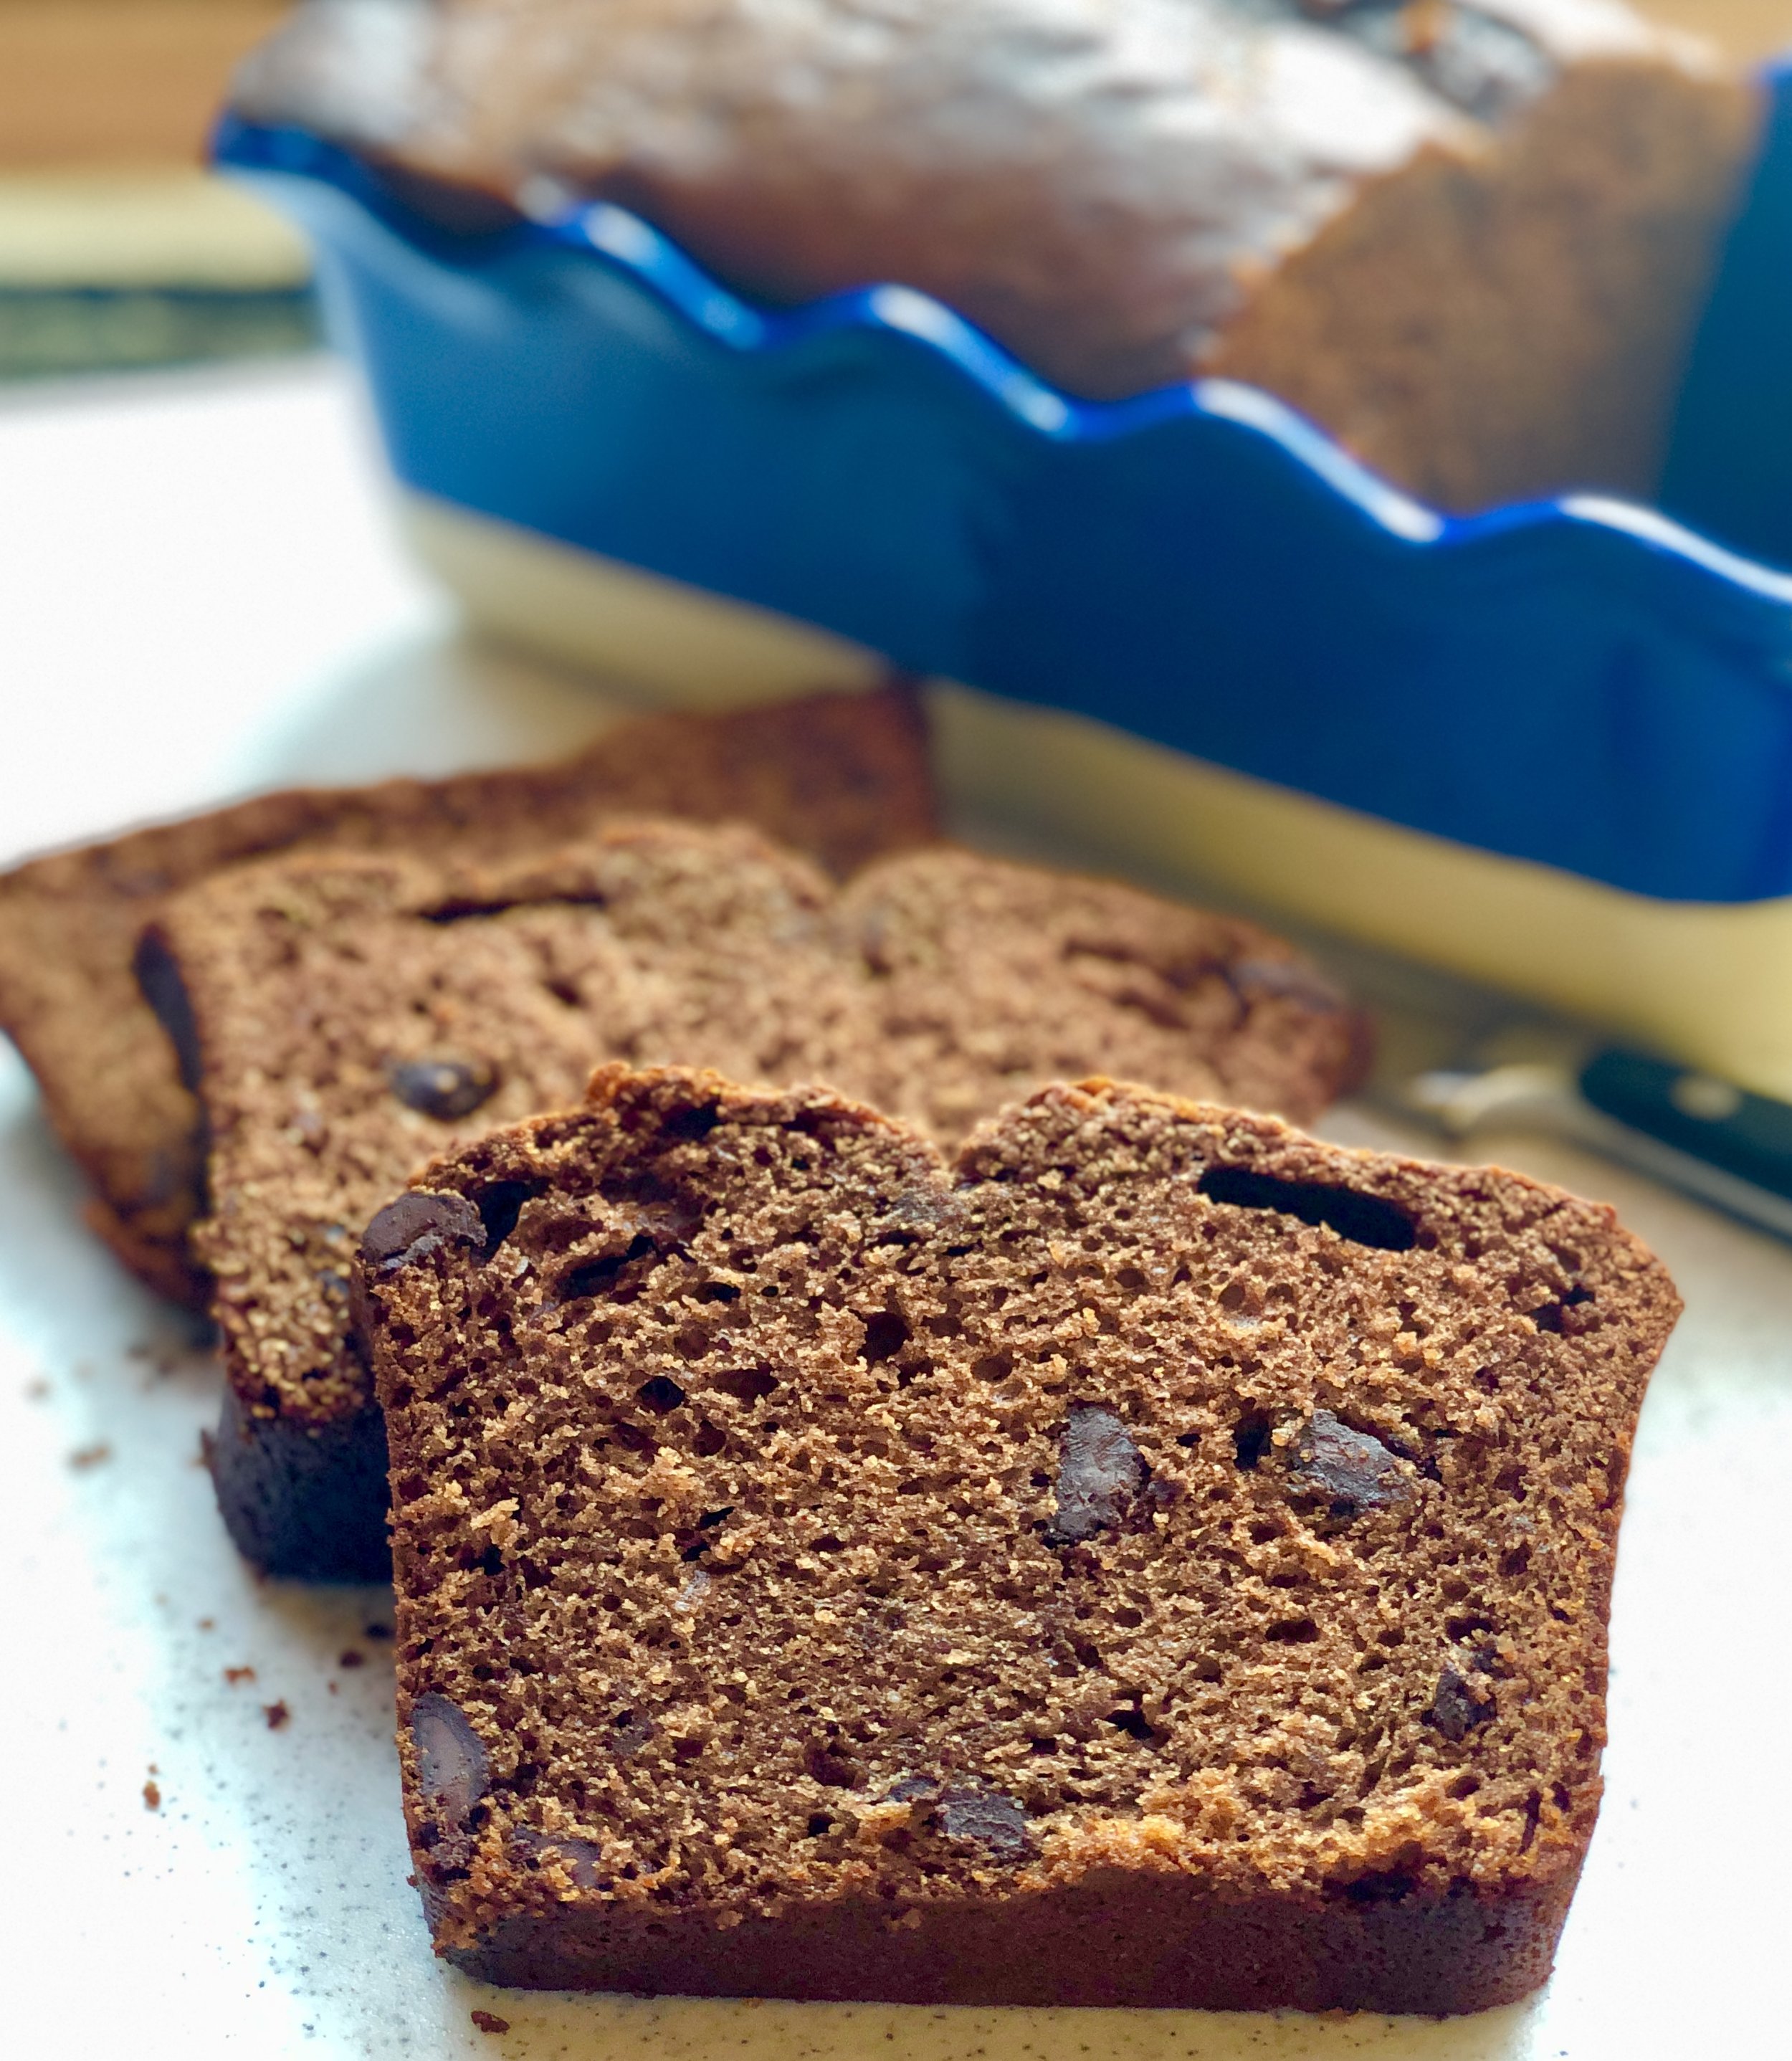
Chocolate Yogurt Bread

A few days ago @DanaLShrager (@JewishCooking Facebook group) asked for ideas — other than hamantashen — about what might make good mishloach manot for Purim. My suggestions included muffins, quickbreads and other homemade food goodies.

Like this chocolate bread. It’s rich and tender because it’s made with yogurt. It’s also easy to prepare and can be wrapped nicely to give away as a gift. You can add raisins or chopped nuts, or even leave out the chips. For sure, it’s a winner for Purim or any time.

Chocolate Yogurt Bread

  • 2 ounces unsweetened chocolate

  • 1-3/4 cups all-purpose flour

  • 1-1/2 teaspoons baking soda

  • 1 teaspoon salt

  • 1-1/4 cups sugar

  • 1/3 cup vegetable shortening

  • 2 large eggs

  • 2 teaspoons vanilla extract

  • 1-1/2 cups plain yogurt

  • 1/2 cup chocolate chips, optional

Preheat the oven to 350 degrees. Grease a 9”x5” loaf pan. Melt the chocolate and set it aside to cool. Mix the flour, baking soda and salt together and set it aside. In the bowl of an electric mixer set at medium, cream the sugar and shortening together. Add the eggs and vanilla extract and beat the mixture until it is smooth and creamy. Add the flour mixture, alternating with the yogurt. Stir in the chocolate and mix until ingredients are well blended. Stir in the chips, if used. Pour the batter into the loaf pan. Bake for 50-55 minutes or until a cake tester inserted into the center comes out clean. Cool in the pan for about 10 minutes, then invert onto a rack to cool completely. Makes one bread

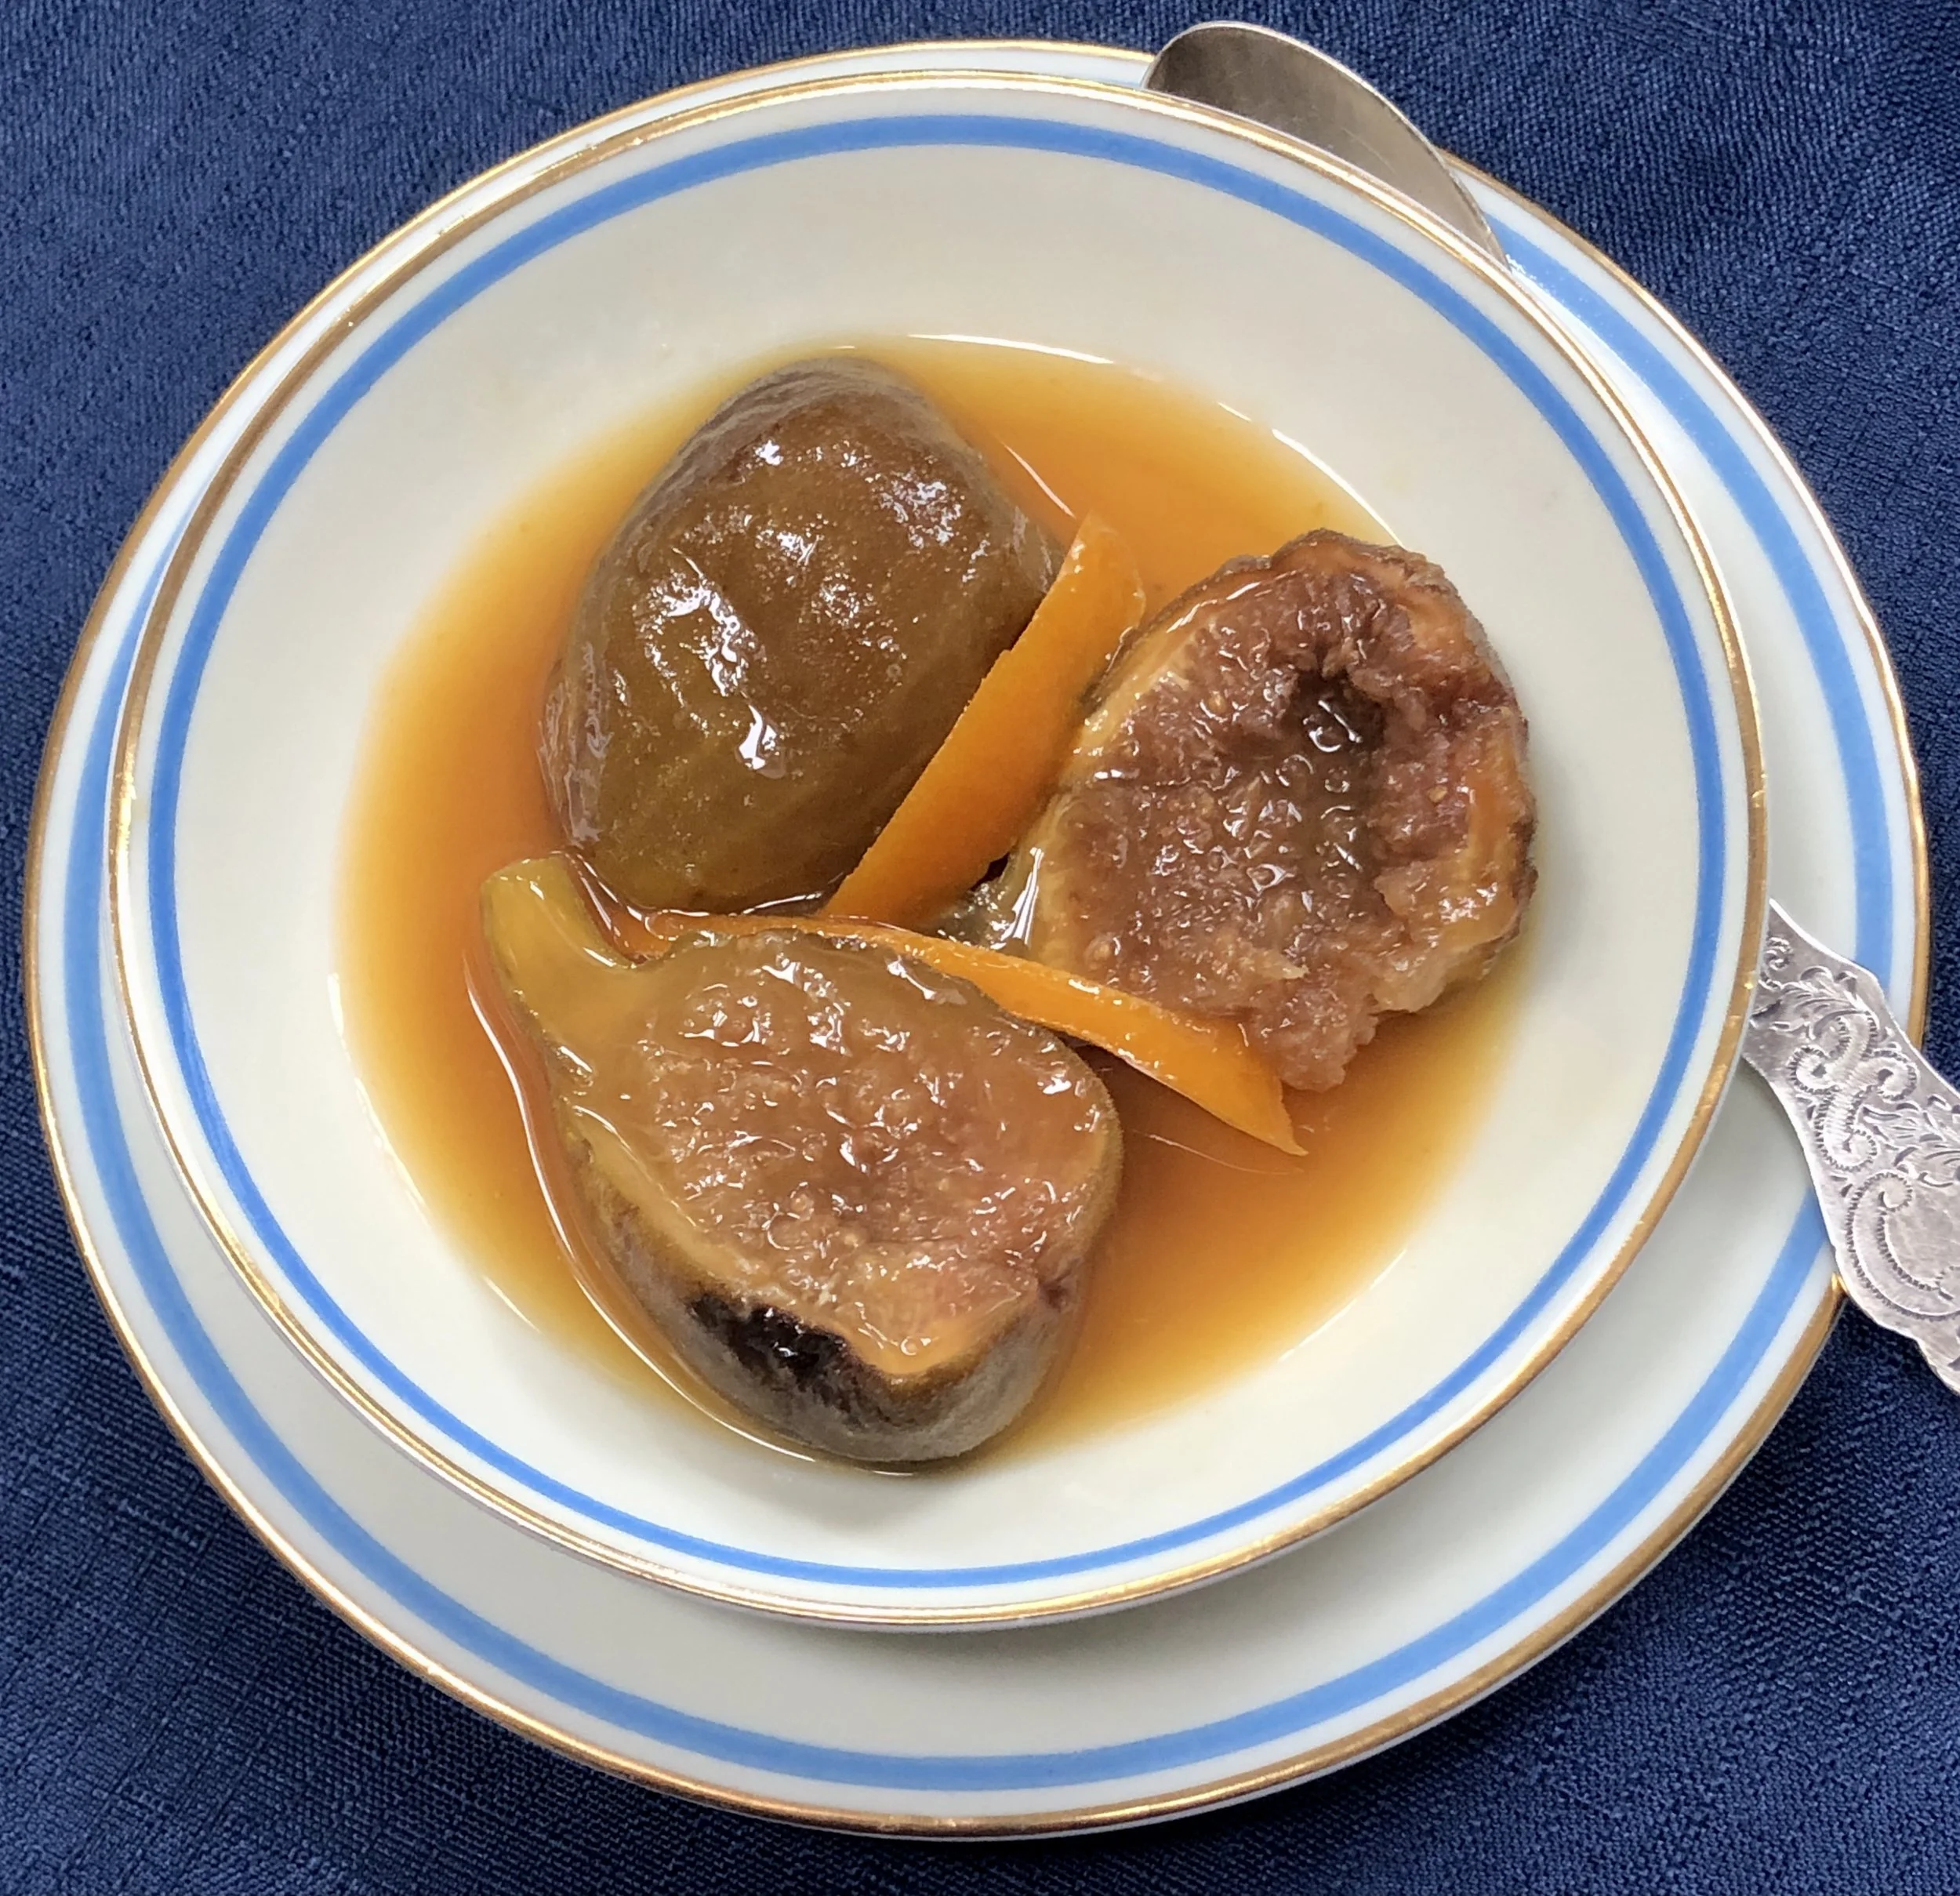
Poached Figs with Orange, Cinnamon and Ginger

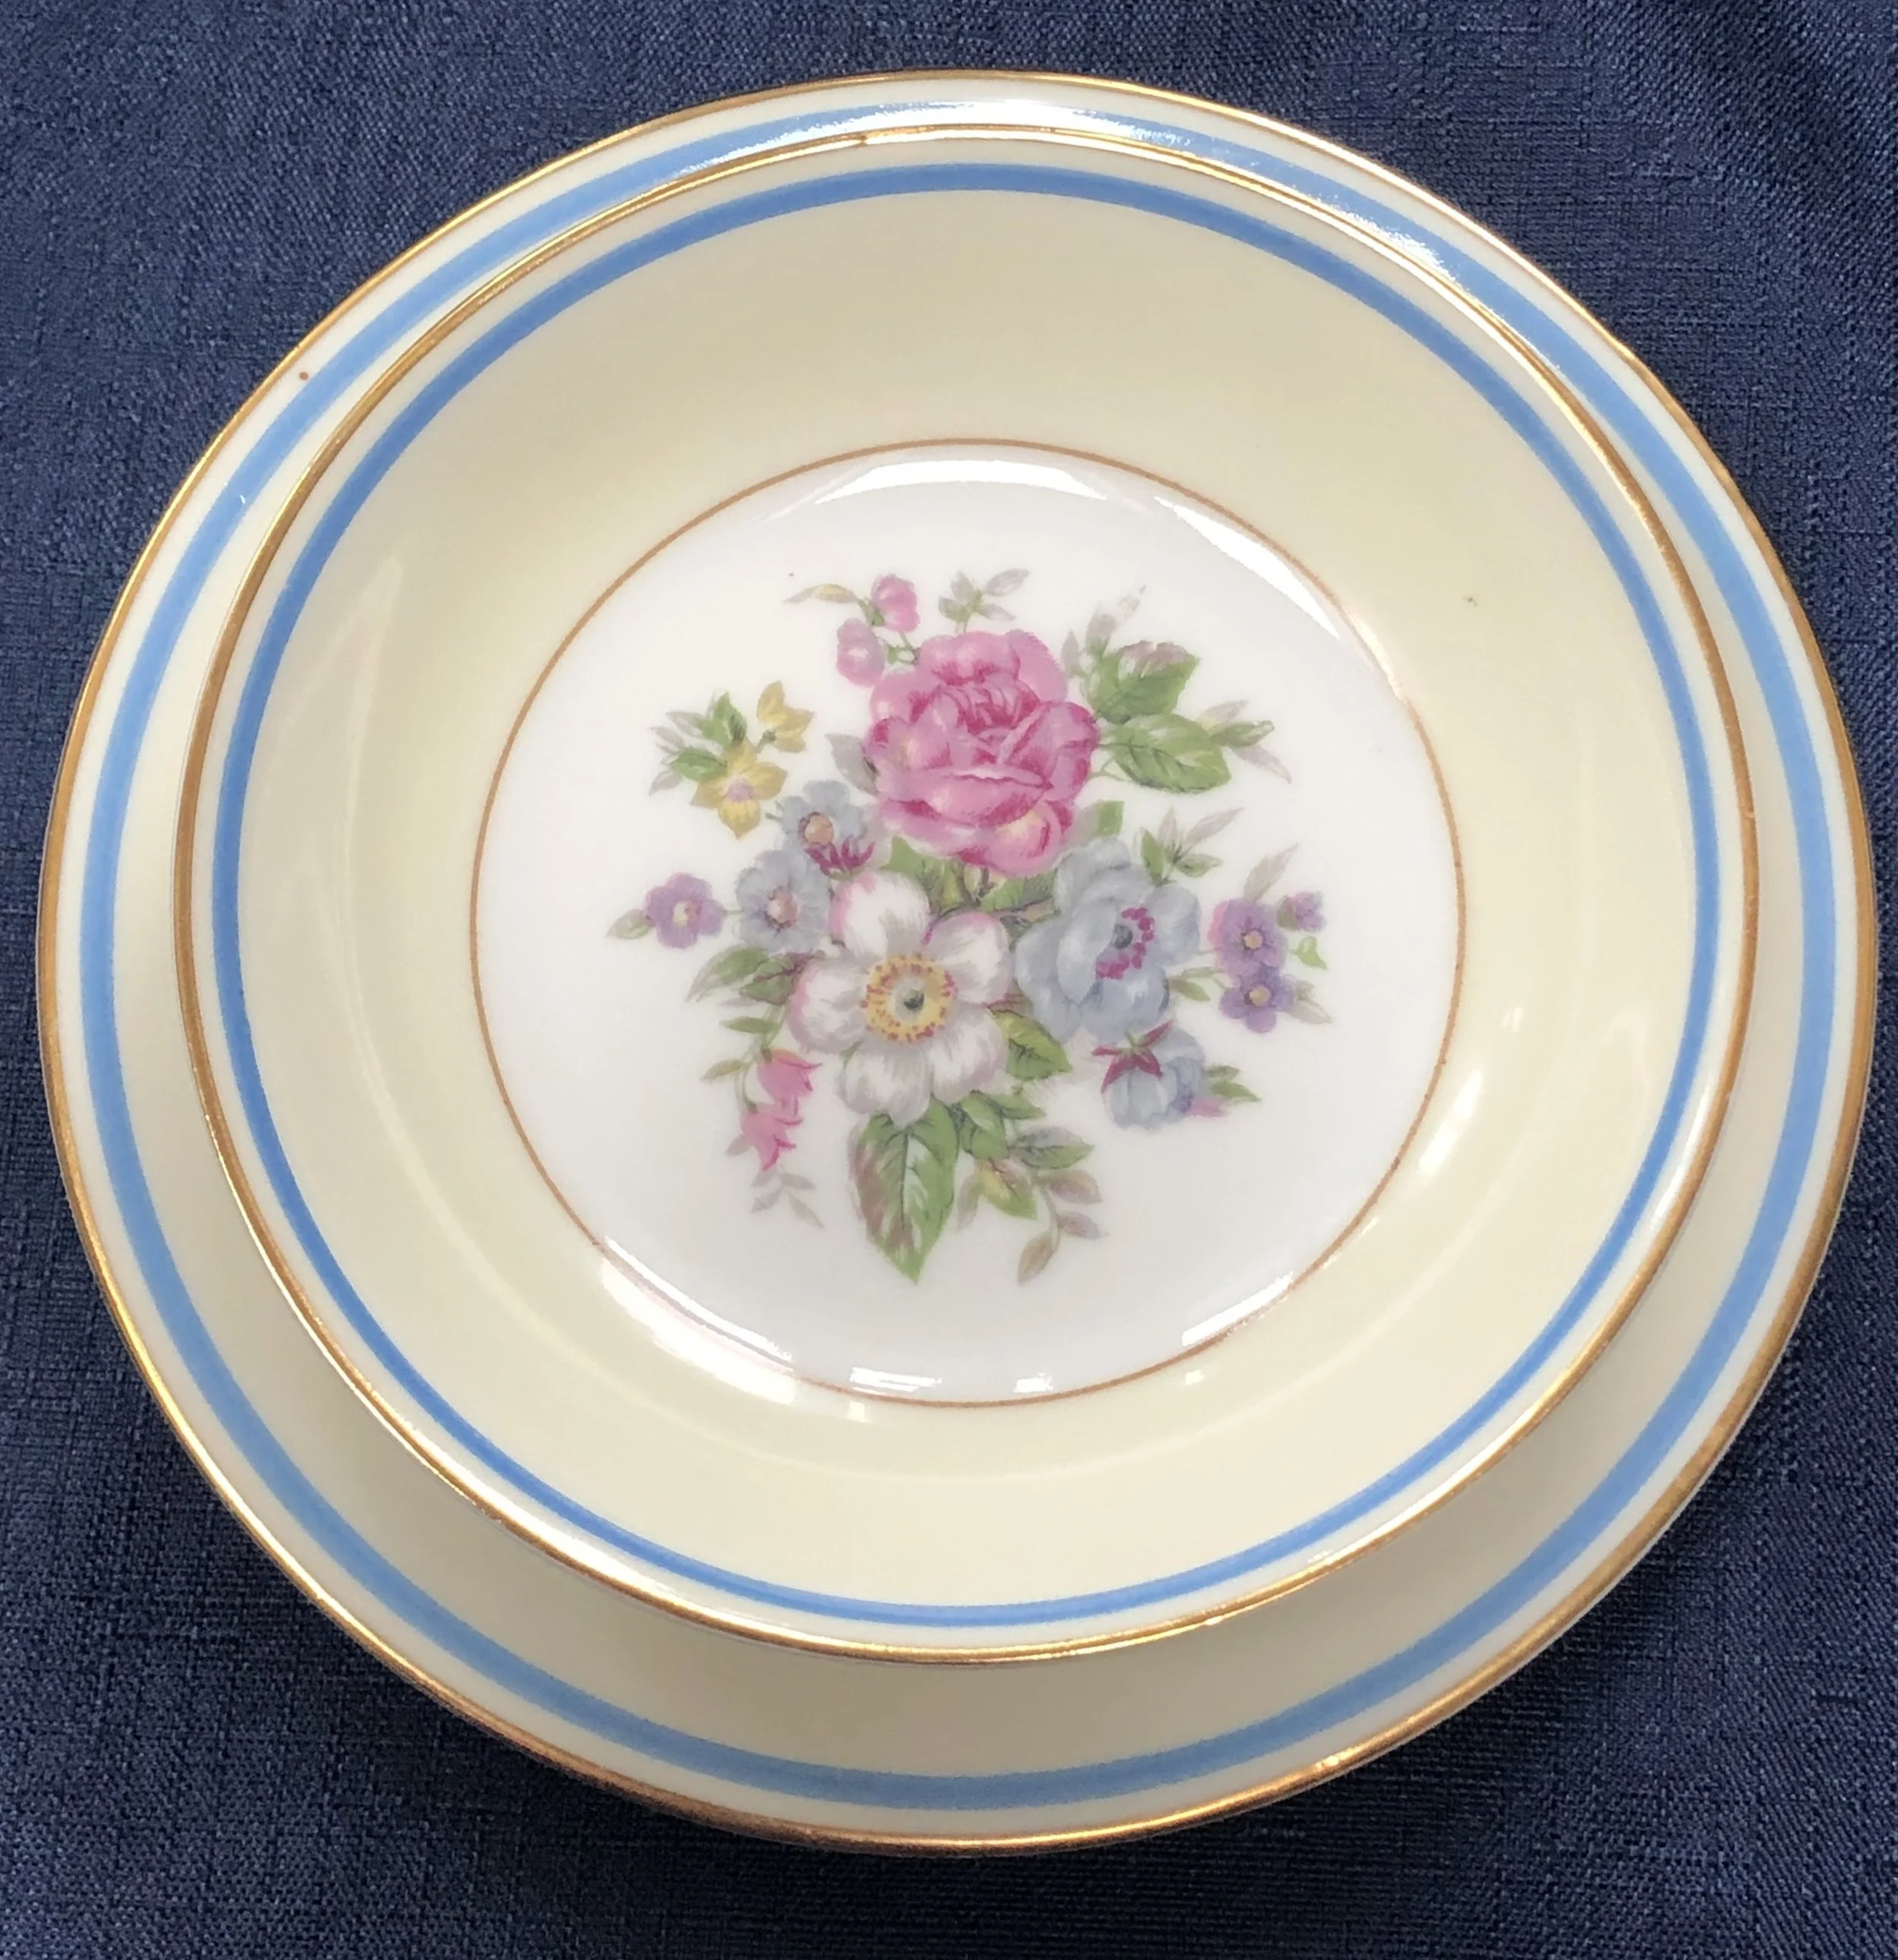
85 years ago today my father-in-law bought a set of “good” Limoges porcelain dishes for my mother-in-law, for their 5th anniversary.

By the time I met the Feins and became part of their family, they had moved on to other, more modern tableware, and this set, Charles Ahrenfeldt “Bouquet de France,” was tucked away in stackable storage bags in their pantry.

Many years later I inherited those dishes and saw them for the first time.

Of course, I didn’t love the why of my inheritance — who would? I was lucky. My in-laws were good, loving people.

But I did, and still do, love the dishes. I love the old fashioned floral centers, the slim blue and gold rims, the delicacy of Limoges.

Many of the dishes were chipped; several were missing from the service for 12. But over the years, Ed and I set out on a mission to replace them. Recently we were finally able to buy the fruit dishes in the photo above.

I use these dishes every day. I figure, why not? What am I saving them for?

And so I will serve dinner on the dinner plates tonight and for dessert? These luscious fresh figs, poached in orange juice and with a bit of citrusy spark from orange peel and fresh ginger.

I wish my in-laws a very happy 5th/90th anniversary! We will be celebrating. I wish they were here to celebrate with us.

POACHED FIGS WITH ORANGE, Cinnamon and Ginger

  • 1 cup orange juice

  • 1 cup water

  • 1/3 cup brown sugar

  • 1-inch chunk peeled fresh ginger, coarsely chopped

  • 2-inch piece of cinnamon stick, broken

  • 2 2-inch strips orange peel

  • 8-10 fresh green figs (cut in half if very large)

  • ice cream, whipped cream, sorbet, optional

Place the juice, water, brown sugar, ginger, cinnamon stick and orange peel in a saucepan and bring the liquid to a boil. Stir to blend the liquids, lower the heat and simmer for 15 minutes. Add the figs and simmer for another 5-8 minutes, or until the figs are tender. Remove the pan from the heat and let the ingredients cool. Remove the figs from the pan and cut each in half (if not already cut). Set aside. Strain the ingredients in the pan. Discard the solid ingredients. Pour the liquid back into the pan and cook over high heat for 5-6 minutes or until the liquid is syrupy (the consistency of maple syrup). Let the syrup cool. Before serving, some of the fig halves in serving dishes, pour some poaching syrup on top. If desired, place some ice cream, whipped cream or sorbet on top.

Makes 4-6 servings

Apple Pie for a President

Apple Pie for a President

Without getting into politics, I think it’s safe to say that at least one of our presidents — Abraham Lincoln — is and has been held in high regard for over a century and a half.

So, in his honor, in commemoration of President’s Day (February 19, 2024), I offer my Mom’s recipe for Lincoln’s favorite dessert: Apple Pie.

MOM’S APPLE PIE

CRUST:

  • 2-1/2 cups all-purpose flour

  • 1 teaspoon sugar

  • 3/4 teaspoon salt

  • 1/2 cup cold butter, cut into chunks

  • 1/3 cup cold vegetable shortening

  • 4-5 tablespoons liquid (water, milk, yogurt, juice, etc.)

Combine the flour, sugar and salt in a bowl. Add the butter and shortening and work the fats into the flour using your fingers or a pastry blender (or pulse in a food processor). Add the minimum quantity of liquid and work into the ingredients to form a dough, using the remaining liquid if necessary (or pulse in the food processor until a ball of dough forms). Wrap the dough in plastic wrap and let rest for at least 30 minutes before rolling. Makes enough for a 2-crust 9 or 10-inch pie

APPLE PIE FILLING

  • 3 pounds pie apples, peeled, cored and sliced

  • 2 tablespoons lemon juice

  • 1/2 cup sugar

  • 3/4 teaspoon ground cinnamon

  • 2 tablespoons all-purpose flour

  • 1 tablespoon butter, cut into pieces

  • 2 tablespoons milk, optional

Preheat the oven to 350 degrees F. Place the apples in a large mixing bowl and sprinkle with the lemon juice. Add the sugar, cinnamon and flour and toss the ingredients to mix them evenly. Roll out half the dough and fit into a 9 or 10-inch pie pan, leaving an excess overhanging the edge. Spoon the filling into the pan. Dot the apples with the bits of butter. Roll out the remaining dough and place it on top of the apple filling. Gather the top and bottom crusts at the edge of the pan and either press them with a fork to seal them together, or roll them slightly and press down to seal the edges, then flute the edge using your index finger and thumb. Cut holes in the dough using the tip of a sharp knife. Brush the surface of the top with the milk, if you like a darker crust. Bake for 50-60 minutes or until the crust is golden brown.

Makes 8 servings

Chocolate-Dipped Dried Fruit

I love when one idea works for so many different things. Take chocolate dipped dried fruit for instance. It’s easy to prepare. Who doesn’t like that? It’s a lovely Valentine’s gift (and a whole lot cheaper than boxed fancy candy!). It’s also a perfect mishloach manot gift for Purim (and a whole whole lot cheaper than a gift basket!). And here’s one more — it’s a delicious, sweet end to a Superbowl meal!

All of you have to do is melt chocolate, dip the fruit halfway in and place the dipped item on parchment paper or foil (it will set in about 30 minutes). Of course you can do the same thing with fresh fruit! How good is this!?

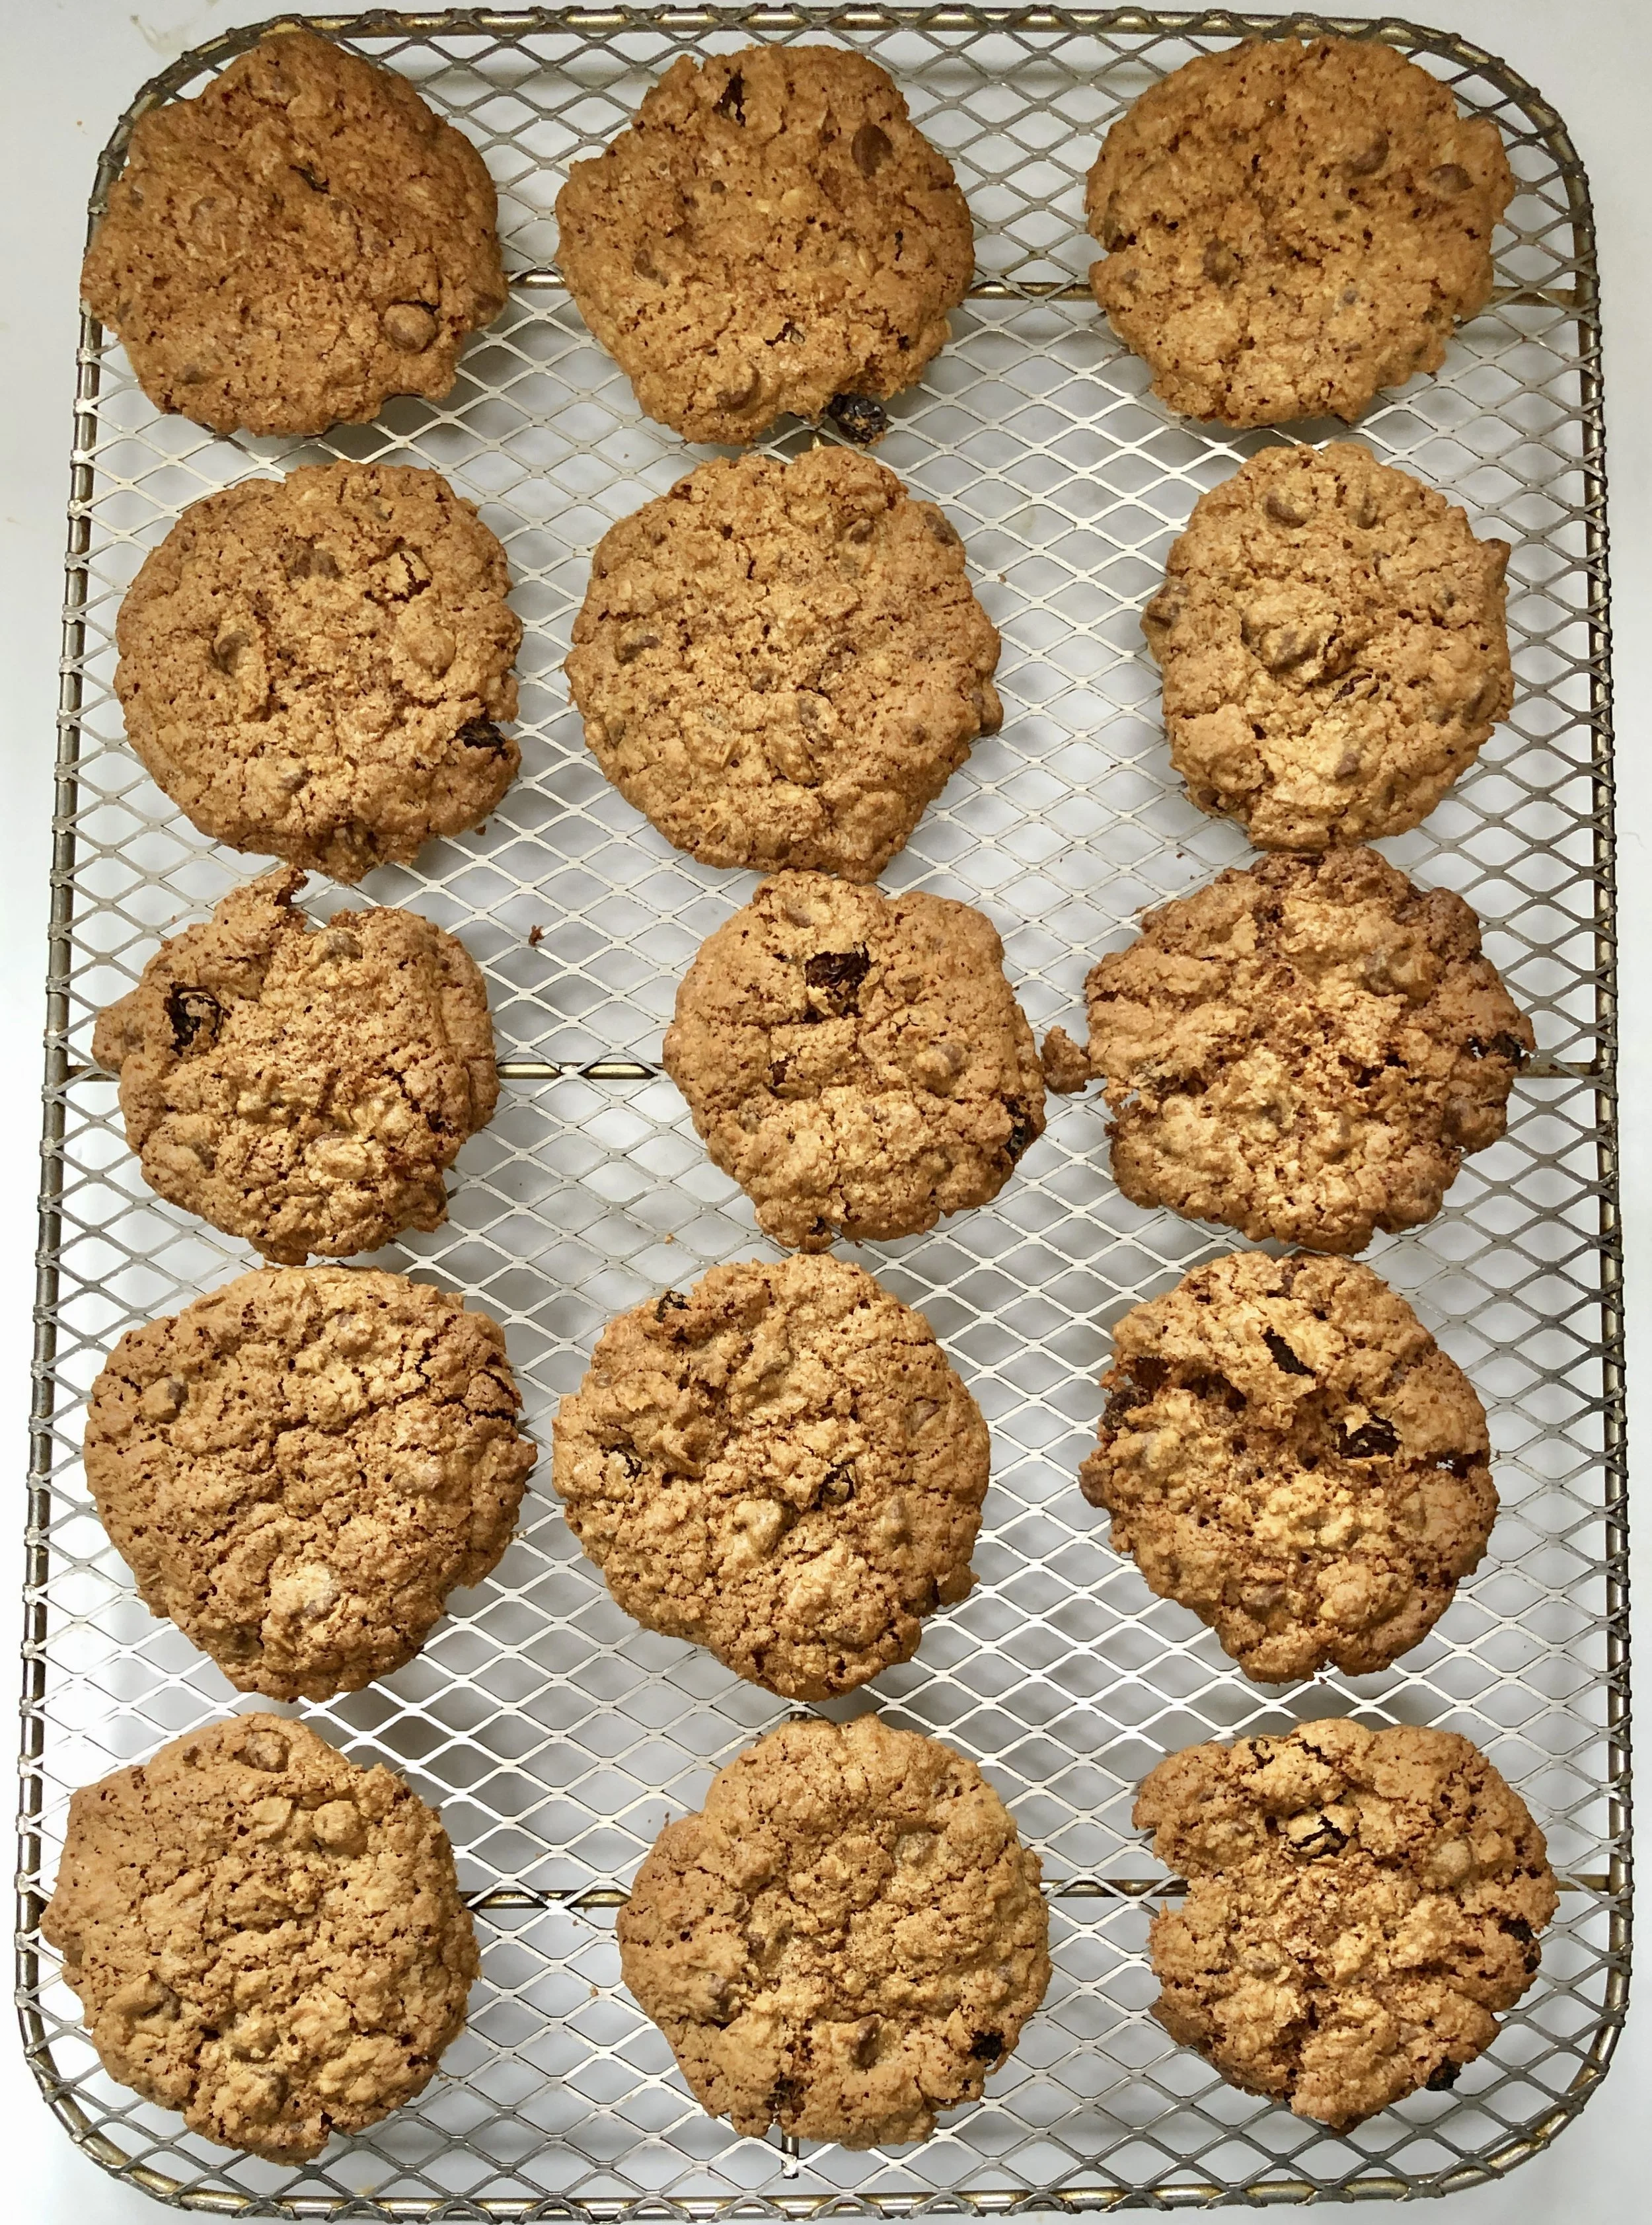
Nut-Free Grand Finale Cookies with Regular Oats

Nut-Free Grand Finale Cookies with Regular Oats

Another day, another batch of Nut-free Chocolate Chip Grand Finale Cookies. I only had one cup of quick cooking oats (recipes needs two) so I substituted old fashioned oats. The result? Fabulous texture but fragile! Several broke when I lifted them to a cooling rack. You don’t see those here because, well, breakfast …… #chocolatechipcookies #oatmealraisincookies #grandfinalecookies #nutfreecookies #cookies #cookiesofinstagram

NUT FREE CHOCOLATE CHUNK GRAND FINALE COOKIES

• 1 cup all-purpose flour
• 1-1/2 teaspoons baking soda
• 1-1/2 teaspoons baking powder
• 1-1/2 teaspoons ground cinnamon
• 1/2 teaspoon salt
• 3/4 cup unsalted butter
• 3/4 cup packed brown sugar
• 3/4 cup sugar
• 1 large egg
• 1/4 cup orange juice
• 1-1/2 teaspoons vanilla extract
• 2 cups quick cooking oats
• 2 cups chocolate chips
• 1 cup shredded coconut
• 1/2 cup raisins
Preheat the oven to 350 degrees. Lightly grease cookie sheets. Mix the flour, baking soda, baking powder, cinnamon and salt in a bowl and set aside. In the bowl of an electric mixer, beat the butter, brown sugar and sugar at medium speed for about 2 minutes or until smooth, creamy and well blended. Add the egg, orange juice and vanilla extract and beat them in, blending thoroughly. Add the flour mixture and blend it in thoroughly. Add the oats, chocolate chunks, coconut and raisins and mix them in. Scoop heaping tablespoons of dough and place on the cookie sheets, leaving some place between the blobs for the cookies to spread. Bake for 14-16 minutes or until golden brown and crispy. Let cool on the cookie sheets for 3 minutes then remove to a cake rack to cool completely.

Makes 36-42 cookies

Grandma's Stewed Fruit

Many of us over a certain age remember Grandma’s stewed fruit!

I call this Grandma’s Stewed Fruit even though it is way different than my grandma’s version, but I’m the grandma now……. and this is one of the many ways my grandkids have tasted this iconic dish.

It is one of the dishes I cooked for my Tu B’shevat class last week at Temple Beth El in Stamford, CT. I’ve made this so many times and keep changing the fruit, depending on what I actually have in my cupboard. The poaching liquid too — sometimes I use a different juice or add some white wine (I particularly love a German sweet wine). And of course — the seasonings. Cinnamon is always good but there’s also cloves, cardamom, dried coriander, mace, etc. to consider.

It’s always delicious, no matter how you cook it.

Eat some with yogurt for breakfast. Use it for dessert! Remember this for Passover. Or Break-the-fast. It’s versatile, attractive, useful, make-ahead! No wonder this is such an icon of Jewish cuisine.

Grandma’s Stewed Fruit 

  • 2 cups orange or orange/pineapple juice

  • 1-1/2 cups water

  • 1/4 cup maple syrup

  • 1 3” cinnamon stick

  • 2 tablespoons chopped crystallized ginger

  • 1 teaspoon cloves

  • 6-8 whole dried figs

  • 6-8 pitted Medjool dates

  • 1 cup dried apricot halves

  • 8-10 prunes

  • 1/2 cup golden raisins

Place the water, juice, maple syrup, cinnamon stick, ginger and cloves in a saucepan large enough to hold all the fruit. Bring to a boil over high heat. Turn the heat to medium-low and simmer for 15 minutes. Add the figs, dates, apricots, prunes and raisins and simmer another 15-20 minutes or until the fruit is soft. Let the fruit cool in the pan. Discard the cinnamon stick and cloves. Let cool. Serve with the poaching liquid.

Makes 8 servings


Lemon Ice Cream

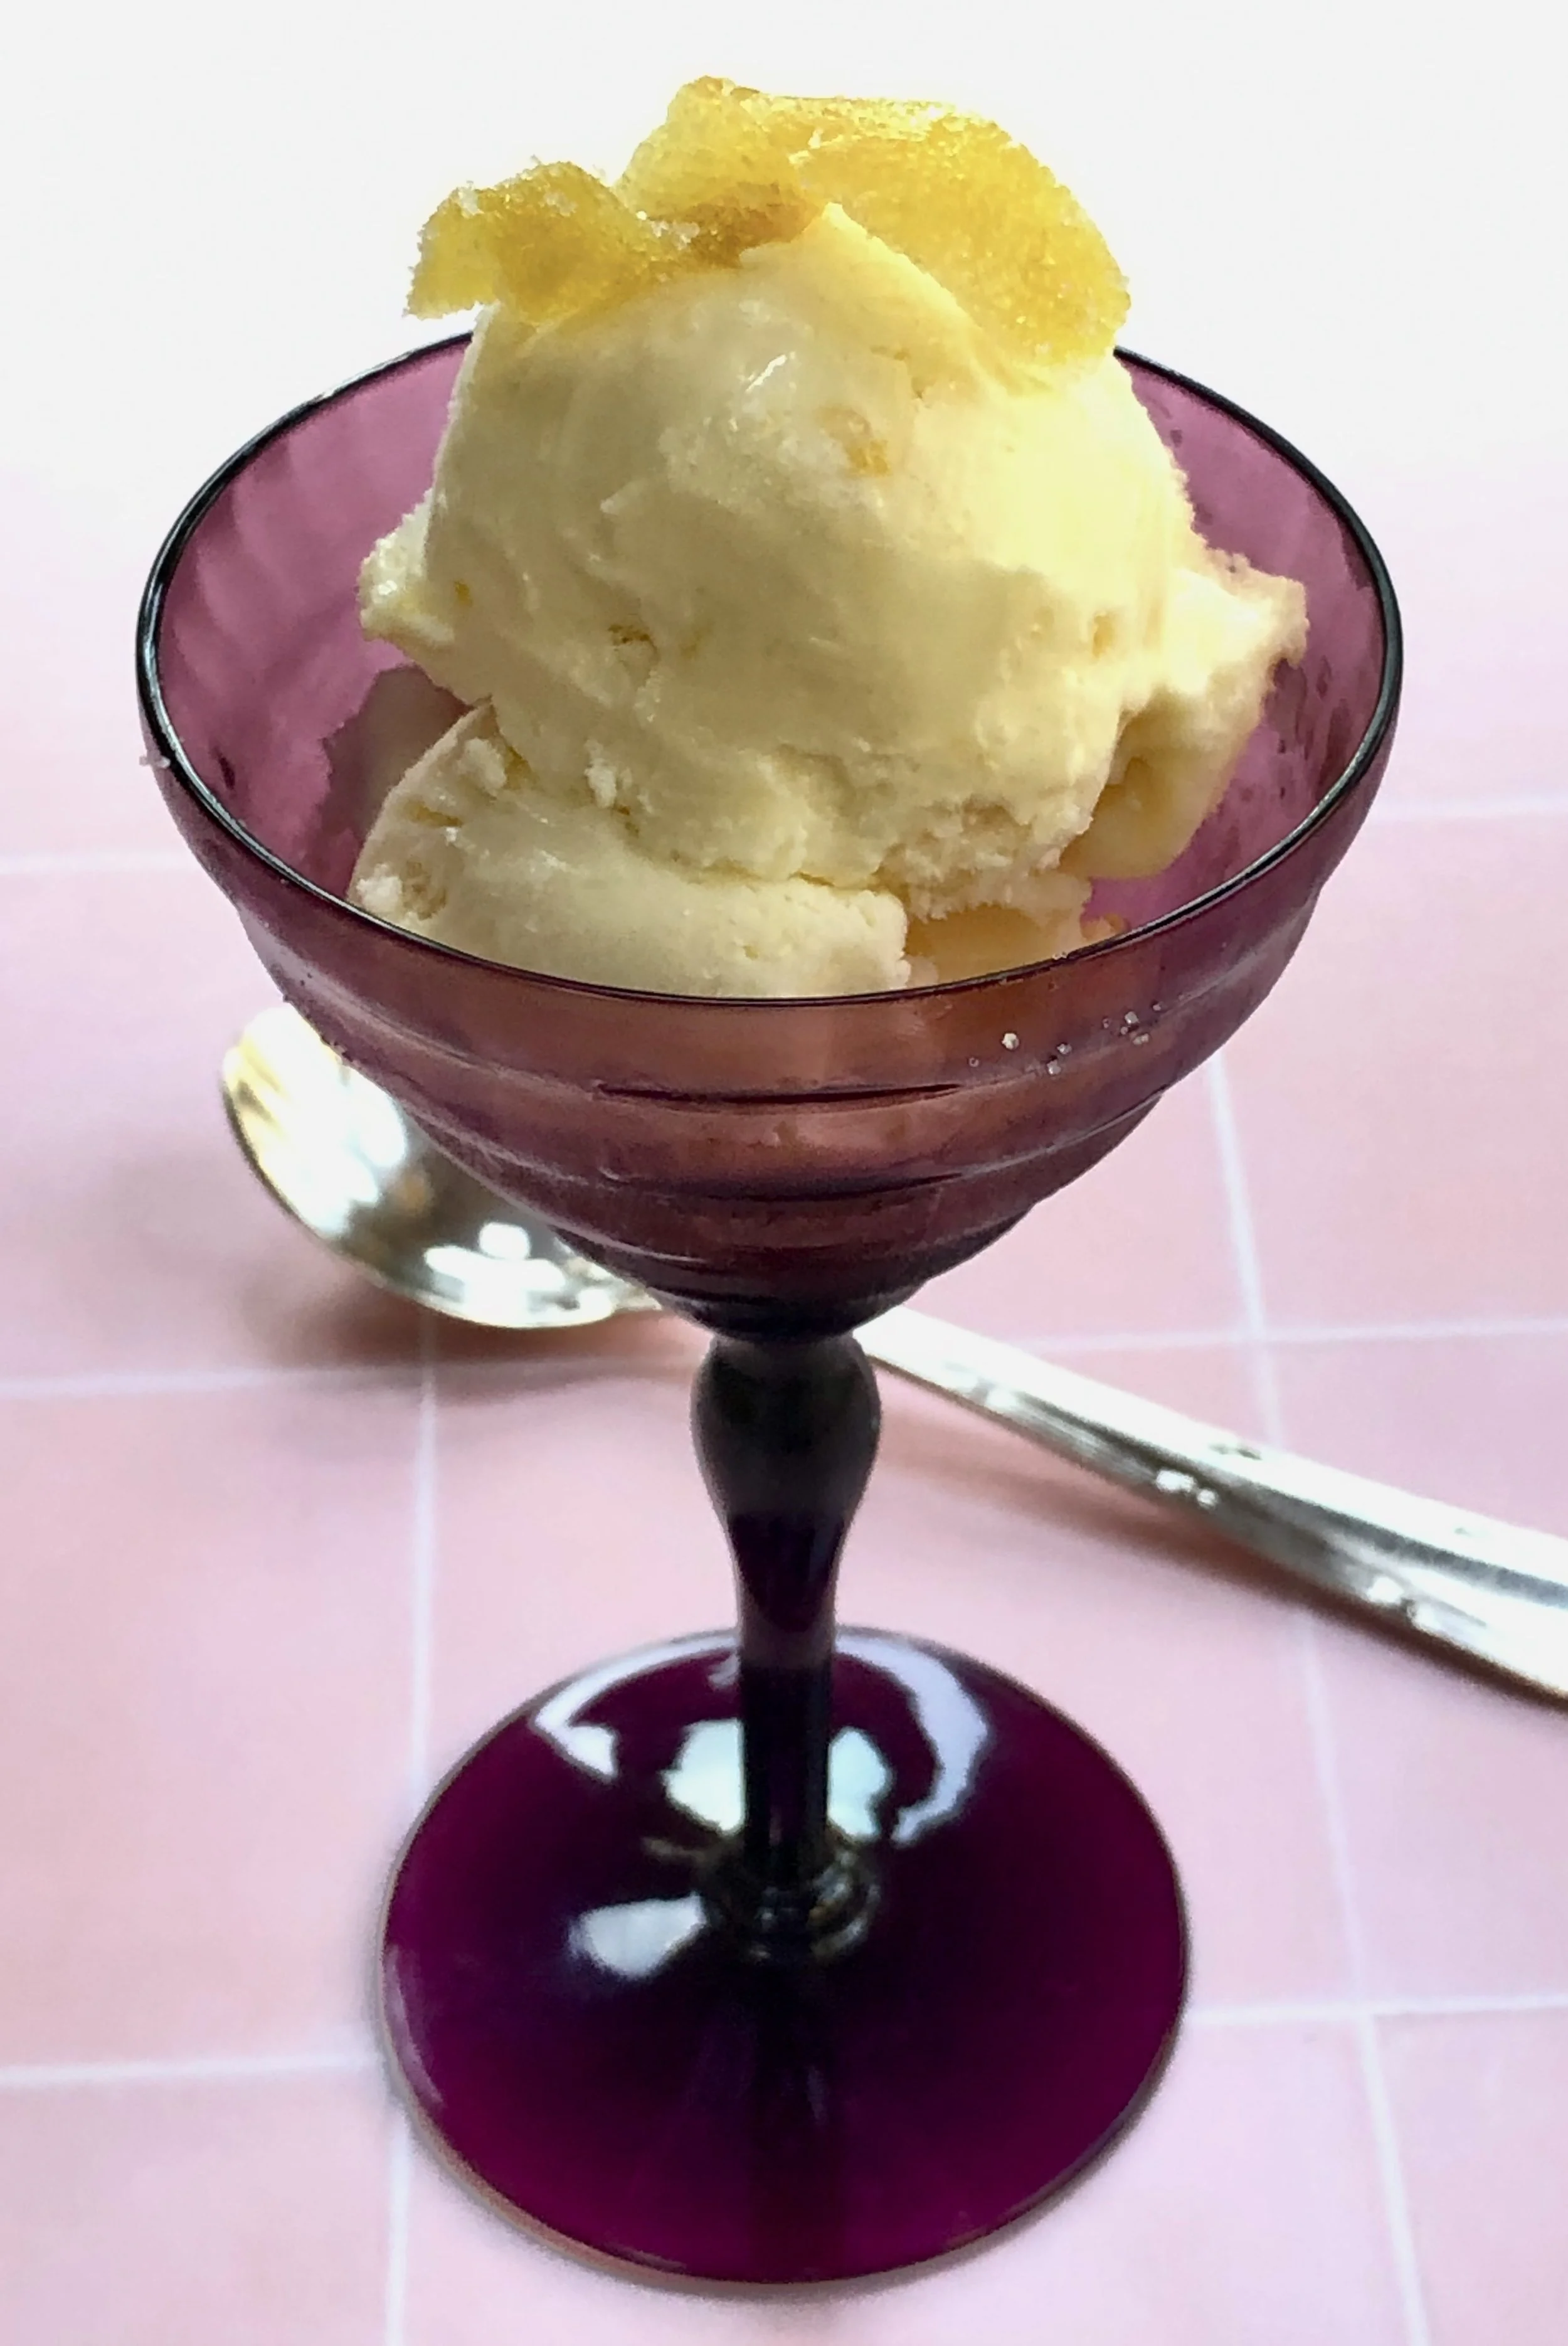
I realize this is not the usual time of year for ice cream recipes. But I just had to complete my story about what I did with the two lemons that ripened on my indoor lemon tree.

I already told you that I used the peel to make candied lemon peel using Tori Avey’s recipe.

There was just enough juice to make lemon ice cream. I love lemon anything. My grandkids joke about the lemon drops I always have on hand. I once had frozen lemon yogurt and loved it. But I’d never tried lemon ice cream. So, that’s what I decided to make.

If you’re a lemon fan like I am — the is a big WINNER!

Lemon Ice Cream

  • 2-1/2 cups half and half cream

  • 2 teaspoons grated lemon zest

  • 3/4 cup sugar

  • 1/4 teaspoon salt

  • 3 large egg yolks

  • 1/2 cup lemon juice

  • 1 teaspoon vanilla extract

Heat 1-1/2 cups of the cream with the lemon zest in a saucepan over medium heat until bubbles appear around the edges of the pan. In the bowl of an electric mixer, beat the sugar, salt and egg yolks at medium speed for 3-5 minutes or until light and thick. Gradually add the heated cream and mix the ingredients. Return the mixture to the saucepan and cook over medium heat, stirring constantly, for 5-6 minutes or until thickened enough to coat the back of a spoon. Pour in the lemon juice and remaining cream and blend it in thoroughly. Pour into a container and refrigerate until cold. Stir in the vanilla extract. Freeze in an ice cream freezer according to manufacturer’s directions.

Makes about 5 cups

Applesauce Cake with Lemon Frosting

I decided to turn off the news today. I’m finding the world overly distressing and I realize that shutting my ears doesn’t really solve anything or make the news go away, but I need a temporary respite.

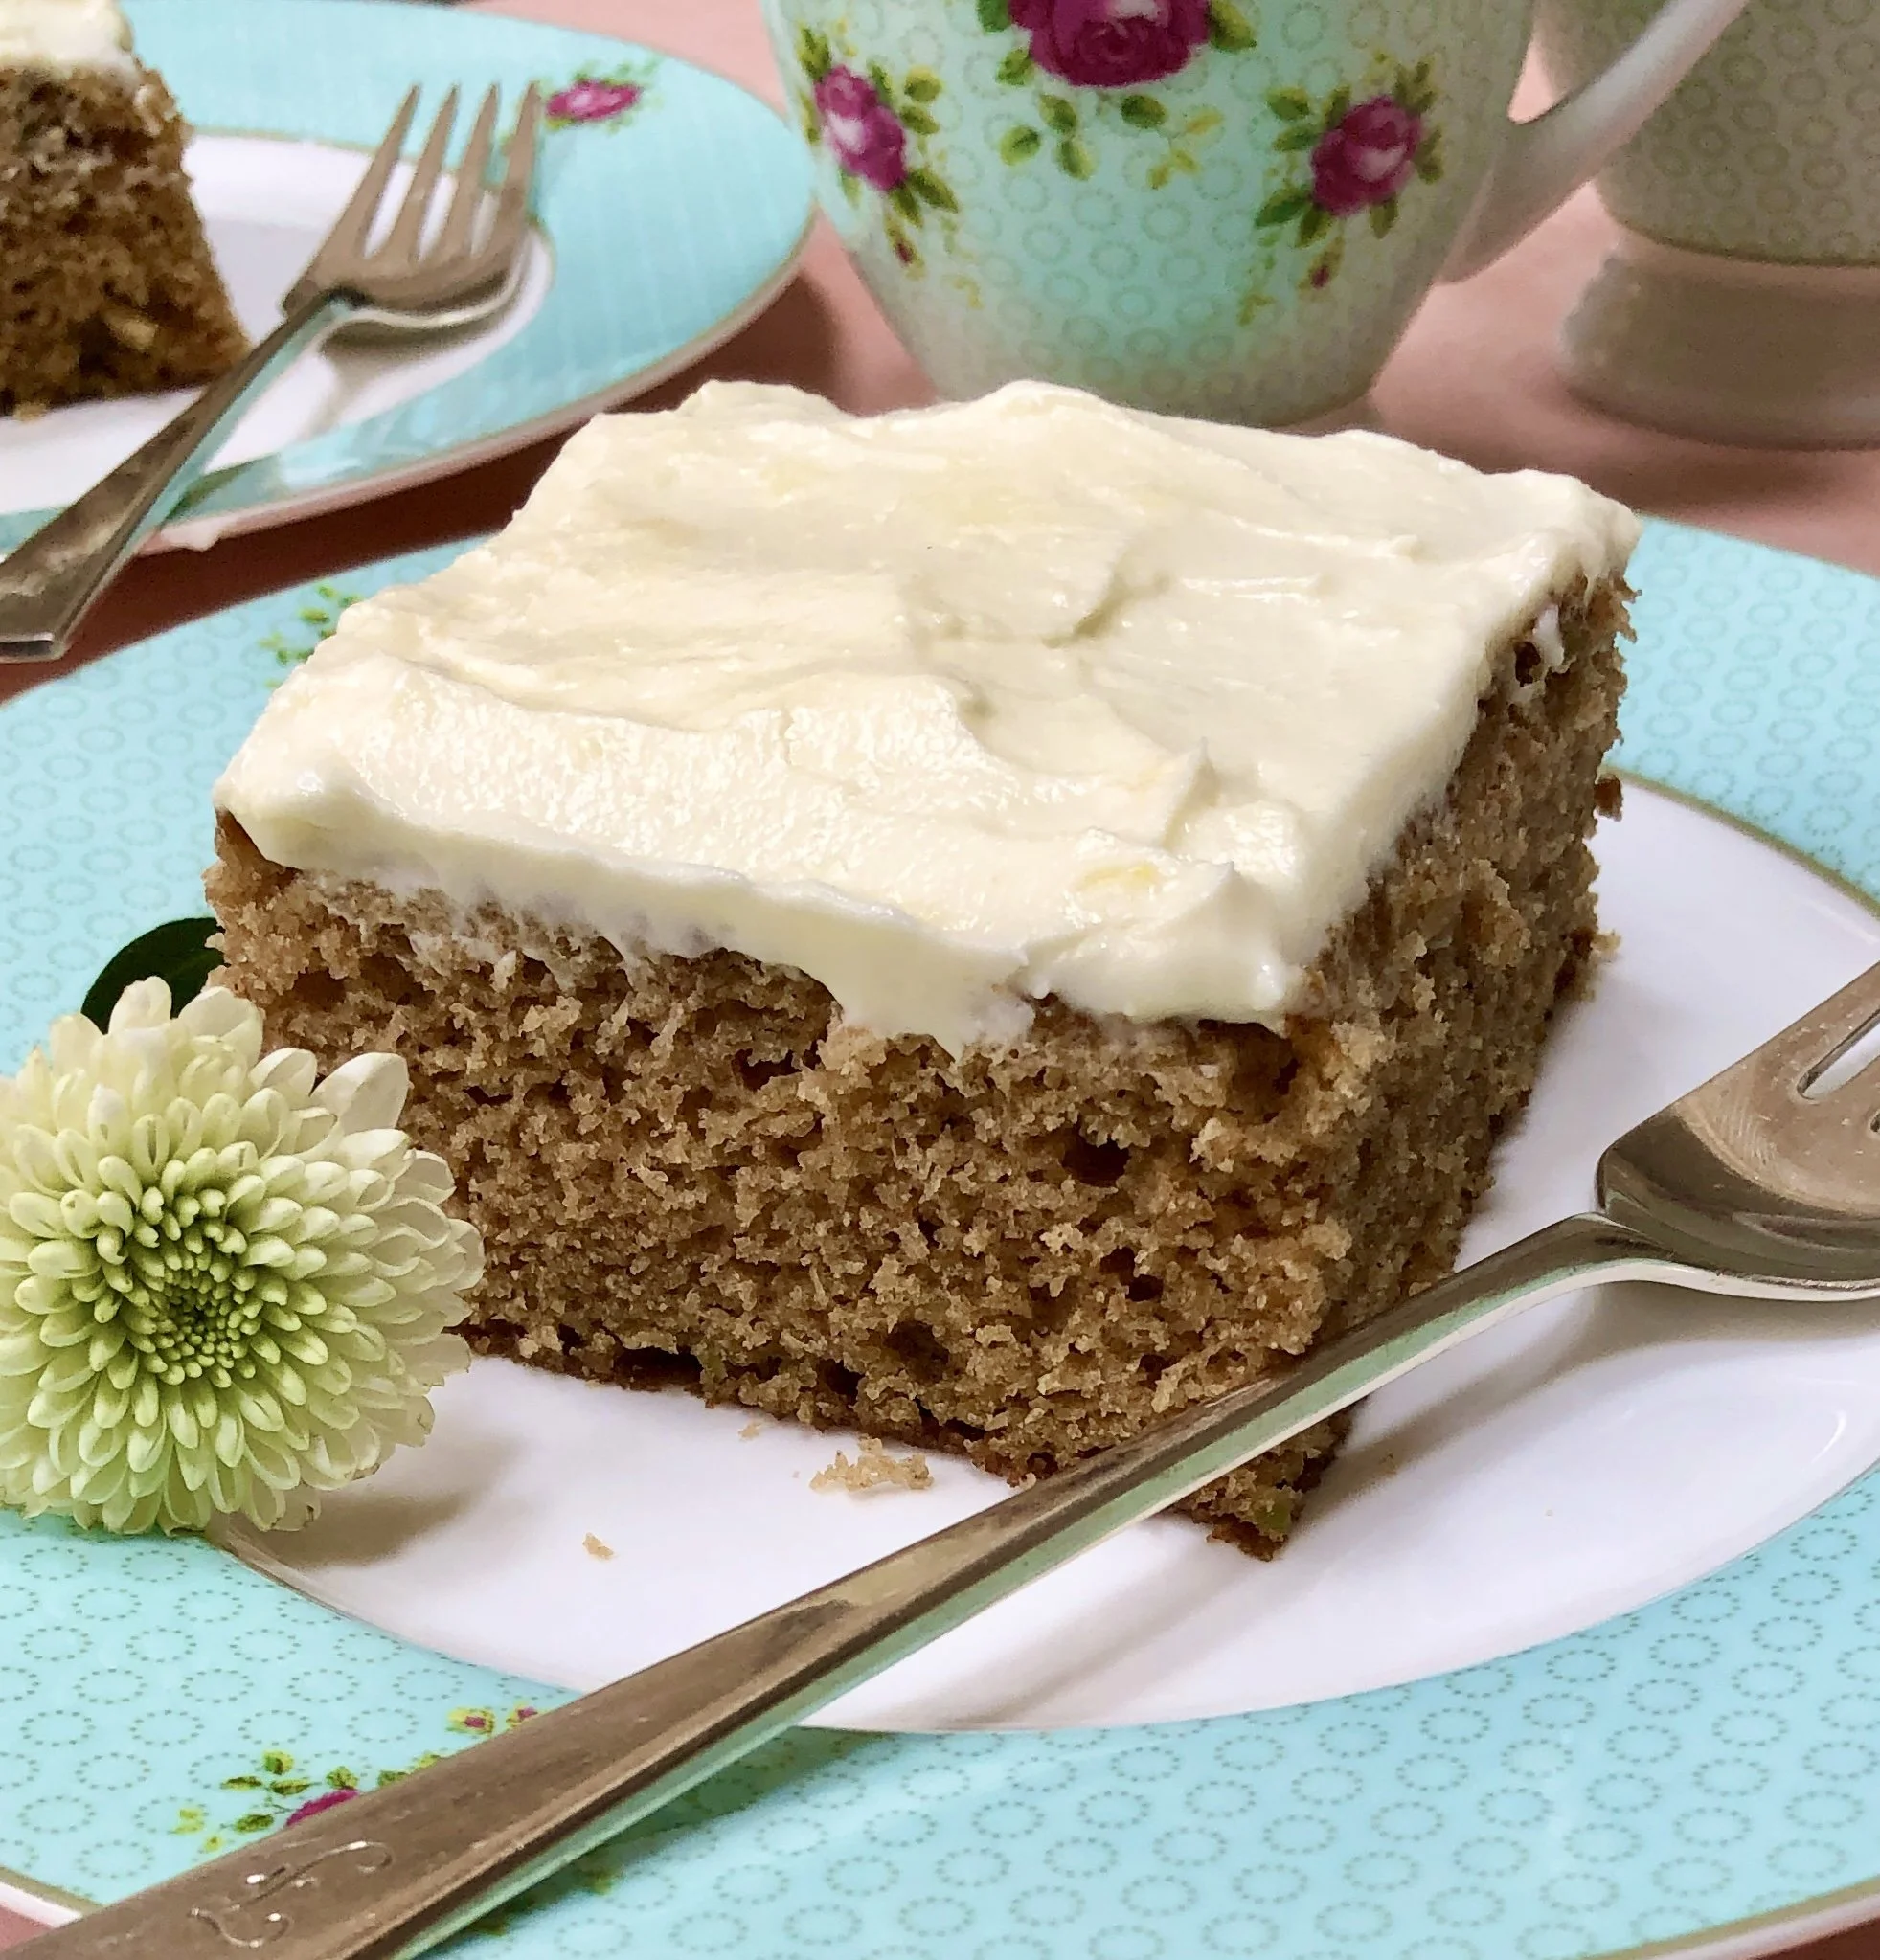
So I’ve been cooking and baking and I have some good news: this Applesauce Cake with Lemon-Cream Cheese Frosting is one of the best cakes I have tasted in a long, long time.

No need to tell me that eating cake and sweets won’t cure the world or that it is unhealthy. I know. But it’s good for the moment. Do try this.

Applesauce Cake with Lemon-Cream Cheese Frosting

  • 2 cups all-purpose flour 

  • 1-1/2 teaspoons baking soda 

  • 1/2 teaspoon baking powder 

  • 1/2 teaspoon salt 

  • 1 teaspoon ground cinnamon 

  • 1/2 teaspoon grated nutmeg

  • 1-1/2 cups sugar 

  • 1-1/2 cups applesauce 

  • 1/2 cup butter, slightly softened

  • 2 large eggs

  • 1 teaspoon vanilla extract 

  • Lemon-Cream Cheese Frosting

Preheat the oven to 350F. Lightly grease a 13”x9” baking pan. Place the flour, baking soda, baking powder, salt, cinnamon and nutmeg in a bowl and mix until the ingredients are blended. Set aside. Place the sugar, applesauce, butter, eggs and vanilla extract in the bowl of an electric mixer and beat at medium speed for 2-3 minutes, or until ingredients are moistened. Turn the mixer to medium-high and beat for 3-4 minutes, scraping the bowl occasionally, or until the batter is smooth and uniform. Add the flour mixture and beat at low speed to roughly combine the ingredients, then beat at medium for 2-3 minutes or until the ingredients are smooth and thoroughly blended. Spoon the batter into the prepared pan and bake for about 35 minutes or until a cake tester inserted into the center of the cake comes out clean. Let the cake cool completely. Frost with Lemon-Cream Cheese Frosting.

Makes 9-12 servings

Lemon-Cream Cheese Frosting

  • 12 ounces cream cheese at room temperature

  • 6 tablespoons butter at room temperature

  • 1-1/2 cups confectioners’ sugar

  • 2 teaspoons lemon juice

  • 1/2 teaspoon vanilla extract

  • 1 teaspoon grated fresh lemon zest

Beat the cream cheese, butter, confectioners’ sugar, lemon juice, vanilla extract and lemon zest together at low-medium speed until smooth, creamy and well blended.


Apple Pie is Therapy

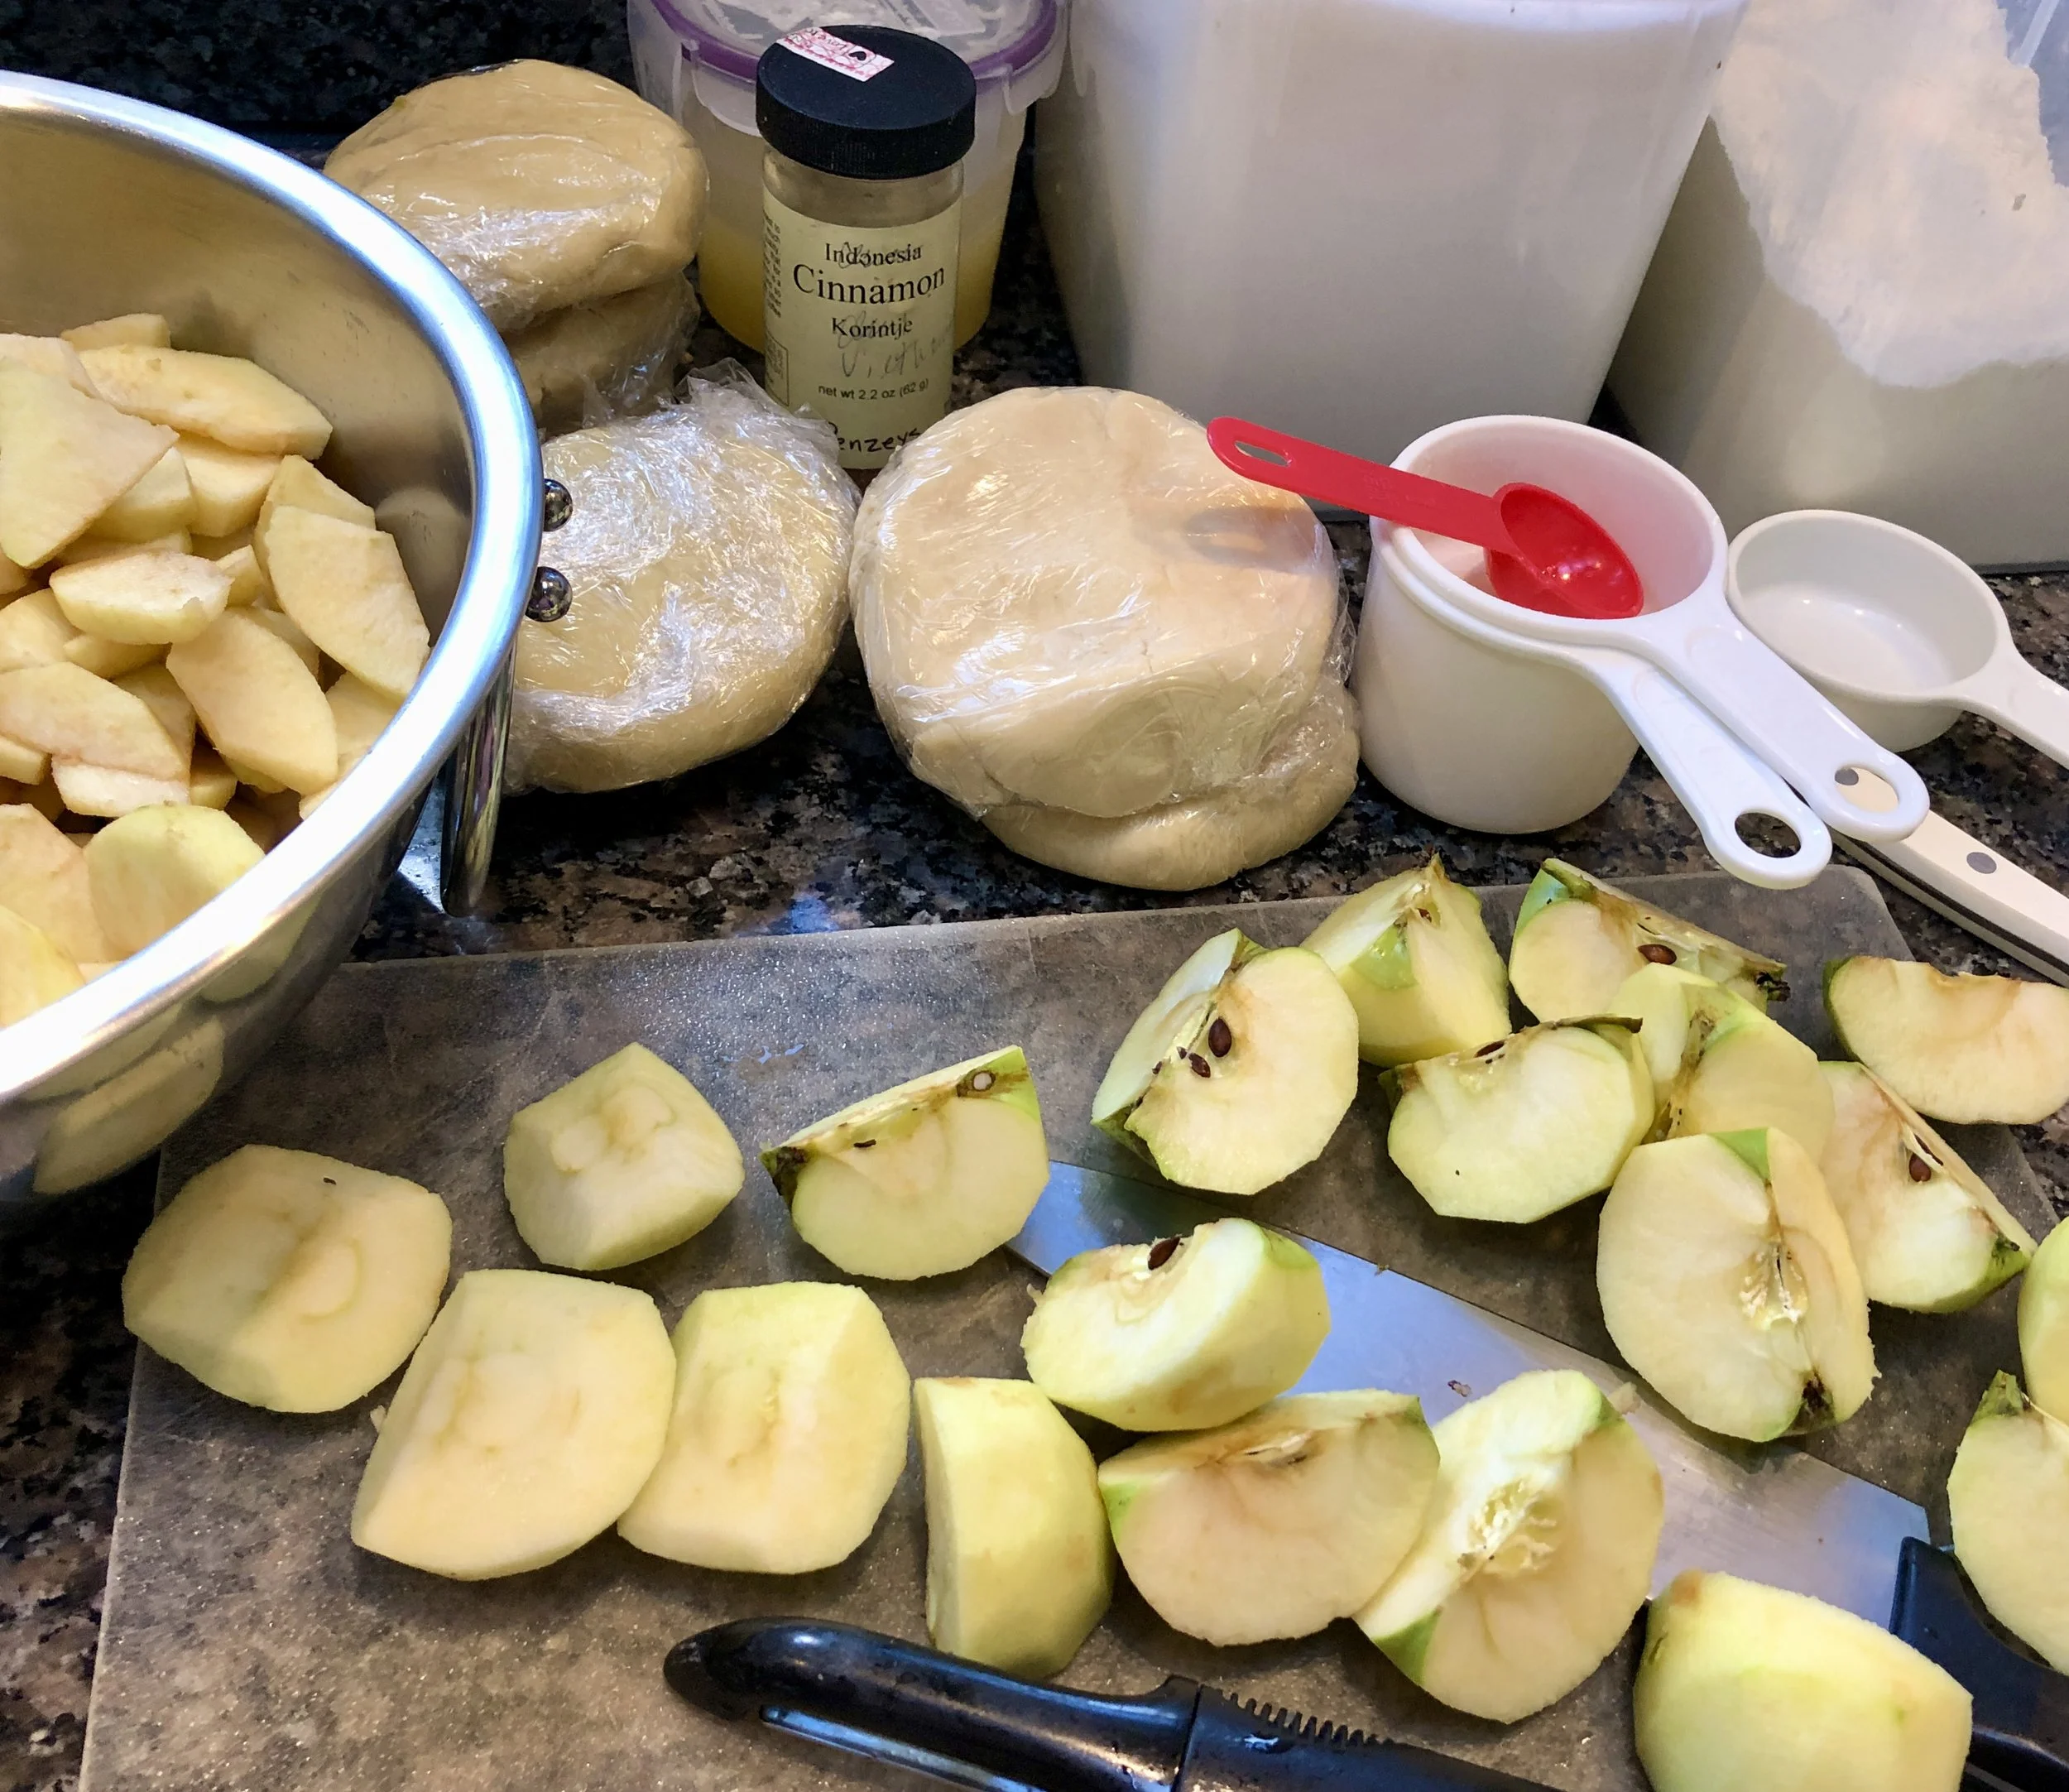
Peel, core and slice the apples for pie

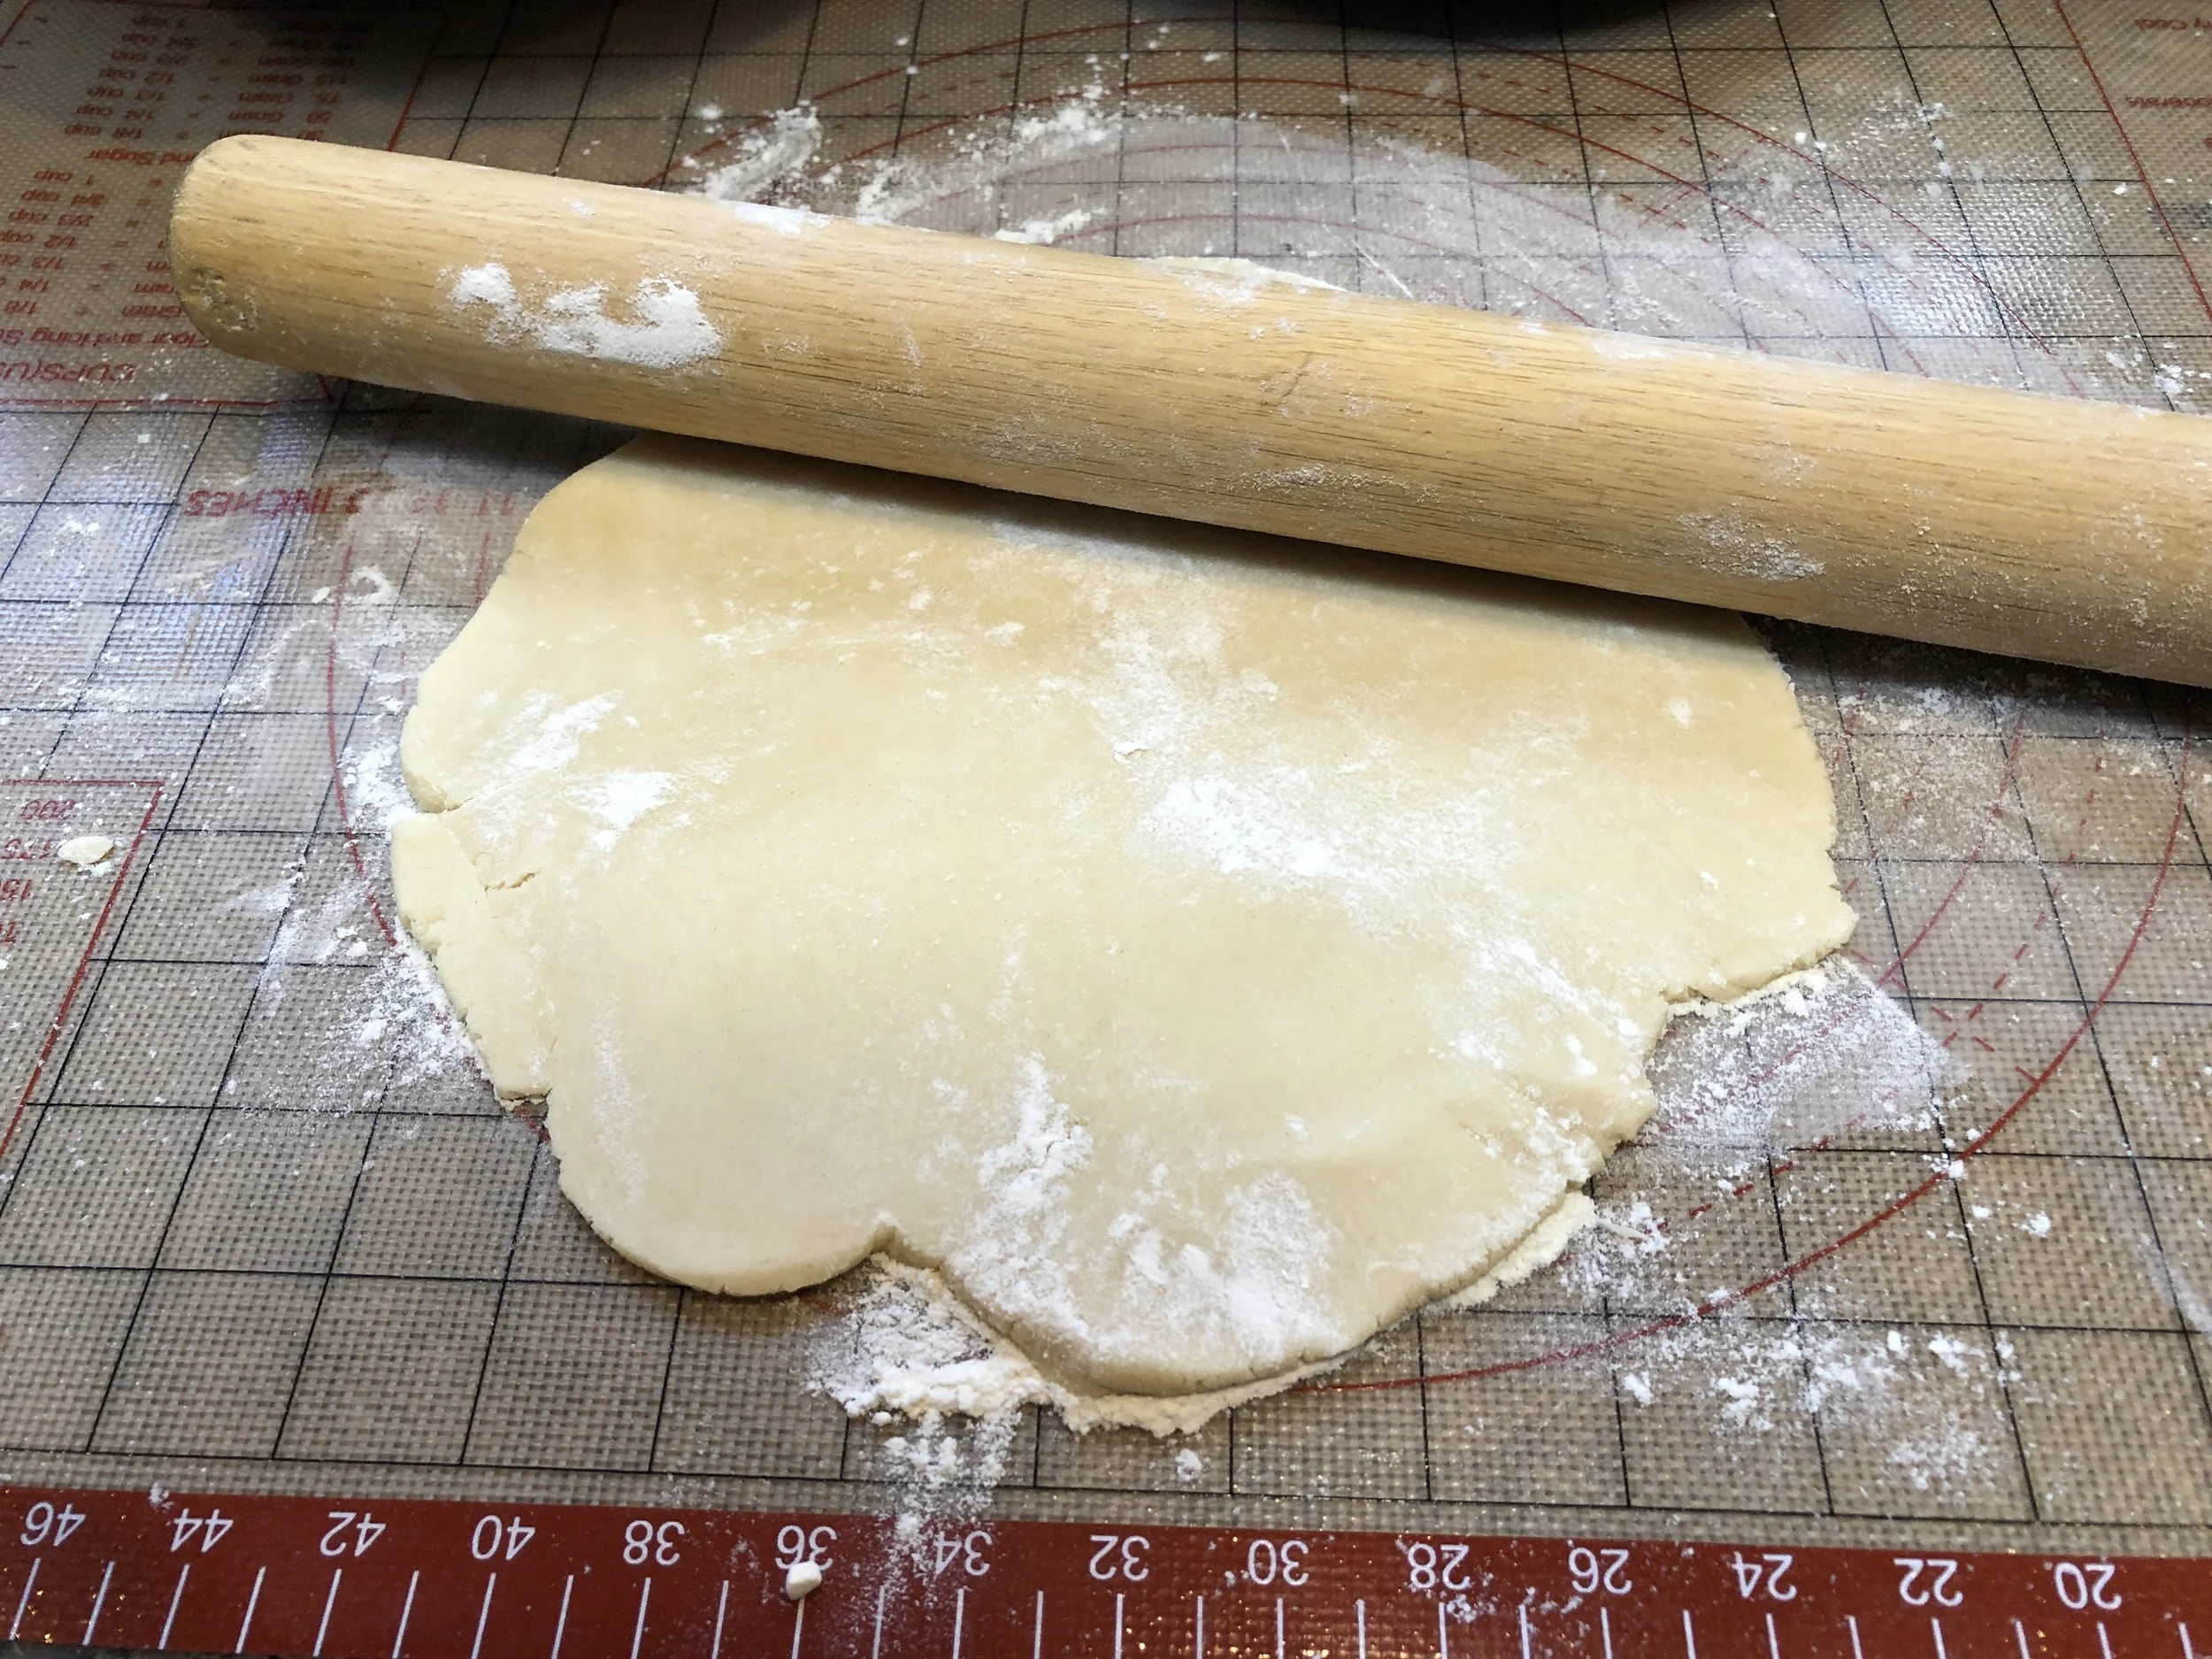
Roll the pie dough

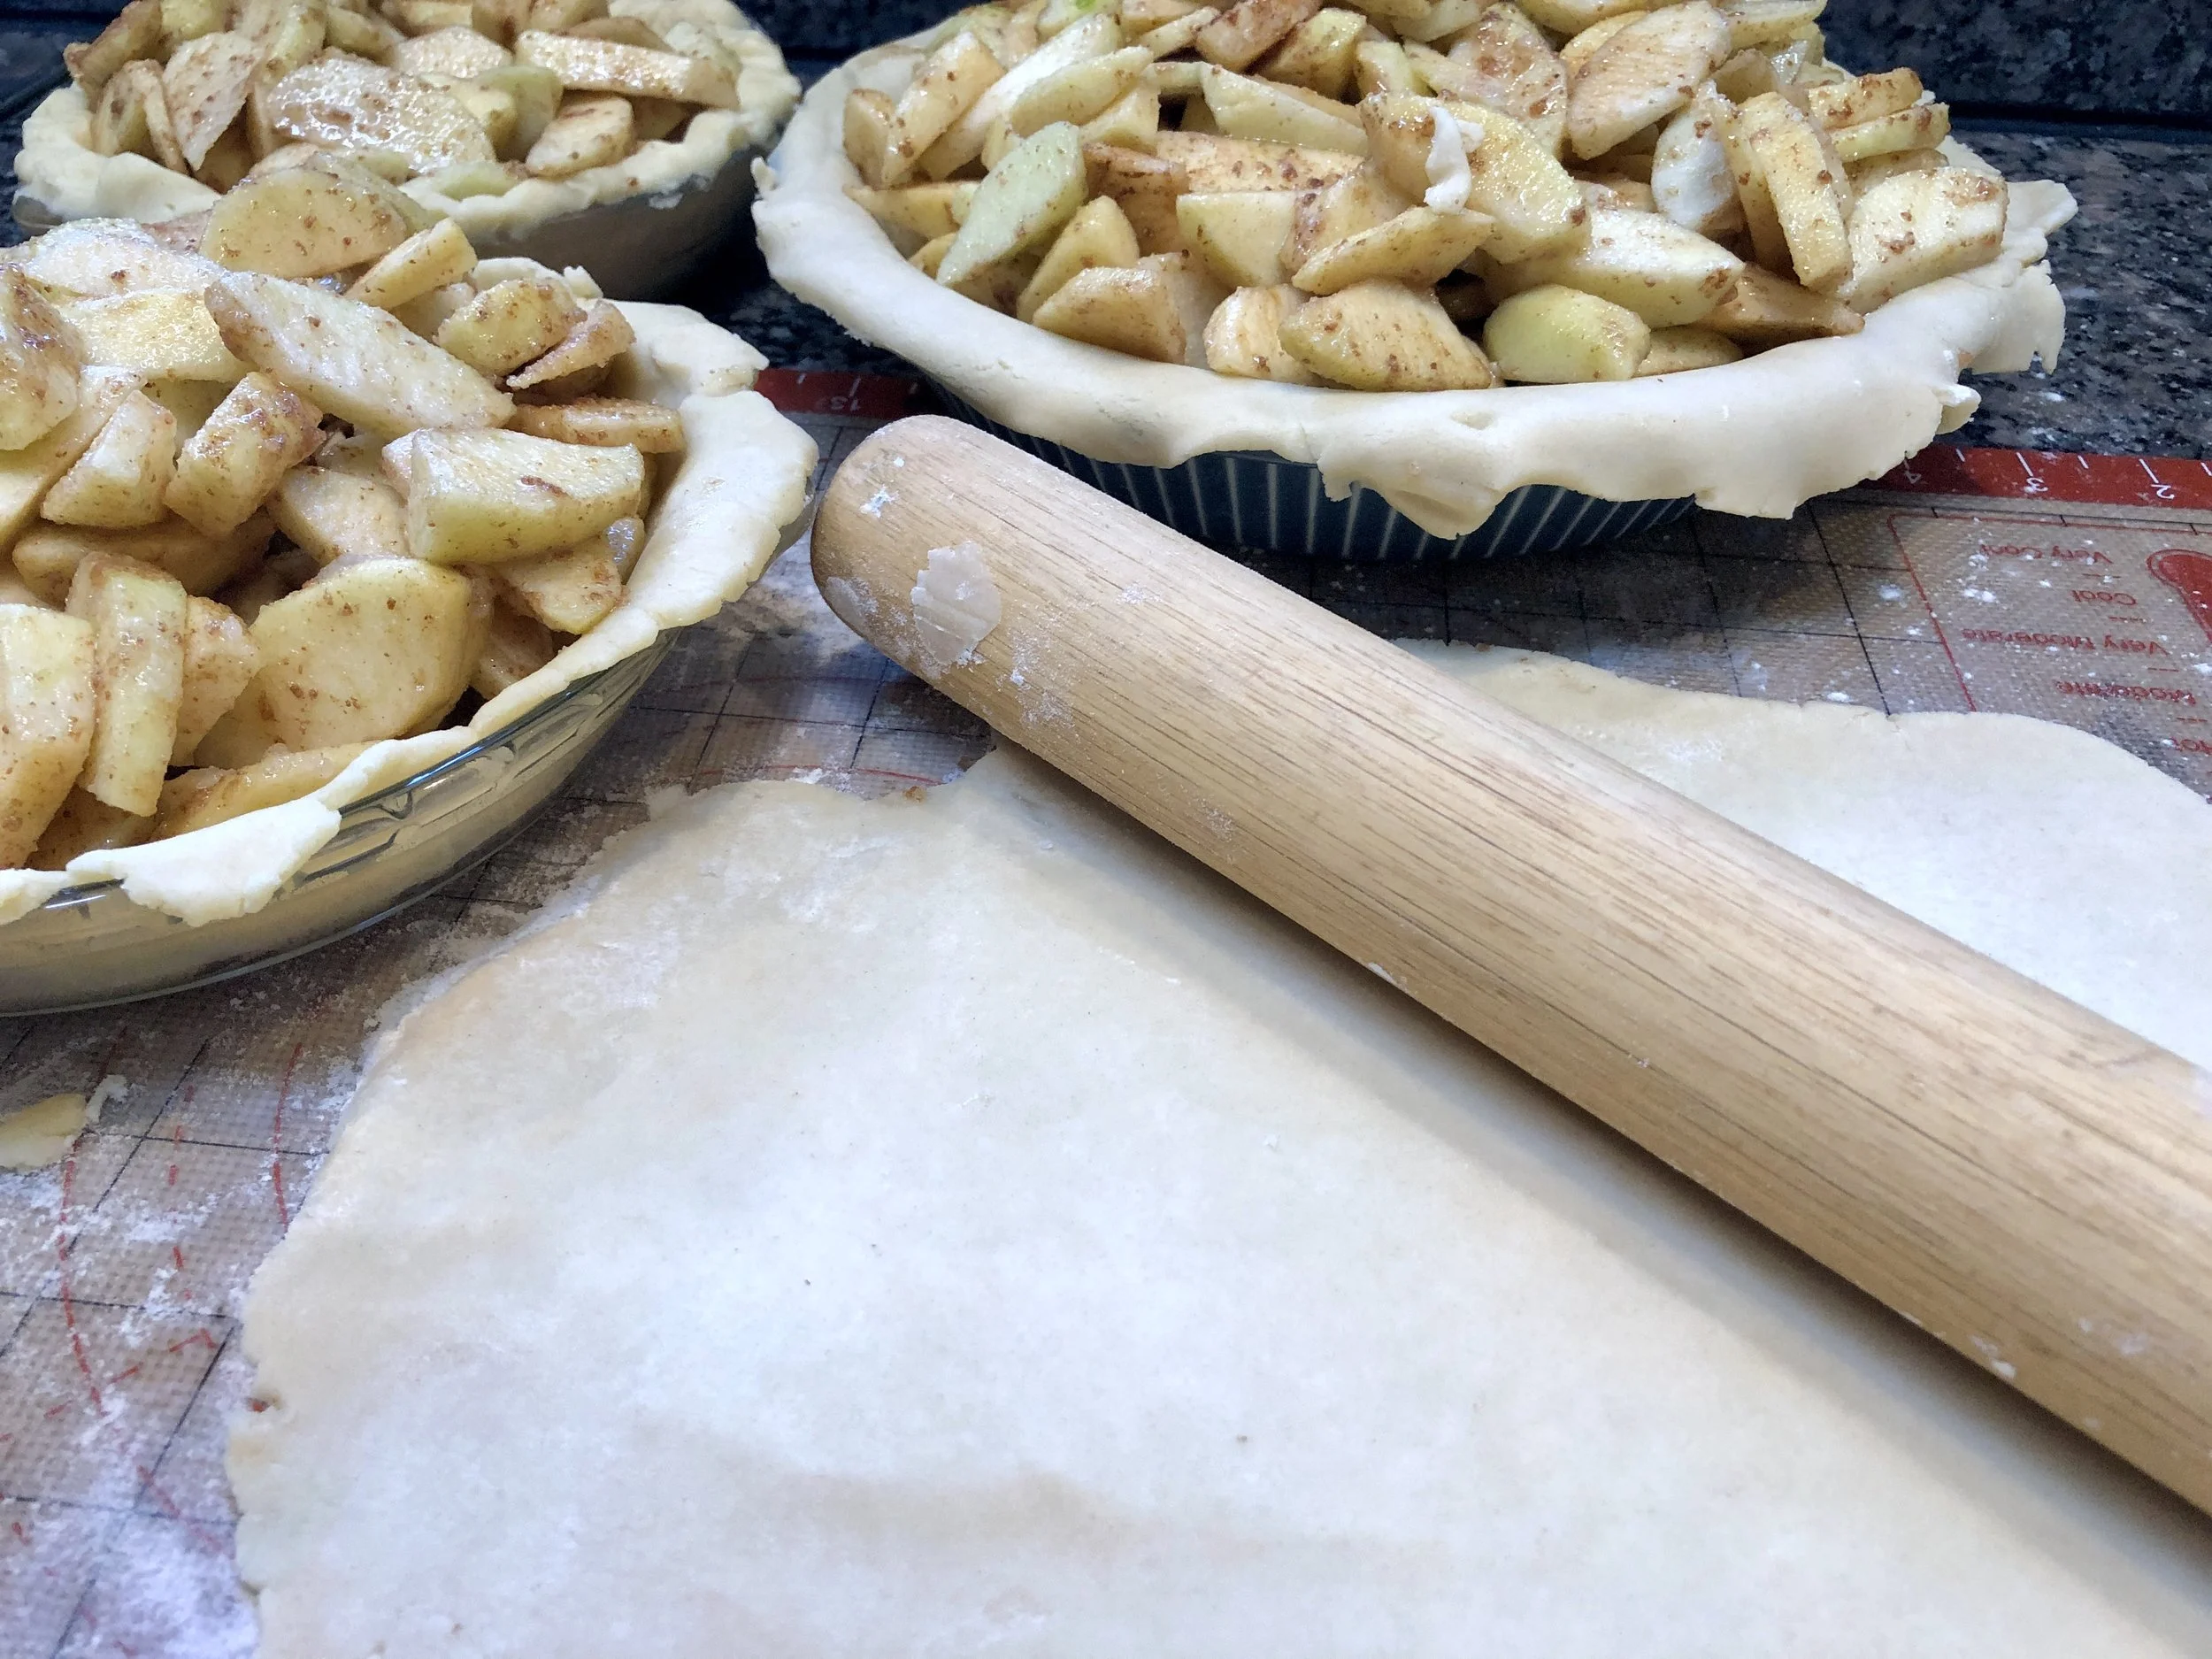
Fill bottom crust with fruit

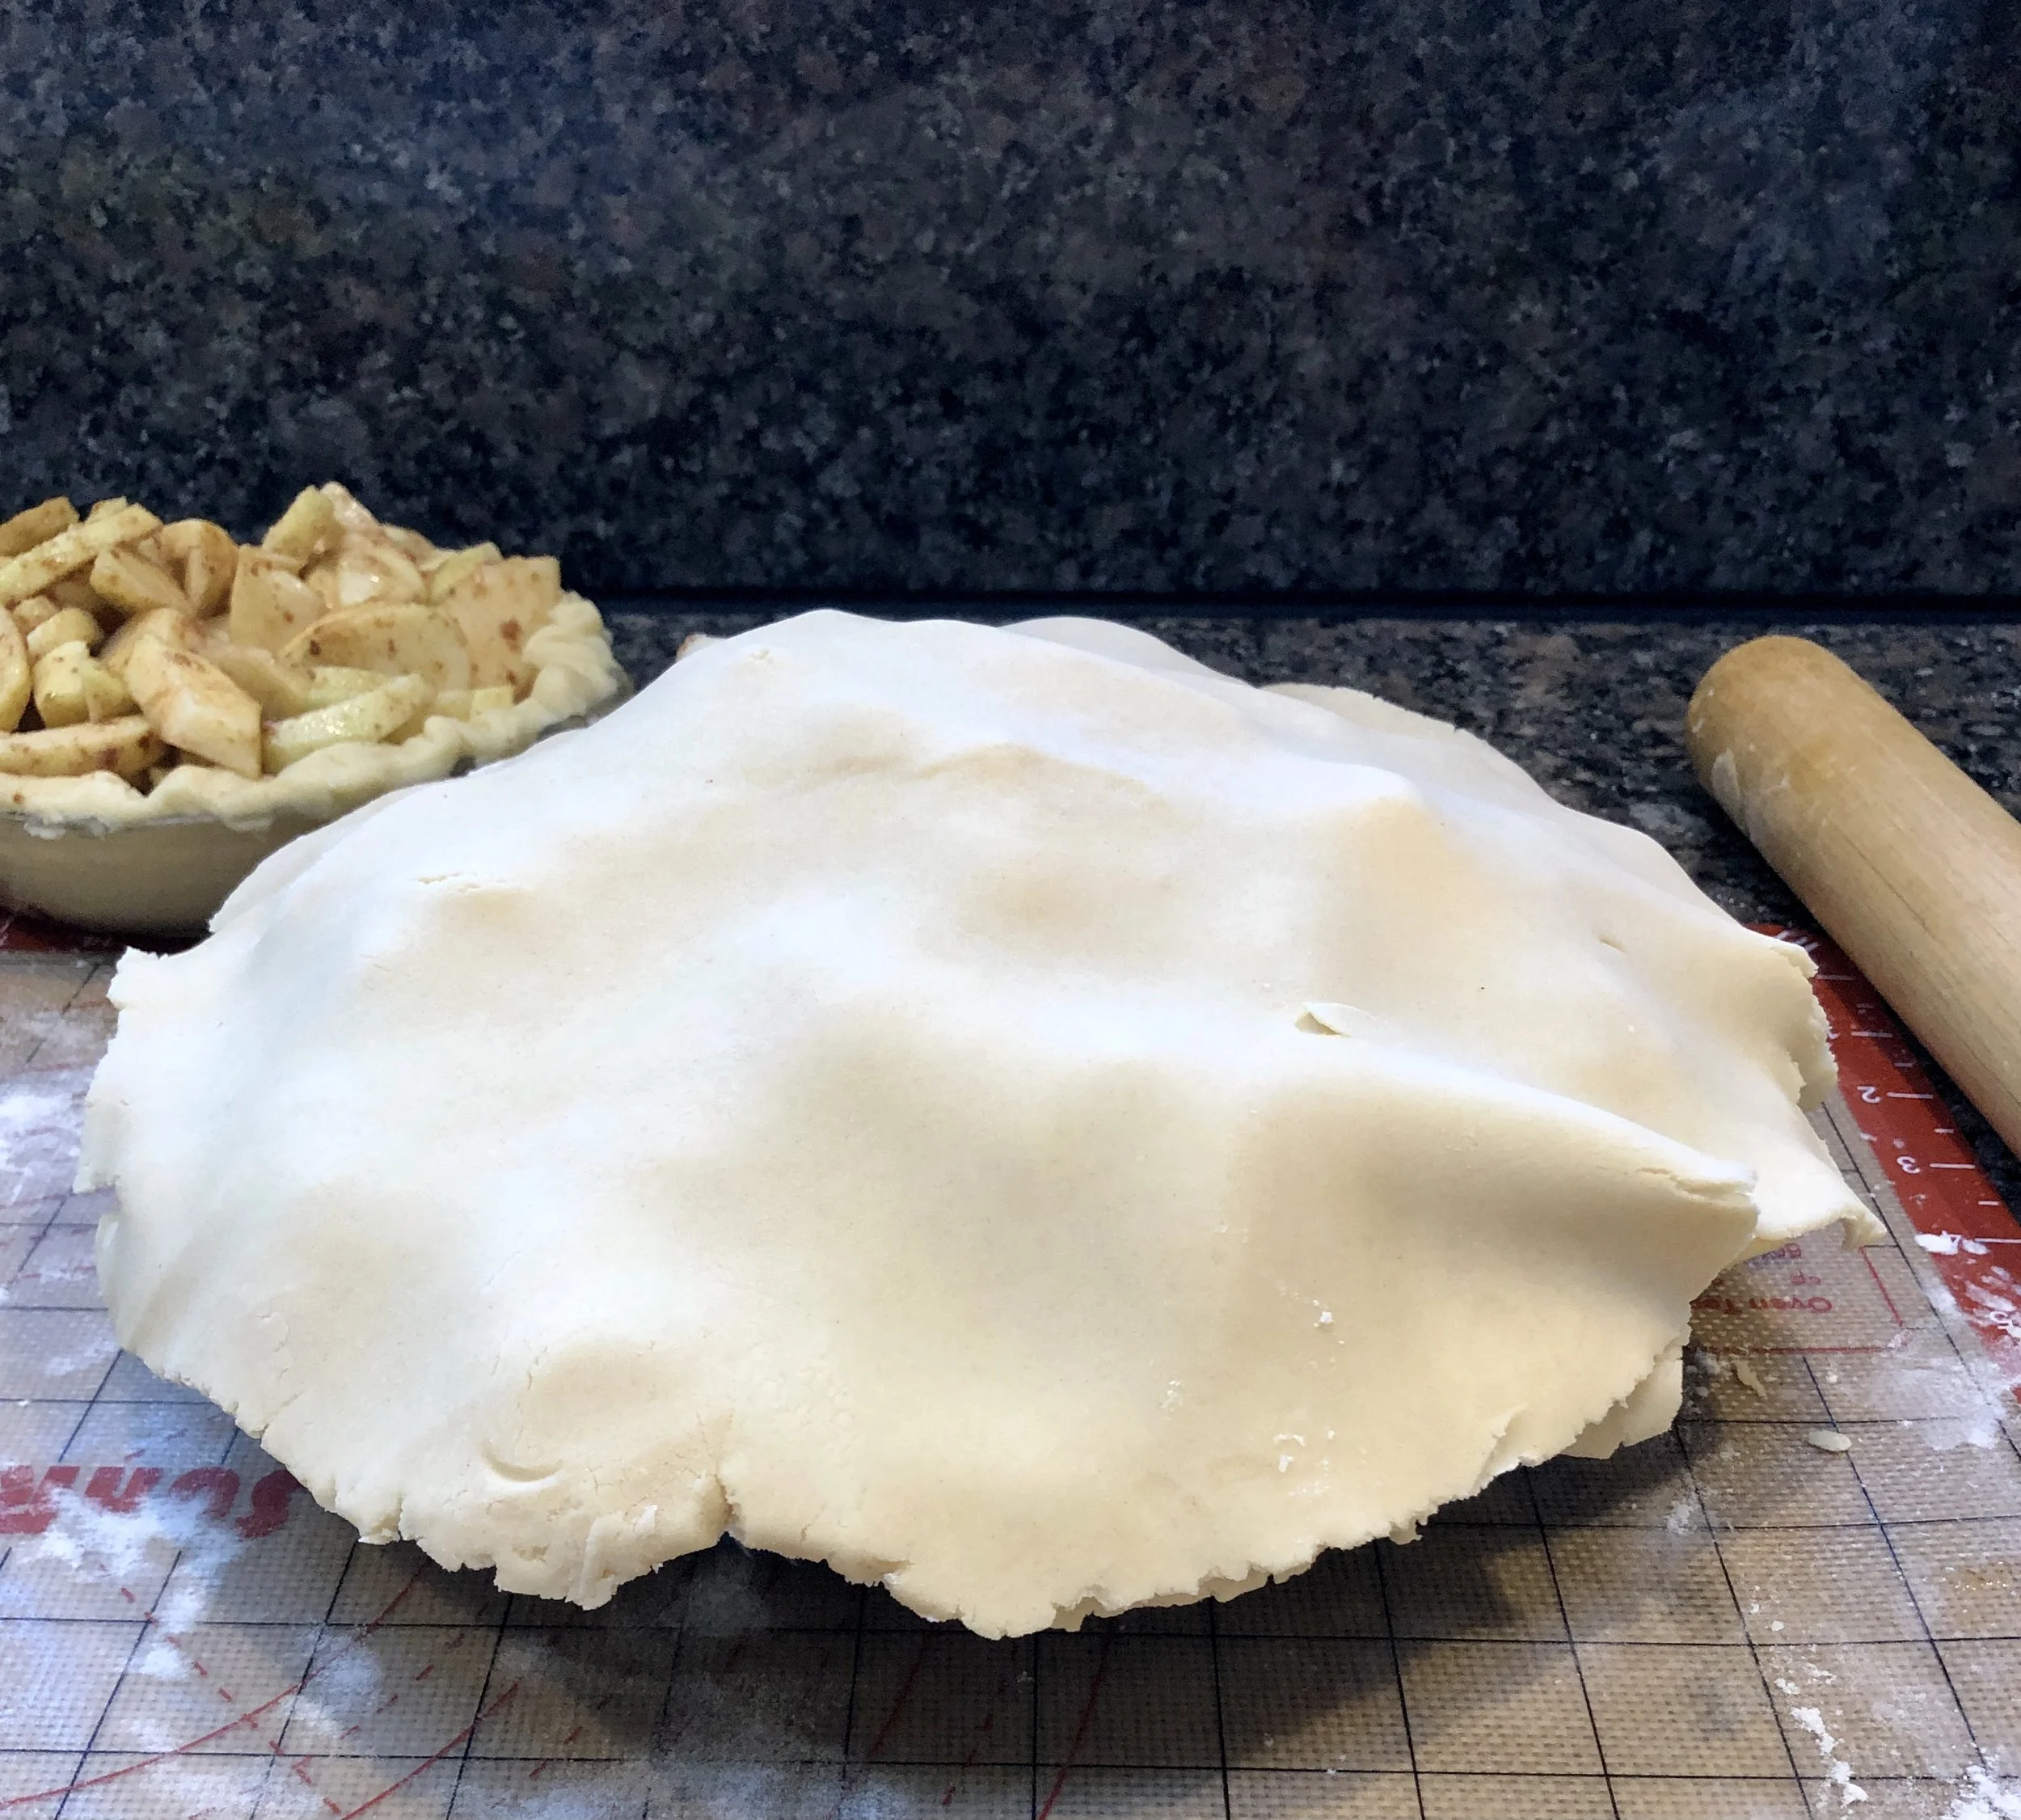
Place second crust on top of fruit

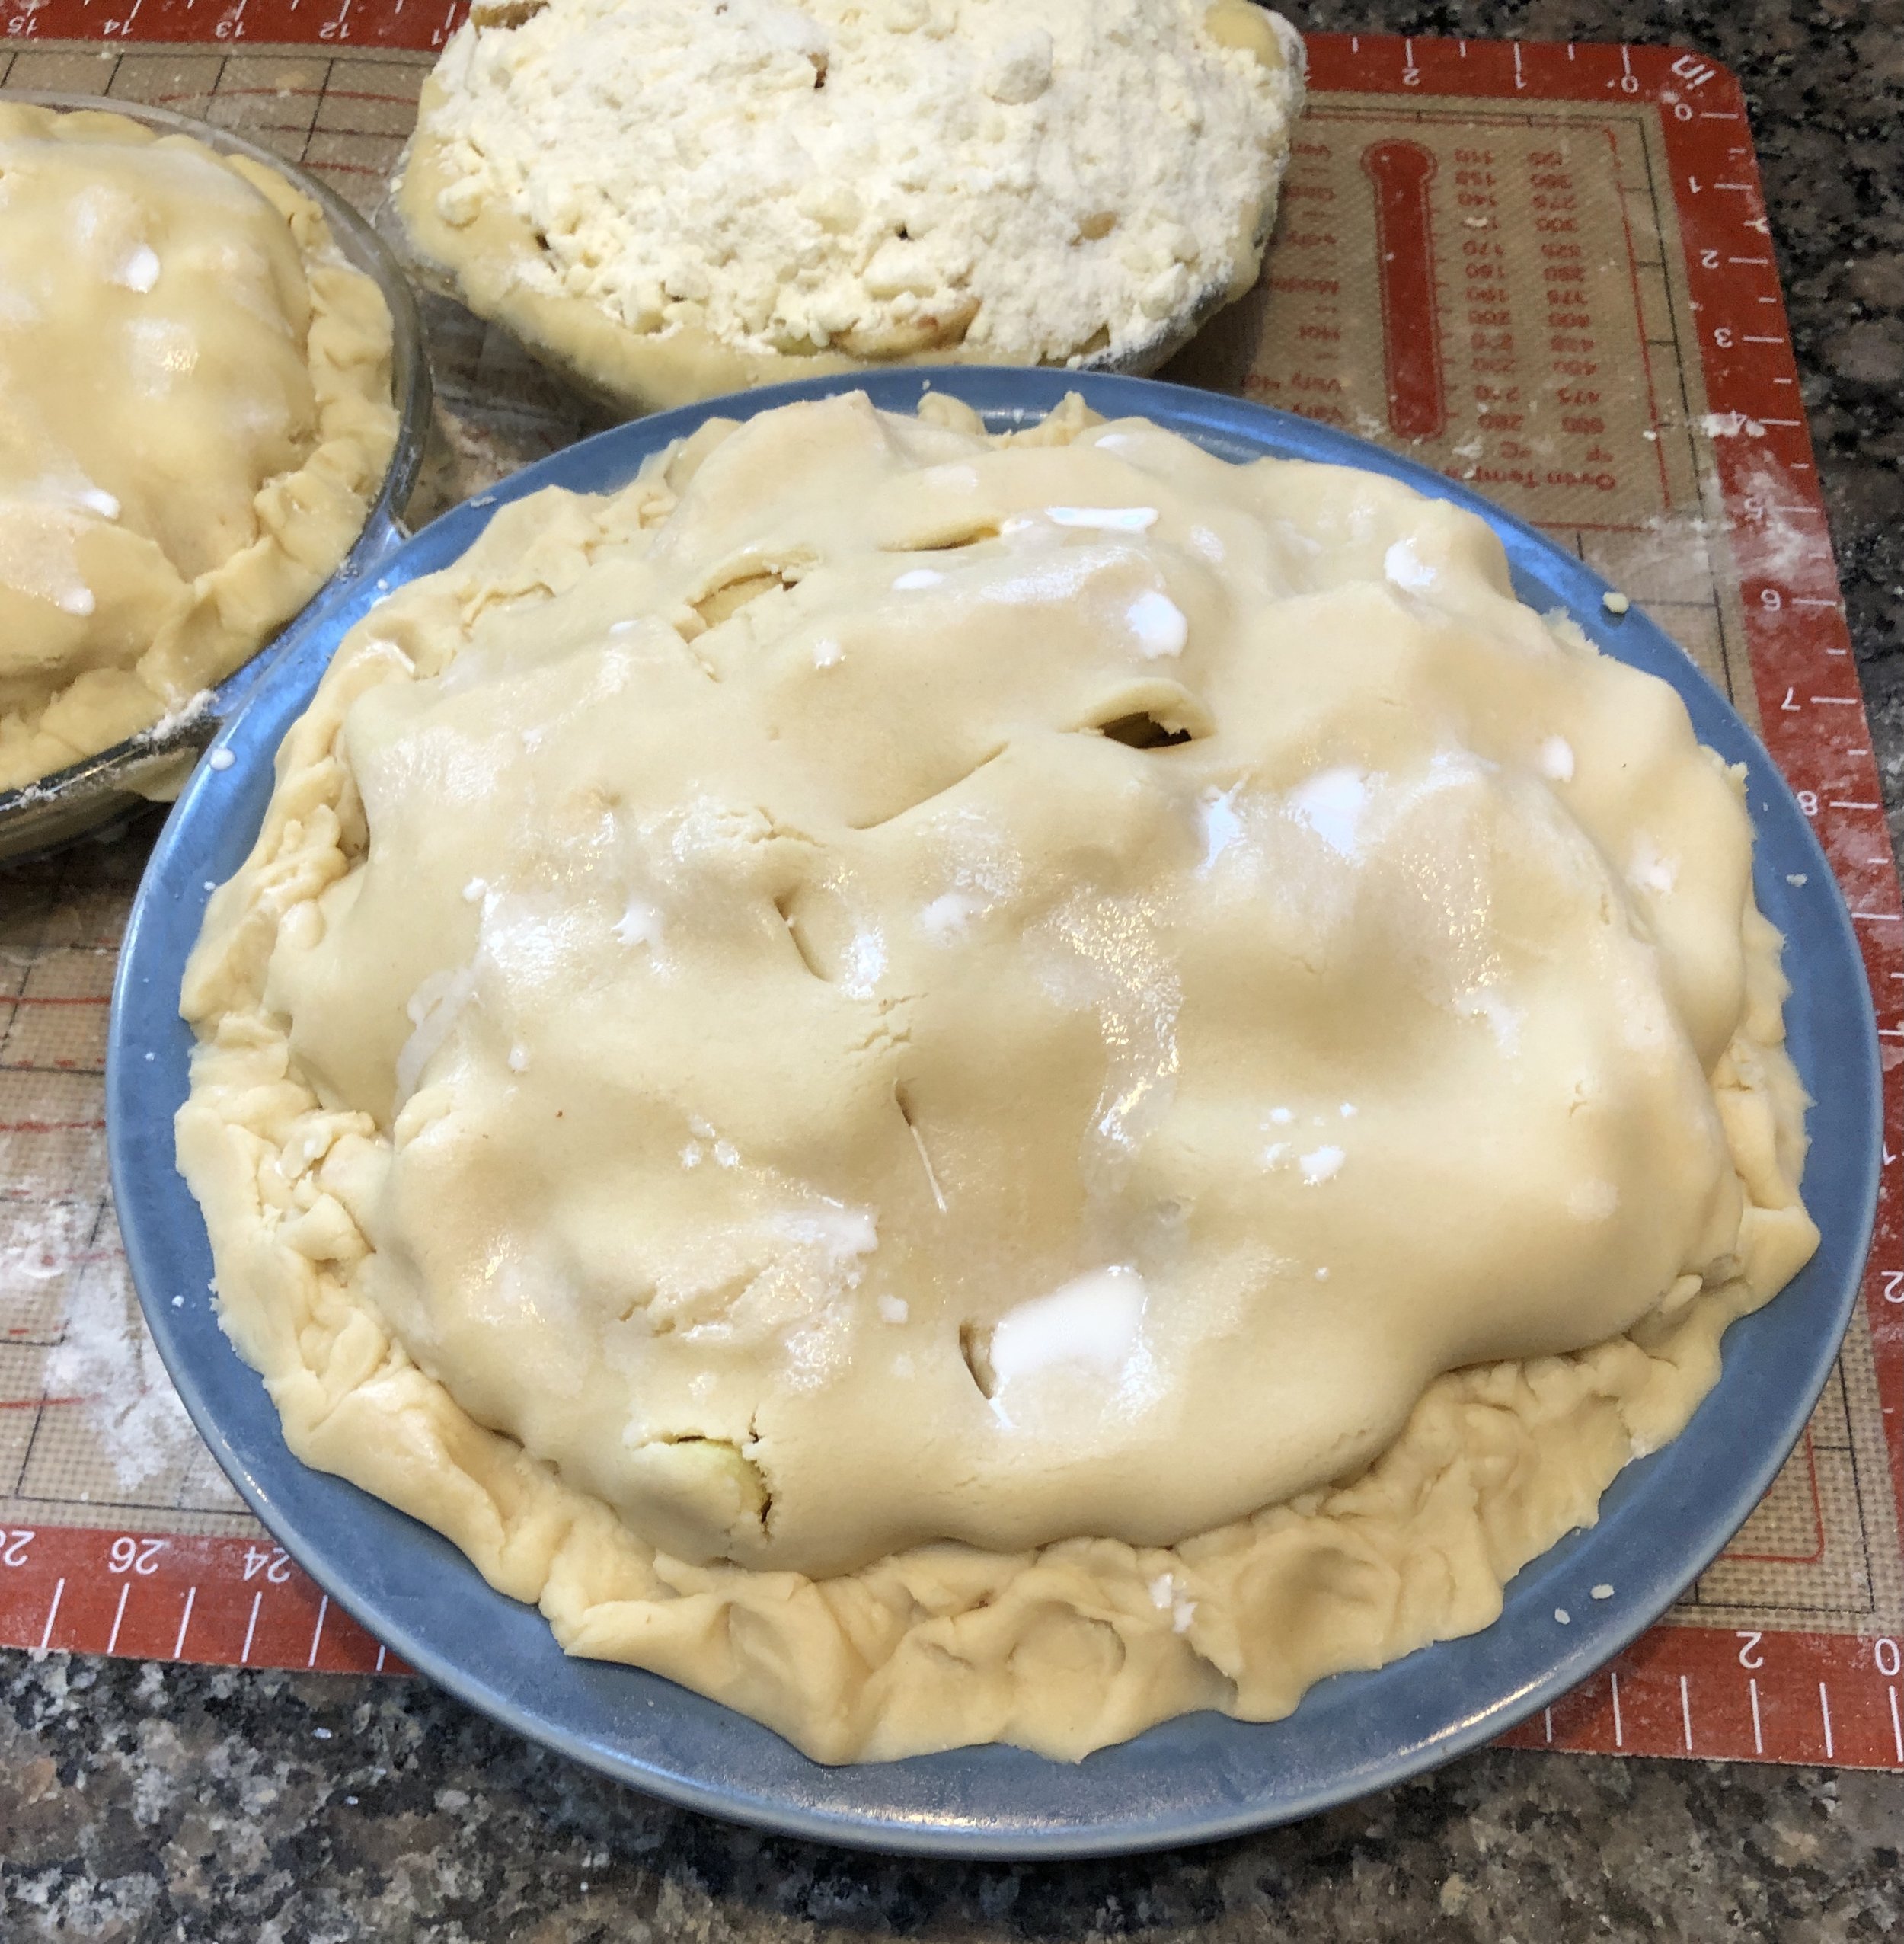
Add a dab of milk here and there to the top crust

For me, my October pie baking fest is like therapy. It’s always a good way to spend the day and work out frustrations, anger and sadness. The kind I am feeling these days because of the war and devastation in Israel.

It was difficult to find the kind of apples I like this year. Because there was an early frost, none of the orchards I usually go to had Rhode Island Greening apples, the best pie apples on earth. After some delays and some connections from someone who knew someone who knew someone else who knew someone who had an orchard in Rhode Island, I got a bushel of them!

I’m grateful and happy for that at least.

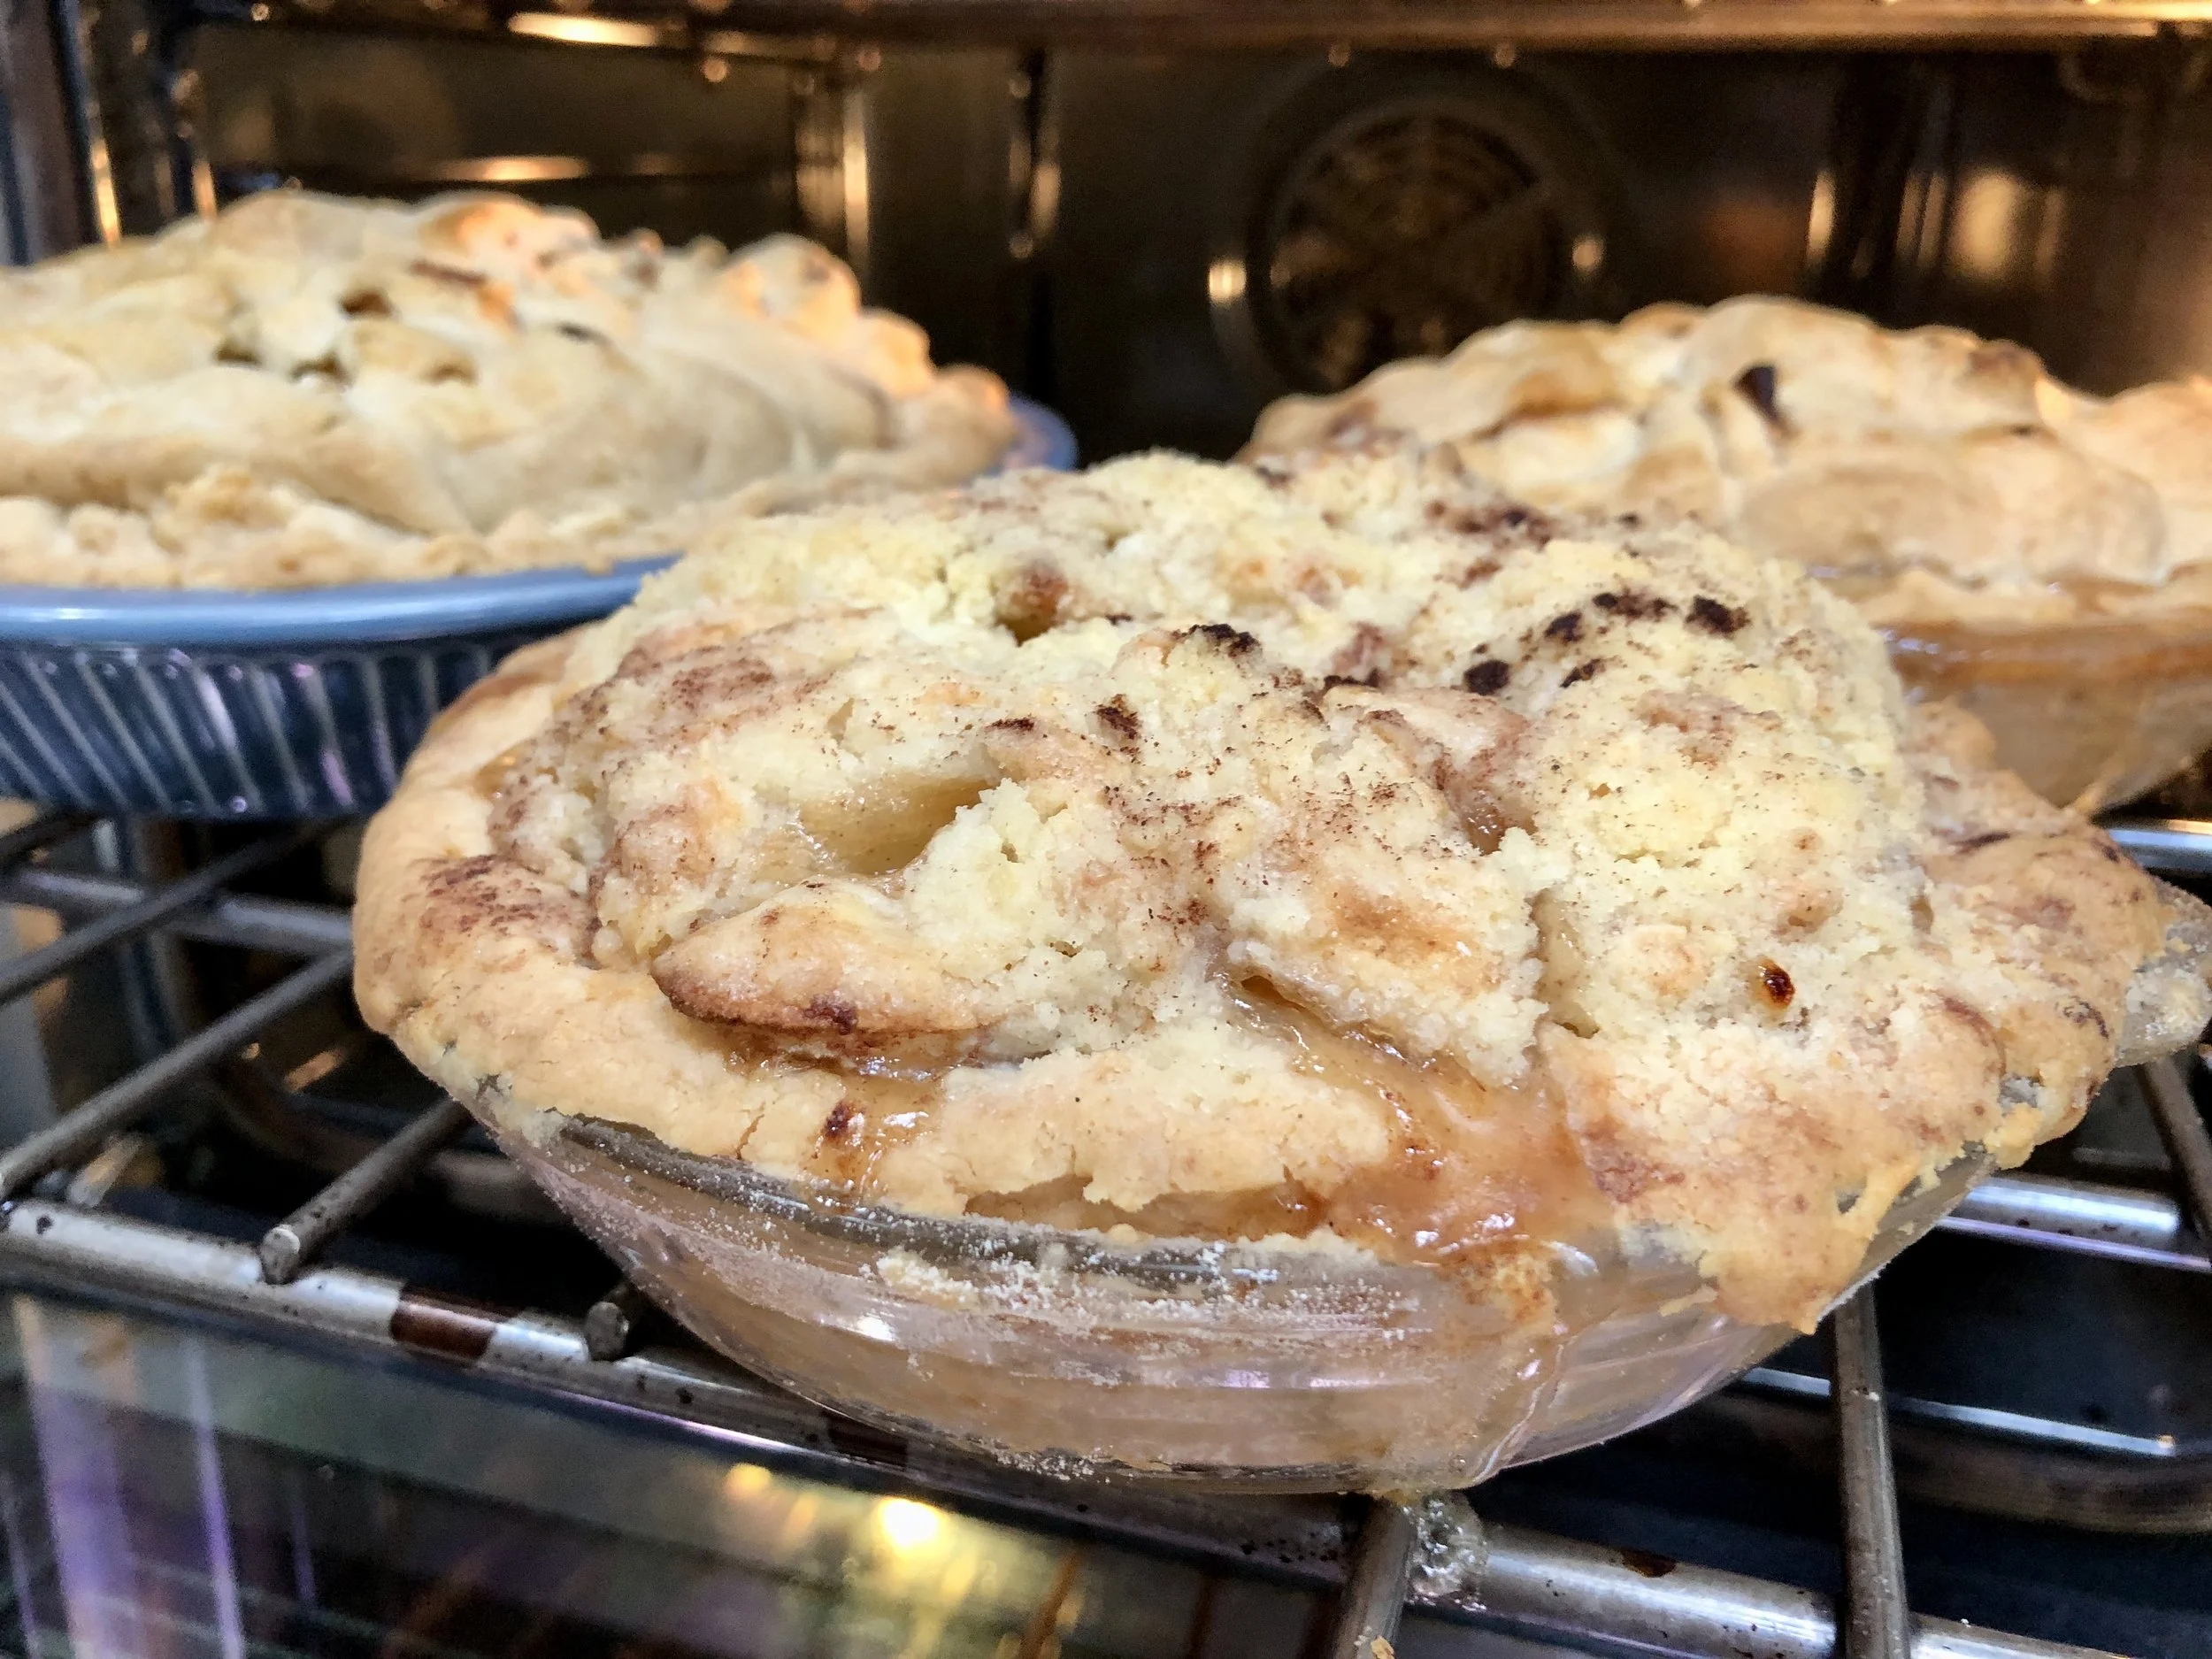
Here are some photos showing the steps to my pie baking: peel-core-slice; roll the dough; place the filling inside the bottom crust; cover the pies (one of mine had a streusel top); place second piece of rolled dough on top of fruit; add a dab or two of milk (makes the crust brown in spots) and bake.

Voila! PIE!

If you prefer a streusel top, look here.

Lily Vail’s (My Mom’s) Apple Pie

crust:

  • 2-1/2 cups all-purpose flour

  • 1 teaspoon sugar

  • 3/4 teaspoon salt

  • 1 teaspoon grated fresh lemon peel, optional

  • 1/2 cup cold butter

  • 1/3 cup cold vegetable shortening

  • 1/4 cup cold milk, juice, water or melted ice cream, approximately (add more as needed)

  • apple filling

To make the crust: Combine the flour, sugar, salt and lemon peel, if used, in a large bowl. Cut the butter and shortening into chunks and add the chunks to the flour mixture. Work the fat into the flour mixture until the ingredients resemble crumbs (use your hands, a pastry blender or the pulse feature of a food processor). Add the liquid, using only enough to gather pastry into a soft ball of dough (start with 1/4 cup). Cut the dough in half and flatten each half to make a disk shape. Wrap the dough in plastic wrap and let it stand at least 30 minutes.

Preheat the oven to 375F. Lightly flour a pastry board or clean work surface. With a rolling pin, roll one half of the dough on the floured surface into a circle about 1/8-inch thick, making sure the circle is larger than the pie pan by about 1 inch. Place the dough in a 9” or 10” pie pan. Pour the apple filling into the pastry-lined pan. Cut the butter into small pieces and place on top of the filling. Roll out the remaining dough and place it over the filling. Gently press the bottom and top crusts together along the flared edge of the pie pan. For a fluted rim, press your thumb and index finger against the outside of the rim, or crimp it with the tines of a fork or the blunt side of a knife. Cut steam vents in the top crust with the tip of a sharp knife or the tines of a fork. Bake the pie for about an hour or until golden brown.

Apple Filling:

3 pounds pie apples (Rhode Island Greenings, Granny Smith, Gravenstein, Northern Spy, Golden Delicious, Idared, Stayman, Winesap, Baldwin, Jonagold)

  • 1/2 cup sugar

  • 2 tablespoons lemon juice

  • 3/4 teaspoon ground cinnamon

  • 2 tablespoons all-purpose flour

  • 1 tablespoon butter

Peel and core the apples then cut them into slices. Place the slices in a bowl. Add the 1/2 cup sugar, lemon juice, cinnamon and flour and toss the ingredients to coat the apple slices evenly.