snack

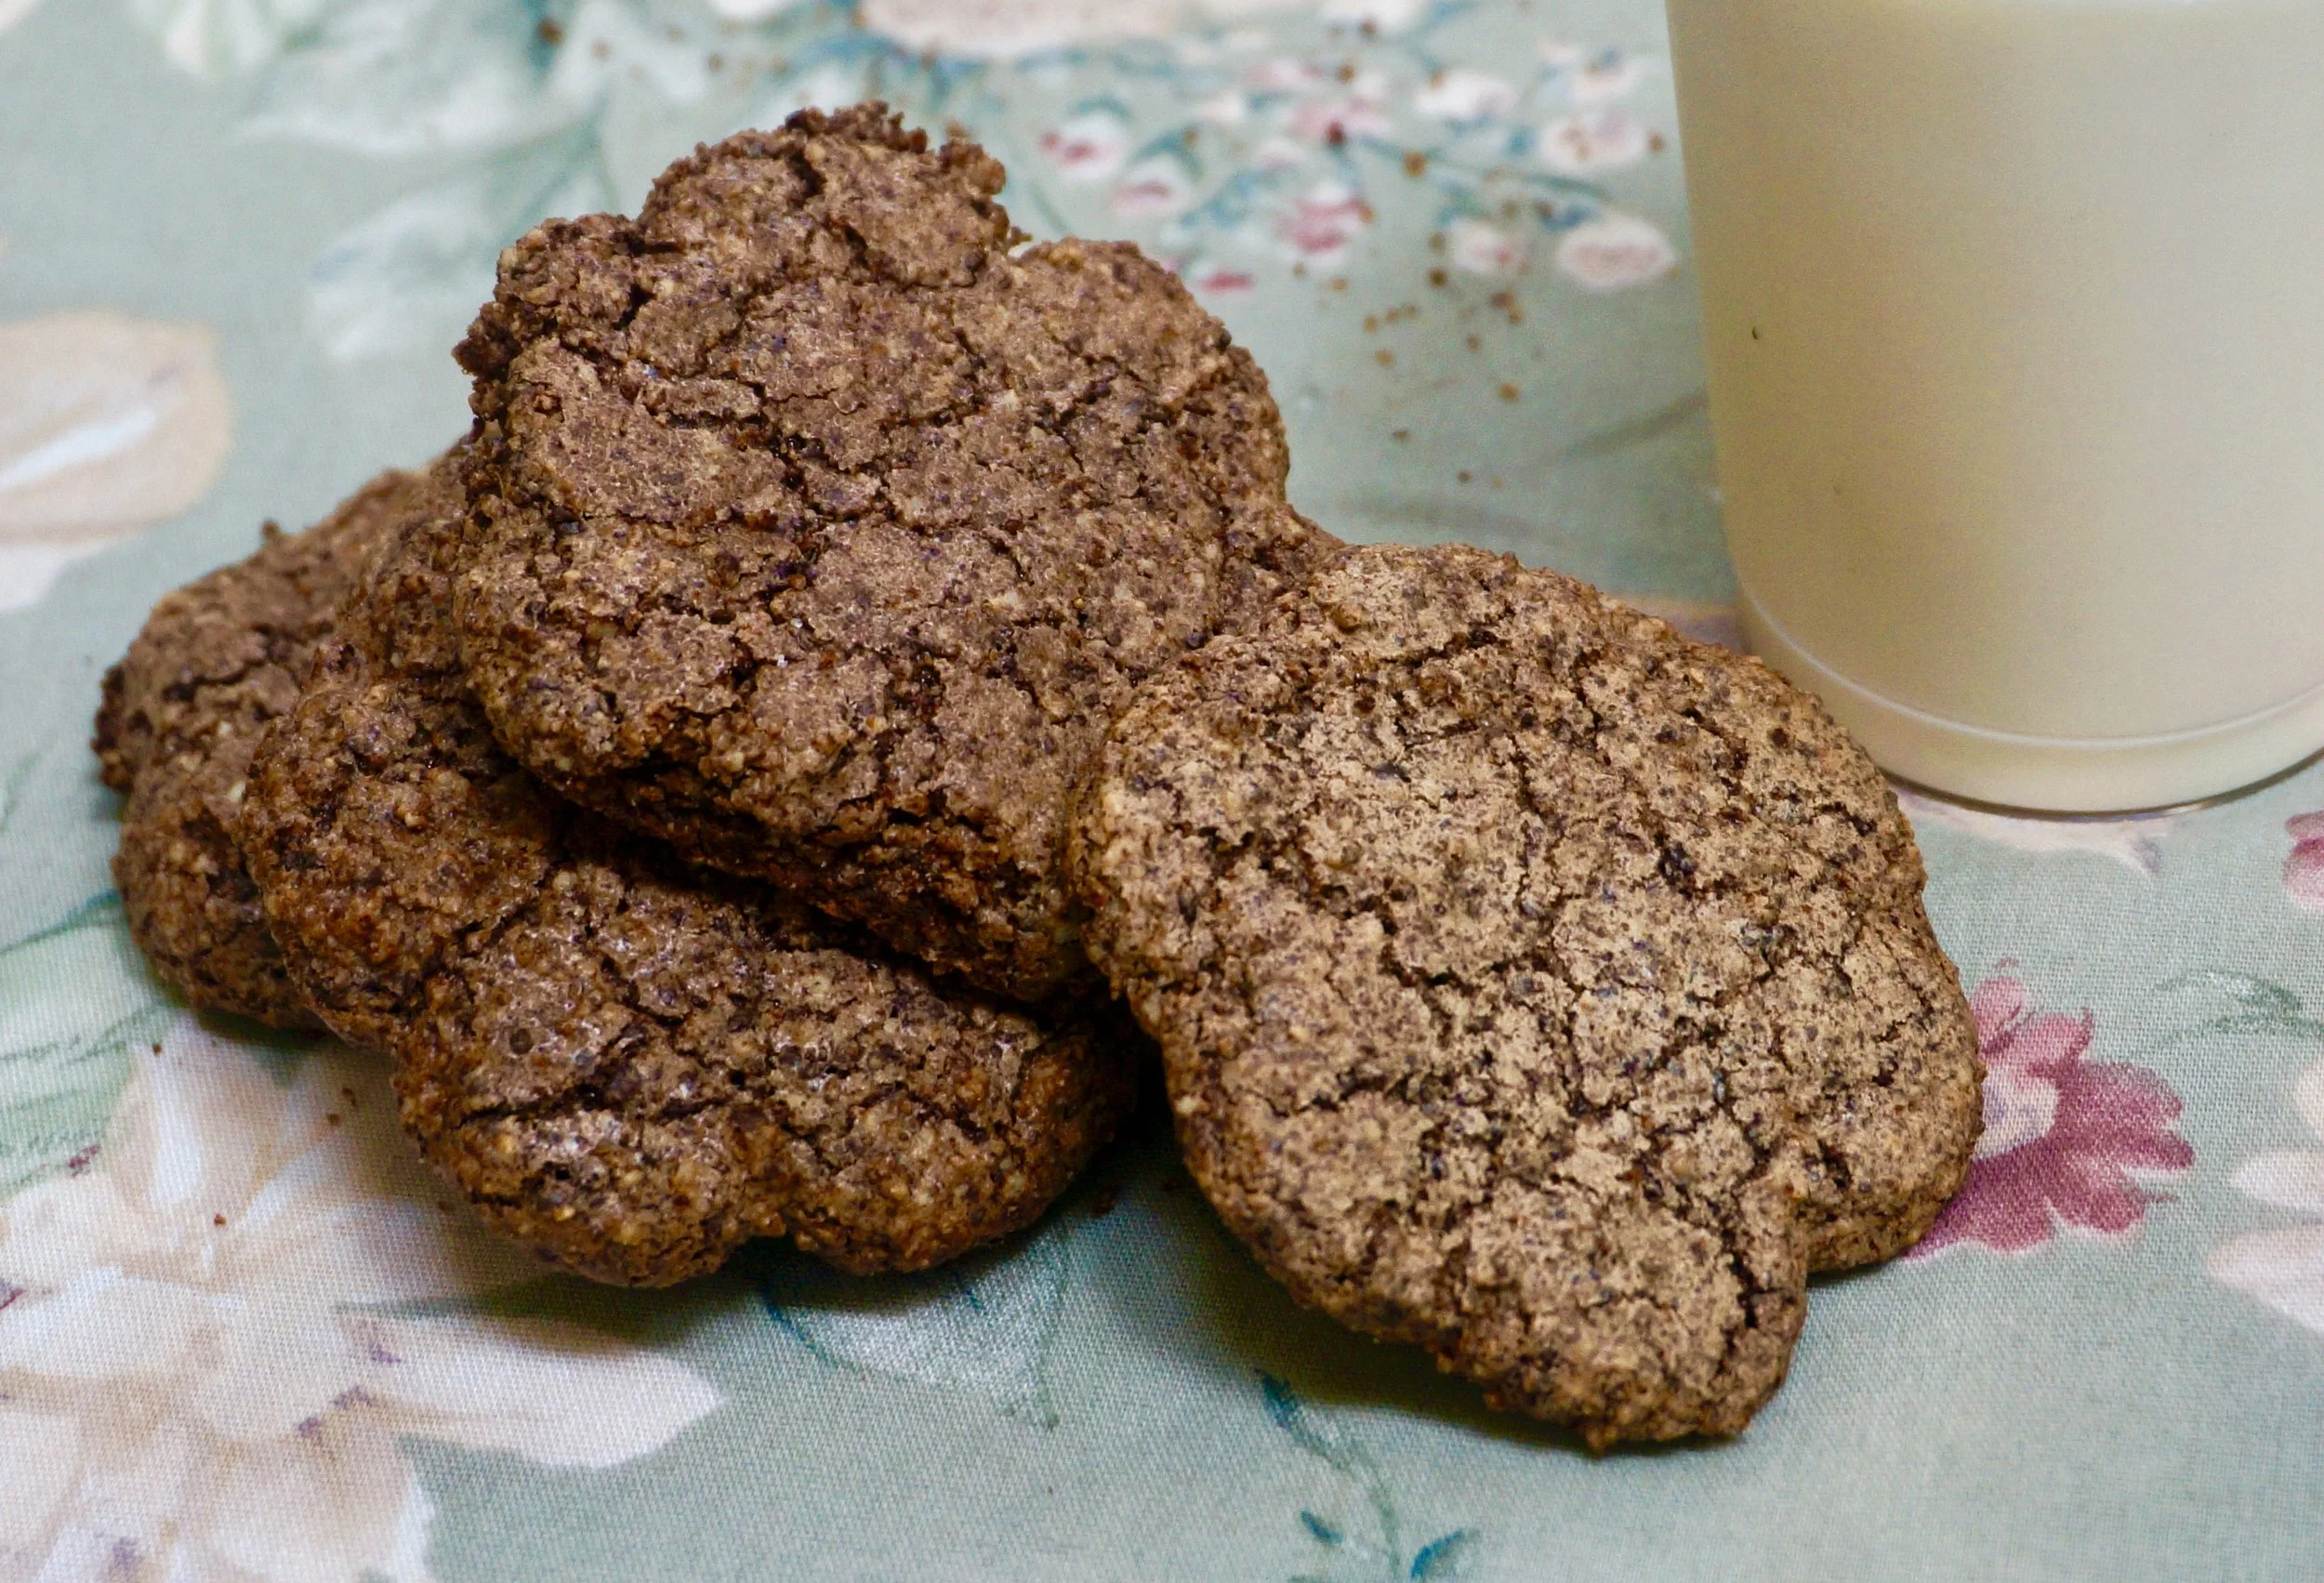
Swiss Chocolate Almond Cookies

fullsizeoutput_86ef.jpeg

I know it's latke season and doughnut season. But in the larger world out there it's also cookie season.

Well, actually, for me it is always cookie season. When I was a kid my Mom baked cookies all the time and when we got home from school we had milk and cookies every day. That was the snack -- before the days of chips (potato, kale or otherwise in little bags) and frozen pizza.

My brothers taught me how to dunk.

So when cookie season comes around I feel nostalgic. Sure, I make the old family favorites. Fannies. Peanut butter cookies. Chocolate Chunk Grand Finale cookies

But occasionally I try something new. I'm not always happy with the results and most often I discard the recipe.

But these were wonderful. And also perfect for dunking.


Swiss Chocolate Almond Cookies

  • 4 ounces bittersweet chocolate, coarsely chopped
  • 3 tablespoons unsweetened cocoa powder
  • 1 teaspoon ground cinnamon
  • 1/2 teaspoon salt
  • 1/4 teaspoon ground cloves
  • 2 cups finely ground almonds (8 ounces)
  • 2 large egg whites, lightly beaten
  • 3/4 cup sugar plus 2 tablespoons sugar for rolling
  • 1 teaspoon vanilla extract (or 1/2 teaspoon orange extract)

In a food processor, pulse the chocolate until almost ground. Add the cocoa powder, cinnamon, salt and cloves and process on pulse to incorporate the ingredients until finely ground and well mixed. Place the mixture into a bowl, add the ground almonds and mix to blend the ingredients thoroughly.

In the bowl of an electric beater, beat the egg whites until soft peaks form. Gradually add the 3/4 cup sugar and beat until stiff peaks form. Fold in the extract and the chocolate-almond mixture.

Sprinkle a sheet of parchment paper with the 2 tablespoons sugar. Place the dough on top of the sugar. Place another piece of parchment paper on top. Roll or press the dough to a thickness of about 1/4 to 3/8 inch. Remove the top piece of parchment paper. Let the unbaked cookies air dry for at least 1-1/2 hours. 

Preheat the oven to 325 degrees. Line a cookie sheet with parchment paper. Cut out circles or shapes with a cookie cutter. Place the cut out cookies on the parchment paper, leaving room between each cookie for them to spread. Bake for 12-15 minutes. Let cookies cool on the sheet for 2-3 minutes. Transfer to a wire rack to cool completely.

Makes about 36 cookies


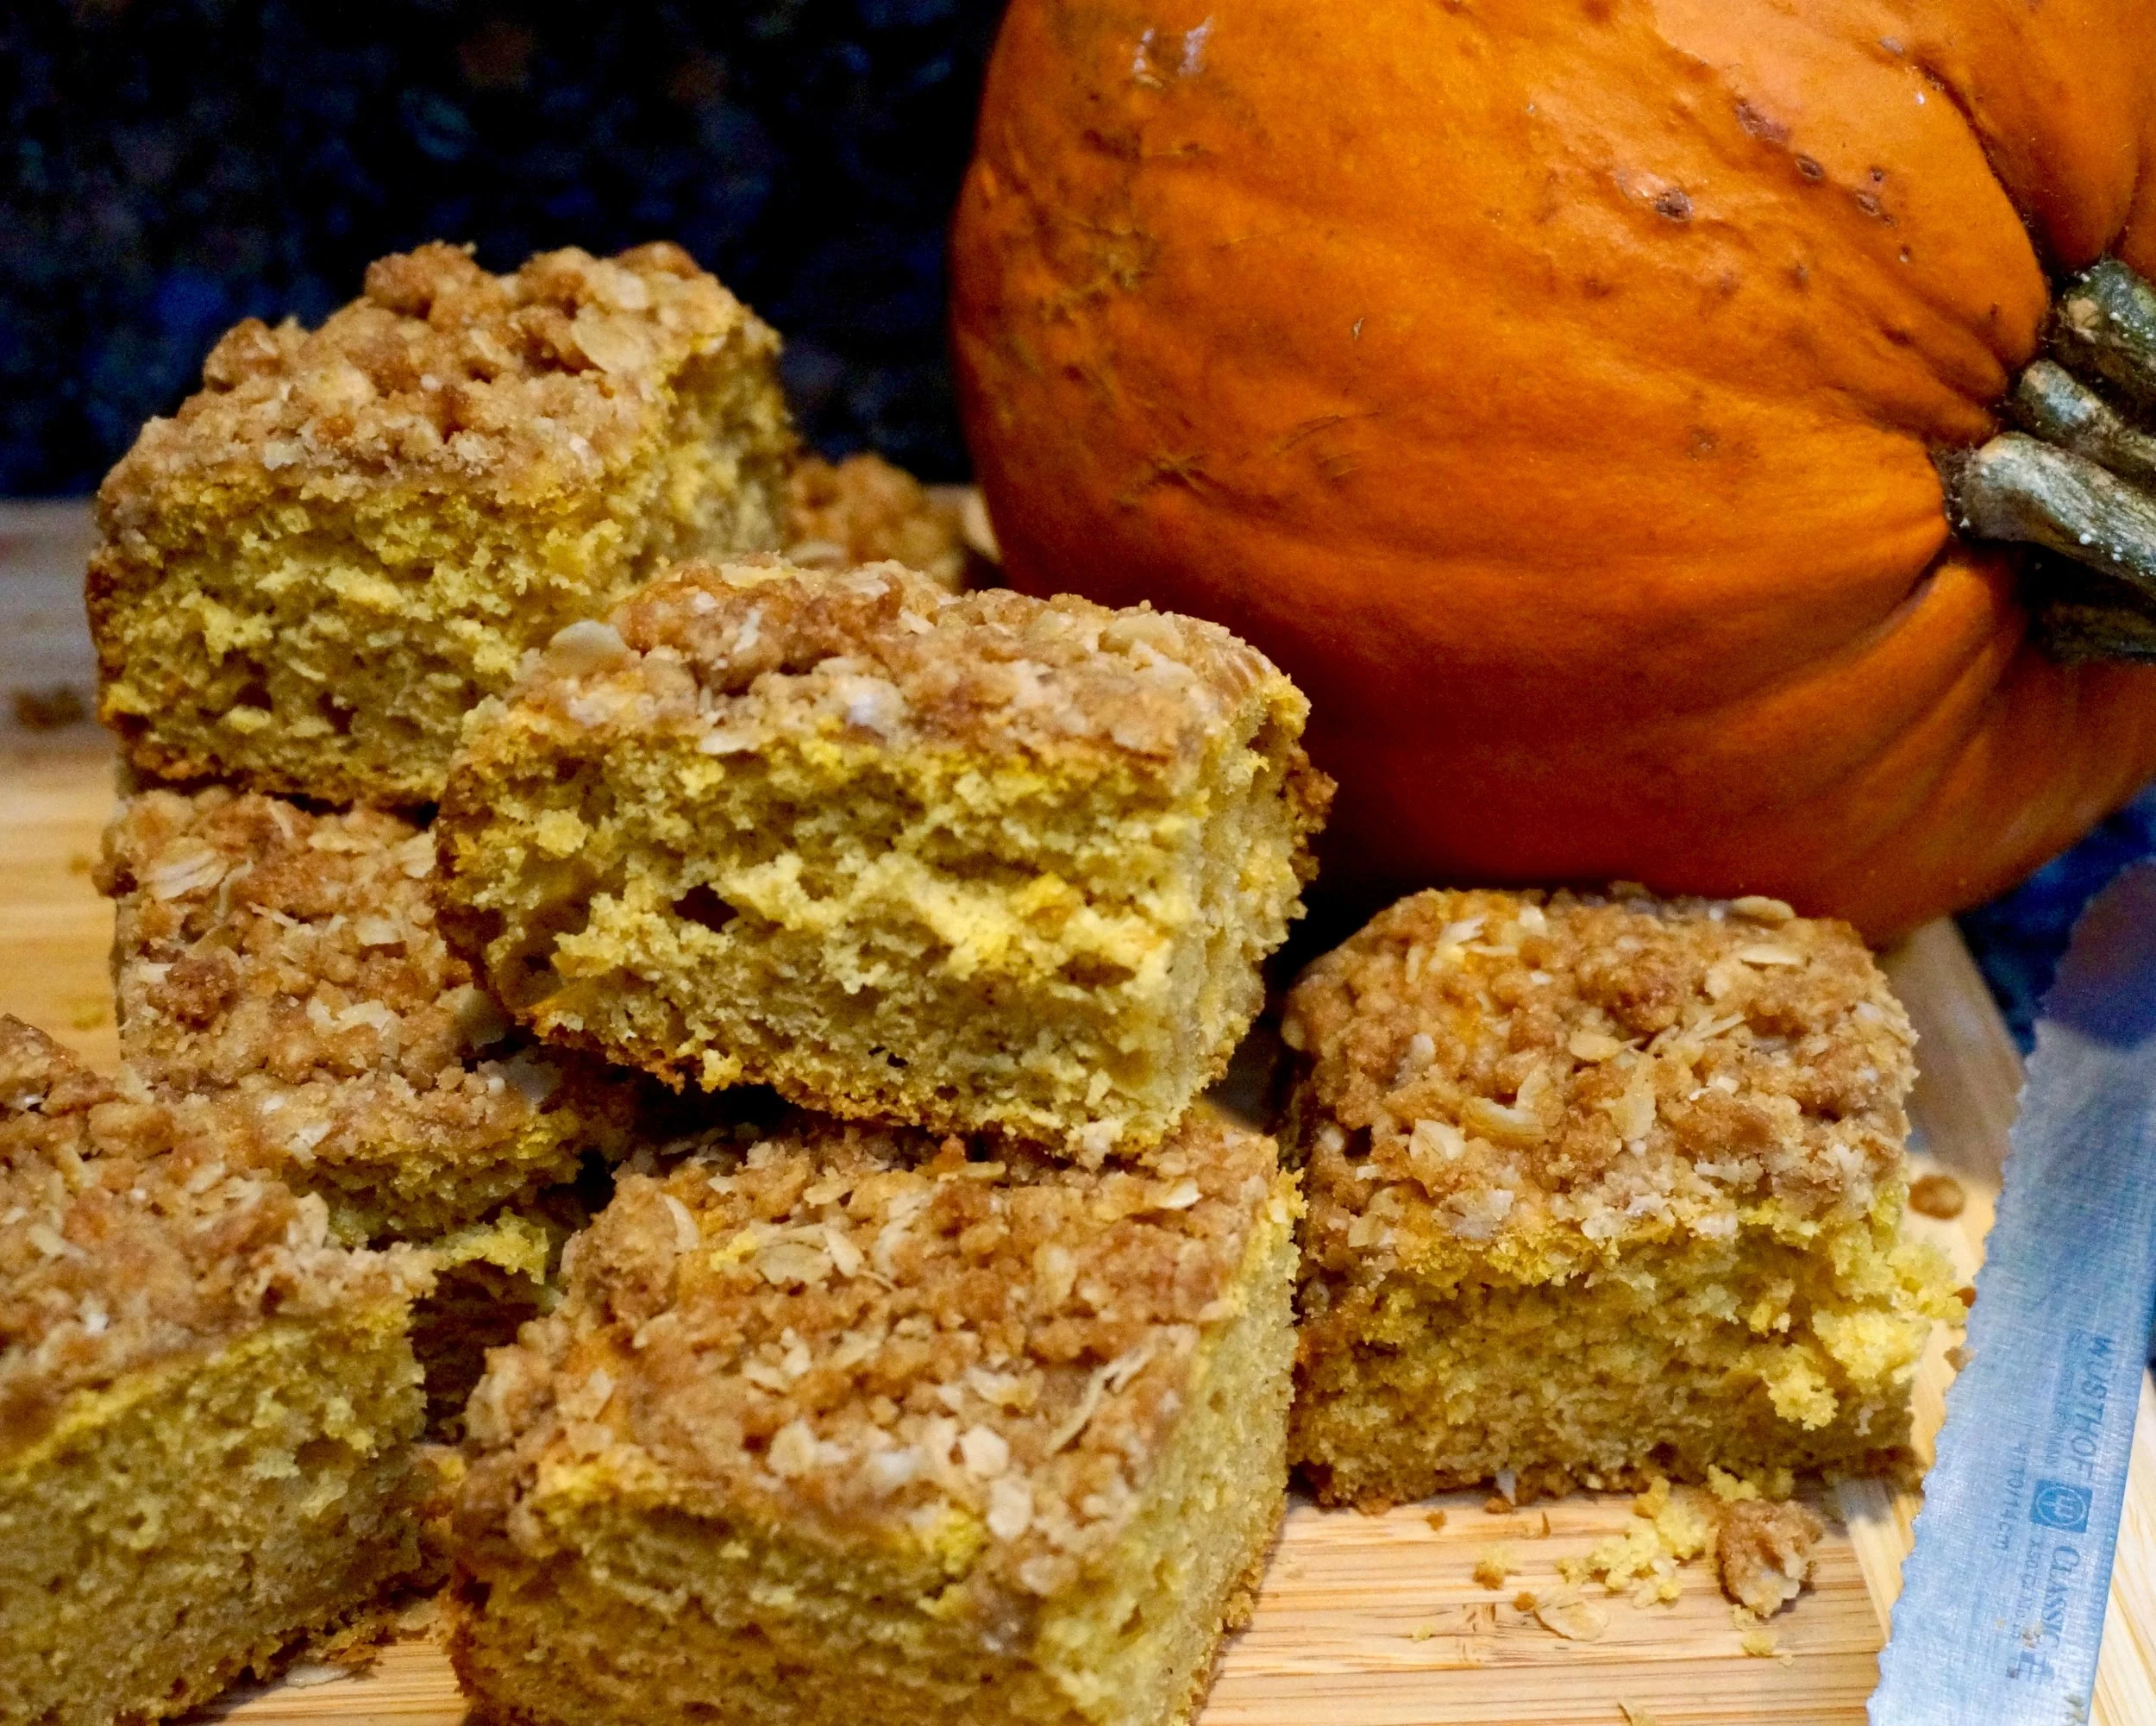
Pumpkin Sour Cream Coffee Cake

fullsizeoutput_5d13.jpeg

I used to bake a fresh pumpkin when it was time to make the usual seasonal pumpkin pies and cakes. I'd buy one of those small, round, sweet "sugar" pumpkins, carve it up, sprinkle the pieces with salt and give it a roast until the flesh was tender.

It was all good. The house smelled like autumn, the pumpkin was nice and dry -- perfect for baked goods.

But.

I got busy. And sometimes I couldn't find the right variety of pumpkin.

So I switched to canned.

You know what? We didn't even notice the difference when it came to my favorite pumpkin coffee cake.

So, make it easy on yourself. Use canned pumpkin if you wish (but not pumpkin pie mix, which is pre-seasoned). Or fresh baked pumpkin of course, if you can find a good variety and have the time to roast it. 

Either way, this cake is rich and gently fragrant. It has a wonderful salty-sweet balance.

You can freeze it too.

PUMPKIN SOUR CREAM COFFEE CAKE

STREUSEL TOPPING:

  • 1/3 cup old fashioned oats
  • 1/4 cup all-purpose flour
  • 1/4 cup brown sugar
  • 1/4 teaspoon salt
  • 3 tablespoons cold butter

CAKE:

  • 1/3 cup sugar
  • 1/4 cup butter
  • 1/2 cup mashed pumpkin (canned is fine; not pumpkin pie mix)
  • 1/3 cup sour cream
  • 1 large egg, beaten
  • 2 tablespoons freshly grated orange peel
  • 1-1/2 cups all-purpose flour
  • 1 tablespoon baking powder
  • 1/2 teaspoon baking soda
  • 1/4 teaspoon nutmeg
  • 1/4 teaspoon salt
  • 1/3 cup milk


Preheat the oven to 375 degrees. Lightly grease an 8" square cake pan. Make the streusel: place the oats, flour, brown sugar and salt in a bowl. Add the butter and work it into the dry ingredients with your fingers, a pastry blender or two knives until the mixture is crumbly. Set the streusel aside.

Make the cake batter: beat the sugar and butter together with a hand mixer or electric mixer set at medium speed for 1-2 minutes or until the mixture is smooth and creamy. Add the pumpkin, sour cream, egg and orange peel and beat the ingredients for 1-2 minutes or until they are smooth. Whisk together the flour, baking powder, baking soda, nutmeg and salt in a bowl. Add 1/2 of the dry ingredients to the butter mixture and beat the ingredients until they are blended. Add 1/2 of the milk and beat this in until it is well blended. Repeat this process again until all the flour and milk have been used up. Pour the batter into the prepared pan.

Sprinkle the streusel over the batter. Bake for 35-40 minutes or until a cake tester inserted into the middle of the cake comes out clean. Let the cake cool in the pan for 10 minutes then carefully invert the cake onto a cake rack, carefully flip it right side up. Let cool completely.

Makes one cake serving 8-10 people

Bones and Blood

Last year my daughter Meredith (a board certified lactation consultant (IBCLC) who provides services for expectant and new parents), made these Hallowe'en snacks. Although I do not have young children at home, nor would I ever pass these out to trick-or-treaters, they were too cute to pass up. So I made my own. Just for us, for TV watching time.

Hers were baked with biscuit dough. I didn't feel like making dough, so I took the easy way out -- used packaged pizza dough. They looked the same as these, just a bit browner.

A cute snack for Hallowe'en and really easy to make:

Bones and Blood

  • one pound pizza dough
  • 6 tablespoons melted butter
  • 2 tablespoons grated Parmesan cheese
  • 2 teaspoons dried oregano
  • sea salt to taste
  • 2 cups marina sauce

Preheat the oven to 375 degrees. Line a baking sheet with parchment paper. Cut the dough into 10 equal pieces and roll each piece into a rope about 8 inches long. Cut a slit at each end of each rope, and curve the slit part out slightly to make the bone shape. Place the bones on the baking sheet. Brush with the melted butter, sprinkle with the cheese, oregano and salt. Bake for about 15 minutes or until vaguely tan. Serve with the marinara sauce. 

Makes 10

Pumpkin Raisin Muffins

_DSC9757.jpg

A few days ago someone on social media alerted the world to Oscar Mayer Pumpkin Spice Bologna.

No.

Just no. Just absolutely no.

Pumpkin spice doesn't belong in bologna. It doesn't even belong in the same sentence.

In fact, there is way too much "pumpkin spice" out there, in everything. 

However, pumpkin spice in muffins is a pretty good idea. It is pumpkin season, after all. And spices such as cinnamon, nutmeg and allspice do give the batter a welcome warmth and fragrance.

So, instead of even thinking about that terrible idea of pumpkin spice bologna, try these muffins, which are quite wonderful.

Btw, there really is no such thing as Oscar Mayer Pumpkin Spice Bologna. It's baloney! Watch out for the real #fakenews. (http://www.wusa9.com/news/local/verify/verify-pumpkin-spice-products-whats-real-and-whats-not/481457725)


Pumpkin Raisin Muffins

  • 1-1/2 cups all-purpose flour
  • 1 teaspoon baking soda
  • 1 teaspoon baking powder
  • 1/2 teaspoon salt
  • 1 teaspoon ground cinnamon
  • 1/2 teaspoon ground nutmeg
  • 1/4 teaspoon ground allspice
  • 2/3 cup sugar
  • 2 large eggs
  • 1/2 cup vegetable oil
  • 1-1/4 cups mashed pumpkin
  • 1/2 cup golden raisins

 Preheat the oven to 350 degrees. Grease 10 muffin tins. Mix the flour, baking soda, baking powder, salt, cinnamon, nutmeg and allspice together into a bowl. Beat the sugar, eggs, vegetable oil and mashed pumpkin together in an electric mixer set at medium for 2-3 minutes or until thoroughly blended and smooth. Add the flour mixture and beat at low speed for one minute to blend ingredients. Fold in the raisins. Pour the batter into the prepared tins. Bake for about 20 minutes or until a cake tester inserted into the center comes out clean.

Makes 10


Modern Jewish Baker by Shannon Sarna

fullsizeoutput_8692.jpeg

When I got Shannon Sarna’s new book, Modern Jewish Baker, I wanted to run into the kitchen and start baking. It’s that kind of book – based on a few beloved, classic, Jewish bakery basics (challah, bagels, babka and so on) plus an amazing number of inventive variations that sound too seriously compelling to miss.

Exactly my kind of cooking.

One problem. I have to lose weight and get my glucose at normal levels before my doctor’s appointment next month.

OY! Which of these fabulous bakery items should I make and still be on the straight and narrow path until the doctor thing is over?

Challah was out because, ok, I had tasted Shannon’s pull-apart spinach-cheese version at the book launch party and had to stop myself from eating more only because it would have been rude and gluttonous not to leave some for the other guests.

Bagels? No way, because then I’d eat a couple of those fat, crispy-crusted, puffy-inside things, load them with cream cheese and lox and then have to promise to start my diet “tomorrow.”

Rugelach or babka? Tell me the truth -- could you eat just one piece?

Me either. I had several samples at that launch party and – see above for thoughts on my ability to control myself if I had this stuff in my kitchen.

So it was down to either matzo or pita.

I chose pita because matzo means butter. Lots of it, or matzo brei loaded with sour cream, so, no.

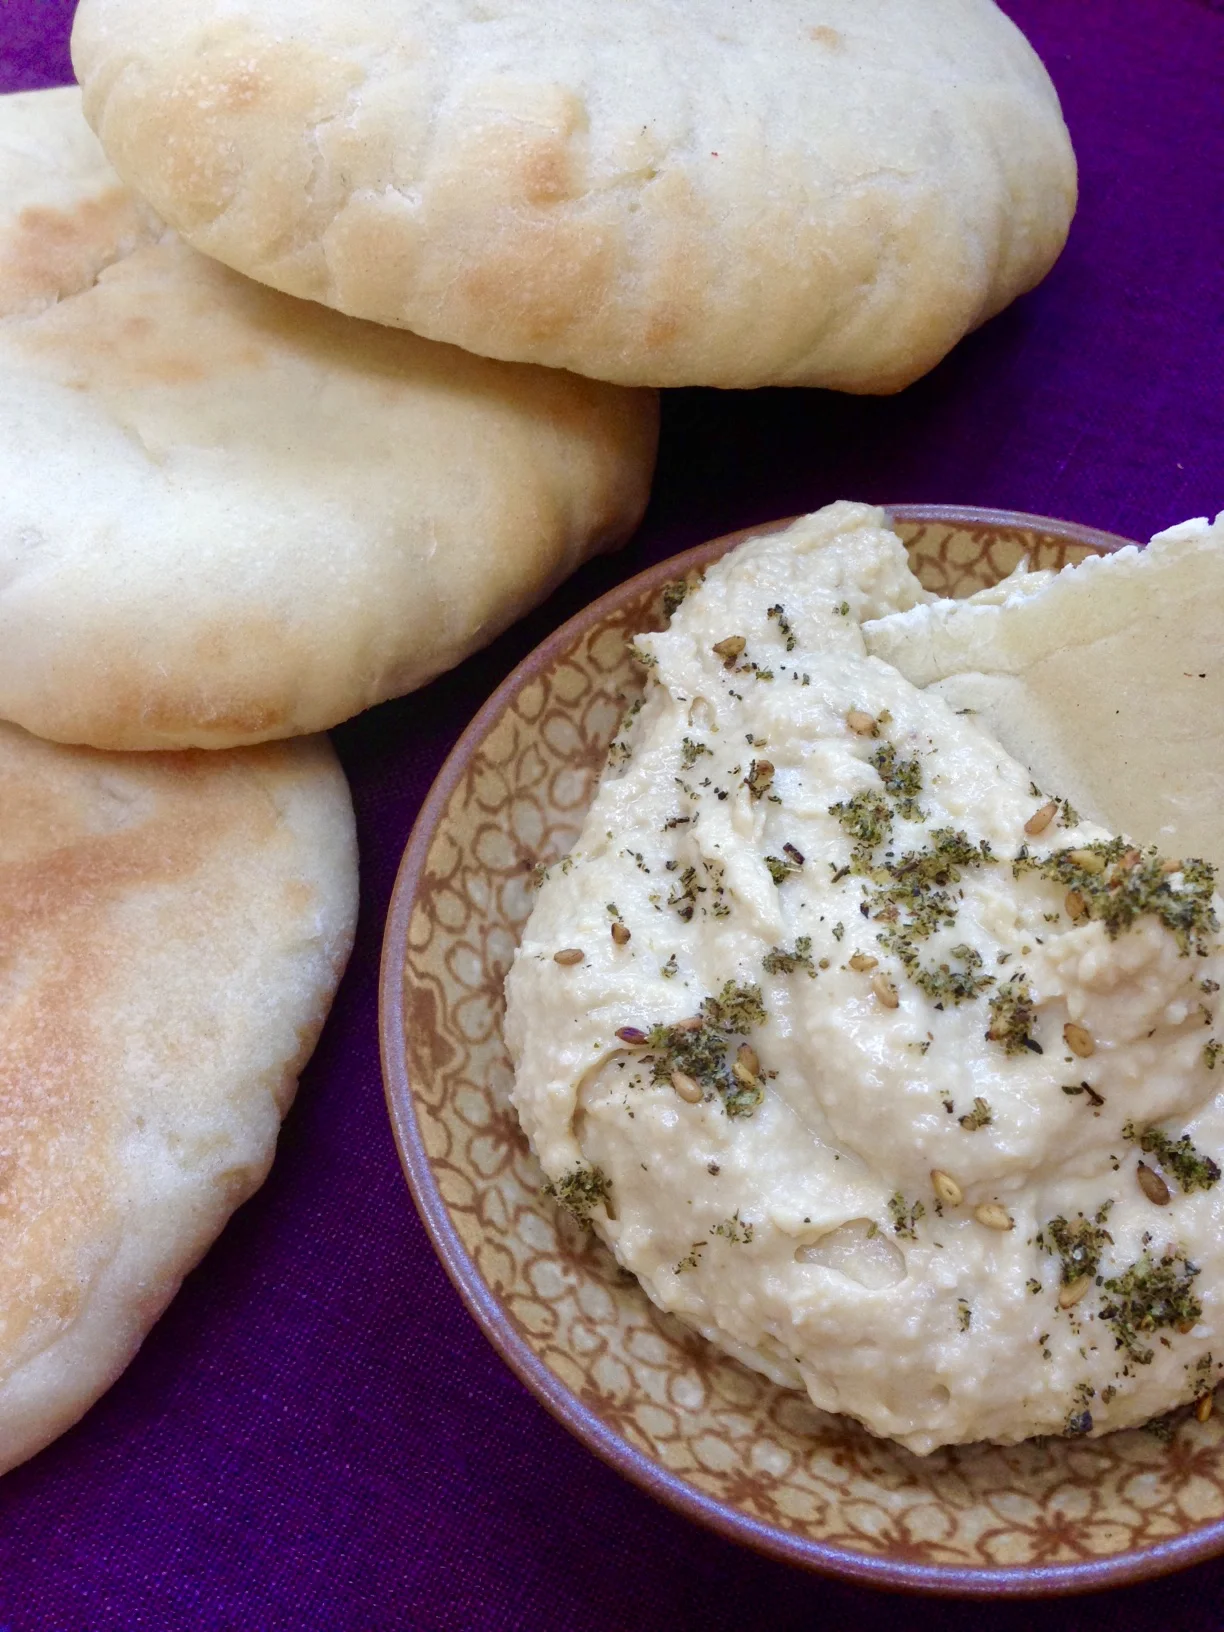
Pita it was, because then I could have it with the hummus I could make with the recipe from the book and that’s healthy, right? Also, how much pita can one person eat? It's plain old bread, no chocolate or cheese or other extras.

Believe it or not, one person can actually eat quite a bit of plain old pita when it’s this good. Plus, it is really a thrill to see those yeasty rounds come out of the oven and actually look like packaged pita! (But taste much fresher and better). I felt like a triumphant teenager who had baked her first cake. Who knew you can make pita at home?! I’ve been at this cooking thing for years and years and never did it before.

But I will again! This stuff is not only tasty, but fun to make.

And the hummus was quite good too!

I’ll start the diet tomorrow.

This book is a winner.

Bonus recipe from the book -- Classic Hummus (Modern Jewish Baker):

  • 1 (15-ounce) can chickpeas, rinsed and shells removed
  • 1/4 cup tahini
  • 1/2 teaspoon cumin
  • 1/2 teaspoon salt
  • 2 whole garlic cloves
  • 1/2 cup olive oil plus additional for serving
  • 2-3 tablespoons water
  • Paprika (optional), for garnish
  • Za'atar (optional), for garnish

Place chickpeas, tahini, cumin, salt and garlic cloves in a food processor fitted with a blade attachment. Puree for 30 seconds. Add olive oil and process until smooth. Add water one tablespoon at a time until desired smoothness. Spoon onto plate or into a bowl. Top with paprika or za'atar and an extra drizzle of olive oil for serving.

Can be kept in an airtight container for 5-7 days in the refrigerator.

Makes 4-6 servings


Carrot Bread with Raisins for Rosh Hashanah

Somehow Labor Day is over and the food thoughts in my head go straight from tomato salad and grilled chicken to pumpkin soup and baked apples

Of course there's still time to enjoy the last of the summer fruits and vegetables, still time for outdoor-cooked grilled, marinated steak

But I'm thinking forward. It's almost a new season and -- yikes! -- the High Holiday season is only two weeks away.

Which leads toady's food thoughts to: carrots, because carrots are traditional during Rosh Hashanah. I usually cook them in soup -- one version or another. But last year I decided to experiment with a few recipes for carrot quick bread.

This is the one we like best. It's moist and sweet, so it can be dessert, and because it is parve, it is a good choice after a traditional holiday meat meal.

But also makes a good snack either by itself or smeared with cream cheese (softened is best and maybe even mixed with some lemon juice).

CARROT BREAD(P)

  • 1-1/2 cups all-purpose flour
  • 2-1/2 teaspoons baking powder
  • 1 teaspoon salt
  • 1 teaspoon cinnamon
  • 1/2 teaspoon nutmeg
  • 1/2 cup brown sugar
  • 1/3 cup white sugar
  • 1 cup vegetable oil
  • 3 large eggs
  • 1 tablespoon lemon juice
  • 1-1/2 teaspoons grated lemon peel
  • 1-1/2 cups grated carrots
  • 1/2 cup golden raisins

Preheat the oven to 350 degrees. Grease an 8-1/2”x4-1/2” loaf pan. Mix the flour, baking powder, salt, cinnamon and nutmeg into a bowl. Set aside. Beat the brown sugar, white sugar and vegetable oil in the bowl of an electric mixer set at medium speed for 2-3 minutes, or until well blended. Add the eggs, one at a time, beating after each addition. Stir in the lemon juice and peel. Add the dry ingredients and blend them into the egg mixture. Fold in the carrots and raisins. Pour the batter into the loaf pan. Bake for about 50 minutes or until a cake tester inserted into the center comes out clean. Let cool in the pan for 10 minutes, then invert onto a rack to cool completely. 

Makes one loaf  

Ah! Summer Blueberries!

_DSC9863.jpg

It's impossible to lose weight during the summer. Not when there is so much glorious fruit around and it tastes so good just out-of-hand but SO SO delicious in crisps, pies, muffins, galettes and quickbreads.

Like this blueberry bread. Spiked with orange.

A nice snack all by itself. Sliced for sandwiches smeared with cream cheese. Dessert when topped with ice cream.

Blueberry Bread

  • 2 cups all-purpose flour
  • 1 cup sugar
  • 1-1/2 teaspoons baking powder
  • 1/2 teaspoon baking soda
  • 1 teaspoon salt
  • 2 teaspoons grated fresh orange peel
  • 1 teaspoon vanilla extract
  • 1/4 cup coconut oil
  • 1 large egg
  • 3/4 cup orange juice
  • 1 cup fresh blueberries

Preheat the oven to 350 degrees. Lightly grease a 9”x5” loaf pan. Mix the flour, sugar, baking powder, baking soda, salt, orange peel and vanilla powder together into a bowl. Add the coconut oil in chunks and cut it into the dry ingredients with your fingers or a pastry blender. If you use an electric mixer, set it at low-medium speed. In a second bowl, beat the egg and orange juice together until well blended (if you use vanilla extract, add it here). Add to the flour mixture and stir to blend ingredients. Fold in the blueberries. Pour the batter into the prepared pan. Bake for 55-60 minutes or until a cake tester inserted into the center comes out clean.

Makes one loaf

Fresh Tomato Puff Pastry Pizza

_DSC0079.jpg

Year after year I failed at growing tomatoes. They bloomed too late because I planted them too late, so by the time the tomatoes on the vine were big and green, a frost would come and everything was ruined. 

Last year I decided to plant them earlier than usual. Also in a different spot in my garden.

Perfecto!

So this year I did the same.

Perfecto again!

I got lots and lots of tomatoes! Enough for salad and sandwiches. Enough for homemade sauce.

And also these fabulous puff pastry pizzas.

So easy, such a good lunch, brunch or even hors d'oeuvre (cut smaller). 

Fresh Tomato Puff Pastry Pizza

  • 3 large or 4 medium tomatoes, sliced about 1/4-inch thick

  • salt

  • 1 sheet puff pastry, thawed

  • 2 cups shredded mozzarella cheese

  • 2 tablespoons grated Parmesan cheese

  • 3 tablespoons finely chopped basil

  • 1 tablespoon olive oil

Preheat the oven to 425 degrees. Line a baking sheet with parchment paper. Place the tomatoes slices on a board, sprinkle with salt and let rest for about 30 minutes. Wipe the slices dry. Roll the puff pastry slightly thinner on a floured surface. Cut lengthwise once and widthwise twice to make 6-8 smaller pieces (or leave in one piece for a whole tart). Place the pieces on the baking sheet. Sprinkle with equal amounts of the mozzarella cheese, leaving a border of about 1/2-inch. Top with equal amounts of tomato slices. Sprinkle with equal amounts of Parmesan cheese. Sprinkle with equal amounts of basil. Drizzle with olive oil. Refrigerate for about 20 minutes. Bake for about 20 minutes or until golden brown.

Makes 6-8 servings


Banana Marble Cake

fullsizeoutput_828e.jpeg

Whenever my mother had leftover sour cream that was still safe to eat but had been hanging around the fridge for too long for it to taste fresh, she would use it to bake something. Like her marble cake. 

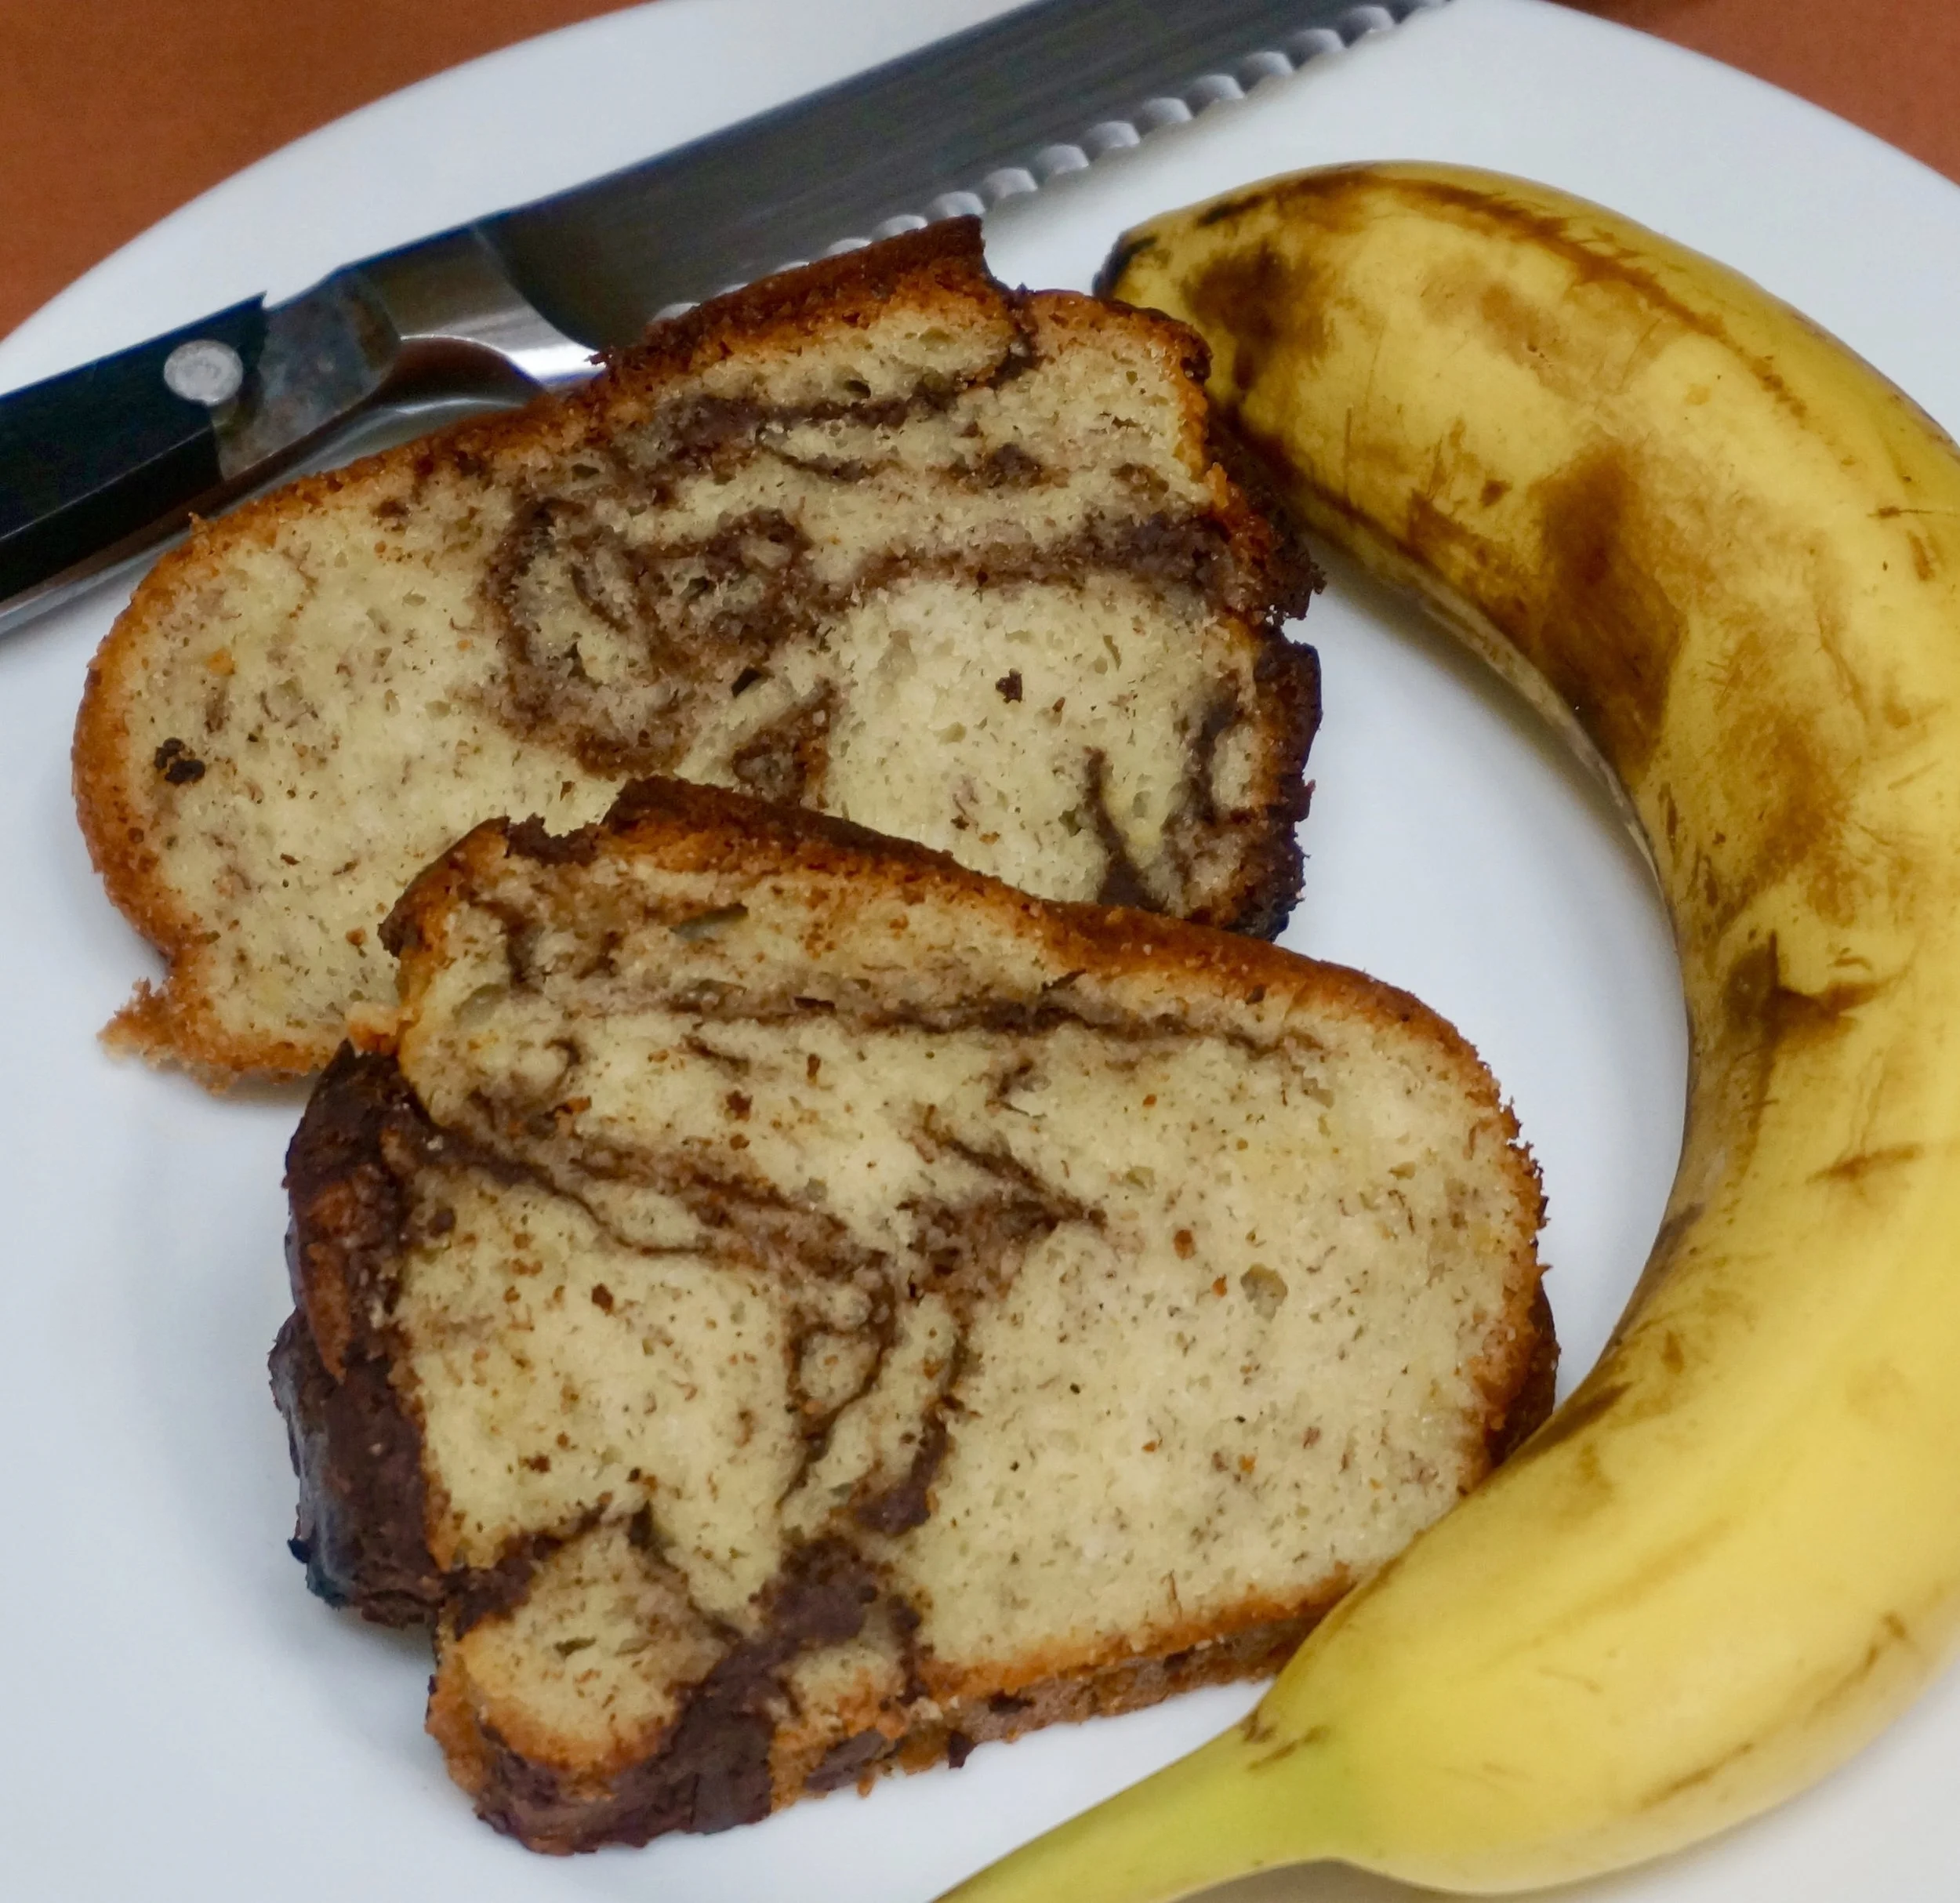
That cake was a simple wonder. Tender, vaguely sweet, with just enough melted chocolate swirling through the vanilla crumb. Rarely frosted, we ate it like coffee cake, just as is.

I've made that cake many times, and for the same reasons. Leftover sour cream (I also use leftover plain Greek yogurt when I have some). I've made it the original way and with coconut oil in place of shortening. 

Recently I had sour cream and yogurt leftover, the not exactly new kind.

I also had bananas left over. I always have bananas left over. I usually make banana bread with the leftover bananas.

So I took a cue from my mother and decided to bake marble cake. Using bananas.

So good.

Banana Marble Cake

  • 4 ounces semisweet chocolate
  • 2-1/2 cups all-purpose flour
  • 1 teaspoon salt
  • 2 teaspoons baking powder
  • 1/2 teaspoon baking soda
  • 1 cup sugar
  • 3 large eggs
  • 1 teaspoon vanilla extract
  • 1/2 cup vegetable oil
  • 4 very ripe medium bananas, mashed
  • 1 cup dairy sour cream or plain Greek yogurt 

Preheat the oven to 350 degrees. Grease and flour a (10-inch) 8-cup bundt pan. Melt the chocolate and set it aside. Mix the flour, salt, baking powder and baking soda together in a bowl and set aside. In the bowl of an electric mixer set at medium speed, beat the sugar and eggs for 2-3 minutes or until well blended. Add the vanilla extract and vegetable oil and beat for 1-2 minutes or until thoroughly blended. Add the bananas and sour cream and beat them in. Add the flour mixture and beat for 1-2 minutes or until the batter is well blended. Pour half the batter into the prepared pan. Pour in half the melted chocolate and swirl it into the batter using a knife or wooden spoon. Repeat with the remaining batter and melted chocolate. Bake for 50-60 minutes or until a cake tester inserted into the center comes out clean. Remove from the oven and let cool in the pan for 10 minutes. Remove to a cake rack to cool completely.

Makes one bread, serving 12-16


Banana Cupcakes with Brown Sugar Frosting

I am allergic to bananas, so I never eat them or any food that contains banana.

BUT, I buy bananas all the time. Ed eats some and the grandkids eat some. But mostly I buy them because I love the fragrance of a peeled banana and love cooking with bananas just so that I can have a whiff or two.

Over the years I've developed quite a number of banana bread and banana cake recipes, including some dairy-free, some with chocolate chips, some with dried fruit, some with chocolate flavored batter, some with coconut, some with mango, some with streusel. You get the point. I enjoy these goodies vicariously as I watch other people eating them. 

A few days ago, as usual, I had a few unused bananas. I am also trying to use up all the flour in my cabinet before Passover. So there was a double purpose to creating some new banana concoction and the result was cupcakes. My tasters have told me that the cake part is delicious. I tasted the thick and creamy frosting and give it two thumbs up.


Banana Cupcakes with Brown Sugar Frosting(P)

  • 2 cups all-purpose flour
  • 1 teaspoon baking soda
  • 1/2 teaspoon baking powder
  • 1/2 teaspoon salt
  • 1 teaspoon grated fresh orange peel
  • 1 cup sugar
  • 1/2 cup vegetable oil
  • 2 large eggs
  • 3 medium very ripe bananas
  • 1/4 cup orange juice
  • 3/4 teaspoon vanilla extract
  • Brown Sugar Frosting

Preheat the oven to 350 degrees. Lightly grease 12-15 muffin tins (or line them with cupcake papers). Combine the flour, baking soda, baking powder, salt and orange peel in a bowl and set it aside. Beat the sugar and vegetable oil with a handheld or electric mixer set at medium speed for 2-3 minutes or until the mixture is light and fluffy. Add the eggs one at a time, beating after each addition. Mash the bananas and add them to the sugar mixture. Beat thoroughly until the ingredients are well blended. Add the flour mixture, stirring only enough to moisten the dry ingredients and blend them in. Stir in the orange juice and vanilla extract. Pour the batter into the prepared tins. Bake for 20-25 minutes or until a cake tester inserted into the centers comes out clean. Let cool for about 10 minutes. Then remove the cupcakes from the pan and cool on a cake rack. Frost with Brown Sugar Frosting.

Makes 12 large or 15 medium cupcakes

Brown Sugar Frosting (P)

  • 1/4 cup Earth Balance Buttery Spread or pareve margarine
  • 1/4 cup coconut oil
  • 6 tablespoons brown sugar
  • 1-1/3 cups confectioner’s sugar
  • 1/2 teaspoon vanilla extract
  • orange juice (1-2 tablespoons)

In a large bowl or an electric mixer, beat the buttery spread, coconut oil, brown sugar, confectioner’s sugar and vanilla extract together at medium speed for 3-4 minutes or until smooth and thoroughly blended. Gradually add orange juice, using enough to make the mixture spreading consistency.