cake

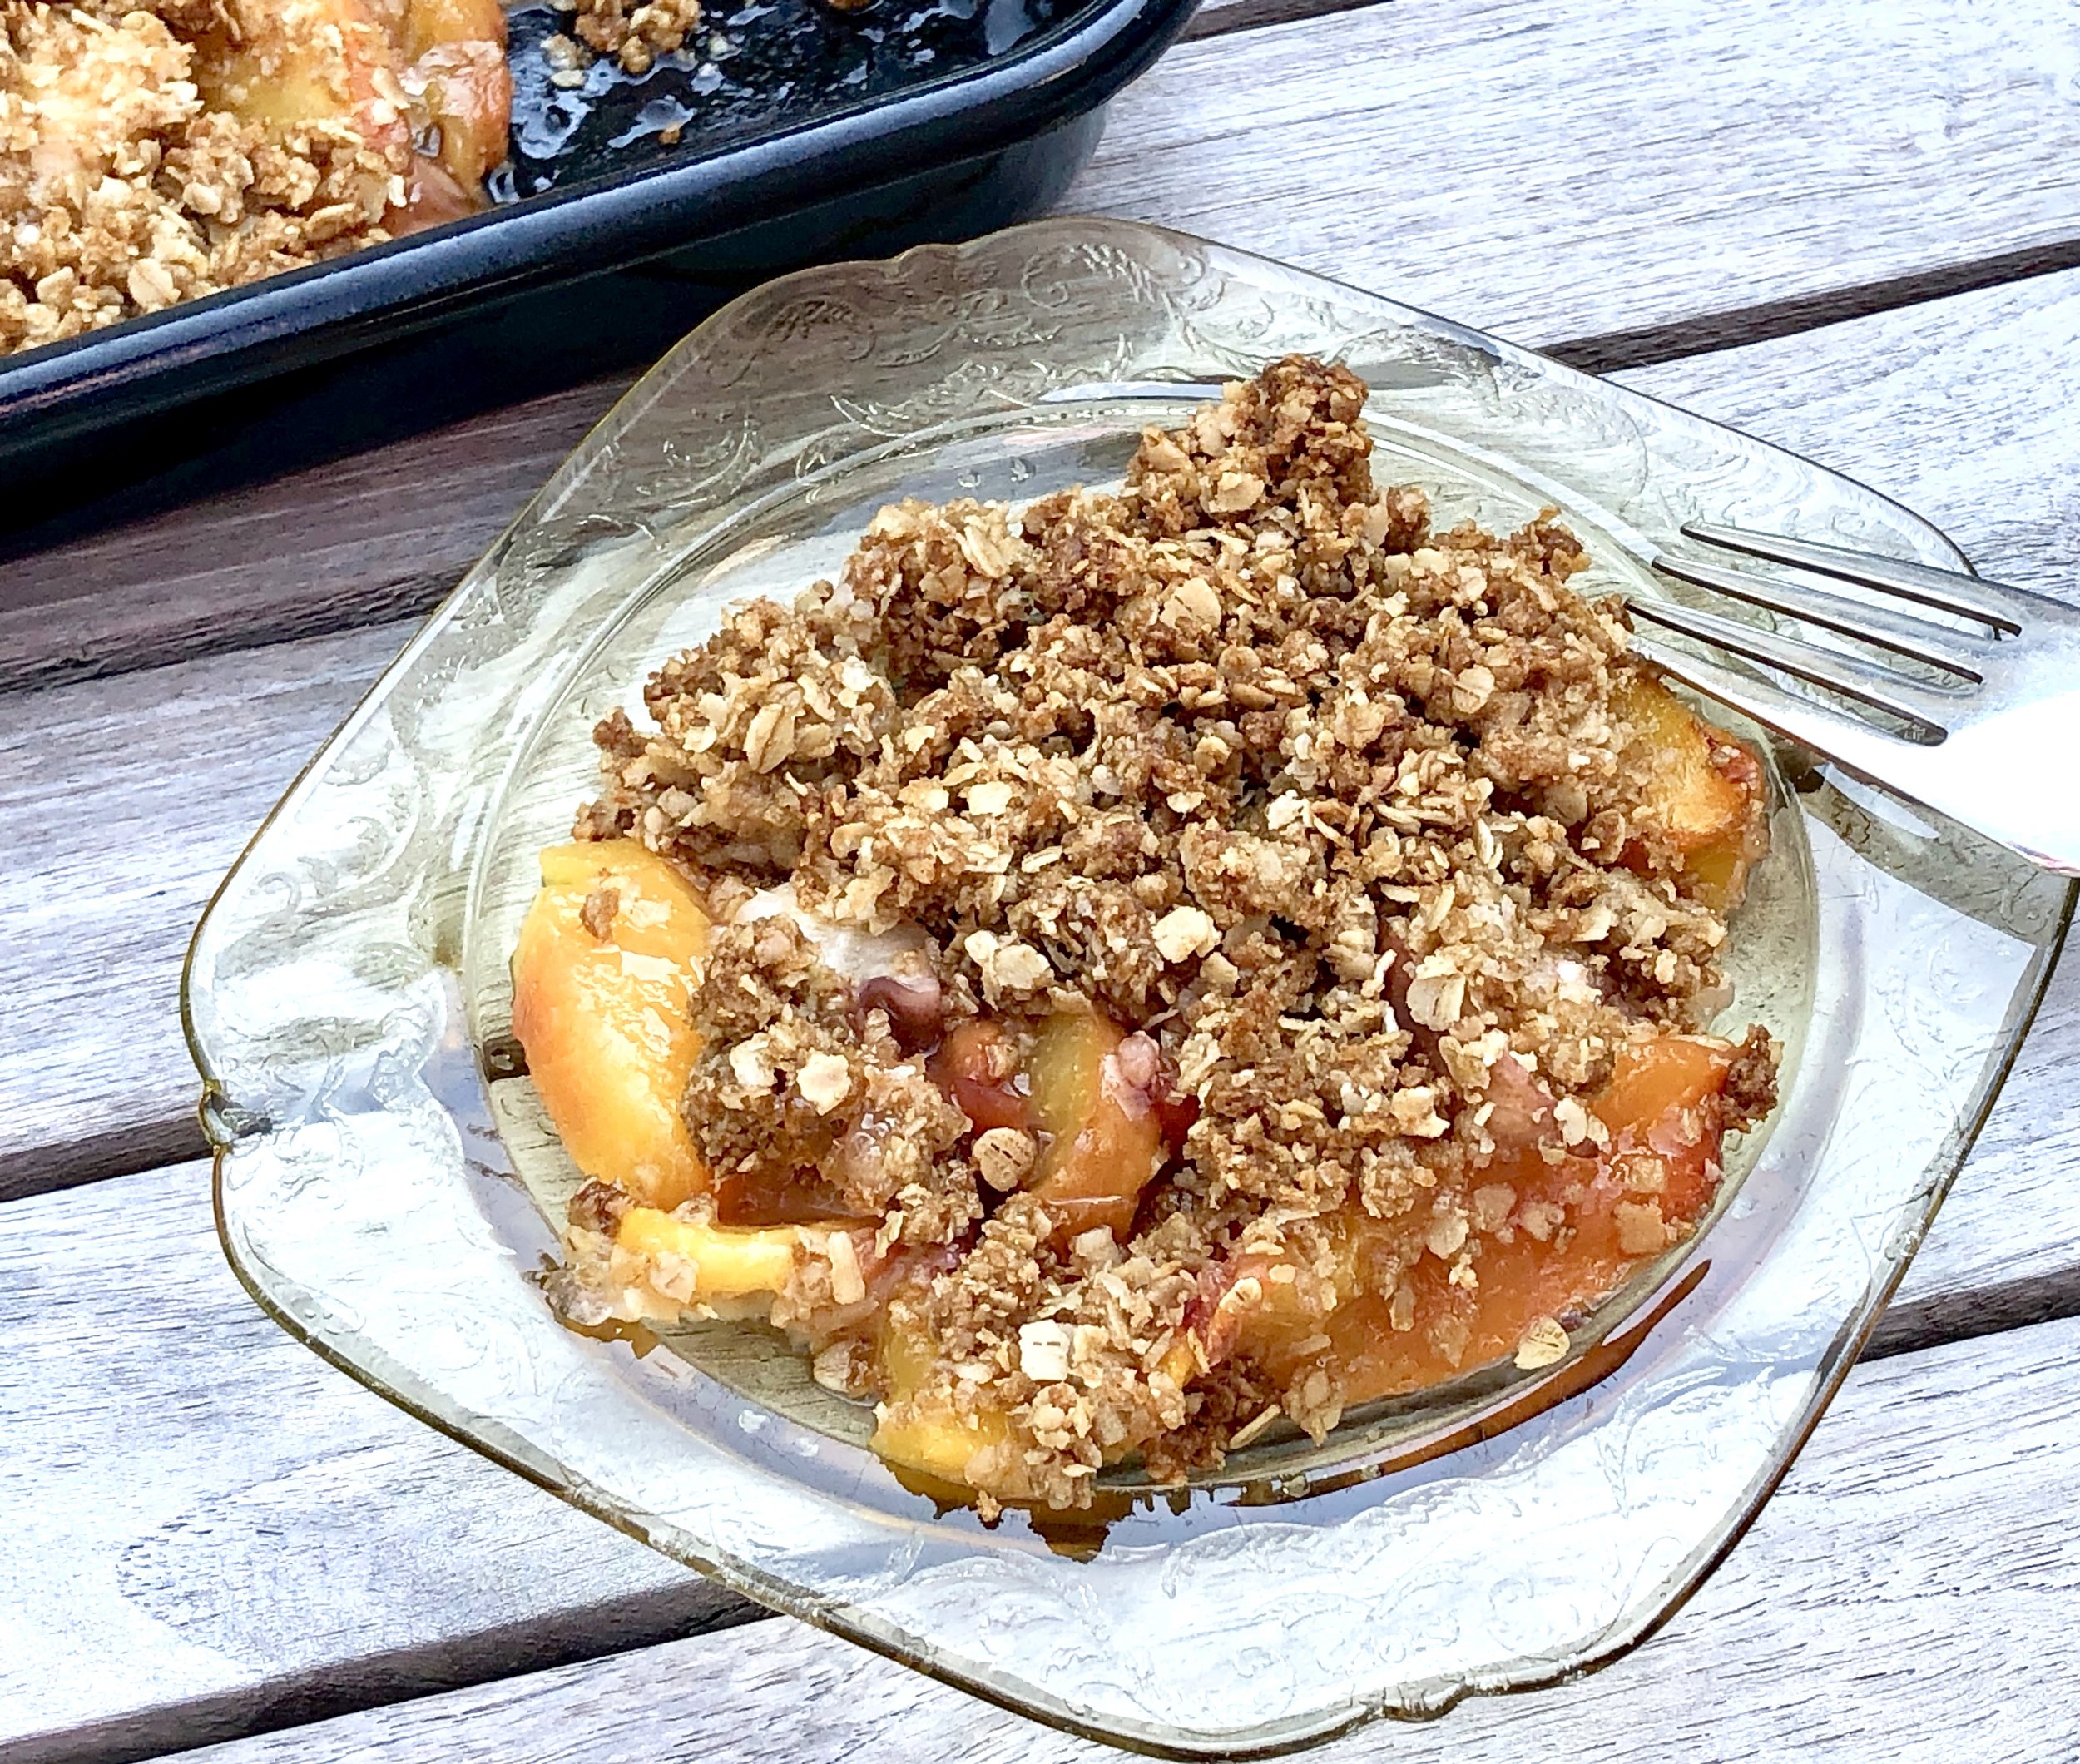
Gluten-Free Peach Crisp

fullsizeoutput_945d.jpeg

Some summers the peaches are glorious.

And then there’s this year. I haven’t had an excellent peach or nectarine yet.

I bought a bunch a few times and they tasted ok, but not really flavorful. Some were cottony and mealy.

I used the cottony/mealy ones to make sauce — like applesauce only made with peaches (with a bit of cinnamon and a squirt of lemon juice). It was very good. We ate some and I used the rest for quickbread.

I used the sort-of-tasty ones for this peach crisp. This was perfect. Baking — plus some other stuff — brought out the best of the fruit.

And look how easy this dessert is!

Plus, it’s gluten-free, in case you need…

Gluten-Free Peach Crisp

Filling:

  • 6 ripe medium peaches

  • 2 tablespoons sugar

  • 2 tablespoons minute tapioca

  • 1 tablespoon lemon juice

Crust:

  • 1-1/2 cups quick cooking oats

  • 2/3 cup brown sugar

  • 1 teaspoon ground cinnamon

  • 1/4 teaspoon salt

  • 6 tablespoons butter (margarine or solid coconut oil), cut into chunks

To make the filling: Lightly butter a baking dish. Preheat the oven to 400 degrees. Slice the peaches and place the pieces in the baking dish. Add the sugar, tapioca and lemon juice, toss the ingredients and let rest for 15-20 minutes. 

To make the crust: Mix the oats, brown sugar, cinnamon and salt in a bowl. Add the butter and work it into the dry ingredients until the mixture is crumbly. Place on top of the fruit. Bake for 30-35 minutes or until the crust is golden brown.

Makes 6 servings


Blueberry Yogurt Torte

fullsizeoutput_9584.jpeg

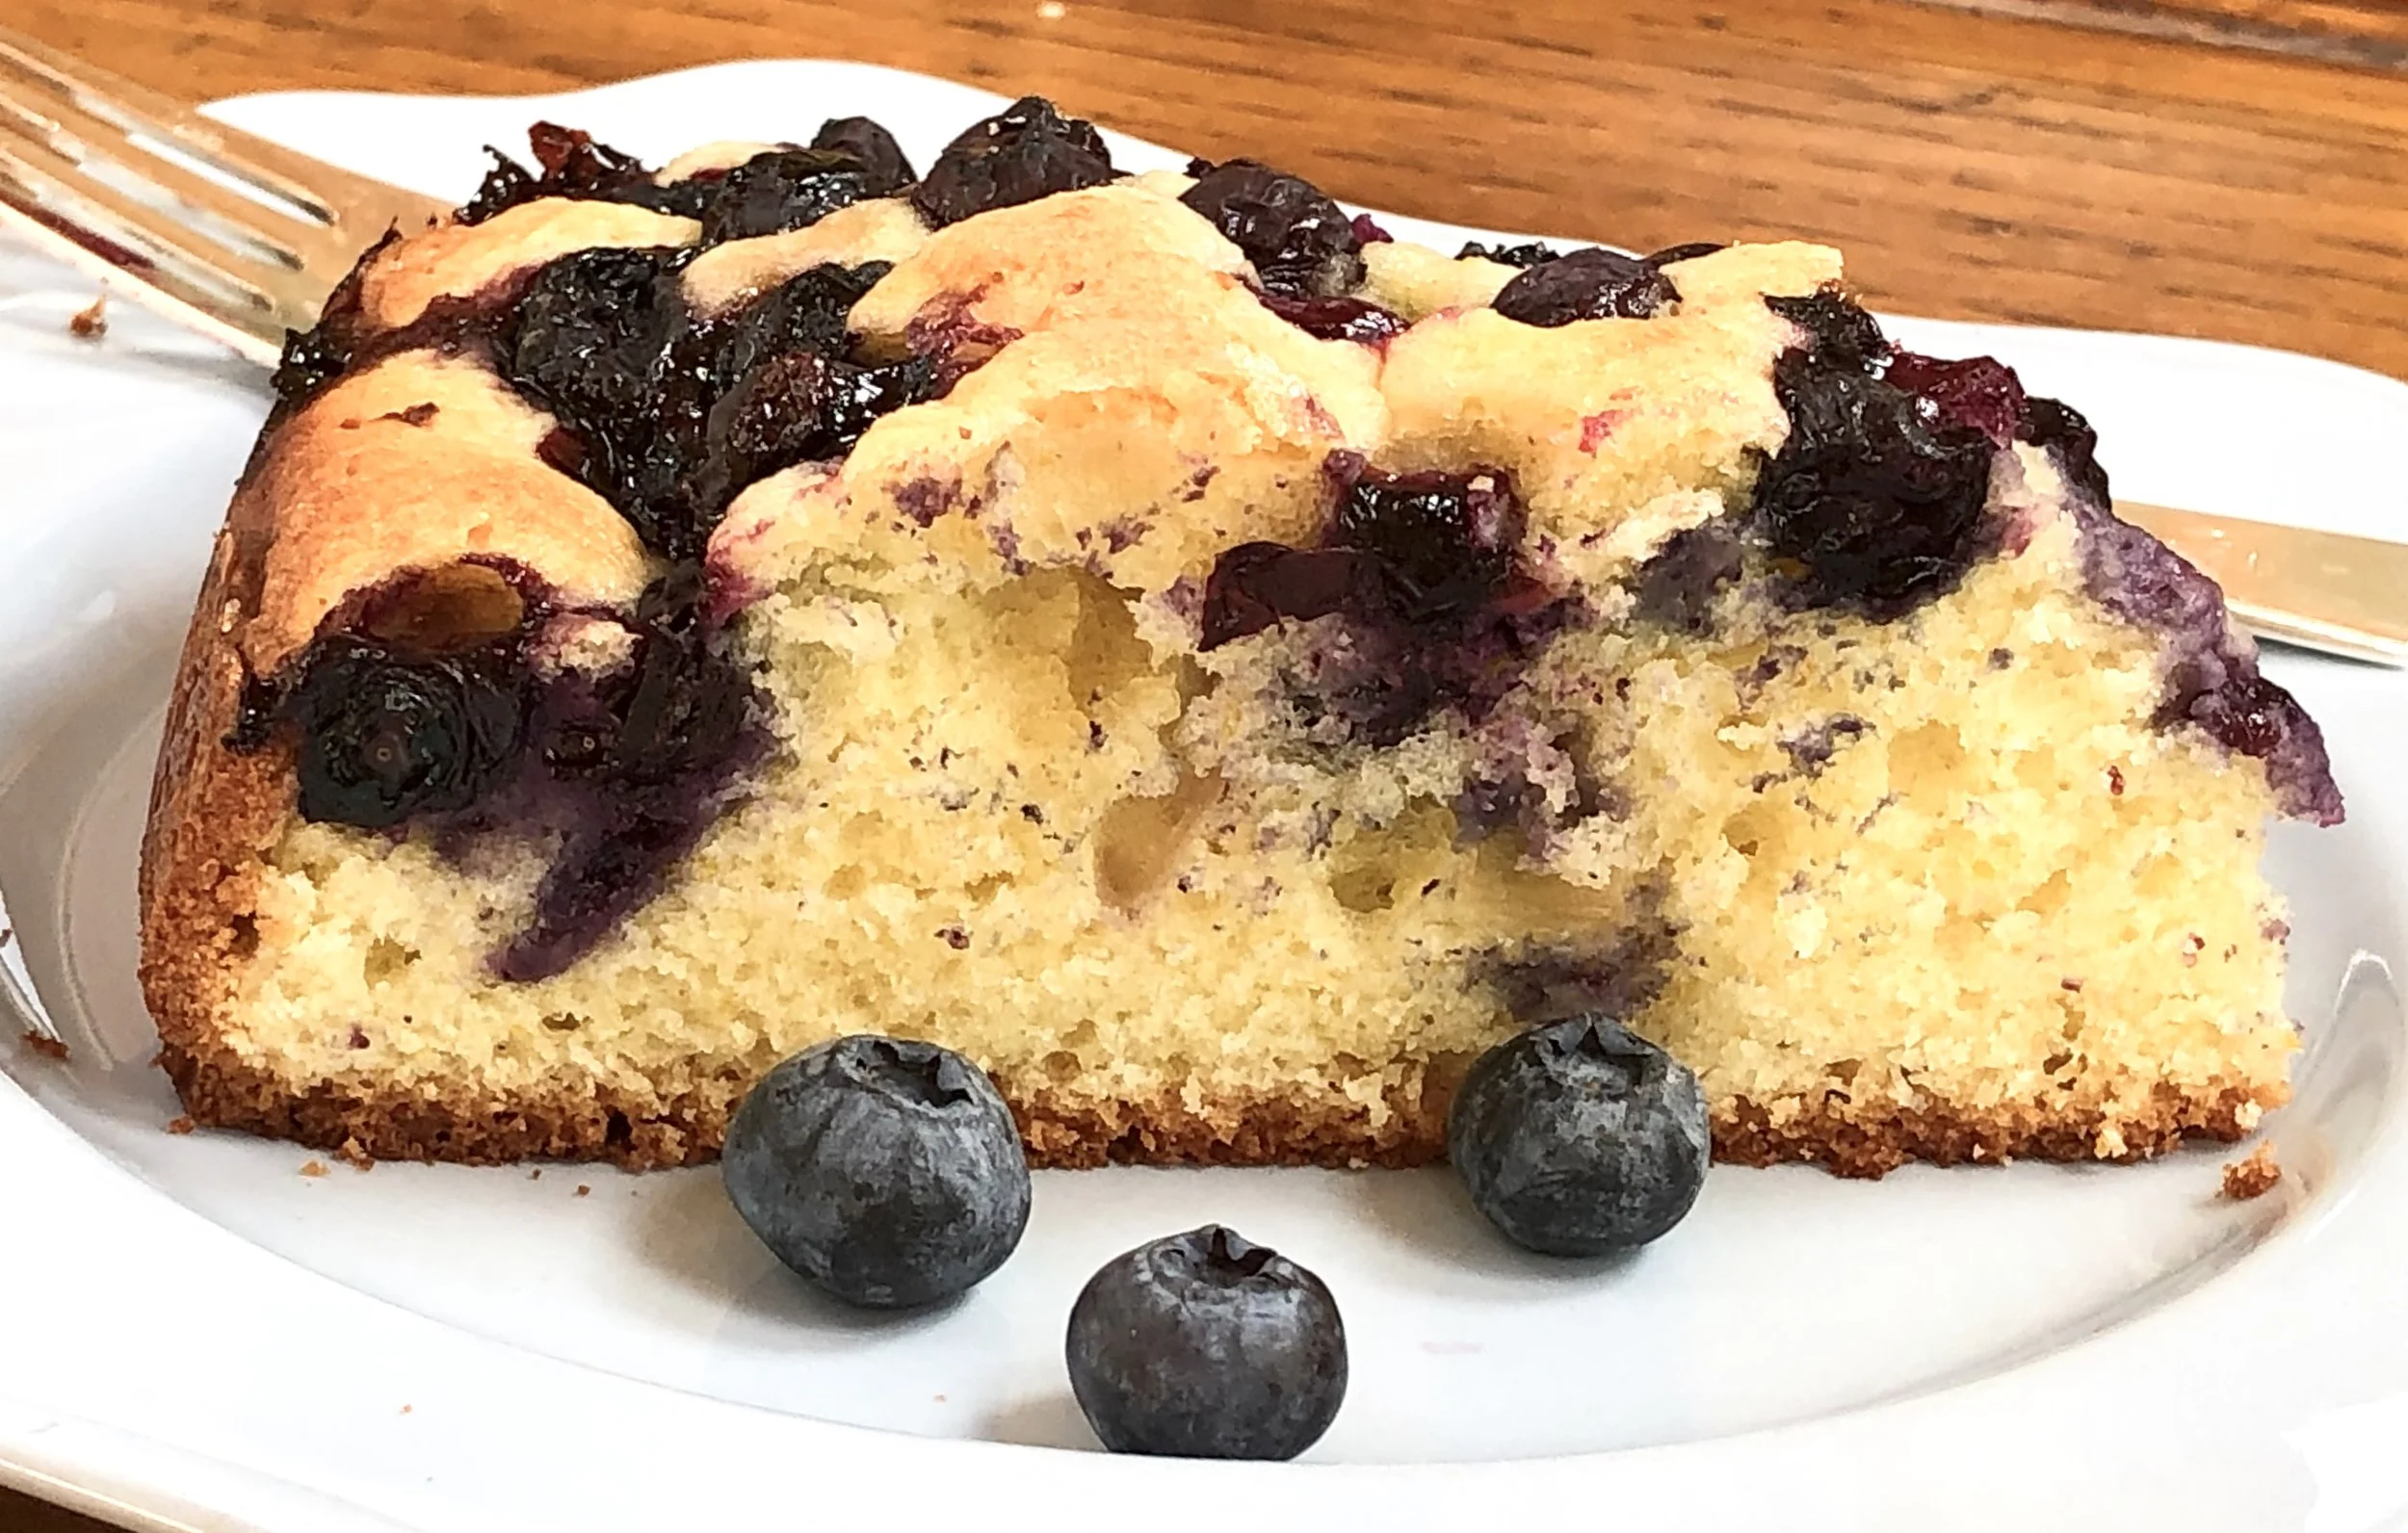
You know that famous Plum Torte so many of us bake for Rosh Hashanah? I decided to use it for a light, summery coffee cake.

Sort of. I replaced the plums (not yet available anyway) with fresh seasonal blueberries.

I gave it a bit of enrichment by adding some yogurt (dairy sour cream would be fine too) and a splash of orange (by way of peel) because the citrus pairs so well with blueberries.

Voila! A terrific, easy, more-appropriate-for-summer dessert. July 4th? Sure. Picnic? Sure. Any time at all.

Blueberry Yogurt Torte

  • 1/2 cup unsalted butter

  • 1/2 cup plus one teaspoon sugar

  • 1-1/2 cups all-purpose flour

  • 2 teaspoons grated orange peel

  • 1/2 teaspoon salt

  • 1 teaspoon baking powder

  • 1/4 teaspoon baking soda

  • 2 large eggs

  • 1/2 cup unflavored yogurt

  • 1 pint blueberries

  • lemon juice (about one tablespoon)

Preheat the oven to 350 degrees. Lightly grease a 9-inch springform pan. In the bowl of an electric mixer, beat the butter and 1/2 cup sugar on medium speed for 3-4 minutes or until creamy and well blended. Mix the flour, orange peel, salt, baking powder and baking soda and mix briefly to blend ingredients. Add the flour mixture to the butter mixture and beat for a minute or two at medium speed until a thick batter has formed. Add the eggs and yogurt and beat at medium speed for 2-3 minutes or until smooth and creamy. Spoon the batter into the prepared springform pan. Arrange the berries on top of the cake, pressing them slightly into the batter. Sprinkle the lemon juice over the top of the cake. Sprinkle with the remaining teaspoon of sugar. Bake for 50-55 minutes or until browned, set and crispy. Let cool.

Makes 8 servings

Sauteed Strawberry Strawberry Shortcake

fullsizeoutput_a678.jpeg

My birthday is in a few days and usually we get together with the kids and grandkids to celebrate at my house. There’s always an apple pie for dessert at some point because I prefer homemade apple pie to birthday cake. And I always have apple pies in the freezer.

But this is an unusual year for our family: graduation and bat mitzvah celebrations, along with several birthdays, Father’s Day and so on — and so — no birthday get-together at my place.

(Actually, at some point during the week I will invite my sister-in-law Eileen and brother Jeff — and I’ll take out some pie for us to enjoy.)

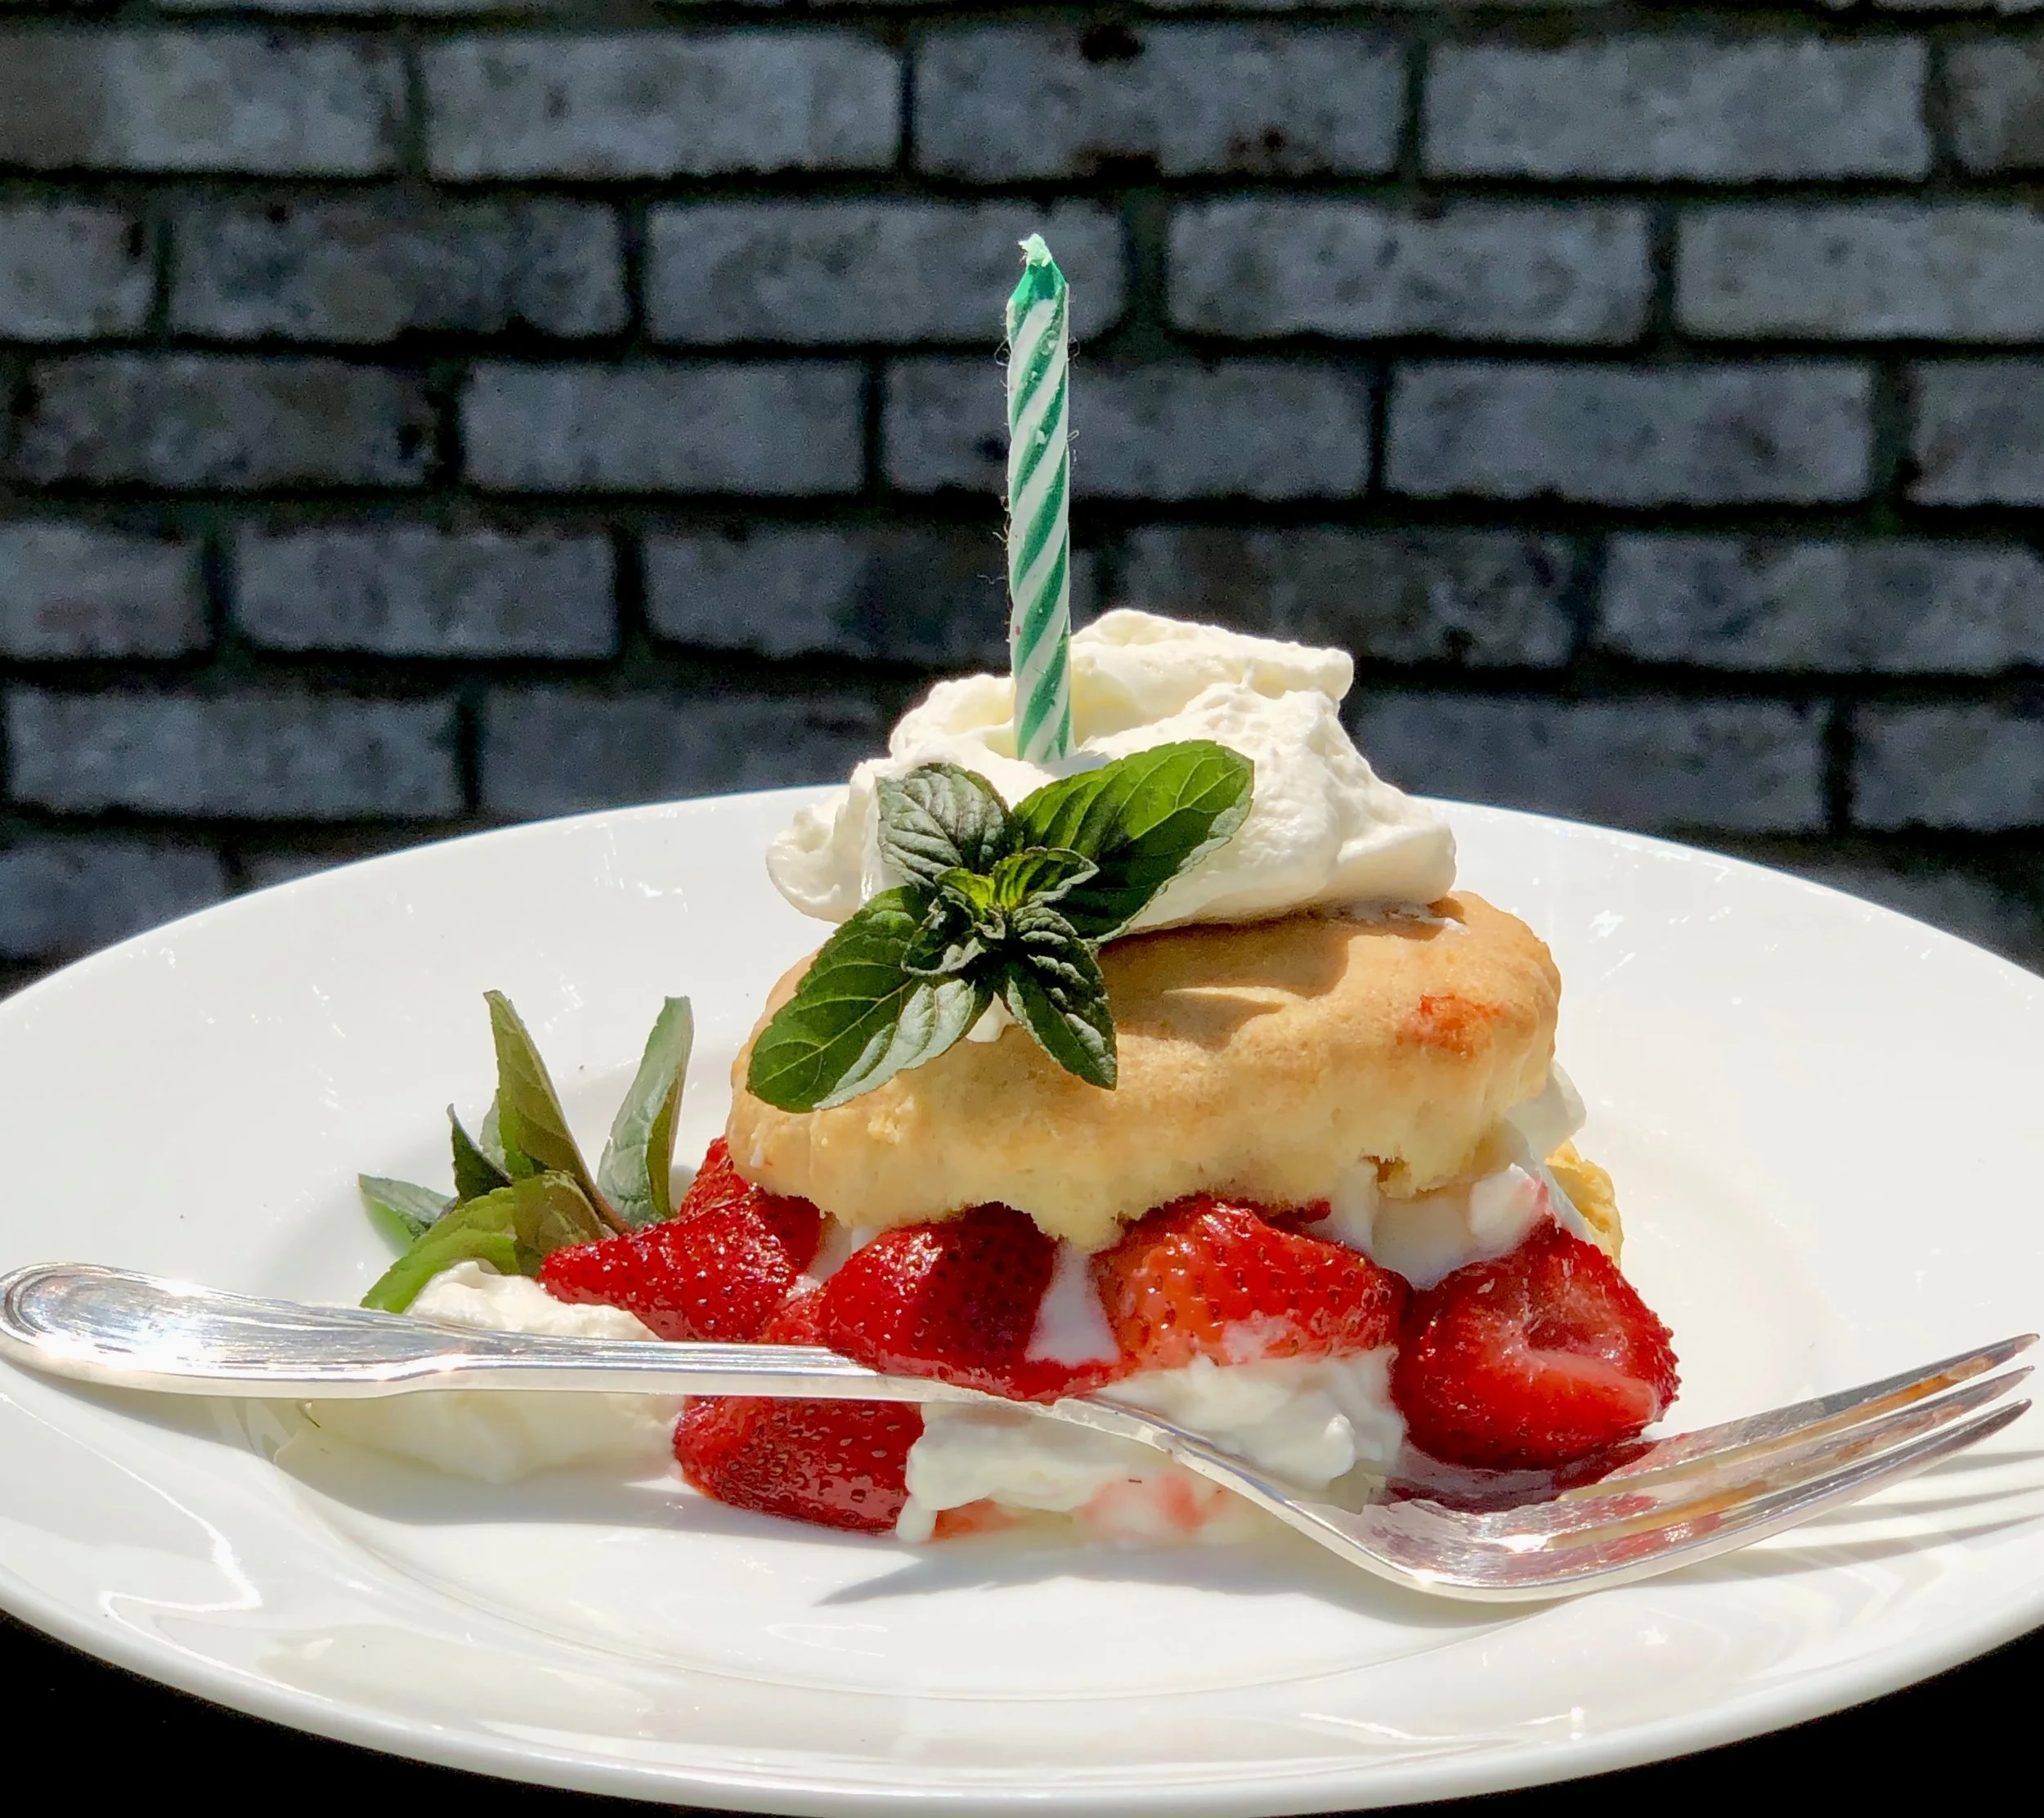
In the meantime, for the two of us, I will celebrate with individual strawberry shortcakes. I made the biscuits already (they’re frozen). Whipped cream takes about 2 minutes in the mixer. I am hoping to find great strawberries — they are in season, so it should be easy.

Last week I actually couldn’t find wonderful berries, even at the Farmer’s market.

So I bought what they had and gave them a quick saute.

Which is what I will do again if the berries aren’t perfect.

This was quite delicious. Here’s the recipe, for strawberry shortcake when you can’t get the best berries.

Sauteed Strawberry Shortcake 

  • 2 tablespoons butter

  • 4 cups cut up fresh strawberries

  • 1 teaspoon sugar

  • 2 tablespoons orange flavored brandy or rum

  • Shortcake biscuits

  • Sweetened whipped cream

  • Fresh mint for garnish

Heat the butter in a saute pan over medium heat. When the butter has melted and looks foamy, add the berries, stir to coat them with butter and cook for one minute. Sprinkle with the sugar, toss and pour in the brandy. Stir, cook briefly and set aside. Cut the biscuits in half. Place the bottoms of each on dessert plates. Layer with some of the berries and some of the whipped cream (reserve some whipped cream for the top). Cover with the biscuit tops. Garnish with a blob of whipped cream and some mint leaves.

 Makes 8 servings


Biscuits 

  • 1-1/2 cups all-purpose flour

  • 1/2 cup cake flour

  • 2 teaspoons baking powder

  • 3/4 teaspoon salt

  • 1/2 teaspoon baking soda

  • 1 teaspoon finely grated lemon peel, optional

  • 8 tablespoons cold butter

  • 2/3 cup buttermilk

Preheat the oven to 400 degrees. Lightly grease a cookie sheet. Mix the flour, cake flour, baking powder, salt and baking soda into a bowl. Stir in the lemon peel, if used. Cut the butter into chunks and add it to the bowl. Work the butter into the flour mixture with your fingers or a pastry blender until the mixture resembles coarse crumbs (or use a food processor on pulse). Pour in the buttermilk and mix until you can form a soft ball of dough. The dough will be slightly sticky. Place the dough on a floured surface and knead a couple of times. Roll the dough gently to 1/2-inch thickness. Cut out circles with a doughnut cutter or the bottom of a glass. Place the circles on the cookie sheet. Bake for about 20-23 minutes or until they have risen and are lightly browned.

 Makes 8

Applesauce Yogurt Coffee Cake with Oat Streusel

fullsizeoutput_9ba2.jpeg

I cooked a lot of applesauce lately. We ate some. I froze some.

There was still more, so I used some of it for cake and muffins.

This was one of the best. Crunchy on top, moist underneath, not too sweet.

Applesauce Yogurt Coffee Cake with Oat Streusel

cake:

  • 1-1/2 cups all-purpose flour

  • 1 tablespoon baking powder

  • 1/2 teaspoon baking soda

  • 1/2 teaspoon salt

  • 1 teaspoon ground cinnamon

  • 1/3 cup sugar

  • 1/4 cup butter

  • 1/2 cup applesauce

  • 1/3 cup plain yogurt

  • 1 large egg, beaten

  • 1 teaspoon vanilla extract

  • 1/3 cup milk

Streusel:

  • 1/2 cup rolled oats

  • 1/3 cup all-purpose flour

  • 1/2 cup packed brown sugar

  • 1/8 teaspoon salt

  • 4 tablespoons cold unsalted butter, cut into small pieces

Mix the oats, flour, brown sugar and salt in a bowl. Add the butter and work it into the flour mixture until it resembles coarse crumbs. Set aside.

Preheat the oven to 375 degrees. Grease an 8” square cake pan. Mix the flour, baking powder, baking soda, salt and cinnamon and set aside. Beat the sugar and butter together with a hand mixer or electric mixer at medium speed for 1-2 minutes or until the mixture is smooth and creamy. Add the applesauce, yogurt, egg and vanilla extract and beat for 1-2 minutes or until smooth. Add half the dry ingredients to the butter mixture and beat until well blended. Add half the milk and beat until well blended. Repeat until all the ingredients are used up. Spoon the batter into the prepared pan. Prepare the streusel and sprinkle over the batter. Bake for 30-35 minutes or until a cake tester inserted into the middle of the cake comes out clean. Let the cake cool in the pan 10 minutes then invert onto a cake rack. Turn the cake right side up to cool completely.


Makes 8-10 servings


Chocolate-Banana-Applesauce Cake

fullsizeoutput_97d5.jpeg

When I was a kid my mother sometimes made macaroni-and-cheese using somewhat older, hard-around-the-edges American cheese that didn’t look fit to eat. I thought it was appalling.

But she told me that these cheese wasn’t spoiled, just hard because maybe it wasn’t wrapped quite so well, and that in any event she would never make any dish for us using an ingredient that could be harmful.

Of course.

And also, why waste perfectly good cheese that’s going to melt anyway. So if it isn’t perfect to eat cold, as is, it is perfectly fine for macaroni and cheese.

And it was. She made delicious macaroni and cheese.

My children are appalled if I use an ingredient that’s past its sell-by/expiration date. I feel the same way my mother did. I would never use an ingredient that is spoiled or harmful. But some of those expiration dates are meant more as a “use them soon because the flavor or texture won’t be perfect” than “do not eat this EVER!”

So recently, I noticed that in addition to some fresh bananas turned black-spotty, my snack packages of applesauce were a month beyond their expiration date. Rather than give the applesauce to my grandkids and have my daughters feel appalled, I used it in chocolate cake, in the place of eggs.

Not only was I able to use up a perfectly good ingredient, the cake was delicious and also a good vegan choice.

So there.

Chocolate-Banana-Applesauce Cake

  • 3 ounces semisweet chocolate

  • 1-1/3 cups all-purpose flour

  • 1/3 cup unsweetened cocoa powder

  • 1 teaspoon baking soda

  • 1 teaspoon salt

  • 2 medium ripe bananas

  • 1 cup sugar

  • 1/2 cup applesauce

  • 1/3 cup apple juice (or orange juice)

  • 1 teaspoon vanilla extract

Preheat the oven to 350 degrees. Lightly grease an 8”x8” cake pan. Melt the chocolate and set it aside to cool. In a bowl, whisk together the flour, cocoa powder, baking soda and salt. Set the flour mixture aside. Mash the bananas and place them in the bowl of an electric mixer (or use a hand mixer and bowl). Add the sugar and mix at medium speed for a minute, or until well blended. Add the applesauce, juice, vanilla extract and melted chocolate and beat for 1-2 minutes, or until thoroughly blended. Add the flour mixture and beat for 1-2 minutes, or until throughly blended. Spoon the batter into the prepared cake pan. Bake for 25-30 minutes or until a cake tester inserted into the center comes out clean.

Makes 9 servings

Rhubarb Oat Bread

fullsizeoutput_93cc.jpeg

You know how, when you have company for dinner and you make a lot of food, you sometimes forget to serve one (or more) of the dishes you cooked?

I did that recently. I made stewed rhubarb because my brother was coming to my house for dinner and it's one of his favorite things to eat.

Not only did I forget to serve it, I forgot about it in the fridge for a couple of days.

It was still good, of course, and we ate some, but there was some left over too.

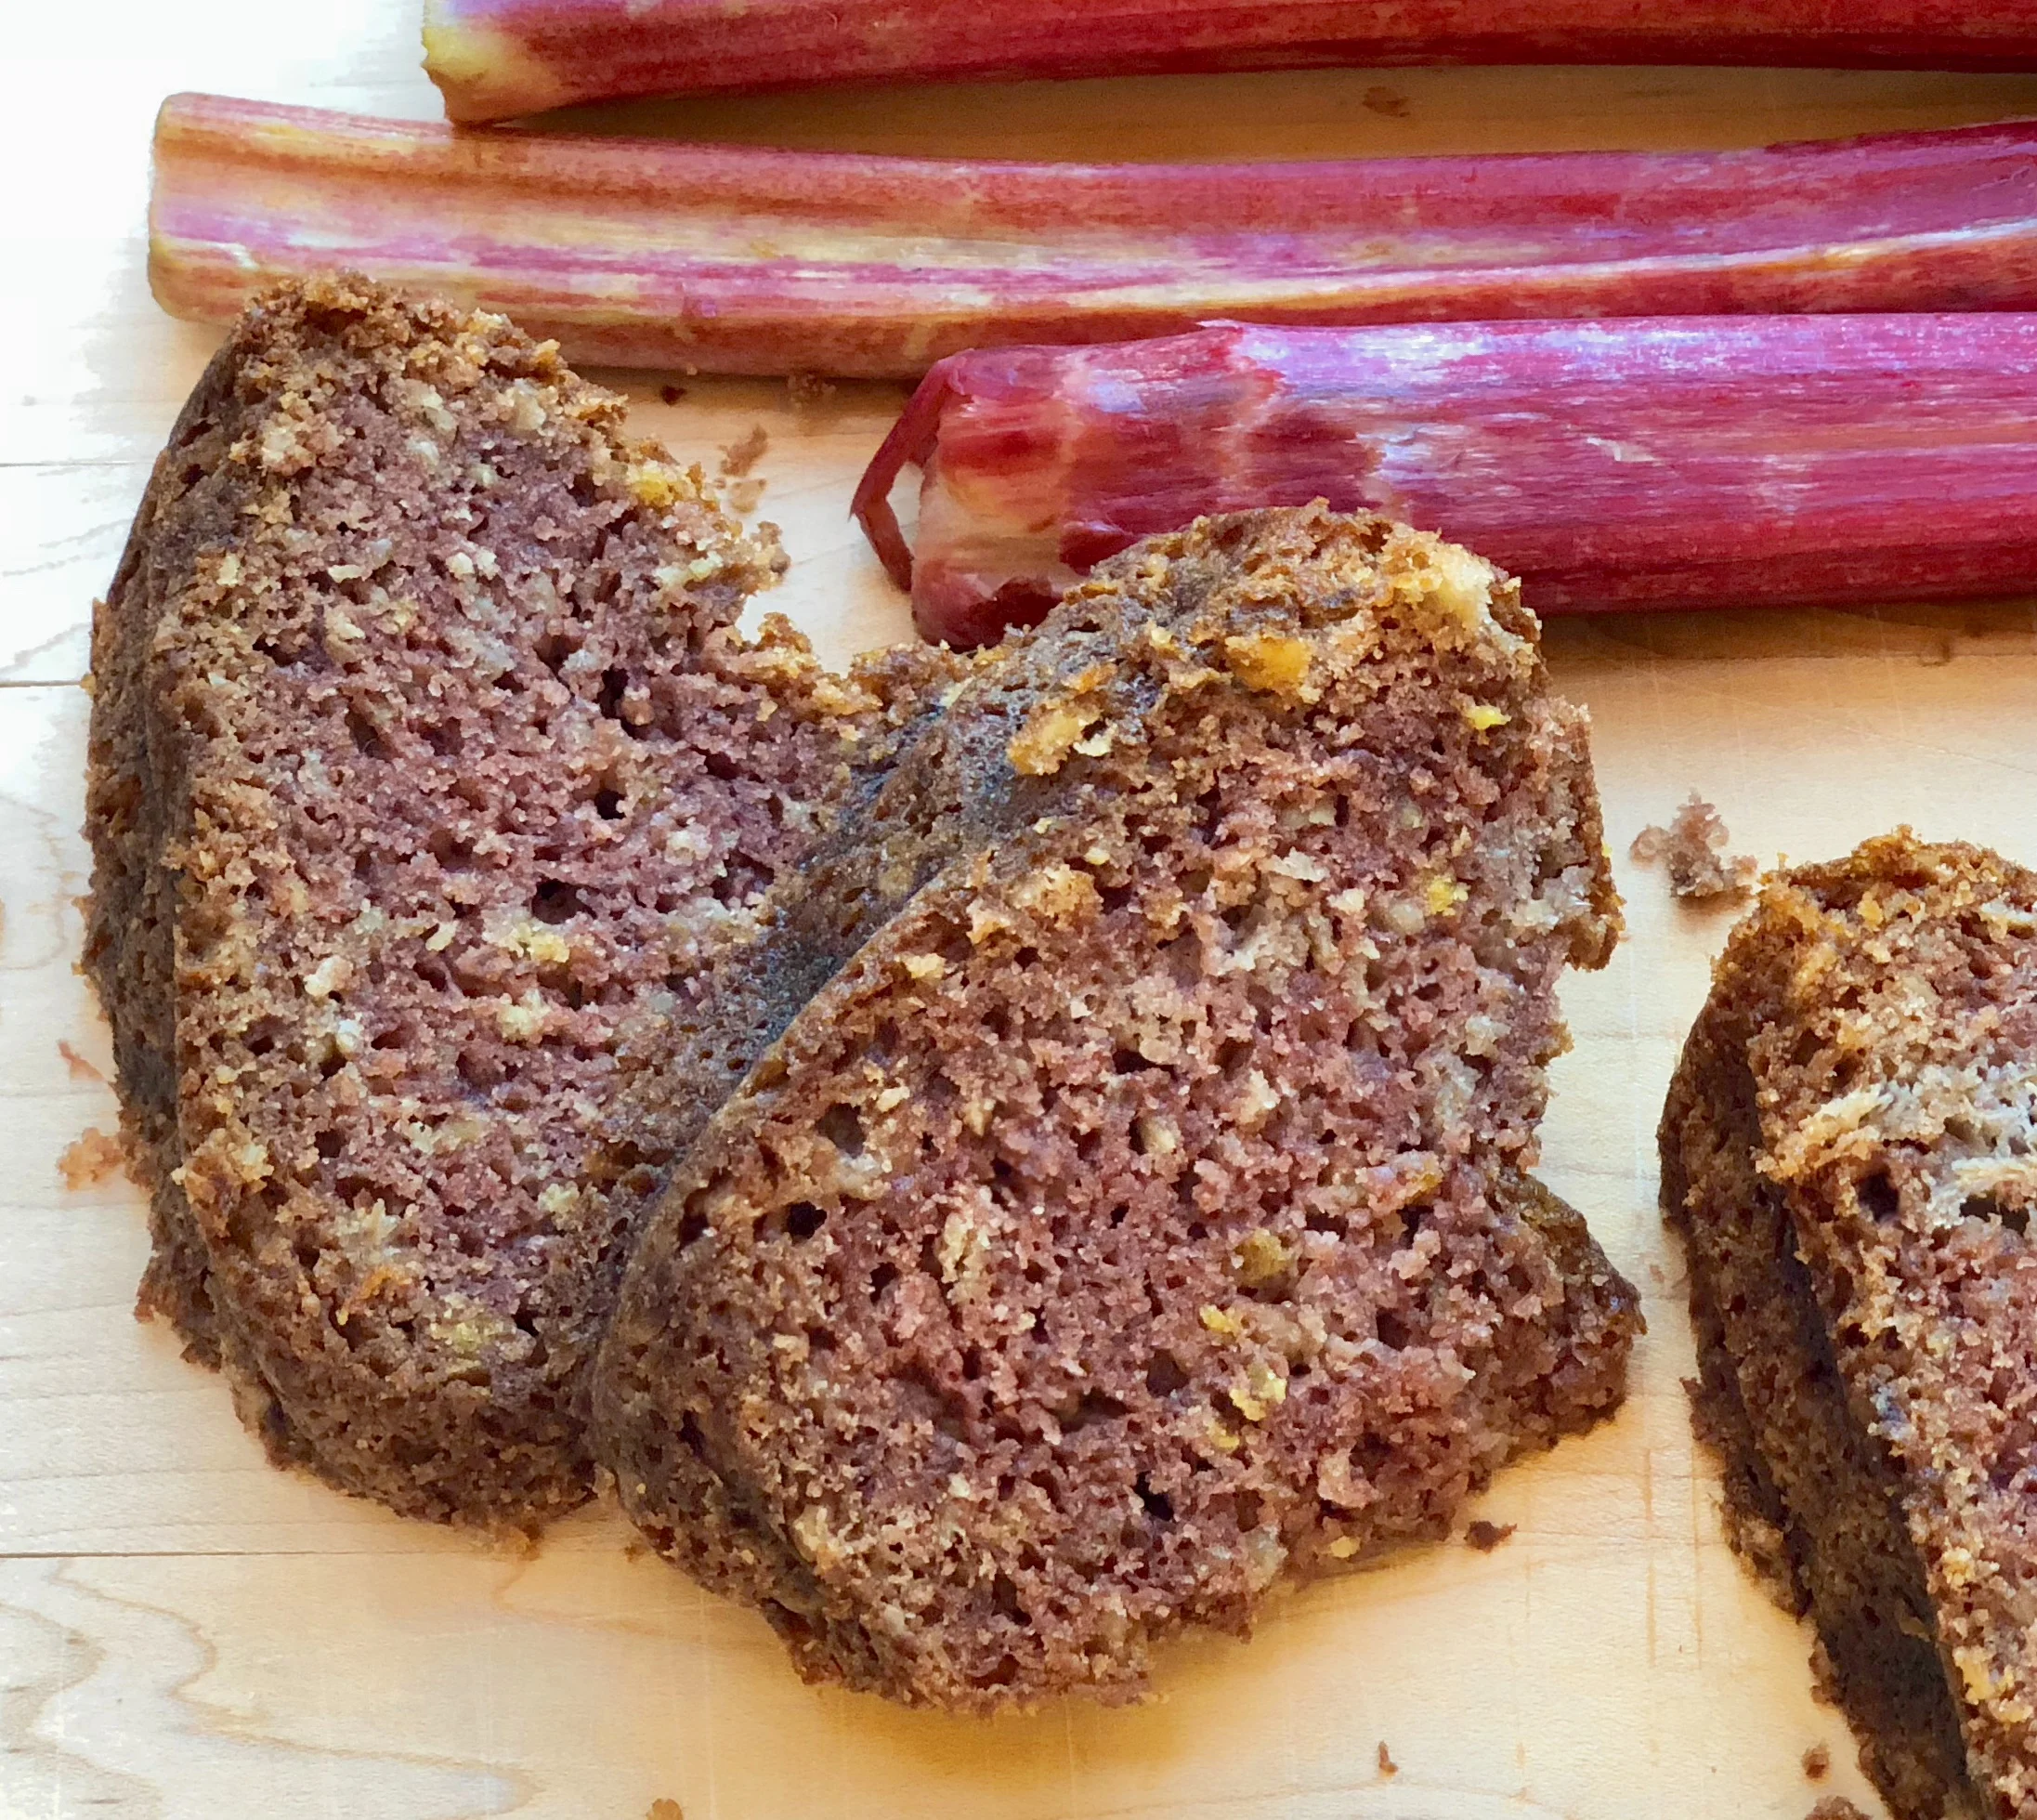
So I made banana bread but used the stewed rhubarb instead of mashed bananas. (Also added some lemon peel which I thought would work nicely with rhubarb.)

Voila! This is sometimes how good recipes are born. It was well-loved.

And if you don't have stewed rhubarb, you could use applesauce or mashed banana.


Rhubarb Oat Bread

  • 2 cups all-purpose flour
  • 1/2 cup quick cooking oats
  • 2 teaspoons baking soda
  • 1 teaspoon salt
  • 1-1/2 teaspoons grated fresh lemon peel
  • 1/2 cup coconut oil
  • 1/2 cup vegetable shortening
  • 1-1/3 cups sugar
  • 1-1/3 cups stewed rhubarb
  • 4 large eggs

Preheat the oven to 350 degrees. Grease and flour a 10-inch (8-cup) bundt pan. Mix the flour, oats, baking soda, salt and lemon peel together in a bowl. Set aside. In the bowl of an electric mixer beat the coconut oil, vegetable shortening and sugar at medium speed until well blended, about one minute. Add the rhubarb and blend it in thoroughly. Add the eggs and beat the ingredients well. Add the flour mixture and beat until batter is well blended. Pour the batter into the prepared pan and bake for 55-60 minutes or until a cake tester inserted into the center comes out clean. Remove from the oven and let cool in the pan for 10 minutes. Remove to a cake rack to cool completely.

Makes one bread, serving 12-16


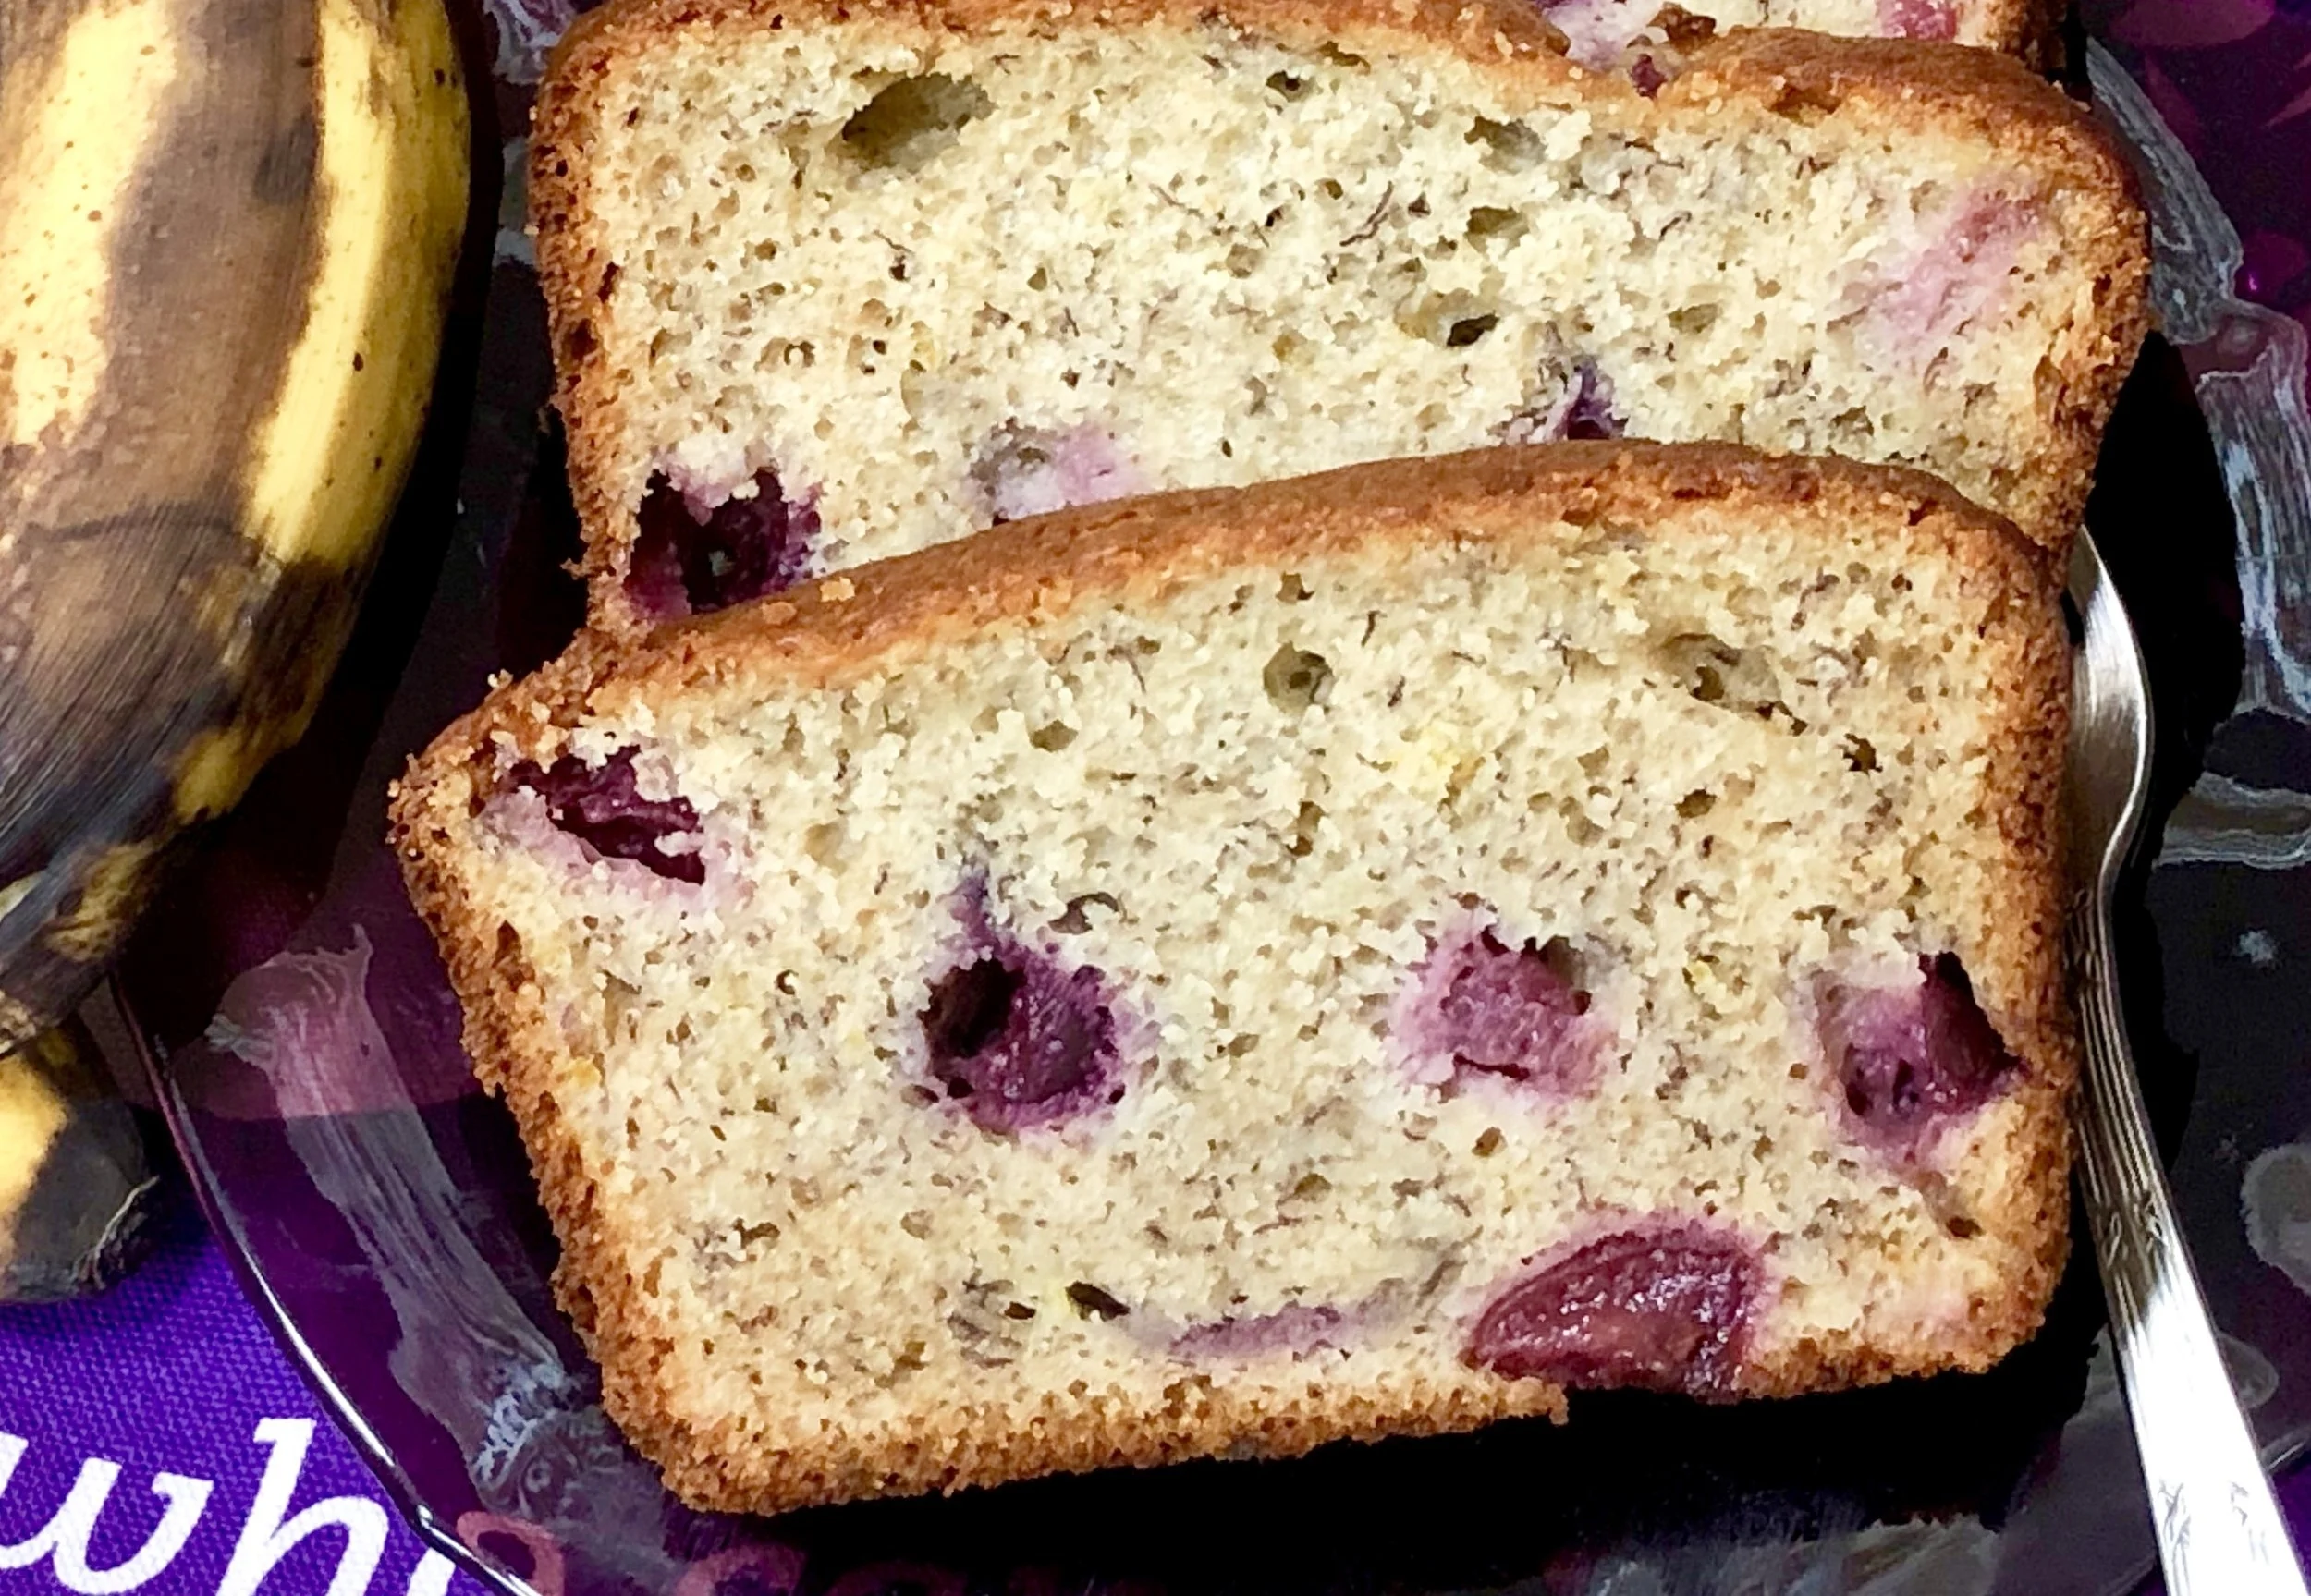
Banana Bread with Cherries

fullsizeoutput_9095.jpeg

This summer's cherries have been especially delicious. I've been buying (and eating) tons of them.

So, when I had to think of what to do with the usual leftover bananas, I decided to use some in a new version of Banana Bread. I also added some orange (peel and juice) -- just a hint to bring out the best in both of the fruits.

Pitting cherries can be a real drag. But there's an easy way to do it and you don't even have to buy a cherry pitter. Look here.

Banana BREAD with cherries

  • 2 cups all-purpose flour
  • 1 teaspoon grated fresh orange peel
  • 1 teaspoon baking soda
  • 1/2 teaspoon baking powder
  • 1/2 teaspoon salt
  • 1 cup sugar
  • 1/2 cup vegetable oil
  • 2 large eggs
  • 3 medium very ripe bananas
  • 1/3 cup orange juice 
  • 1 teaspoon vanilla extract
  • 1 cup cut up fresh cherries

Preheat the oven to 350 degrees. Grease a 9”x5”x3” loaf pan. Mix the flour, orange peel, baking soda, baking powder and salt in a bowl and set it aside. Beat the sugar and vegetable oil with a handheld or electric mixer set at medium speed for 2-3 minutes or until the mixture is well blended. Add the eggs one at a time, beating after each addition. Mash the bananas and add them to the sugar mixture. Beat thoroughly until the ingredients are well blended. Add the flour mixture and beat for 1-2 minutes to blend the ingredients thoroughly. Stir in the juice and vanilla extract. Fold in the cherries. Pour the batter into the prepared pan. Bake for about 1 hour or until a cake tester inserted into the center comes out clean. Cool the bread in the pan 15 minutes. Remove the bread from the pan and let it cool on a cake rack.

 Makes one bread serving 10-12

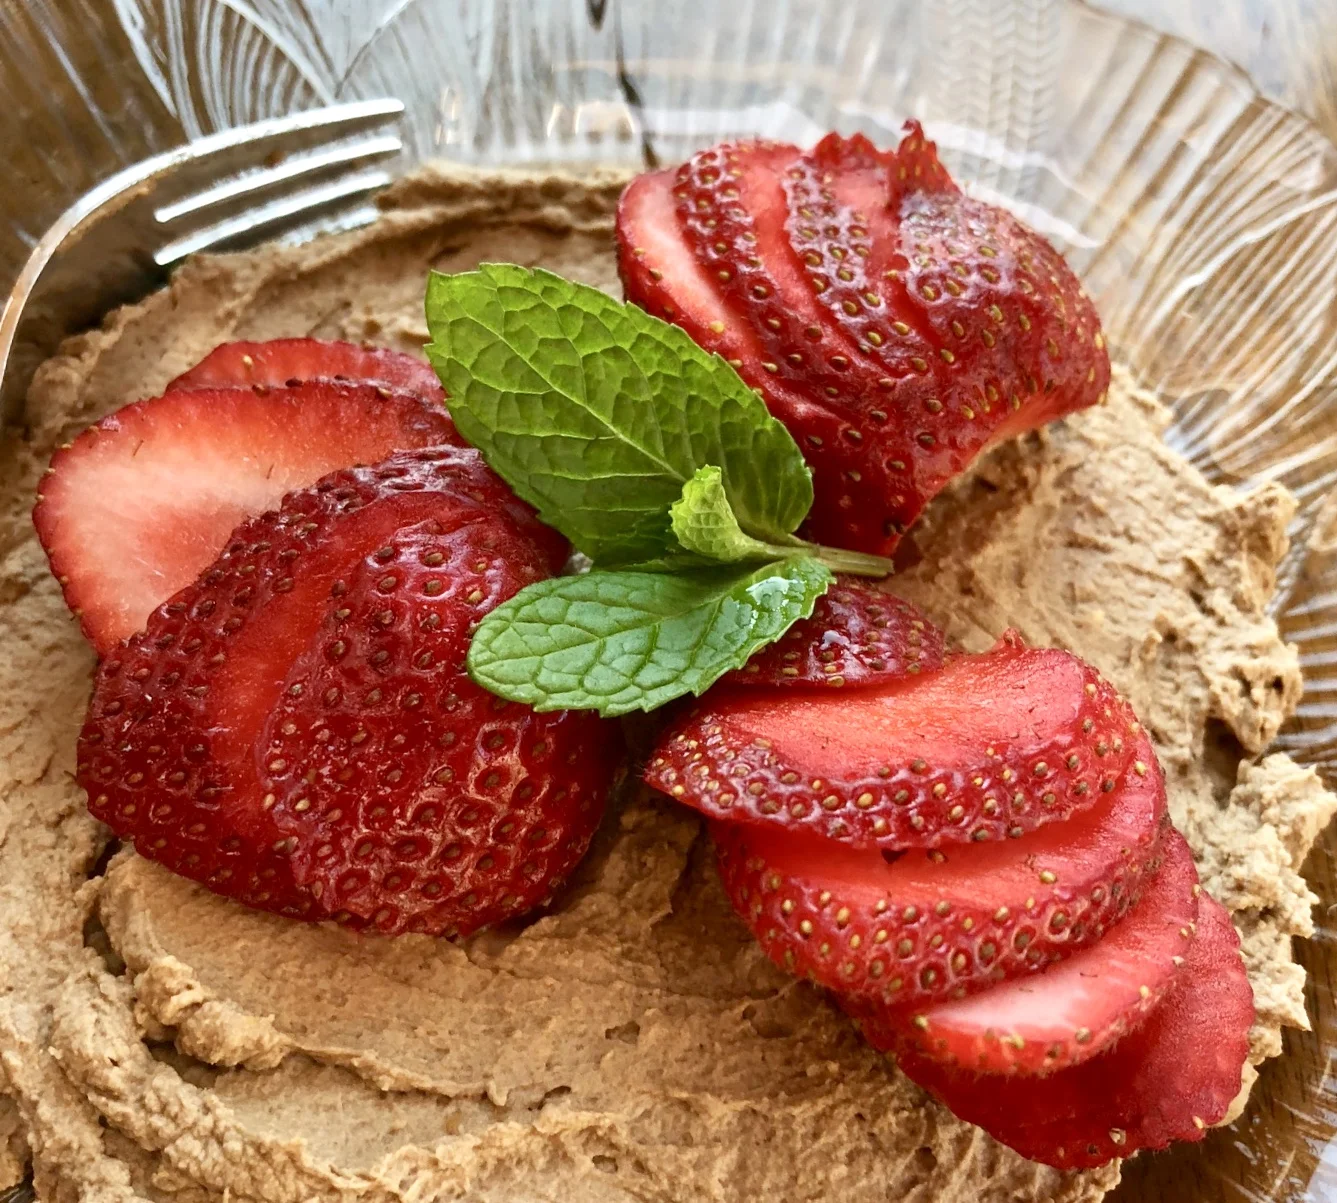
Strawberry Shortcake (Without the cake)

fullsizeoutput_8989.jpeg

The strawberries are fabulous right now -- the local ones anyway. They're sweet, juicy and fragrant. They're small to medium rather than gigantic -- like the year-round supermarket staples, which are dry, tasteless and smell like plastic. The strawberries you can buy now are the kind I remember strawberries from long ago, (especially the ones I picked right off the plants in my parents' garden).

If you are lucky enough to get good, seasonal strawberries, try this recipe. I call it Strawberry Shortcake without Cake because the whipped cream mixture, which is made with mascarpone cheese, is thick, almost like a really moist cake, and yet it is sort of like whipped cream.

So easy too!

Remember this recipe next Passover. Or Valentine's Day. Or July 4th for that matter!

Make the cream part ahead and top it with berries just before you serve it. Lovely with coffee or tea and also an after dinner drink (brandy and so on).

Strawberry Shortcake without Cake

  • 1 pint strawberries
  • 1 cup whipping cream
  • 2/3 cup mascarpone cheese (or use whipped cream cheese)
  • 1 tablespoon sugar
  • 1 tablespoon grated fresh orange peel
  • 2 tablespoons Balsamic vinegar

Wash and dry the berries and remove the hulls. Make incisions into each berry as if to cut slices but do not slice through. Set aside. Whip the cream and mascarpone cheese with the sugar and orange peel until the mixture is thick. Fold in the Balsamic vinegar. Spoon equal amounts of the cheese mixture onto 4-6 dessert plates. Place sliced strawberries on top, gently moving the “almost” slices to fan them slightly.

Makes 4-6 servings


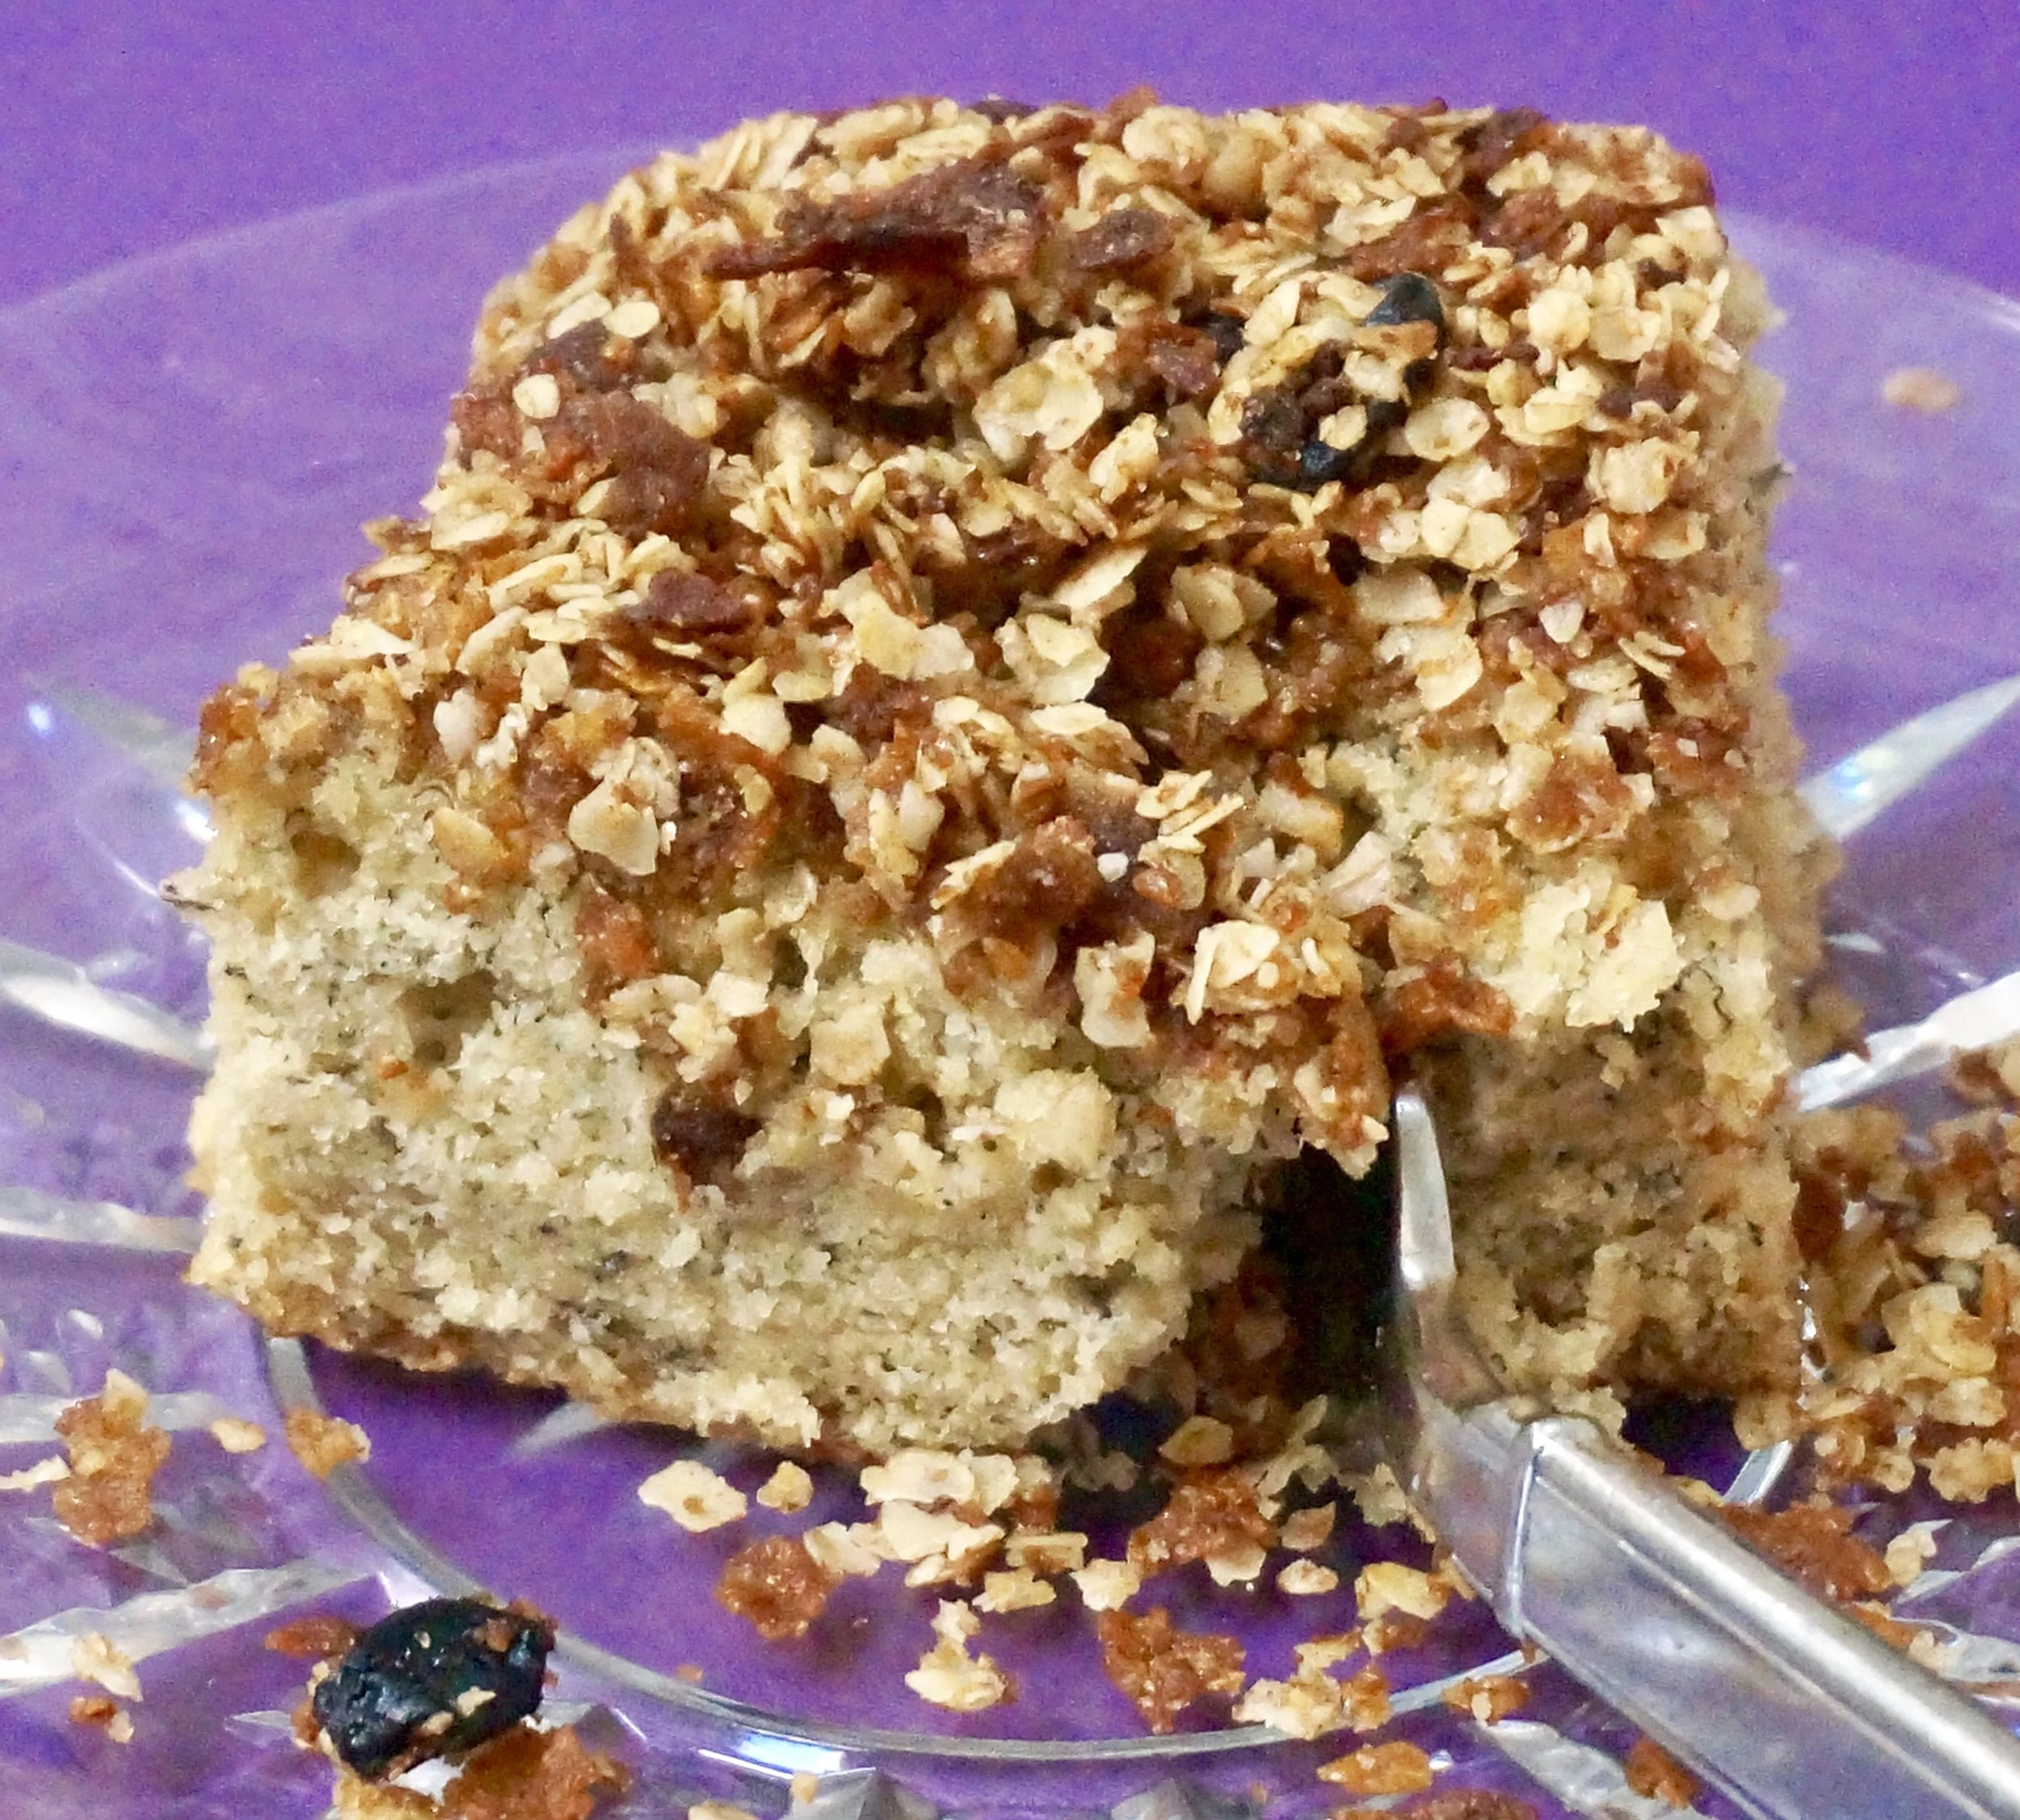
Banana Crunch Cake

fullsizeoutput_89cd.jpeg

I am always amazed at the amount of fruit that I buy -- and that is consumed -- when my children and grandkids come. Quarts of berries of all kinds. Mangoes, pineapples, grapes and kiwi fruit. In season, also stone fruit such as peaches, fresh apricots, plums and so on.

Plus oranges, clementines, grapefruit.

Apples of course.

And bananas. Lots of bananas.

Usually I am left with nothing, which is why I am always amazed, just at the sheer quantity of what has been eaten.

And I am not complaining at the lack of leftovers! Eating fruit is a good thing. Glad my family is good with that.

IF and when I have leftover bananas I use them for banana bread or cake. I have so many different recipes it's difficult to choose one or another, so I often come up with something new.

Like this. The crunchy crust gets it one step beyond homey, making this suitable for company.


Banana Crunch Cake

Crust:

  • 1 cup crushed raisin bran or similar flakes
  • 1 cup quick oats
  • 1/4 cup brown sugar
  • 1 teaspoon cinnamon
  • 6 tablespoons liquid coconut oil (or use melted butter)

Combine the cereal, oats, brown sugar and cinnamon in a bowl. Pour in the coconut oil and mix until the dry ingredients are thoroughly coated. Set aside. 

Cake:

  • 1-2/3 cups all-purpose flour
  • 1 teaspoon salt
  • 1 teaspoon baking powder
  • 1/2 teaspoon baking soda
  • 1/2 cup vegetable shortening
  • 1 cup sugar
  • 2 large eggs
  • 3 mashed bananas
  • 1/4 cup water
  • 1 teaspoon lemon juice
  • 1 teaspoon vanilla extract

Preheat the oven to 350 degrees. Lightly grease a 9-inch square baking pan. Make the crust and set it aside. Mix the flour, salt, baking powder and baking soda together in a small bowl. In the bowl of an electric mixer, beat the vegetable shortening and sugar together at medium speed for 2-3 minutes or until creamy and well blended. Add the eggs and bananas and beat the ingredients for another 2-3 minutes or until thoroughly blended. Mix the water and lemon juice together. Add the flour mixture alternating with the lemon-water and blend in ingredients thoroughly. Stir in the vanilla extract. Spoon the batter into the prepared pan. Cover the top evenly with the crust mixture. Bake for 22-25 minutes or until a cake tester inserted into the center comes out clean.

Makes 12-16 servings


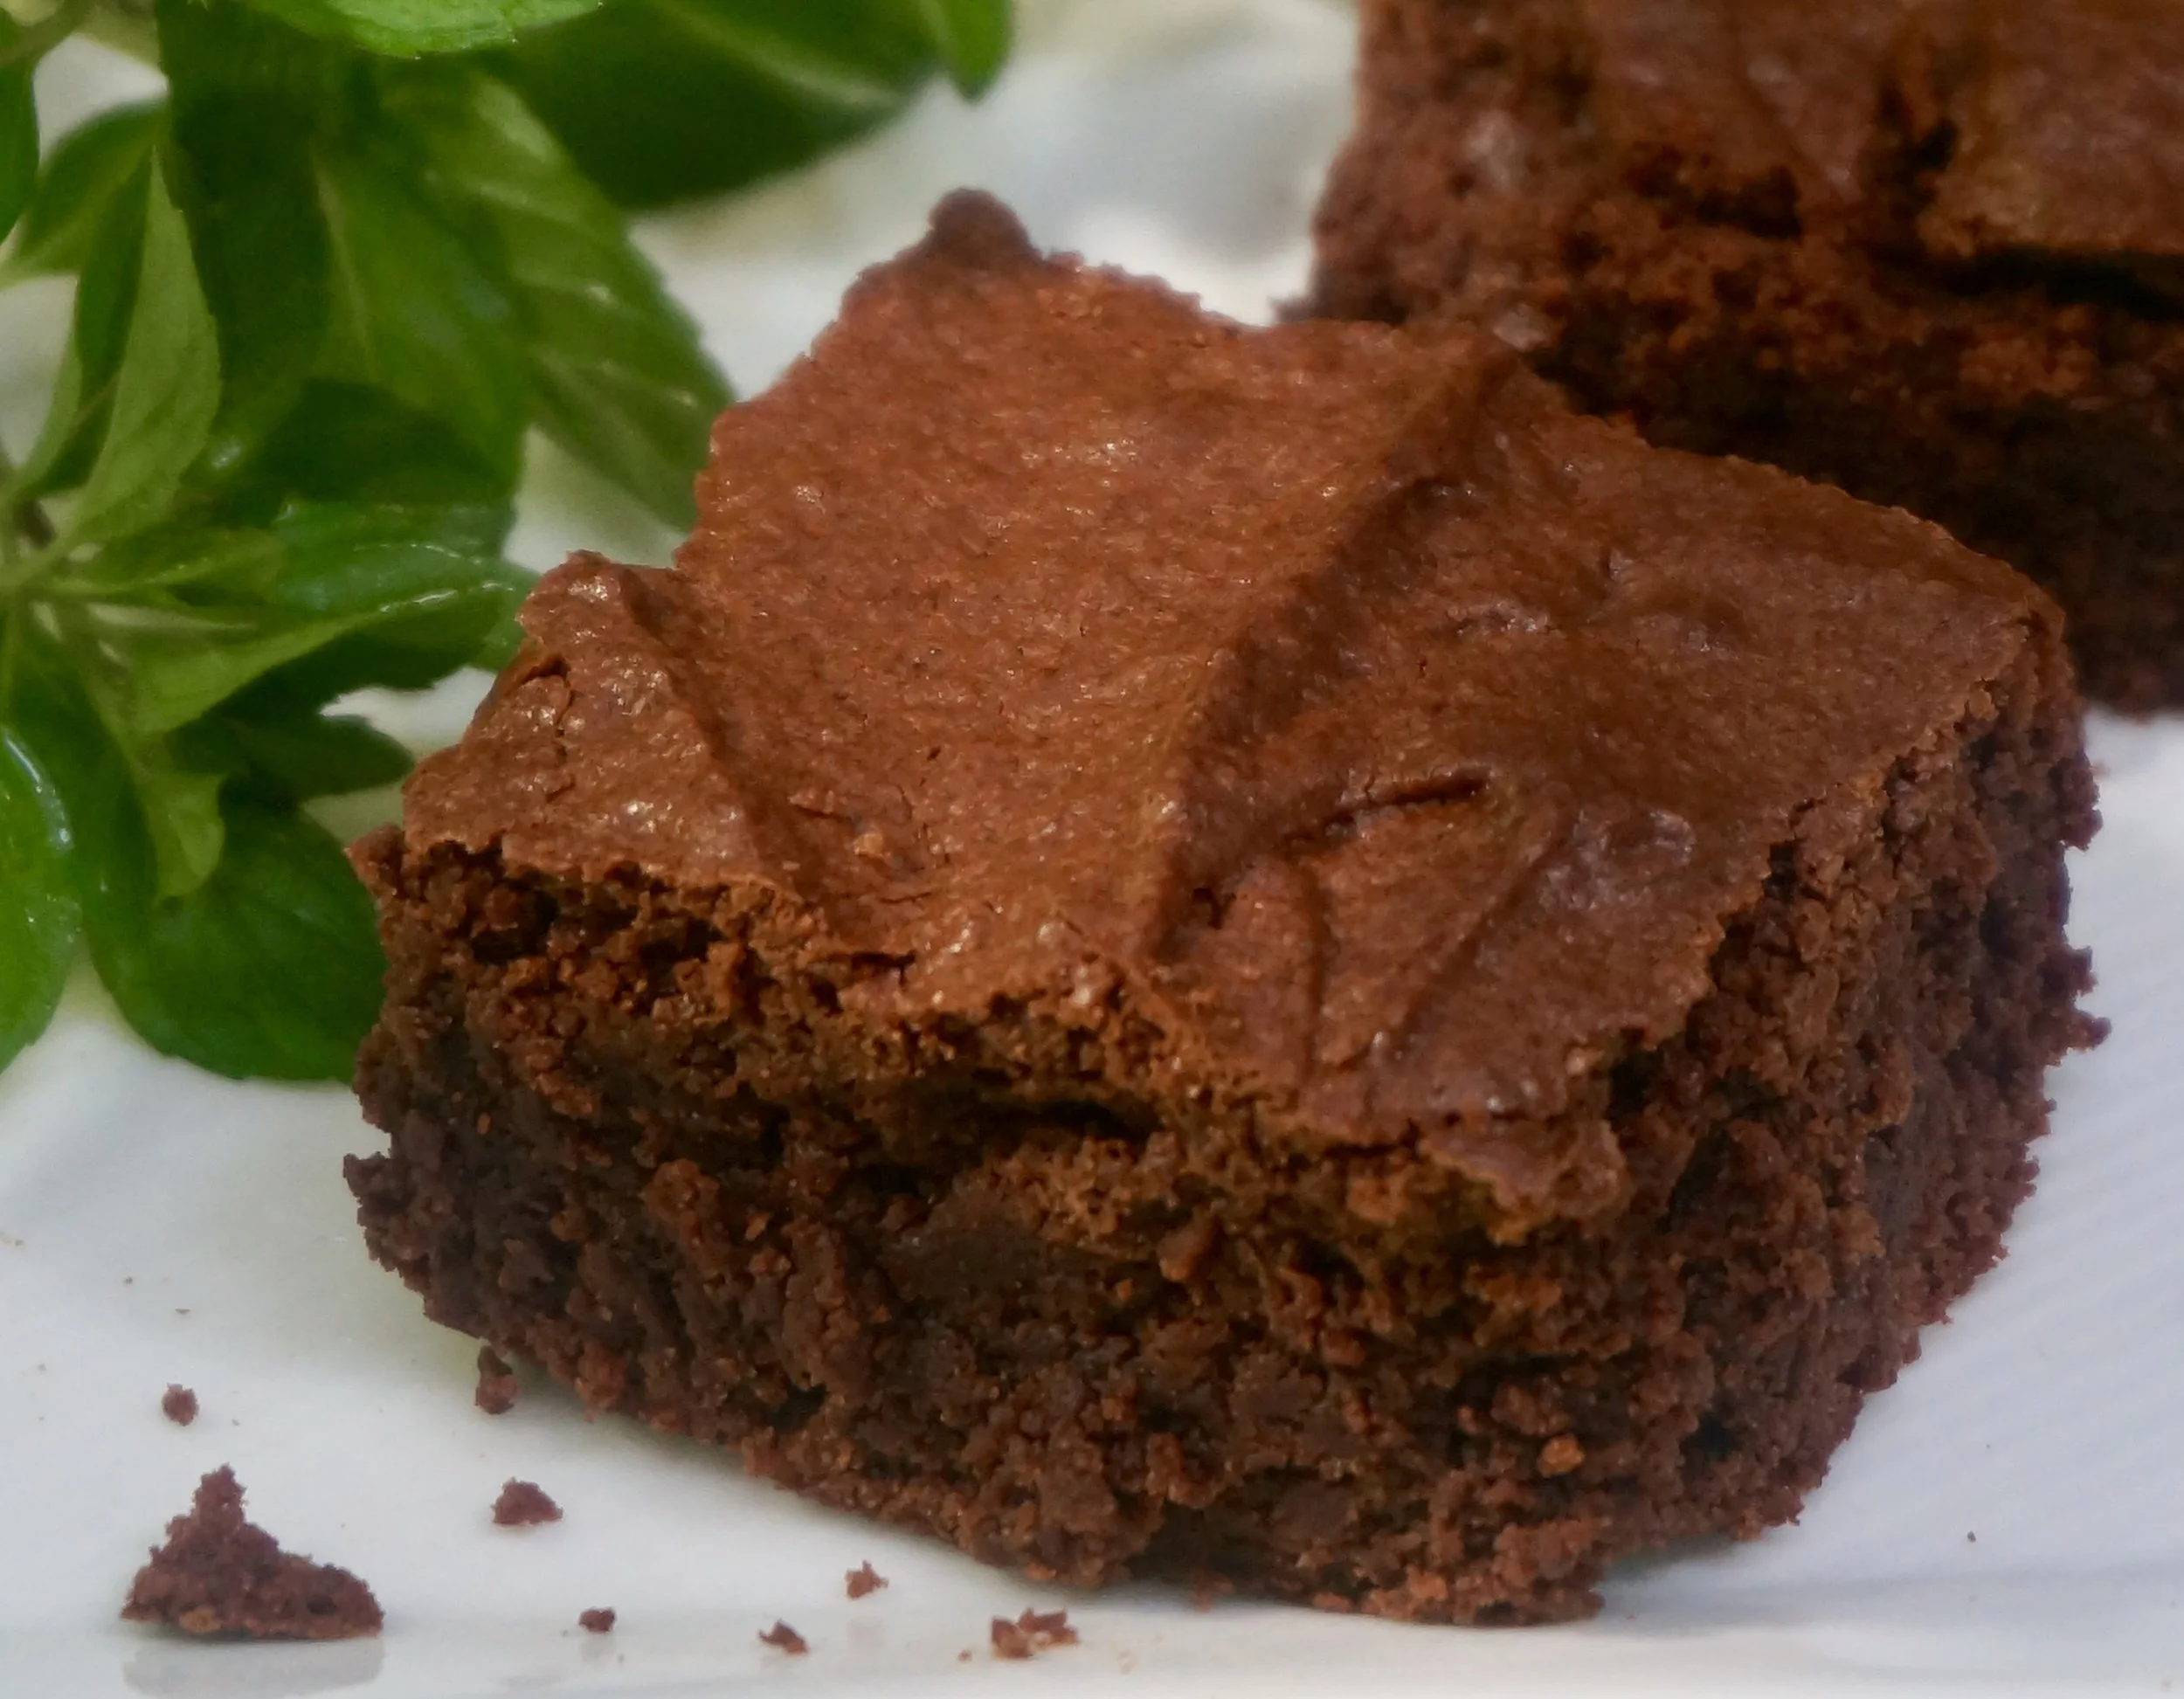
Valentine's Day Chocolate Fudge Brownies

fullsizeoutput_84cd.jpeg

I have told my husband not to buy me chocolate candy for Valentine's Day.

Sure, I love the thought, not to mention the taste (he knows how much I love buttercrunch!!!!!!).

But really, I need to NOT EAT candy for a variety of reasons including the number I see on the scale when I weigh myself each morning.

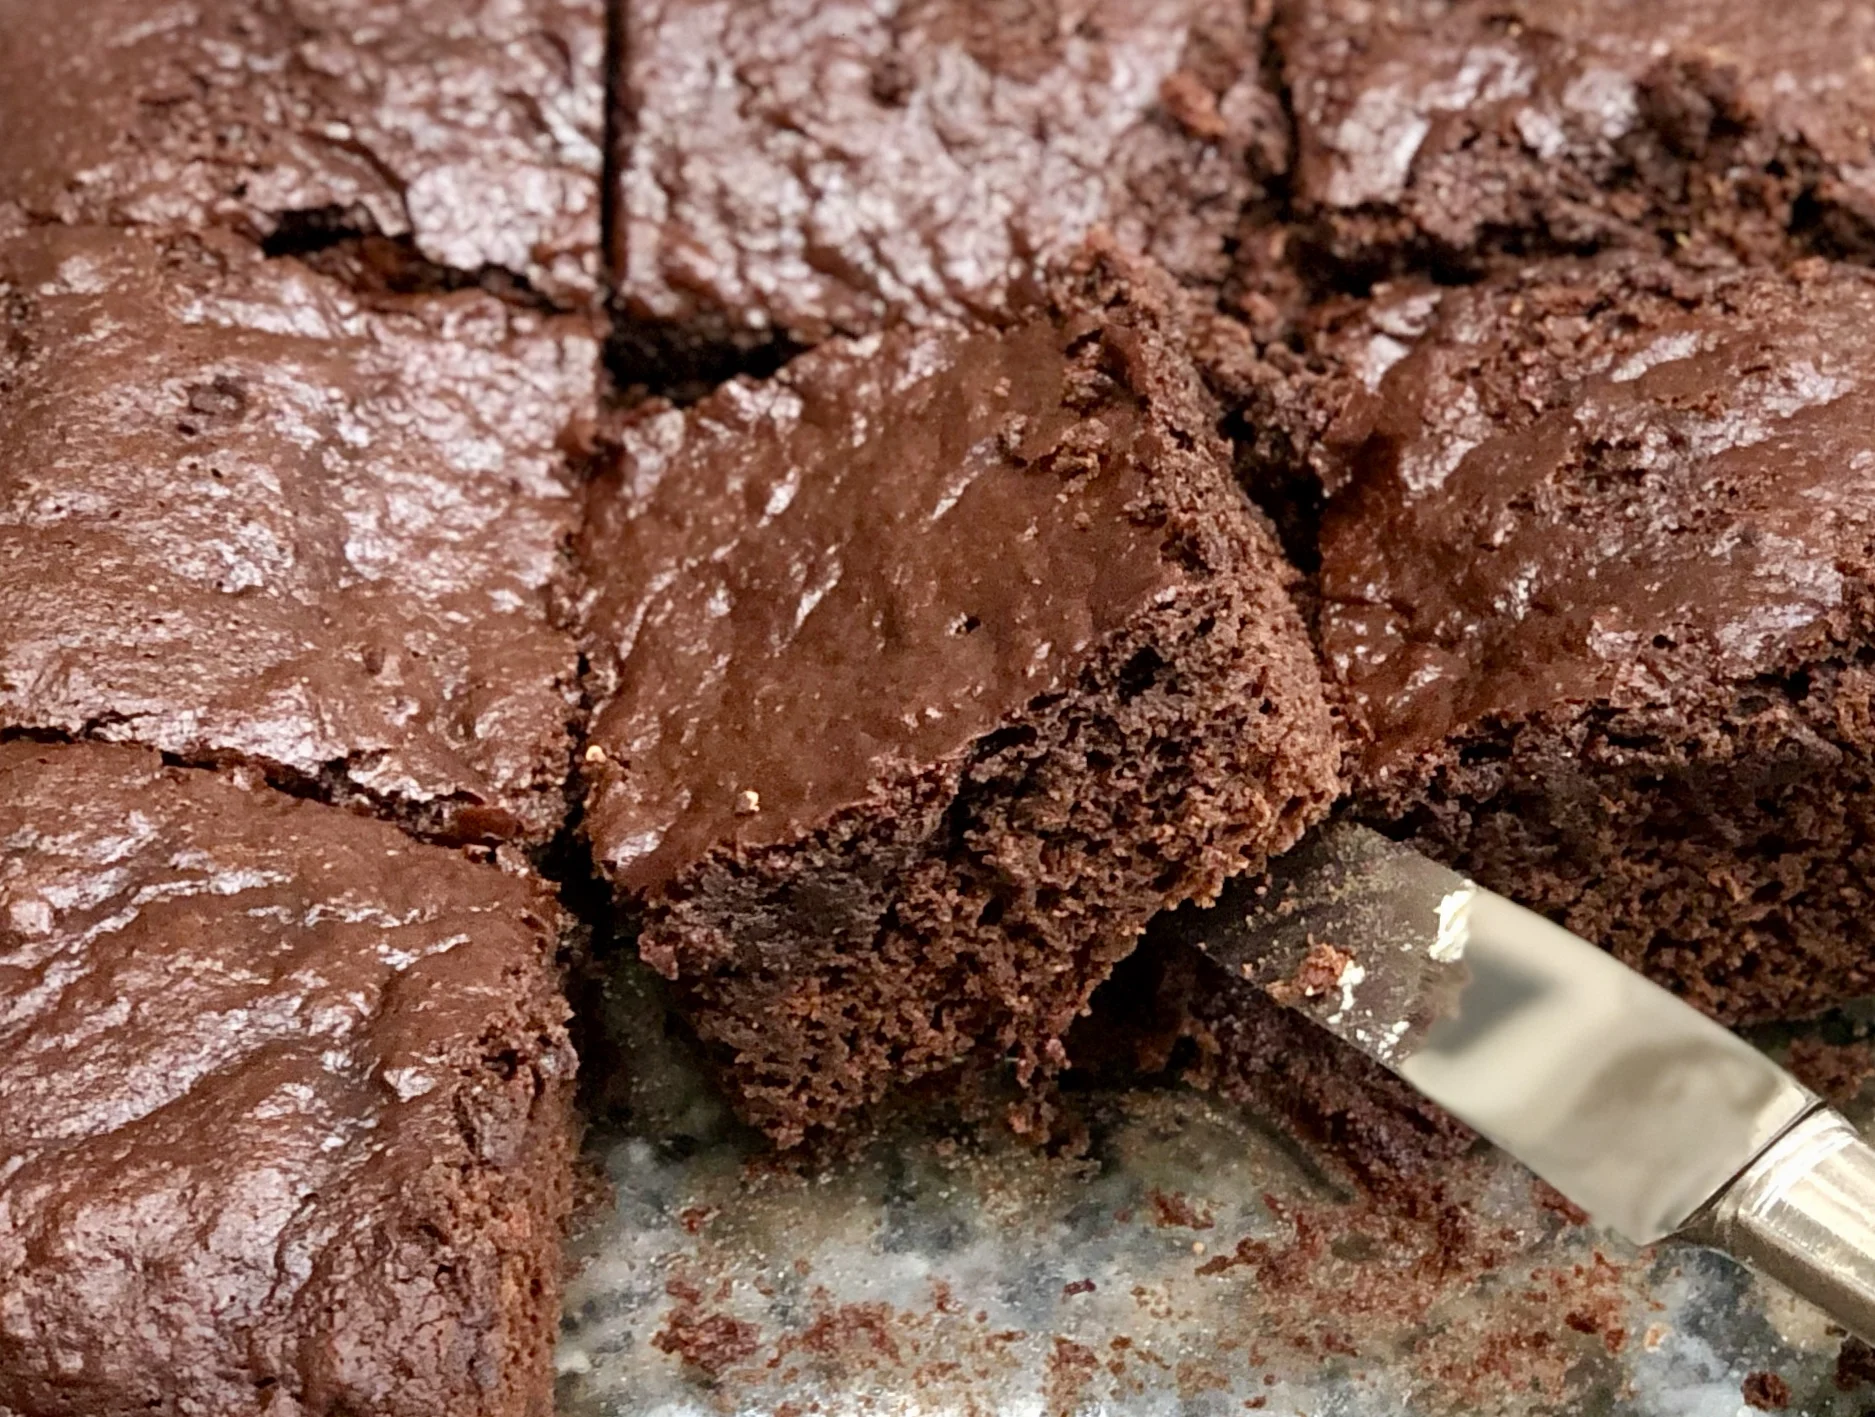
For Valentine's Day I am going to make brownies, which will be sufficient for the two of us to celebrate with a piece or two, then give the rest away to a friend of mine who loves sweets.

Then it will all be gone, we will have had a delicious, but calorie-limited Valentine's Day and that will be that until the next occasion.


Valentine's Day Chocolate Fudge BROWNIES

  • 3 ounces unsweetened chocolate
  • 1/3 cup butter
  • 2 large eggs
  • 1 cup sugar
  • 3/4 cup plus 2 tablespoons all-purpose flour
  • 3/4 teaspoon baking powder
  • 1/2 teaspoon salt
  • 1 teaspoon vanilla extract
  • 1/2 cup chopped nuts, optional

Preheat the oven to 350 degrees. Lightly grease an 8" square baking pan.  Melt the chocolate and butter together in the top part of a double boiler set over barely simmering water. When the ingredients have melted, blend them thoroughly and remove the pan from the heat. Combine the eggs and sugar in a large bowl and beat them 2-3 minutes or until the mixture is thick and pale. Mix the flour, baking powder and salt in a bowl and stir this mixture into the chocolate mixture. Stir in the vanilla extract and nuts, if used. Spoon the batter into the prepared pan. Bake for 30 minutes. Cool the brownies in the pan. Cut them into 16 squares.

Makes 16